Create a virtual machine offer on Azure Marketplace
This article describes how to create an Azure virtual machine offer for Azure Marketplace. It addresses both Windows-based and Linux-based virtual machines that contain an operating system, a virtual hard disk (VHD), and up to 16 data disks.
Before you start, create a commercial marketplace account in Partner Center. Ensure that your account is enrolled in the commercial marketplace program.
Before you begin
Before you can publish an Azure Container offer, you must have a commercial marketplace account in Partner Center and ensure your account is enrolled in the commercial marketplace program. See Create a commercial marketplace account in Partner Center and Verify your account information when you enroll in a new Partner Center program.
If you haven't done so yet, review Plan a virtual machine offer. It will explain the technical requirements for your virtual machine and list the information and assets you'll need when you create your offer.
Create a new offer
Sign in to Partner Center.
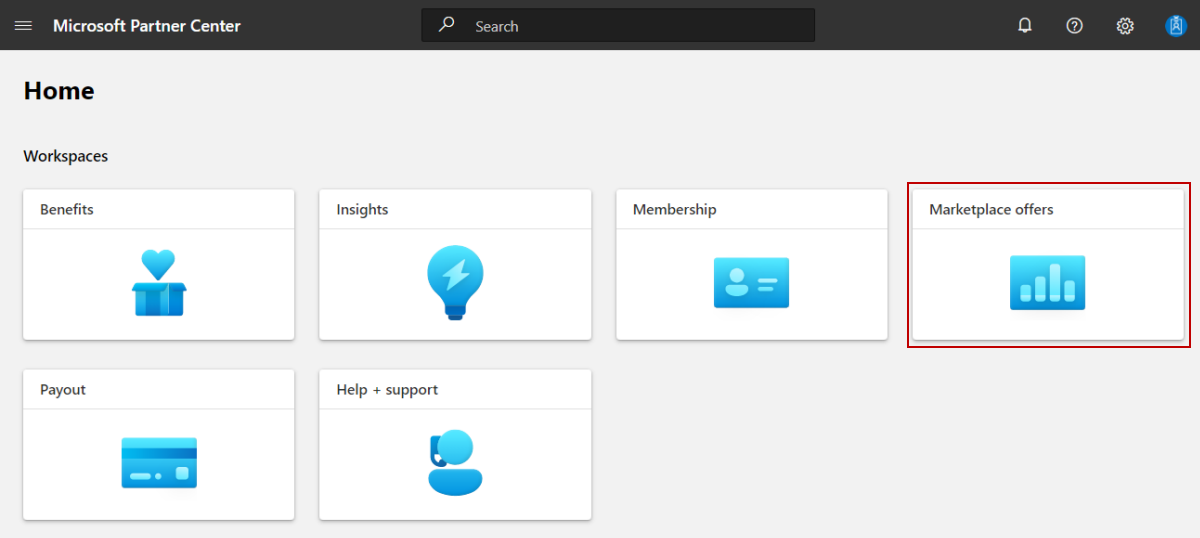
On the Home page, select the Marketplace offers tile.
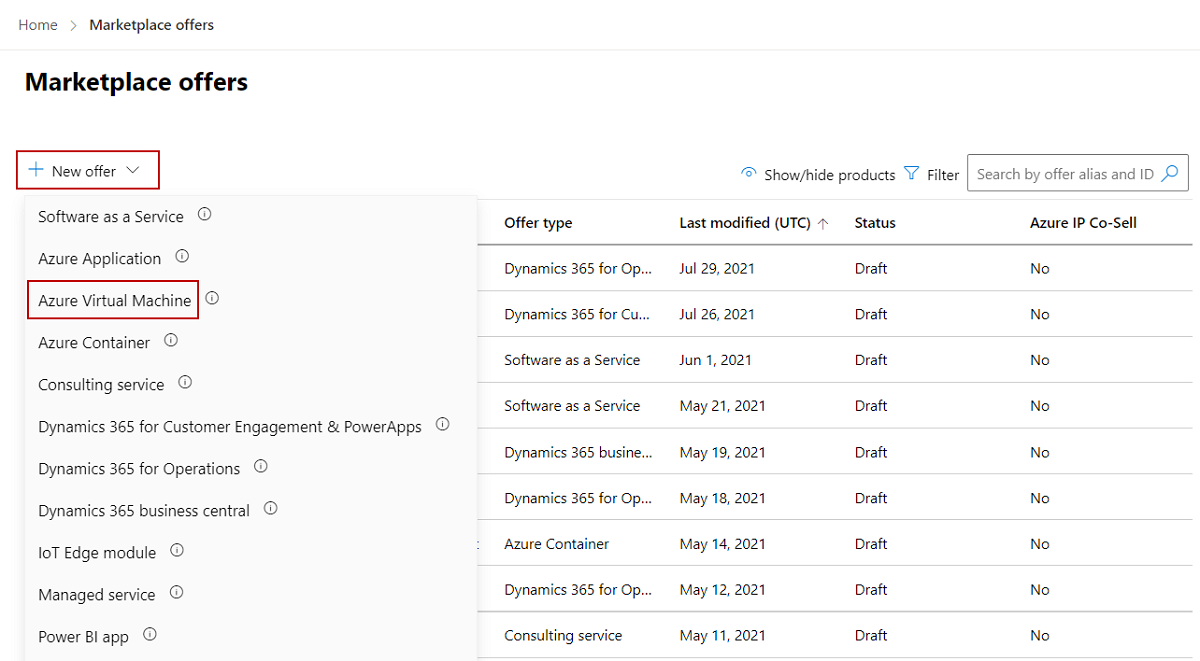
On the Marketplace offers page, select + New offer > Azure Virtual Machine.
Note
After an offer is published, any edits you make to it in Partner Center appear on Azure Marketplace only after you republish the offer. Be sure to always republish an offer after making changes to it.
Enter an Offer ID. This is a unique identifier for each offer in your account.
- This ID is visible to customers in the web address for the Azure Marketplace offer and in Azure PowerShell and the Azure CLI, if applicable.
- Use only lowercase letters and numbers. The ID can include hyphens and underscores, but no spaces, and is limited to 50 characters. For example, if you enter test-offer-1, the offer web address will be
https://azuremarketplace.microsoft.com/marketplace/../test-offer-1. - The Offer ID can't be changed after you select Create.
Enter an Offer alias. The offer alias is the name that's used for the offer in Partner Center.
- This name isn't used on Azure Marketplace. It is different from the offer name and other values that are shown to customers.
Associate the new offer with a publisher. A publisher represents an account for your organization. You might have a need to create the offer under a particular publisher. If you don't, you can simply accept the publisher account you're signed in to.
Note
The selected publisher must be enrolled in the Commercial Marketplace program and can't be modified after the offer is created.
Select Create to generate the offer and continue. Partner Center opens the Offer setup page.


Test drive (optional)
You can enable a test drive that lets customers try your offer prior to purchase by giving them access to a preconfigured environment for a fixed number of hours, resulting in highly qualified leads and an increased conversion rate. Test drives differ depending on the offer type and marketplace. To learn more about types of test drives and how they work, see What is a test drive?. For information about configuring different kinds of test drives, see Test drive technical configuration.
Tip
A test drive is different from a free trial. You can offer a test drive, free trial, or both. They both provide your customers with your solution for a fixed period-of-time. But, a test drive also includes a hands-on, self-guided tour of your product’s key features and benefits being demonstrated in a real-world implementation scenario.
For VM offers, Azure Resource Manager (ARM) deployment is the only test drive option available. The deployment template must contain all the Azure resources that comprise your solution.
To enable a test drive, select the Enable a test drive check box; this will enable a Test drive tab in the left-nav menu. You will configure and create the listing of your test drive using that tab later in Configure a VM test drive.
When a customer activates a test drive, you'll receive a lead in the Referrals workspace in Partner Center.
You can also connect the offer to your customer relationship management (CRM) system to manage leads there.
Note
Connecting to a CRM system is optional.
Customer leads
When a customer expresses interest or deploys your product, you'll receive a lead in the Referrals workspace in Partner Center.
You can also connect the product to your customer relationship management (CRM) system to handle leads there.
Note
Connecting to a CRM system is optional.
To configure the lead management in Partner Center:
Under Customer leads, select the Connect link.
In the Connection details dialog box, select a lead destination.
Complete the fields that appear. For detailed steps, see the following articles:
- Configure your offer to send leads to the Azure table
- Configure your offer to send leads to Dynamics 365 Customer Engagement (formerly Dynamics CRM Online)
- Configure your offer to send leads to HTTPS endpoint
- Configure your offer to send leads to Marketo
- Configure your offer to send leads to Salesforce
To validate the configuration you provided, select the Validate link.
Select Connect.
For more information, see Customer leads from your commercial marketplace offer.
Select Save draft before continuing to the next tab in the left-nav menu, Properties.
Next steps
Feedback
Coming soon: Throughout 2024 we will be phasing out GitHub Issues as the feedback mechanism for content and replacing it with a new feedback system. For more information see: https://aka.ms/ContentUserFeedback.
Submit and view feedback for