Set up an Azure Marketplace subscription for hosted test drives
This article explains how to set up an Azure Marketplace subscription and Dynamics 365 apps on Dataverse and Power Apps or Dynamics 365 Operations Apps environment for test drives.
Important
Azure Active Directory (Azure AD) Graph is deprecated as of June 30, 2023. Going forward, we're making no further investments in Azure AD Graph. Azure AD Graph APIs have no SLA or maintenance commitment beyond security-related fixes. Investments in new features and functionalities will only be made in Microsoft Graph.
We'll retire Azure AD Graph in incremental steps so that you have sufficient time to migrate your applications to Microsoft Graph APIs. At a later date that we will announce, we will block the creation of any new applications using Azure AD Graph.
To learn more, see Important: Azure AD Graph Retirement and Powershell Module Deprecation.
Set up for Dynamics 365 apps on Dataverse and Power Apps
Sign in to the Azure portal with an Admin account.
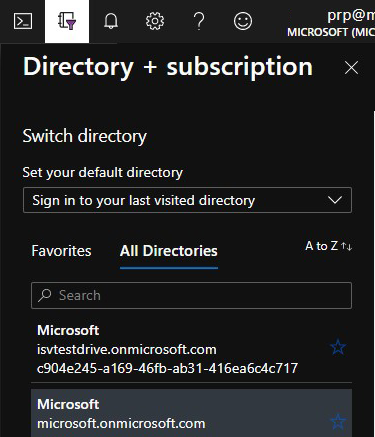
Verify you are in the tenant associated with your Dynamics 365 test drive instance by hovering over your account icon in the upper right corner. If you aren't in the correct tenant, select the account icon to switch into the correct tenant.
Verify that the Dynamics 365 Customer Engagement Plan license is available.

Create a Microsoft Entra app in Azure. AppSource will use this app to provision and deprovision the test drive user in your tenant.
From the filter pane, select Microsoft Entra ID.
Select App registrations.

Select New registration.
Provide an appropriate application name.
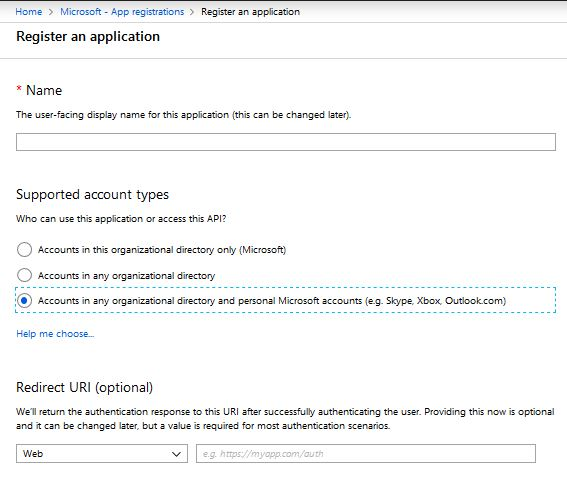
Under Supported account types, select Account in any organization directory and personal Microsoft accounts.
Select Create and wait for your app to be created.
Once the app is created, note the Application ID displayed on the overview screen. You will need this value later when configuring your test drive.
Under Manage Application, select API permissions.
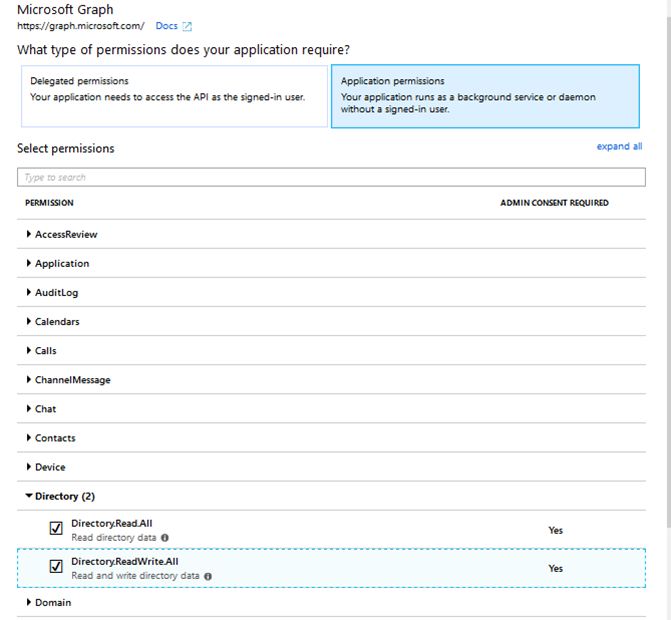
Select Add a permission and then Microsoft Graph API.
Select the Application permission category and then the User.ReadWrite.All, Directory.Read.All and Directory.ReadWrite.All permissions.
Once the permission is added, select Grant admin consent for Microsoft.
From the message alert, select Yes.

To generate a secret for the Microsoft Entra App:
From Manage Application, select Certificate and secrets.
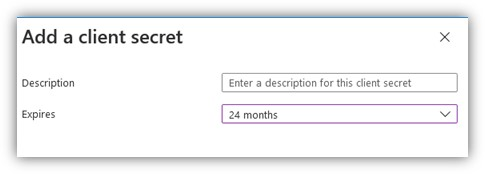
Under Client secrets, select New client secret.

Enter a description, such as Test Drive, and select an appropriate duration. Because the test drive will break once this Key expires, at which point you will need to generate and provide AppSource a new key, we recommend using the maximum duration of 24 months.
Select Add to generate the Azure app secret. Copy this value as it will be hidden as soon as you leave this blade. You will need this value later when configuring your test drive.
Add the Service Principal role to the application to allow the Microsoft Entra app to remove users from your Azure tenant. There are two options for completing this step.
Option 1
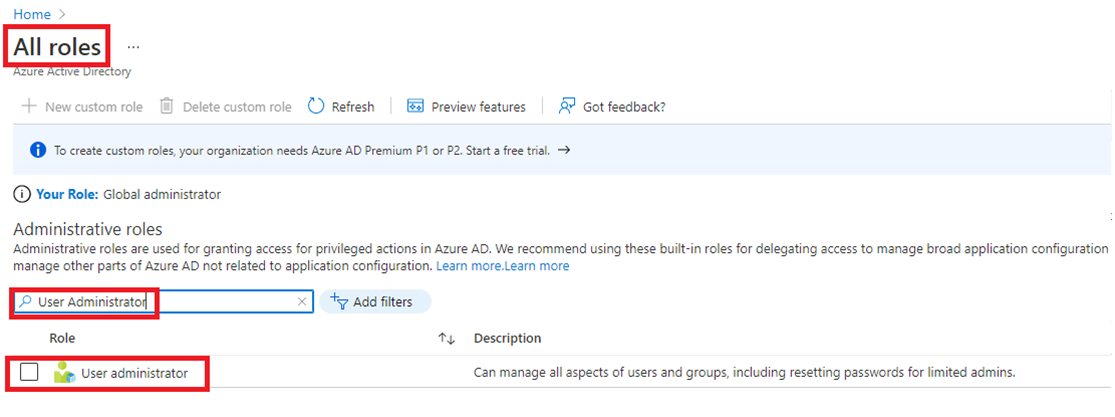
Search for Microsoft Entra roles and administrators and select the service.

On the All roles page, search for the User Administrator role and double-click User administrator.
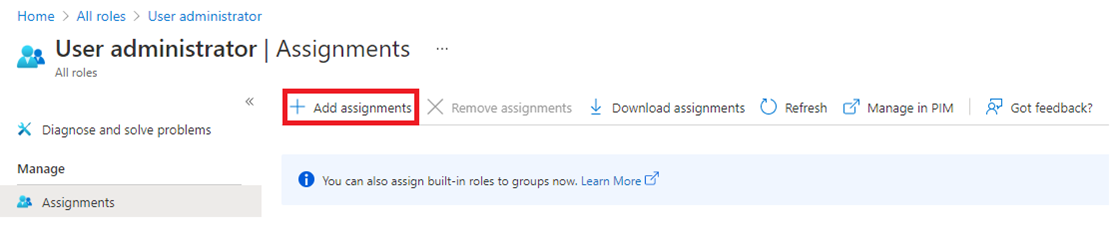
Select Add Assignments.
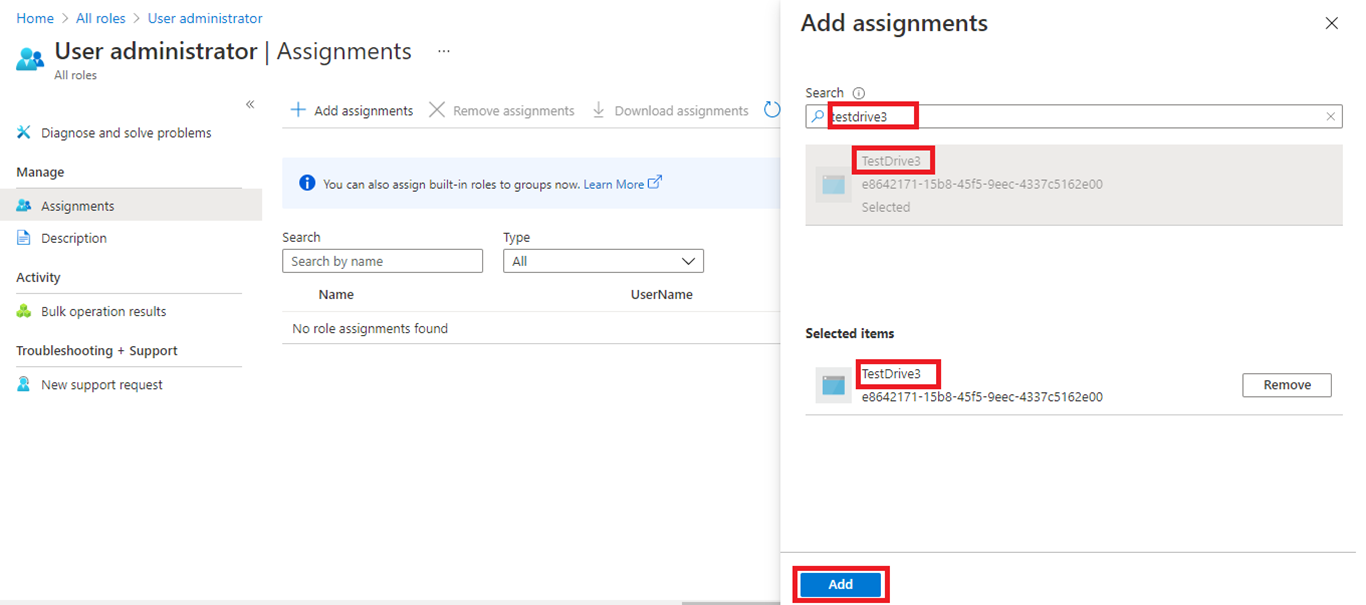
Search for and select the above-created app, then Add.
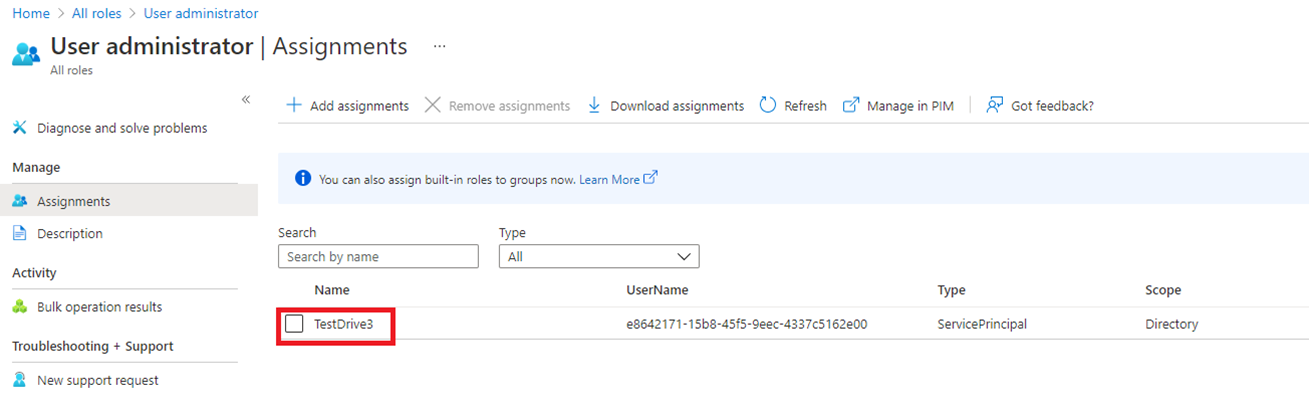
Note the Service Principal role successfully assigned to the application:
Option 2
Open an Administrative-level PowerShell command prompt.
Install-Module MSOnline (run this command if MSOnline isn't installed).
Connect-MsolService (this will display a popup window; sign in with the newly created org tenant).
$applicationId = <YOUR_APPLICATION_ID>.
$sp = Get-MsolServicePrincipal -AppPrincipalId $applicationId.
Add-MsolRoleMember -RoleObjectId fe930be7-5e62-47db-91af-98c3a49a38b1 -RoleMemberObjectId $sp.ObjectId -RoleMemberType servicePrincipal.
Create a new Security Group and add it to Canvas App (Power Apps). This step is only applicable to Dynamics 365 for Customer Engagement & Power Apps offers with the Canvas Apps option.
Create a new Security Group.
Go to Microsoft Entra ID.
Under Manage, select Groups.
Select + New Group.
Select the Security Group type.
For Group Name, enter TestDriveSecurityGroup.
Add a description, such as Security Group for Test Drive.
Leave other fields as default and select Create.

Add the security group just created to the Canvas App (Power Apps).
Open the PowerApps portal page and sign in.
Select Apps, then the ellipses at the app.
Select Share.
Search for the TestDriveSecurityGroup security group created in the prior step.
Add Data permissions to the security group.
Clear the send email invitation check box.
Select Share.
Note
When using a backend data source other than CE/Dataverse for Canvas App (Power Apps):
- Allow the above created security group to access your data source. For example, a SharePoint data source.
- Open SharePoint and share the data table with the Security Group.
Add the just-created Azure app as an application user to your test drive CRM instance. This step is applicable only to Dynamics 365 apps on Dataverse and Power Apps Offers.
Sign in to the Power Platform admin center as a System Administrator.
Select Environments, and then select an environment from the list.
Select Settings.
Select Users + permissions, and then select Application users.
Select + New app user to open the Create a new app user page.

Select + Add an app to choose the registered Microsoft Entra ID application that was created for the selected user, and then select Add.
Note
In addition to entering the Application Name or Application ID, you can also enter an Azure Managed Identity Application ID. For Managed Identity, do not enter the Managed Identity Application Name, use the Managed Identity Application ID instead.
The selected Microsoft Entra app is displayed under App. You can select Edit (
 ) to choose another Microsoft Entra application. Under Business Unit, select a business unit from the dropdown list.
After choosing a business unit, you can select for Security roles to choose security roles for the chosen business unit to add to the new application user. After adding security roles, select Save.

Select Create.
Select Manage roles.
Assign a custom or OOB security role that contains read, write, and assign role privileges, such as System Administrator.
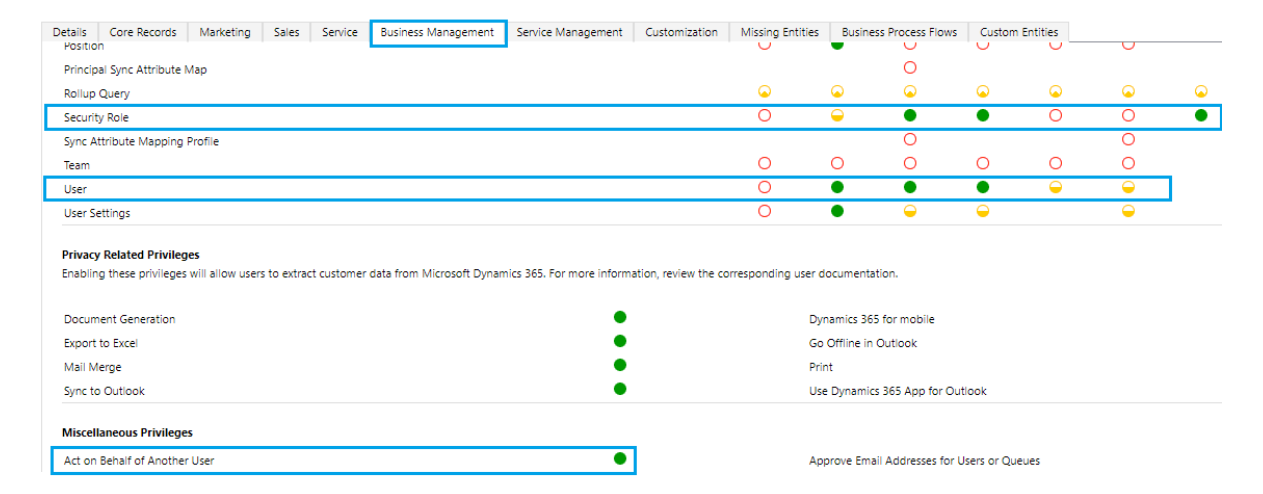
Enable the Act on Behalf of Another User privilege.
Assign the application user the custom security role you created for your test drive.


Set up for Dynamics 365 Operations Apps
Sign into the Azure portal with an Admin account.
Verify you are in the tenant associated with your Dynamics 365 test drive instance by hovering over your account icon in the upper right corner. If you aren't in the correct tenant, select the account icon to switch into the correct tenant.
Create a Microsoft Entra App in Azure. AppSource will use this app to provision and deprovision the test drive user in your tenant.
From the filter pane, select Microsoft Entra ID.
Select App registrations.
Select New registration.
Provide an appropriate application name.
Under Supported account types, select Account in any organization directory and personal Microsoft accounts.
Select Create and wait for your app to be created.
Once the app is created, note the Application ID displayed on the overview screen. You will need this value later when configuring your test drive.
Under Manage Application, select API permissions.
Select Add a permission and then Microsoft Graph API.
Select the Application permission category and then the Directory.Read.All and Directory.ReadWrite.All permissions.
Select Add permission.
Once the permission is added, select Grant admin consent for Microsoft.
From the message alert, select Yes.

To generate a secret for the Microsoft Entra App:
From Manage Application, select Certificate and secrets.
Under Client secrets, select New client secret.
Enter a description, such as Test Drive, and select an appropriate duration. The test drive will break once this Key expires, at which point you will need to generate and provide AppSource a new key.
Select Add to generate the Azure app secret. Copy this value as it will be hidden as soon as you leave this blade. You will need this value later when configuring your test drive.

Add the Service Principal role to the application to allow the Microsoft Entra app to remove users from your Azure tenant.
Open an Administrative-level PowerShell command prompt.
Install-Module MSOnline (run this command if MSOnline isn't installed).
Connect-MsolService (this will display a popup window; sign in with the newly created org tenant).
$applicationId = <YOUR_APPLICATION_ID>.
$sp = Get-MsolServicePrincipal -AppPrincipalId $applicationId.
Add-MsolRoleMember -RoleObjectId fe930be7-5e62-47db-91af-98c3a49a38b1 -RoleMemberObjectId $sp.ObjectId -RoleMemberType servicePrincipal.
Now add the above app to Dynamics 365 Operations Apps to enable the app to manage users.
- Find your Dynamics 365 Operations Apps instance.
- From the top-left corner, select the three-line icon (☰).
- Select System Administration.
- Select Microsoft Entra applications.
- Select + New.
- Enter the Client ID of the Microsoft Entra app that is going to perform the on-behalf-of actions.
Note
The user ID on whose behalf the actions will be performed (typically the System Admin of the instance or a user who has privileges to add other users).


Next steps
Feedback
Coming soon: Throughout 2024 we will be phasing out GitHub Issues as the feedback mechanism for content and replacing it with a new feedback system. For more information see: https://aka.ms/ContentUserFeedback.
Submit and view feedback for