Tutorial: Discover SAP systems with Azure Migrate (preview)
As part of your migration journey to Azure, discover your on-premises SAP inventory and workloads.
This tutorial explains how to prepare an import file with server inventory details and to discover the SAP systems within Azure Migrate.
In this tutorial, you learn how to:
- Set up an Azure Migrate project
- Prepare the import file
- Import the SAP systems inventory
- View discovered SAP systems
Note
Tutorials show the quickest path for trying out a scenario and using default options.
If you don't have an Azure subscription, create a free account before you begin.
Set up an Azure Migrate project
To set up a migration project, follow these steps:
Sign into the Azure portal and search for Azure Migrate.
On the Get started page, select Discover, assess and migrate.
On the Servers, databases and web apps page, select Create project.
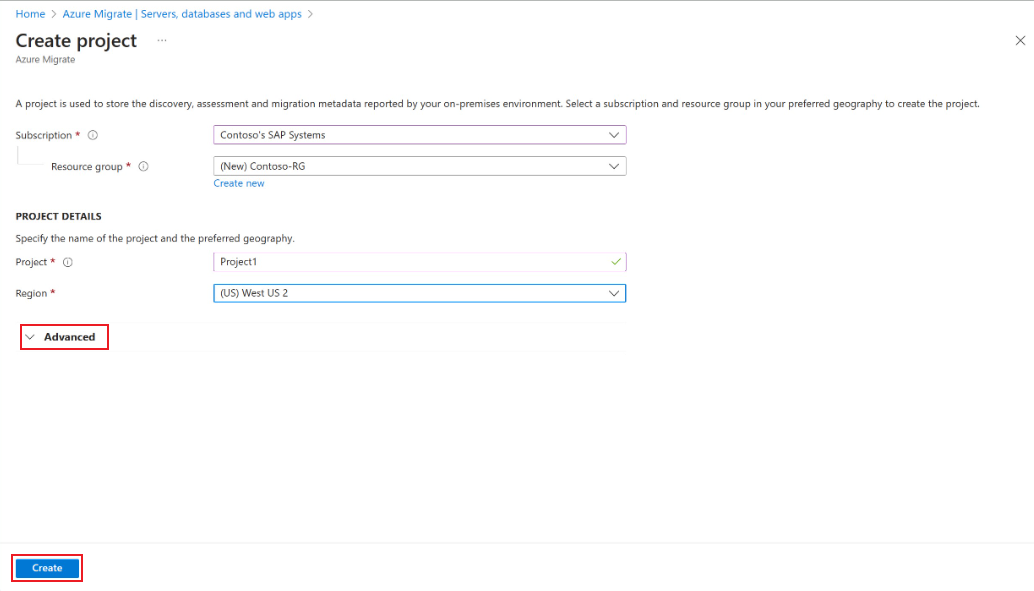
On the Create project page, do the following:
- Subscription: Select your Azure subscription.
- Resource group: Select your resource group. If you don't have a resource group, select Create new to create one.
- PROJECT DETAILS:
- Project: Enter the project name.
- Region: Select the region in which you want to create the project.
- Advanced: Expand this option and select a desired Connectivity method.
By default, the Public endpoint is selected. If you want to create an Azure Migrate project with the private endpoint connectivity, select Private endpoint. Learn more.
Select Create.
Wait for a few minutes for the project deployment.

Prepare the import file
To prepare the import file, do the following:
- Download the template file.
- Add on-premises SAP infrastructure details.
Download the template file
To download the template, follow these steps:
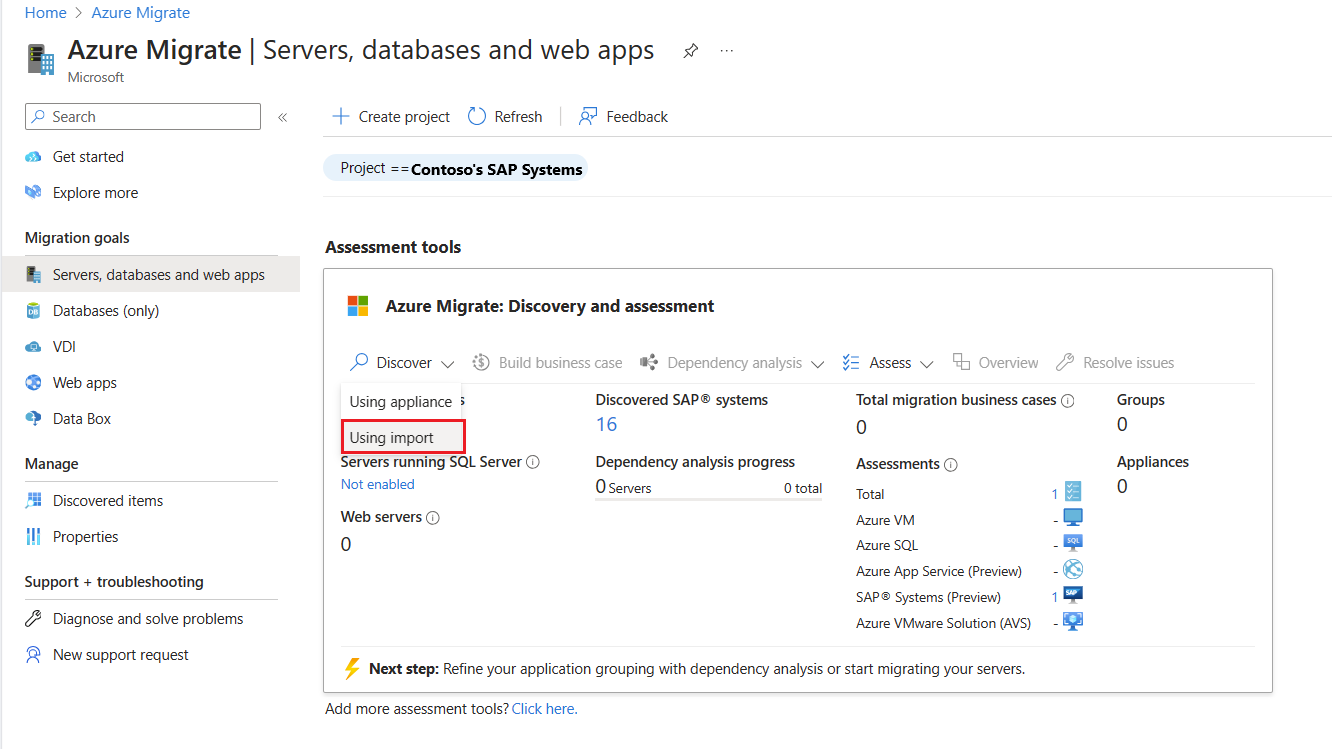
On the Azure Migrate page, under Migration goals, select Servers, databases and web apps.
On the Servers, databases and web apps page, under Assessments tools, select Using import from the Discover dropdown menu.
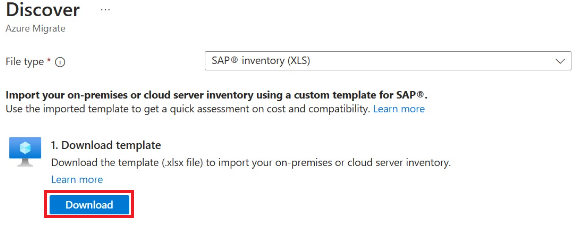
On the Discover page, for File type, select SAP® inventory (XLS).
Select Download to download the template.


Note
To avoid any duplication or inadvertent errors affecting from one discovery file to another discovery file, we recommend you use a new file for every discovery that you plan to run. Use the sample import file templates as guidance to prepare the import file of your SAP landscape.
Add on-premises SAP infrastructure details
Collect on-premises SAP system inventory and add it into the template file.
- To collect data, export it from the SAP system and fill in the template with the relevant on-premises SAP system inventory.
- To review sample data, download the sample import file.
The following table summarizes the file fields to fill in:
| Template Column | Description |
|---|---|
| Server Name * | Unique server name or host name of the SAP system to identify each server. Include all the virtual machines attached to a SAP system that you intend to migrate to Azure. |
| Environment * | Environment that the server belongs to. |
| SAP Instance Type * | The type of SAP instance running on this machine. For example, App, ASCS, DB, and so on. Single-server and distributed architectures are only supported. |
| Instance SID * | Instance System ID (SID) for the ASCS/AP/DB instance. |
| System SID * | SID of SAP System. |
| Landscape SID * | SID of the customer's production system in each landscape. |
| Application * | Any organizational identifier, such as HR, Finance, Marketing, and so on. |
| SAP Product * | SAP application component. For example, SAP S/4HANA 2022, SAP ERP ENHANCE, and so on. |
| SAP Product Version | The version of the SAP product. |
| Operating System * | The operating system running on the host server. |
| Database Type | Optional column and it isn't applicable for all SAP Instance Types except Database. |
| SAPS* | The SAP Application Performance Standard (SAPS) for each server in the SAP system. |
| CPU | The number of CPUs on the on-premises server. |
| Max. CPUload[%] | The maximum CPU load in percentage of the on-premises server. Exclude the percentage symbol while you enter this value. |
| RAM Size (GB) | RAM size of the on-premises server. |
| CPU Type | CPU type of the on-premises server. For example, Xeon Platinum 8171M, and Xeon E5-2673 v3. |
| HW Manufacturer | The manufacturer company of the on-premises server. |
| Model | The on-premises hardware is either a physical server or virtual machine. |
| CPU Mhz | The CPU clock speed of the on-premises server. |
| Total Disk Size(GB) * | Total disk volume capacity of the on-premises server. Include the disk volume for each individual disk and provide the total sum. |
| Total Disk IOPS * | Total disk Input/Output Operations Per Second (IOPS) of all the disks on the on-premises server. |
| Source DB Size(GB) * | The size of on-premises database. |
| Target HANA RAM Size(GB) | Optional column and it's Not Applicable for all SAP Instance Types except DB. Fill this field only when migrating an AnyDb database to SAP S/4HANA and provide the desired target HANA database size. |
* These fields are mandatory.
Import SAP systems inventory
After you add information to the import file, import the file from your machine to Azure Migrate.
To import SAP systems inventory, follow these steps:
On the Azure Migrate page, under Migration goals, select Servers, databases and web apps.
On the Servers, databases and web apps page, under Assessments tools, from the Discover dropdown menu, select Using import.
On the Discover page, under Import the file, upload the XLS file.
Select Import.
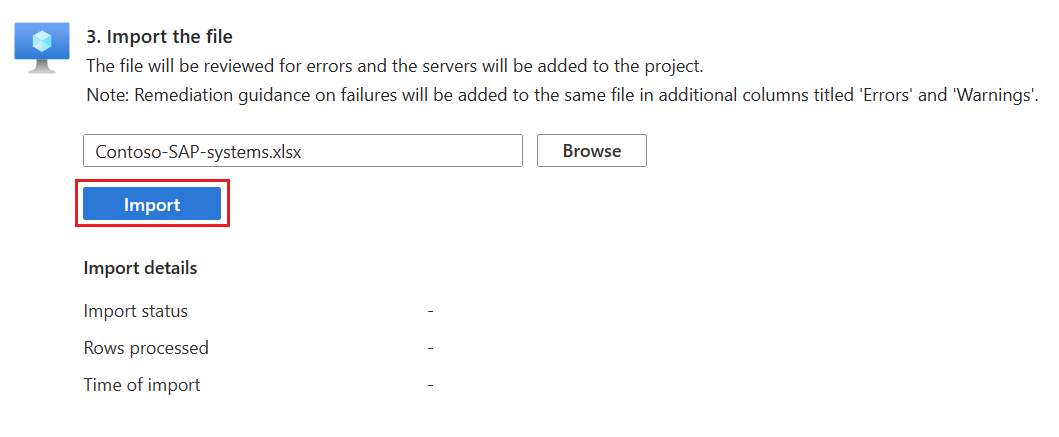
Review the import details to check for any errors or validation failures. After a successful import, you can view the discovered SAP systems.
Note
After you complete a discovery import, we recommend you to wait for 15 minutes before you start a new assessment. This ensures that all Excel data is accurately used during the assessment calculation.

View discovered SAP systems
To view the discovered SAP systems, follow these steps:
On the Azure Migrate page, under Migration goals, select Servers, databases and web apps.
On the Servers, databases and web apps page, under Assessments tools, select the number associated with Discovered SAP® systems.

On the Discovered SAP® systems page, select a desired system SID.
The Server instance details blade displays all the attributes of servers that make up the SID.

Note
Wait for 10 minutes and ensure that the imported information is fully reflected in the Server instance details blade.
Next steps
Feedback
Coming soon: Throughout 2024 we will be phasing out GitHub Issues as the feedback mechanism for content and replacing it with a new feedback system. For more information see: https://aka.ms/ContentUserFeedback.
Submit and view feedback for