Monitor VPN gateways with Network Watcher troubleshooting
Gaining deep insights on your network performance is critical to provide reliable services to customers. It is therefore critical to detect network outage conditions quickly and take corrective action to mitigate the outage condition. Azure Automation enables you to implement and run a task in a programmatic fashion through runbooks. Using Azure Automation creates a perfect recipe for performing continuous and proactive network monitoring and alerting.
Scenario
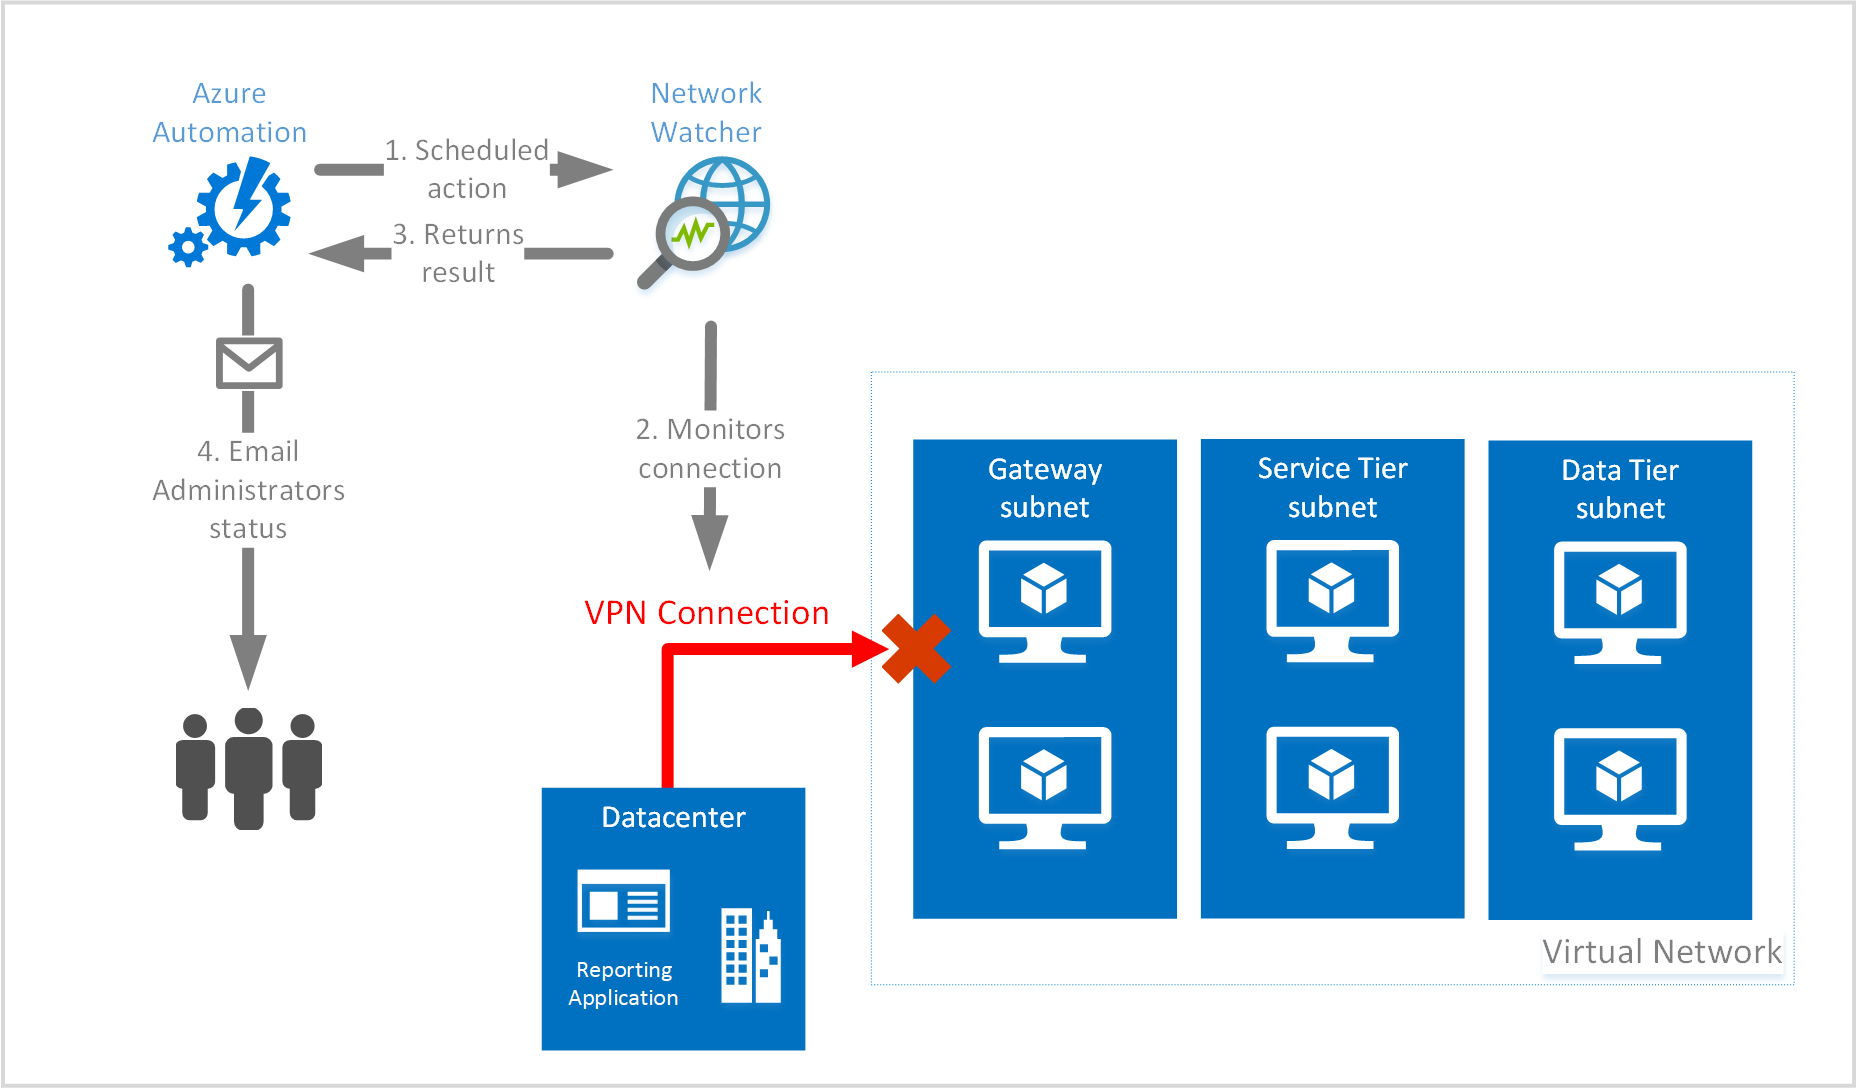
The scenario in the following image is a multi-tiered application, with on premises connectivity established using a VPN Gateway and tunnel. Ensuring the VPN Gateway is up and running is critical to the applications performance.
A runbook is created with a script to check for connection status of the VPN tunnel, using the Resource Troubleshooting API to check for connection tunnel status. If the status is not healthy, an email trigger is sent to administrators.
This scenario will:
- Create a runbook calling the
Start-AzureRmNetworkWatcherResourceTroubleshootingcmdlet to troubleshoot connection status - Link a schedule to the runbook
Before you begin
Before you start this scenario, you must have the following pre-requisites:
- An Azure automation account in Azure. Ensure that the automation account has the latest modules and also has the AzureRM.Network module. The AzureRM.Network module is available in the module gallery if you need to add it to your automation account.
- You must have a set of credentials configure in Azure Automation. Learn more at Azure Automation security
- A valid SMTP server (Microsoft 365, your on-premises email or another) and credentials defined in Azure Automation
- A configured Virtual Network Gateway in Azure.
- An existing storage account with an existing container to store the logs in.
Note
The infrastructure depicted in the preceding image is for illustration purposes and are not created with the steps contained in this article.
Create the runbook
The first step to configuring the example is to create the runbook.
Step 1
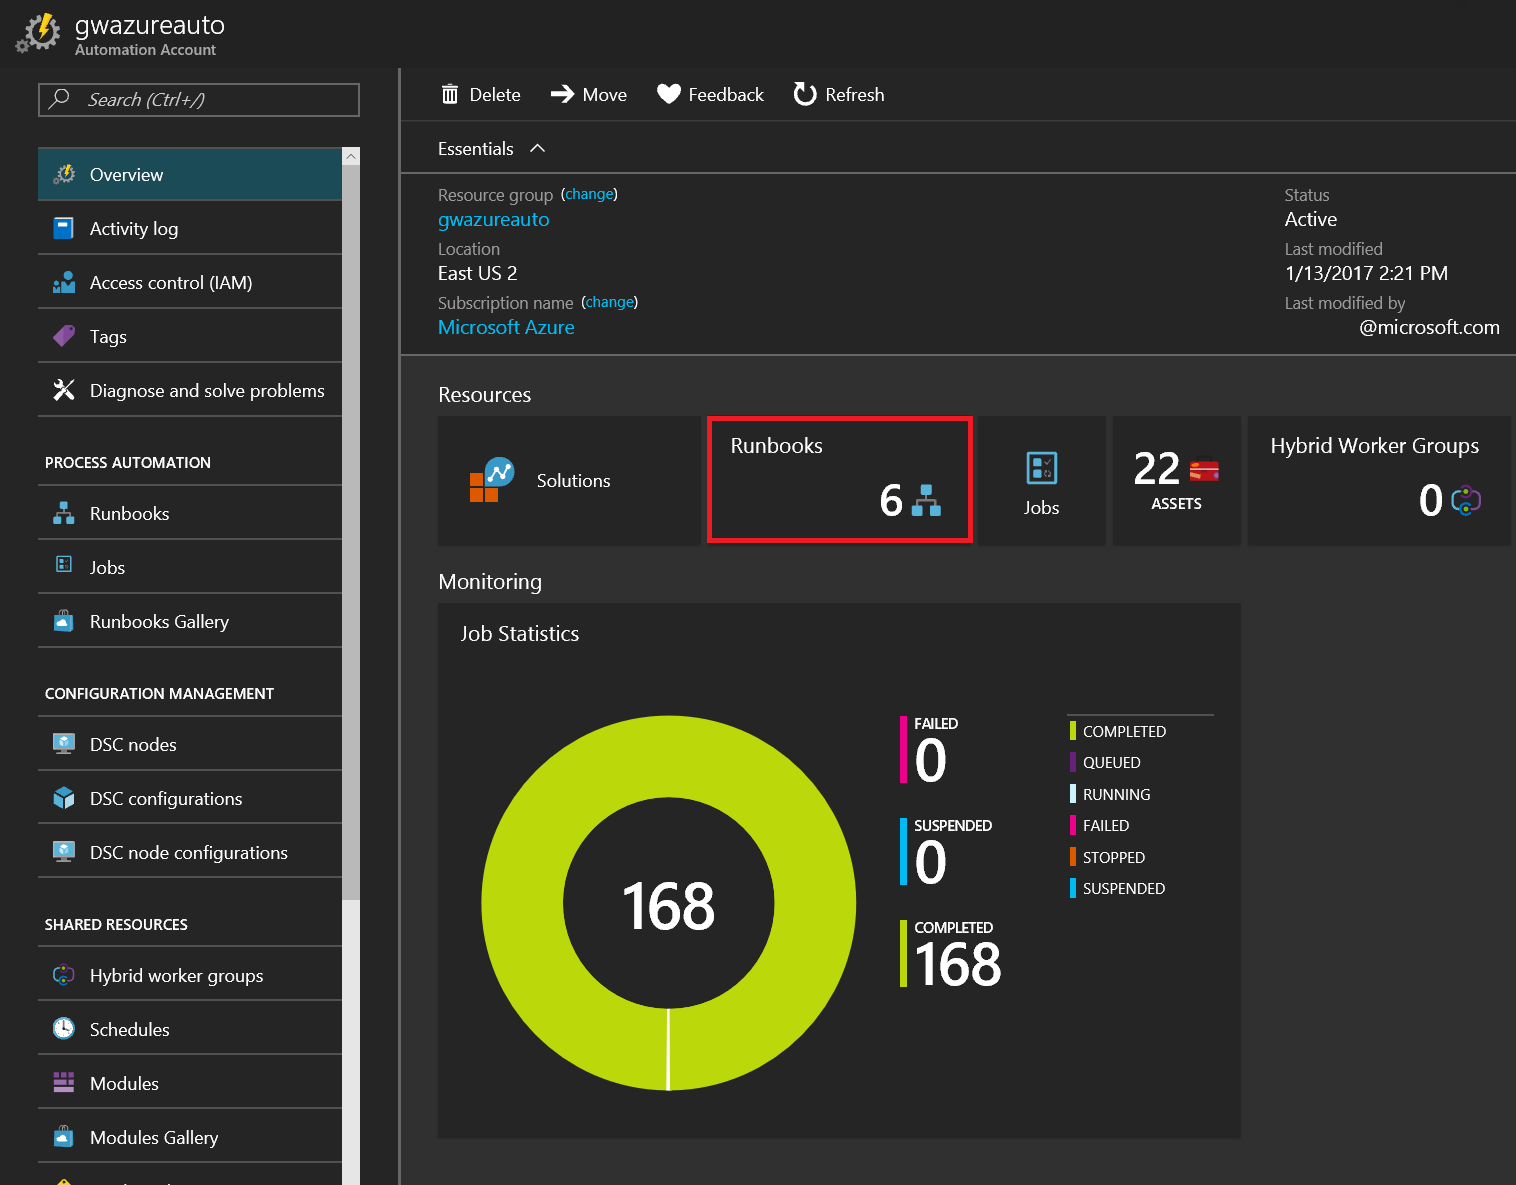
Navigate to Azure Automation in the Azure portal and click Runbooks
Step 2
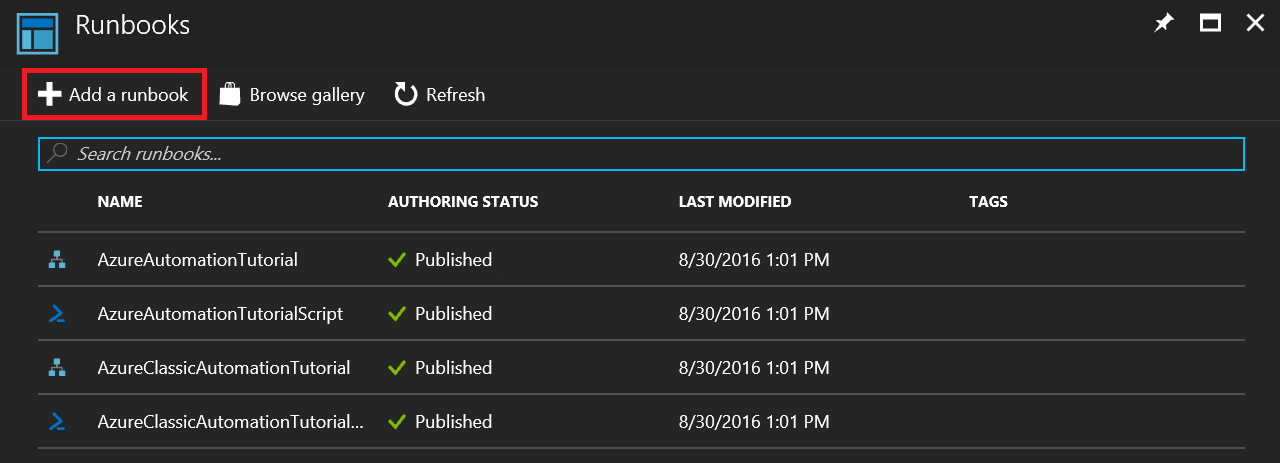
Click Add a runbook to start the creation process of the runbook.
Step 3
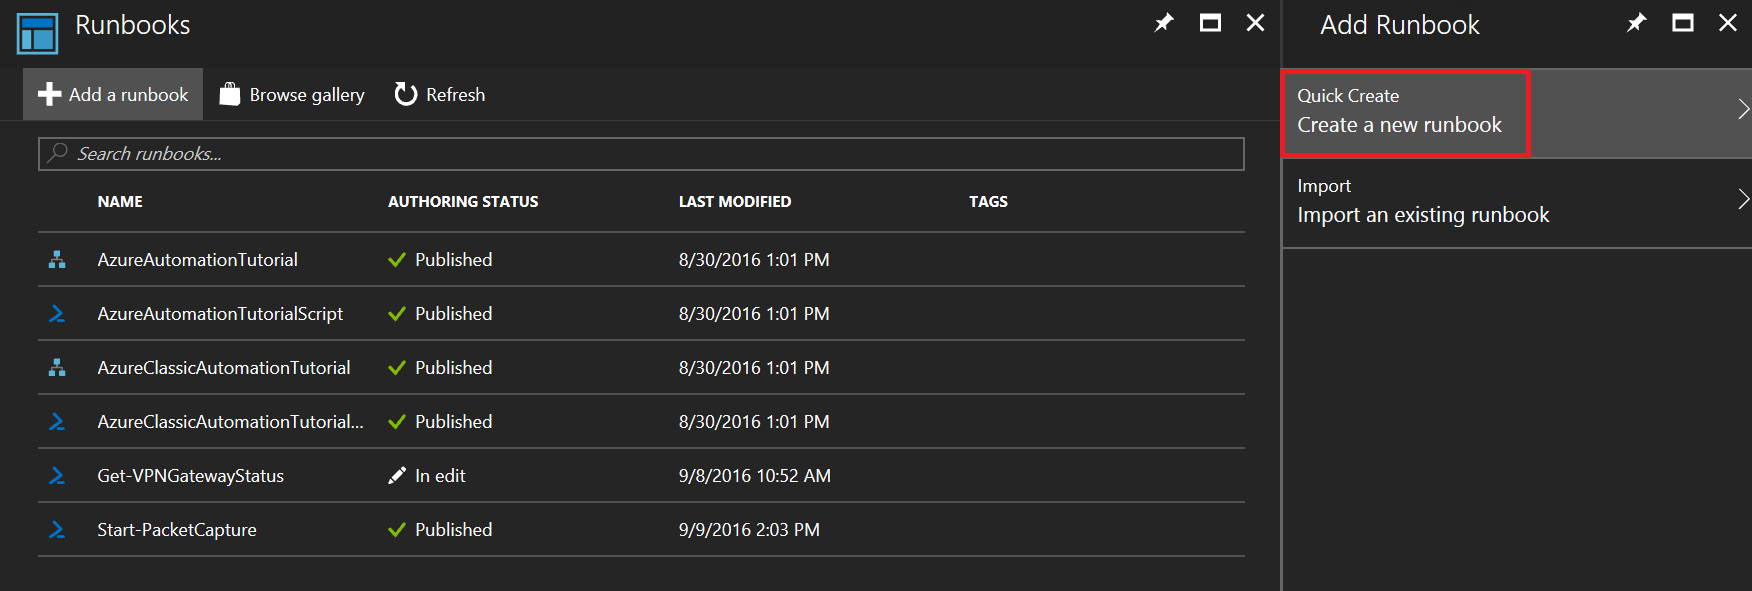
Under Quick Create, click Create a new runbook to create the runbook.
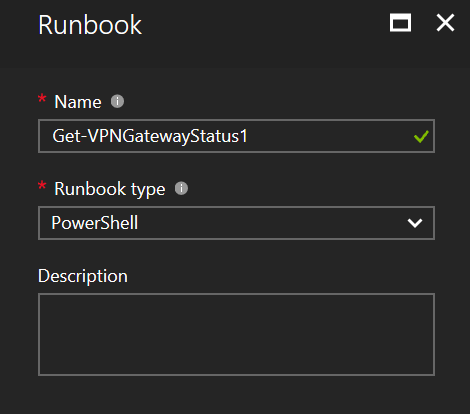
Step 4
In this step, we give the runbook a name, in the example it is called Get-VPNGatewayStatus. It is important to give the runbook a descriptive name, and recommended giving it a name that follows standard PowerShell naming standards. The runbook type for this example is PowerShell, the other options are Graphical, PowerShell workflow, and Graphical PowerShell workflow.
Step 5
In this step the runbook is created, the following code example provides all the code needed for the example. The items in the code that contain <value> need to be replaced with the values from your subscription.
Use the following code as click Save
# Set these variables to the proper values for your environment
$automationCredential = "<work or school account>"
$fromEmail = "<from email address>"
$toEmail = "<to email address>"
$smtpServer = "<smtp.office365.com>"
$smtpPort = 587
$runAsConnectionName = "<AzureRunAsConnection>"
$subscriptionId = "<subscription id>"
$region = "<Azure region>"
$vpnConnectionName = "<vpn connection name>"
$vpnConnectionResourceGroup = "<resource group name>"
$storageAccountName = "<storage account name>"
$storageAccountResourceGroup = "<resource group name>"
$storageAccountContainer = "<container name>"

# Get credentials for work or school account
$cred = Get-AutomationPSCredential -Name $automationCredential

# Get the connection "AzureRunAsConnection "
$servicePrincipalConnection=Get-AutomationConnection -Name $runAsConnectionName

"Logging in to Azure..."
Connect-AzureRmAccount `
    -ServicePrincipal `
    -TenantId $servicePrincipalConnection.TenantId `
    -ApplicationId $servicePrincipalConnection.ApplicationId `
    -CertificateThumbprint $servicePrincipalConnection.CertificateThumbprint
"Setting context to a specific subscription"
Set-AzureRmContext -SubscriptionId $subscriptionId

$nw = Get-AzurermResource | Where {$_.ResourceType -eq "Microsoft.Network/networkWatchers" -and $_.Location -eq $region }
$networkWatcher = Get-AzureRmNetworkWatcher -Name $nw.Name -ResourceGroupName $nw.ResourceGroupName
$connection = Get-AzureRmVirtualNetworkGatewayConnection -Name $vpnConnectionName -ResourceGroupName $vpnConnectionResourceGroup
$sa = Get-AzureRmStorageAccount -Name $storageAccountName -ResourceGroupName $storageAccountResourceGroup
$storagePath = "$($sa.PrimaryEndpoints.Blob)$($storageAccountContainer)"
$result = Start-AzureRmNetworkWatcherResourceTroubleshooting -NetworkWatcher $networkWatcher -TargetResourceId $connection.Id -StorageId $sa.Id -StoragePath $storagePath

if($result.code -ne "Healthy")
    {
        $body = "Connection for $($connection.name) is: $($result.code) `n$($result.results[0].summary) `nView the logs at $($storagePath) to learn more."
        Write-Output $body
        $subject = "$($connection.name) Status"
        Send-MailMessage `
        -To $toEmail `
        -Subject $subject `
        -Body $body `
        -UseSsl `
        -Port $smtpPort `
        -SmtpServer $smtpServer `
        -From $fromEmail `
        -BodyAsHtml `
        -Credential $cred
    }
else
    {
    Write-Output ("Connection Status is: $($result.code)")
    }
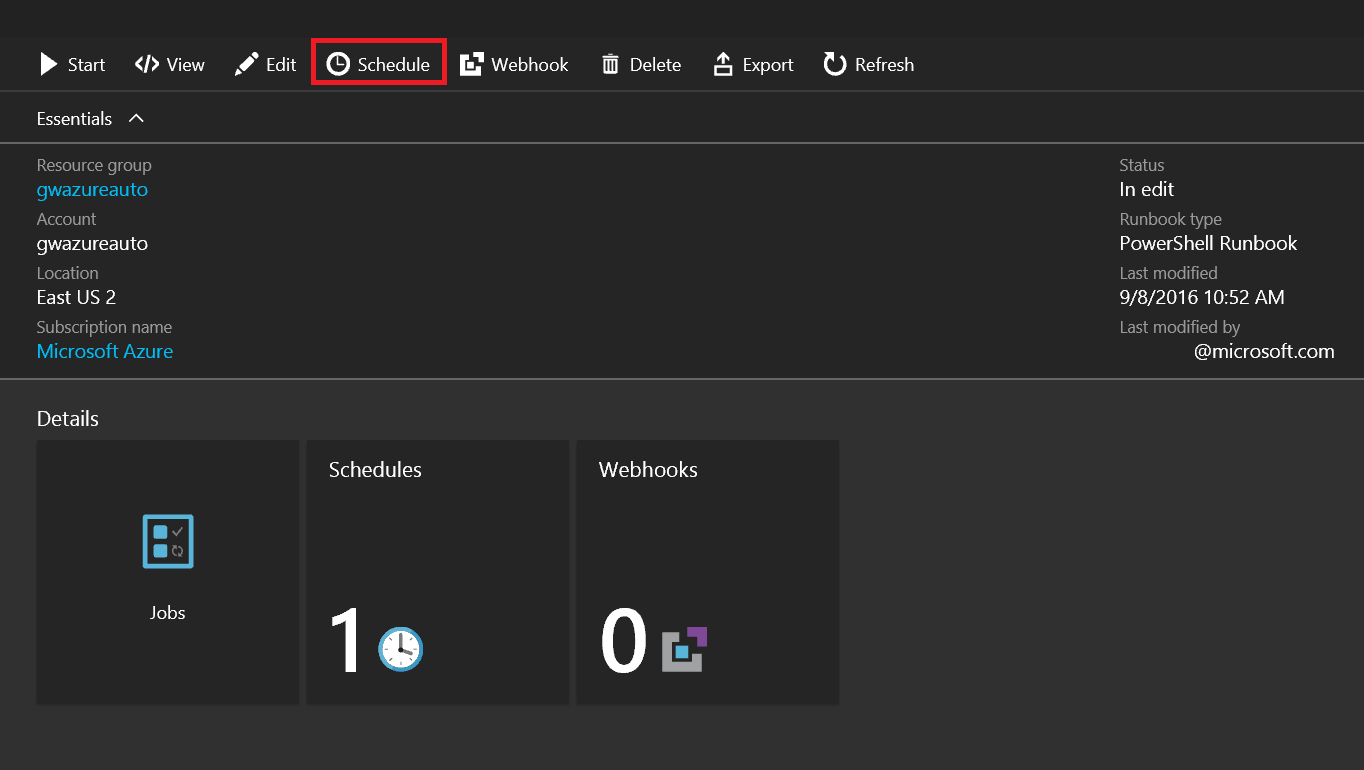
Step 6
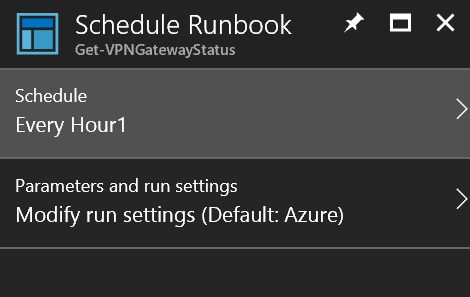
Once the runbook is saved, a schedule must be linked to it to automate the start of the runbook. To start the process, click Schedule.
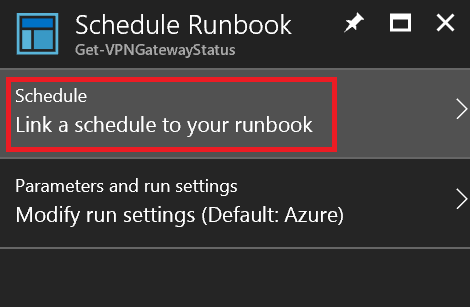
Link a schedule to the runbook
A new schedule must be created. Click Link a schedule to your runbook.
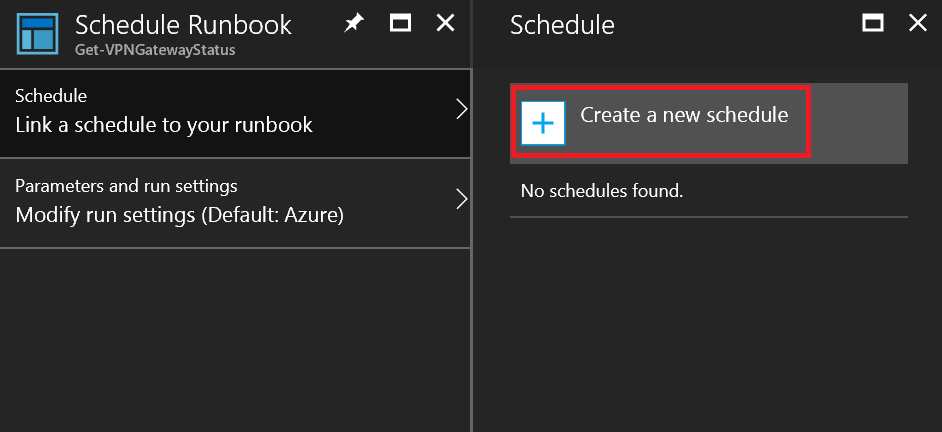
Step 1
On the Schedule blade, click Create a new schedule
Step 2
On the New Schedule blade fill out the schedule information. The values that can be set are in the following list:
- Name - The friendly name of the schedule.
- Description - A description of the schedule.
- Starts - This value is a combination of date, time, and time zone that make up the time the schedule triggers.
- Recurrence - This value determines the schedules repetition. Valid values are Once or Recurring.
- Recur every - The recurrence interval of the schedule in hours, days, weeks, or months.
- Set Expiration - The value determines if the schedule should expire or not. Can be set to Yes or No. A valid date and time are to be provided if yes is chosen.
Note
If you need to have a runbook run more often than every hour, multiple schedules must be created at different intervals (that is, 15, 30, 45 minutes after the hour)

Step 3
Click Save to save the schedule to the runbook.
Next steps
Now that you have an understanding on how to integrate Network Watcher troubleshooting with Azure Automation, learn how to trigger packet captures on VM alerts by visiting Create an alert triggered packet capture with Azure Network Watcher.
Feedback
Coming soon: Throughout 2024 we will be phasing out GitHub Issues as the feedback mechanism for content and replacing it with a new feedback system. For more information see: https://aka.ms/ContentUserFeedback.
Submit and view feedback for