Use Service Bus Explorer to run data operations on Service Bus
Azure Service Bus allows sender and receiver client applications to decouple their business logic with the use of familiar point-to-point (Queue) and publish-subscribe (Topic-Subscription) semantics.
Note
This article highlights the functionality of the Azure Service Bus Explorer that's part of the Azure portal.
The community owned open source Service Bus Explorer is a standalone application and is different from this one.
Operations run on an Azure Service Bus namespace are of two kinds.
- Management operations - Create, update, delete of Service Bus namespace, queues, topics, and subscriptions.
- Data operations - Send to and receive messages from queues, topics, and subscriptions.
Important
- Service Bus Explorer doesn't support management operations and sessions.
- We advice against using the Service Bus Explorer for larger messages, as this may result in timeouts, depending on the message size, network latency between client and Service Bus service etc. Instead, we recommend that you use your own client to work with larger messages, where you can specify your own timeout values.
Prerequisites
To use the Service Bus Explorer tool, you need to do the following tasks:
Create a queue to send and receive message from or a topic with a subscription to test out the functionality. To learn how to create queues, topics, and subscriptions, see the following articles:
Note
If it's not the namespace you created, ensure that you're a member of one of these roles on the namespace:
Use the Service Bus Explorer
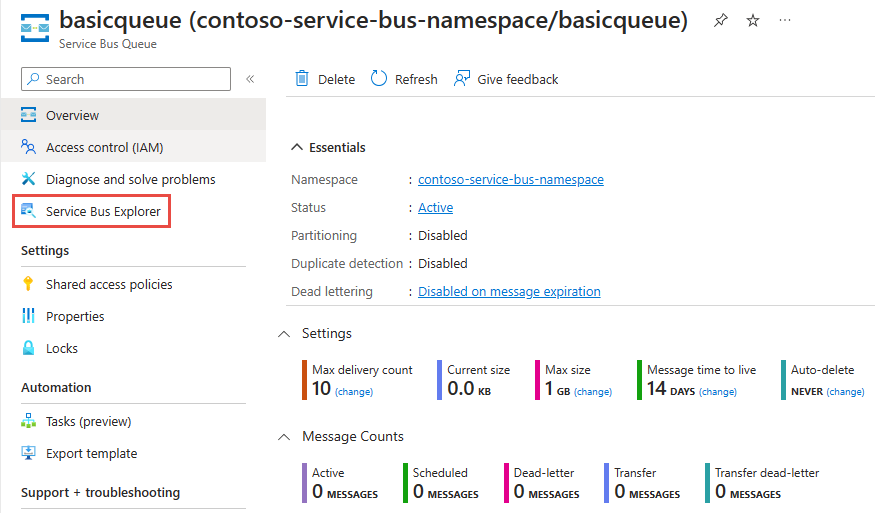
To use the Service Bus Explorer, navigate to the Service Bus namespace on which you want to do data operations.
If you're looking to run operations against a queue, select Queues from the navigation menu. If you're looking to run operations against a topic (and it's related subscriptions), select Topics.
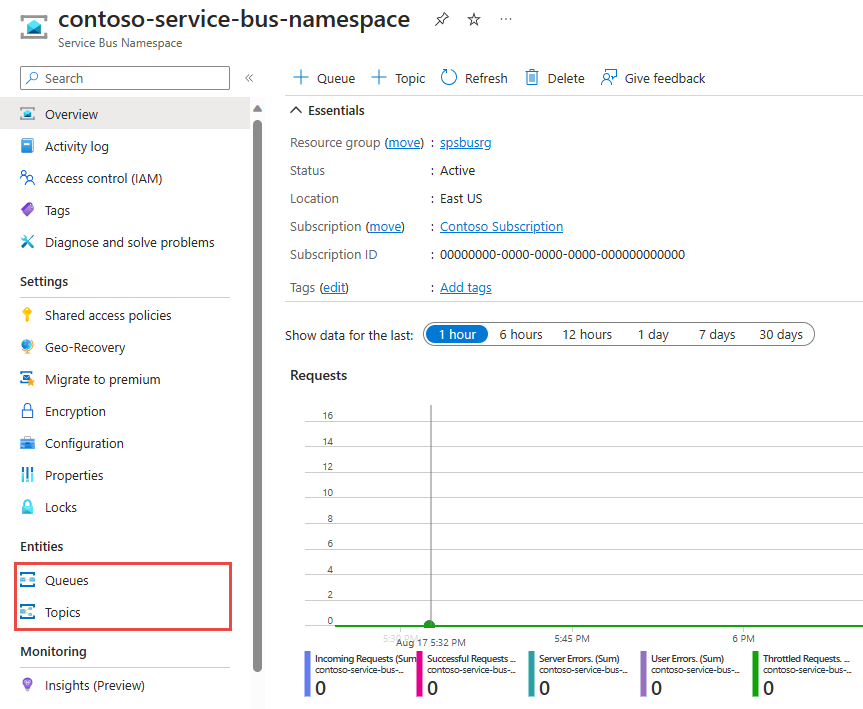
After selecting Queues or Topics, select the specific queue or topic.

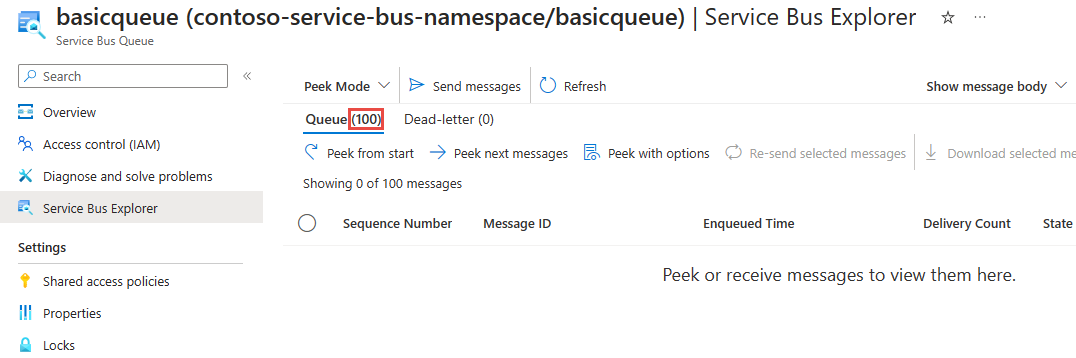
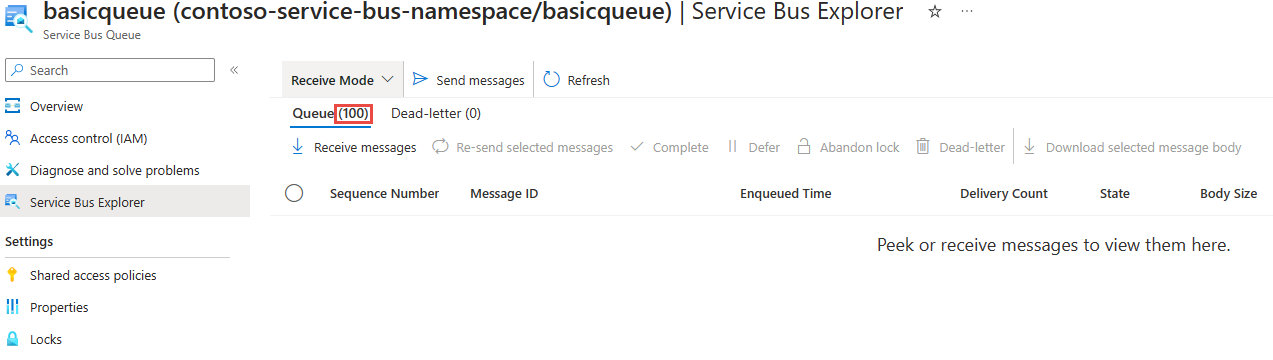
Select the Service Bus Explorer from the left navigation menu
Note
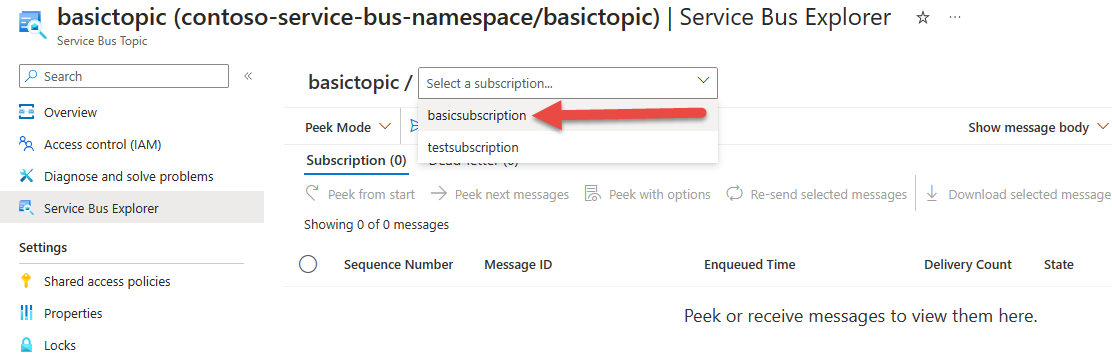
When peeking or receiving from a subscription, first select the specific Subscription from the dropdown selector.


Peek a message
With the peek functionality, you can use the Service Bus Explorer to view the top 100 messages in a queue, subscription, or dead-letter queue.
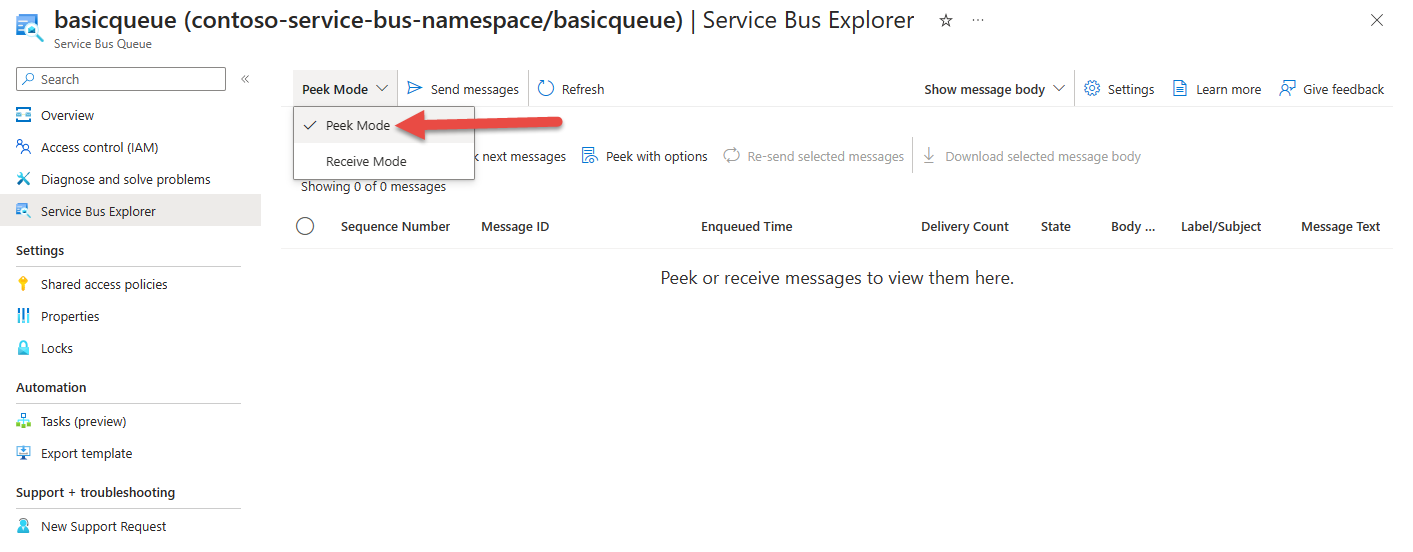
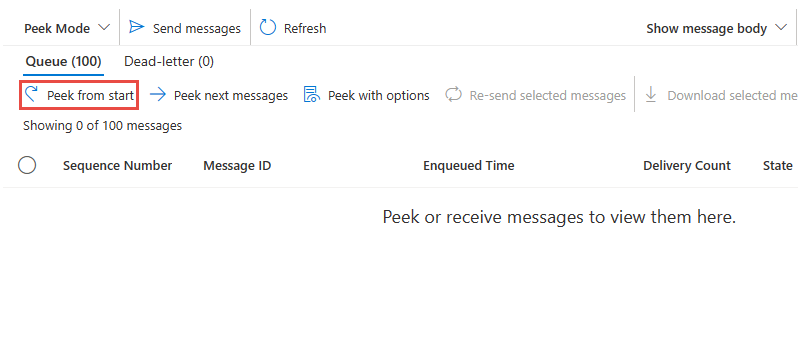
To peek messages, select Peek Mode in the Service Bus Explorer dropdown.
Check the metrics to see if there are Active Messages or Dead-lettered Messages to peek and select either Queue / Subscription or DeadLetter subqueue.
Select the Peek from start button.
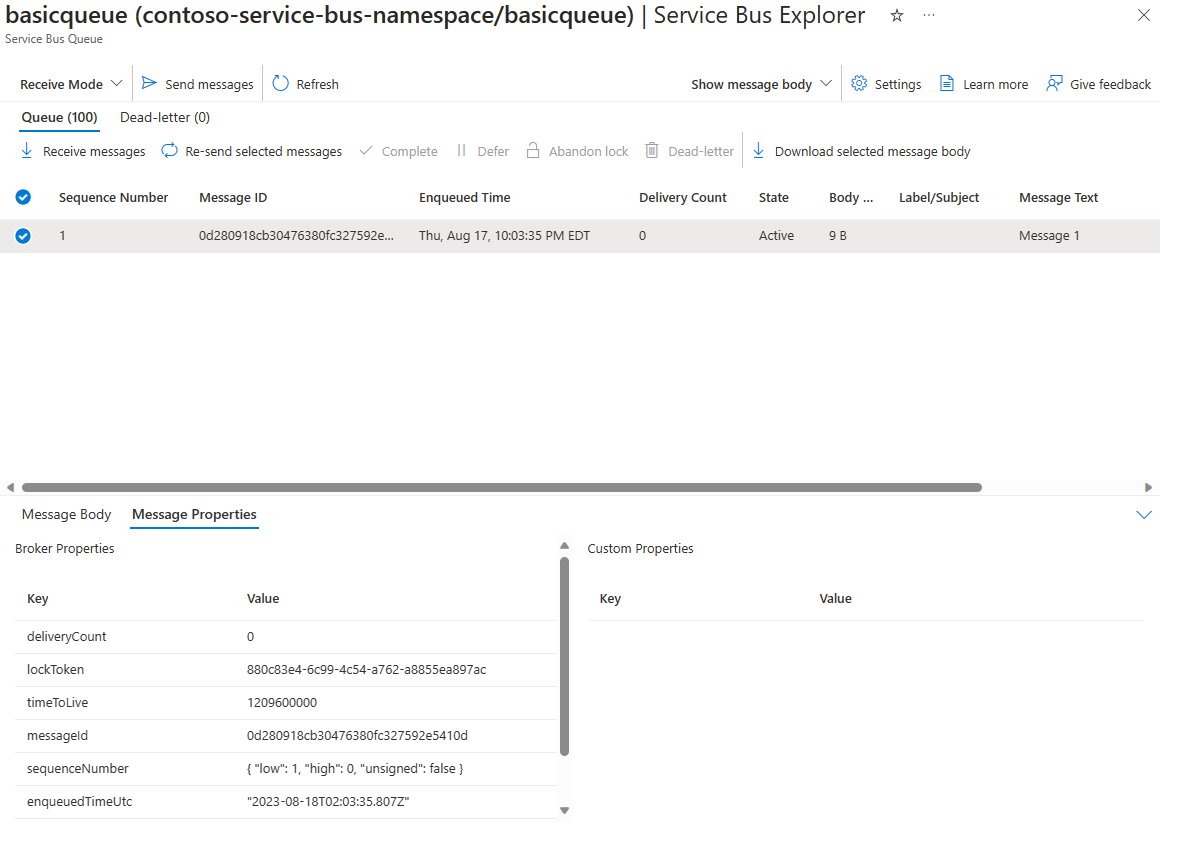
Once the peek operation completes, up to 100 messages show up on the grid as shown in the following image. To view the details of a particular message, select it from the grid. You can choose to view the body or the message properties.
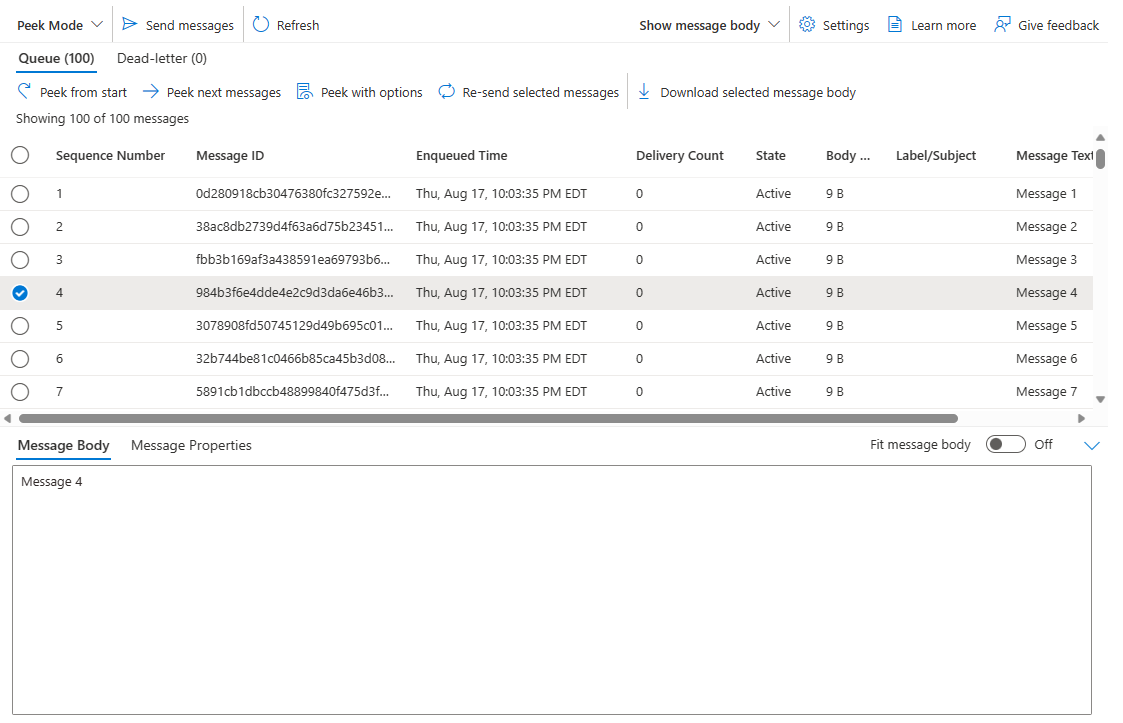
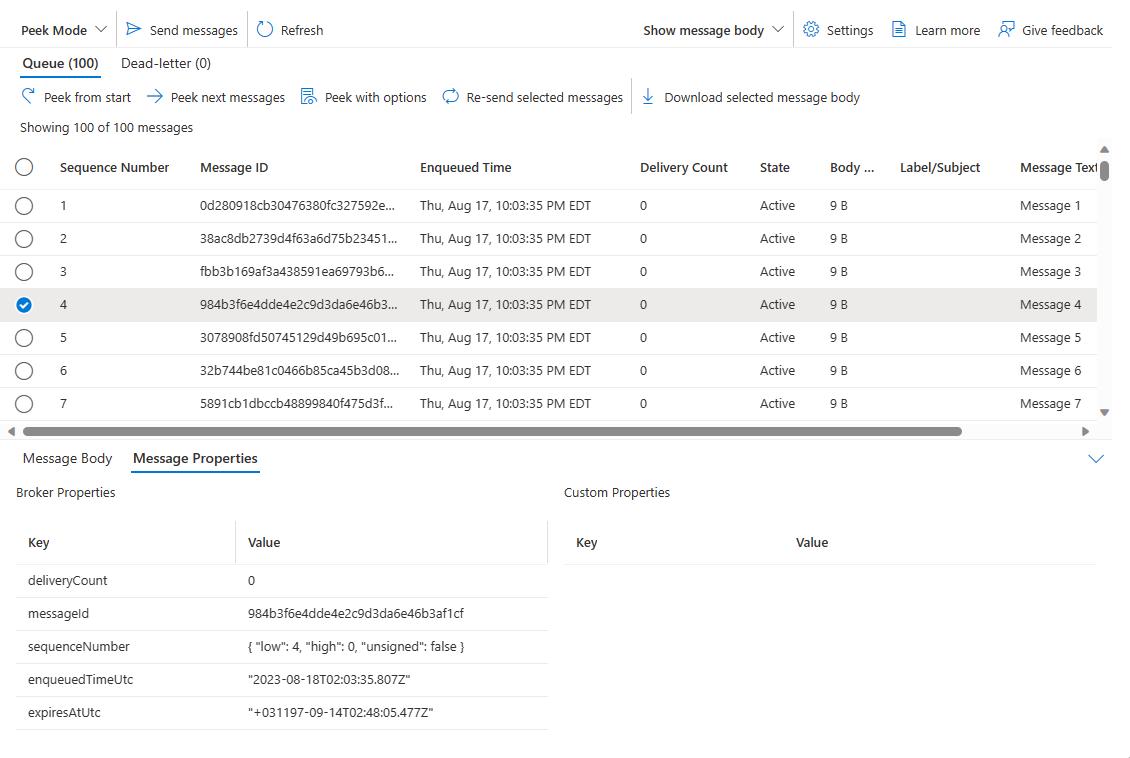
Switch to the Message Properties tab in the bottom pane to see the metadata.
Note
Since peek is not a destructive operation the message won't be removed from the entity.
Note
For performance reasons, when peeking messages from a queue or subscription which has it's maximum message size set over 1MB, the message body will not be retrieved by default. Instead, you can load the message body for a specific message by clicking on the Load message body button. If the message body is over 1MB it will be truncated before being displayed.


Peek a message with advanced options
The peek with options functionality allows you to use the Service Bus Explorer to view the top messages in a queue, subscription or the dead-letter queue, specifying the number of messages to peek, and the sequence number to start the peek operation.
To peek messages with advanced options, select Peek Mode in the Service Bus Explorer dropdown.
Check the metrics to see if there are Active Messages or Dead-lettered Messages to peek and select either Queue / Subscription or DeadLetter subqueue.
Select the Peek with options button. Provide the number of messages to peek, and the sequence number to start peeking from, and select the Peek button.

Once the peek operation completes, the messages show up on the grid as shown in the following image. To view the details of a particular message, select it from the grid. You can choose to view the body or the message properties.

Switch to the Message Properties tab in the bottom pane to see the metadata.

Note
Since peek is not a destructive operation the message won't be removed from the queue.


Receive a message
The receive function on the Service Bus Explorer permits receiving messages from a queue or subscription.
To receive messages, select Receive Mode in the Service Bus Explorer dropdown.

Check the metrics to see if there are Active Messages or Dead-lettered Messages to receive, and select either Queue / Subscription or DeadLetter.
Select the Receive messages button, and specify the receive mode, the number of messages to receive, and the maximum time to wait for a message and select Receive.

Important
Please note that the ReceiveAndDelete mode is a destructive receive, i.e. the message is removed from the queue when it is displayed on the Service Bus Explorer tool.
To browse messages without removing them from the queue, consider using the Peek functionality, or using the PeekLock receive mode.
Once the receive operation completes, the messages show up on the grid as shown in the following image. To view the details of a particular message, select it in the grid.

Note
For performance reasons, when receiving messages from a queue or subscription which has it's maximum message size set over 1MB, only one message will be received at a time. If the message body is over 1MB it will be truncated before being displayed.


After a message has been received in PeekLock mode, there are various actions we can take on it.
Note
We can only take these actions as long as we have a lock on the message.
Complete a message
In the grid, select the received message(s) we want to complete.
Select the Complete button.

Important
Please note that completing a message is a destructive receive, i.e. the message is removed from the queue when Complete has been selected in the Service Bus Explorer tool.

Defer a message
In the grid, select the received message(s) we want to defer.
Select the Defer button.


Abandon lock
In the grid, select the received message(s) for which we want to abandon the lock.
Select the Abandon lock button.
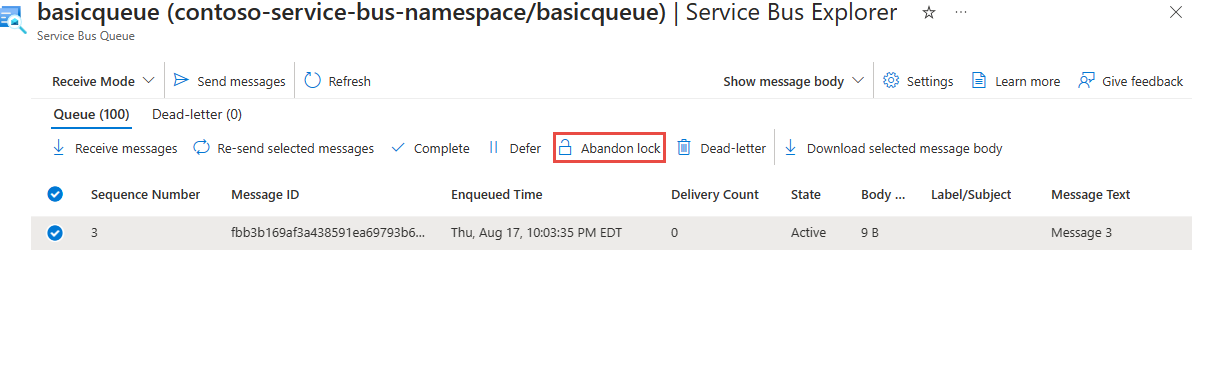

After the lock has been abandoned, the message will be available for receive operations again.
Dead-letter
In the grid, select the received message(s) we want to dead-letter.
Select the Dead-letter button.
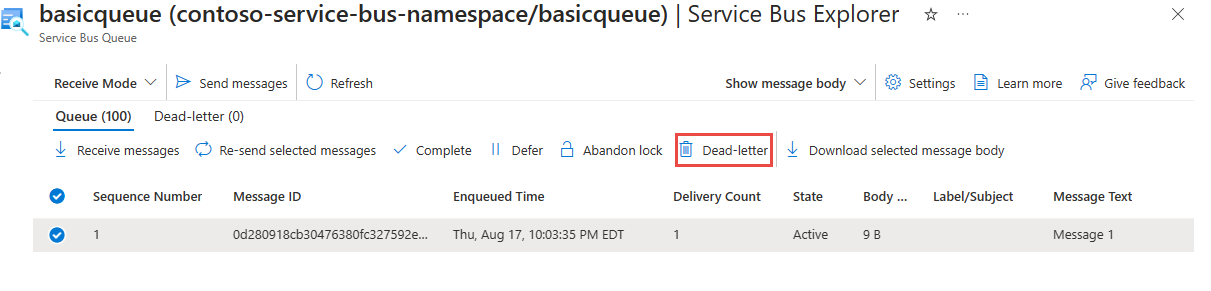

After a message has been dead-lettered, it will be available from the Dead-letter subqueue.
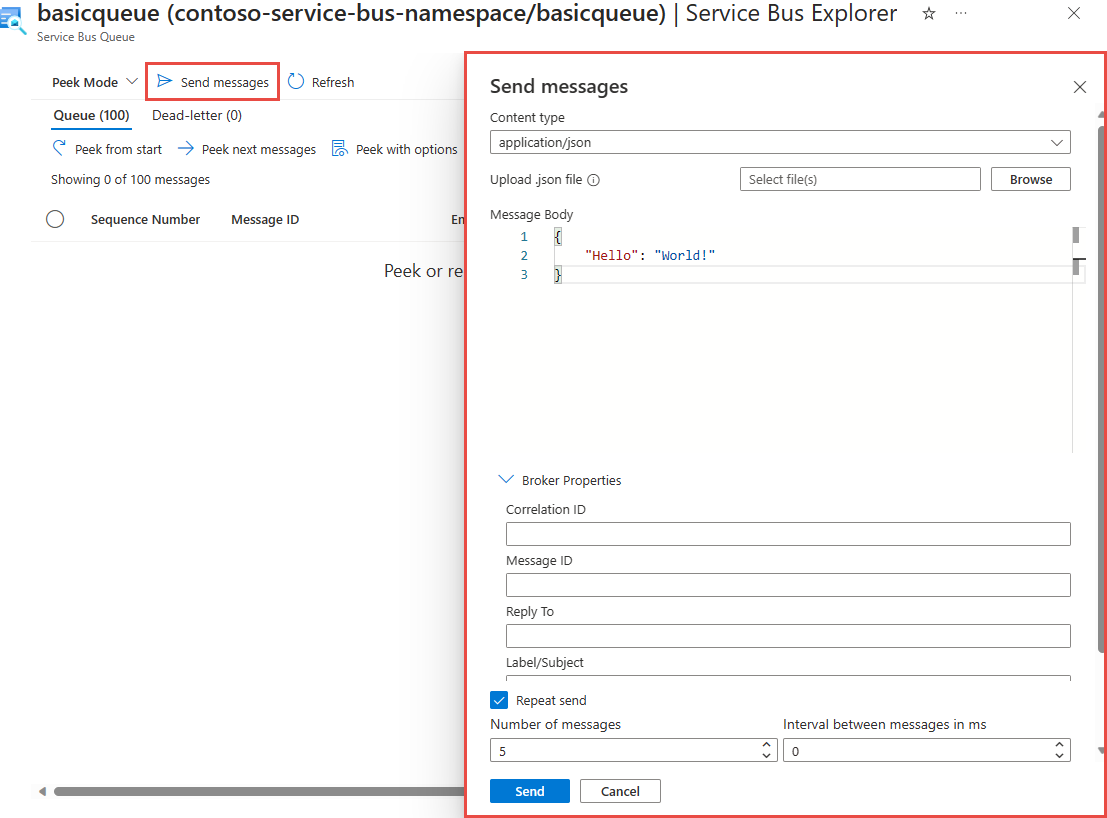
Send a message to a queue or topic
To send a message to a queue or a topic, select the Send messages button of the Service Bus Explorer.
Select the Content Type to be either Text/Plain, Application/Xml or Application/Json.
For Message body, add the message content. Ensure that it matches the Content Type set earlier.
Set the Broker properties (optional) - these include Correlation ID, Message ID, ReplyTo, Label/Subject, Time to Live (TTL) and Scheduled Enqueue Time (for Scheduled Messages).
Set the Custom Properties (optional) - these can be any user properties set against a dictionary key.
Check Repeat send to send the same message multiple times. If no Message ID was set, it's automatically populated with sequential values.
Once the message has been composed, select the Send button.
When the send operation is completed successfully, one of the following will happen:
- If sending to a queue, Active Messages metrics counter will increment.
- If sending to a topic, Active Messages metrics counter will increment on the Subscriptions where the message was routed to.

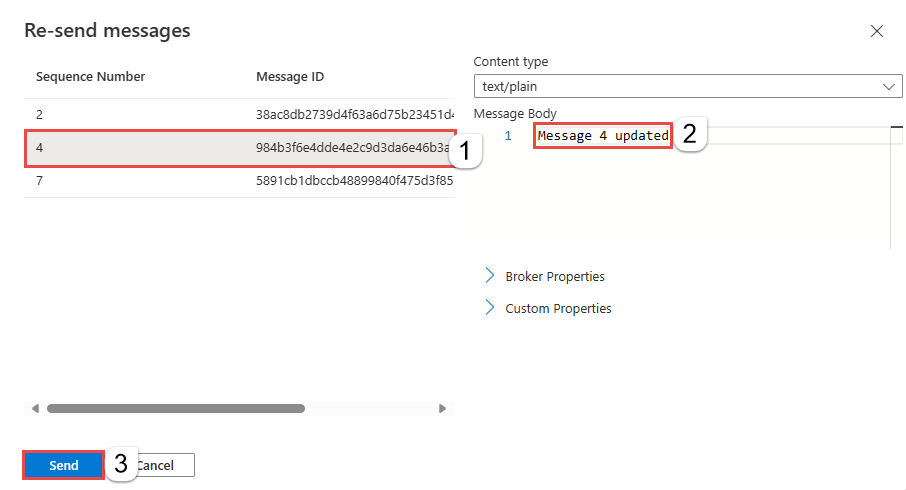
Resend a message
After peeking or receiving a message, we can resend it, which will send a copy of the message to the same entity, while allowing us to update it's content and properties. The original will remain and isn't deleted even when resend is from the deadletter queue.
In the grid, select the message(s) we want to resend.
Select the Re-send selected messages button.

Optionally, select any message for which we want to update its details and make the desired changes.
Select the Send button to send the messages to the entity.
Note
- The resend operation sends a copy of the original message. It doesn't remove the original message that you resubmit.
- If you resend a message in a dead-letter queue of a subscription, a copy of the message is sent to the topic. Therefore, all subscriptions will receive a copy of the message.


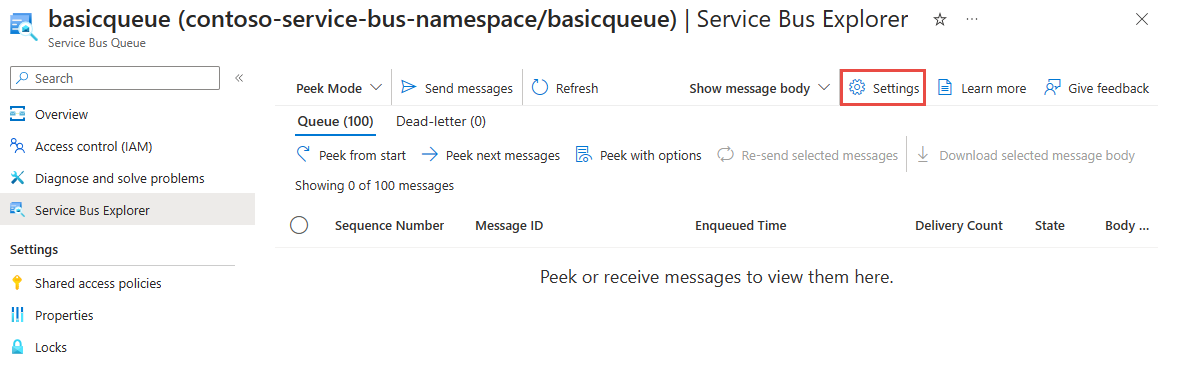
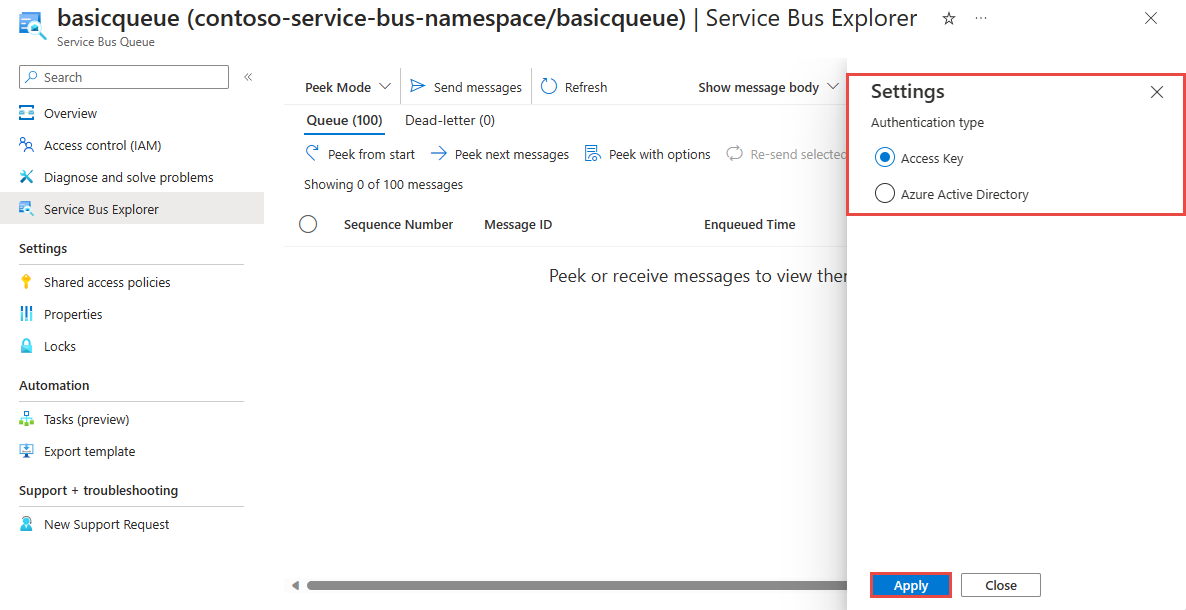
Switch authentication type
When working with Service Bus Explorer, it's possible to use either Access Key or Microsoft Entra ID authentication.
Select the Settings button.
Choose the desired authentication method, and select the Save button.


Next Steps
- Learn more about Service Bus Queues and Topics
- Learn more about creating Service Bus Queues via the Azure portal
- Learn more about creating Service Bus Topics and Subscriptions via the Azure portal
Feedback
Coming soon: Throughout 2024 we will be phasing out GitHub Issues as the feedback mechanism for content and replacing it with a new feedback system. For more information see: https://aka.ms/ContentUserFeedback.
Submit and view feedback for