Move an Azure Service Bus namespace to another region
There are various scenarios in which you'd want to move your existing Service Bus namespace from one region to another. For example, you may want to create a namespace with the same configuration for testing. You may also want to create a secondary namespace in another region as part of disaster recovery planning.
Here are the high-level steps:
- Export the Service Bus namespace in the current region to an Azure Resource Manager template.
- Update location for resources in the template. Also, remove the default subscription filter from the template because you can't create a default rule as it's automatically created for you.
- Use the template to deploy the Service Bus namespace to the target region.
- Verify the deployment to ensure that the namespace, queues, topics, and subscriptions for topics are all created in the target region.
- Complete the move by deleting the namespace from the source region after processing all messages.
Prerequisites
Ensure that Azure Service Bus and features that your account uses are supported in the target region.
Prepare
To get started, export a Resource Manager template. This template contains settings that describe your Service Bus namespace.
Sign in to the Azure portal.
Select All resources and then select your Service Bus namespace.
On the Service Bus Namespace page, select Export template under Automation in the left menu.
Choose Download in the Export template page.

Locate the .zip file that you downloaded from the portal, and unzip that file to a folder of your choice. This zip file contains the template and parameters JSON files.
Open the template.json file in the extracted folder.
Search for
location, and replace the value for the property with the new name for the region or location. To obtain location codes, see Azure locations. The code for a region is the region name with no spaces, for example,West USis equal towestus.Remove definitions of resources of type:
Microsoft.ServiceBus/namespaces/topics/subscriptions/rules. Don't forget to remove the comma (,) character preceding this section to keep JSON valid.Note
You can't create a default rule for a subscription by using a Resource Manager template. The default rule is automatically created when the subscription is created in the target region.
Move
Deploy the template to create a Service Bus namespace in the target region.
In the Azure portal, select Create a resource.
In Search the Marketplace, type template deployment for the search text, select Template deployment (deploy using custom templates), and then press ENTER.

On the Template deployment page, select Create.

On the Custom deployment page, select Build your own template in the editor.
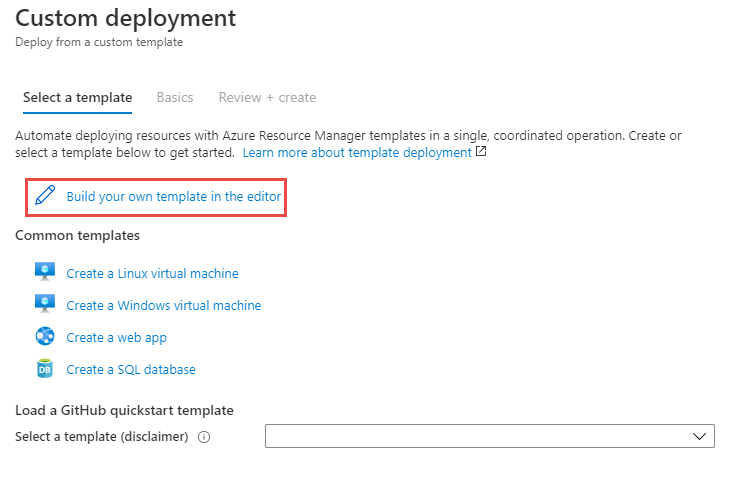
On the Edit template page, select Load file on the toolbar, and then follow the instructions to load the template.json file that you downloaded in the last section.

Select Save to save the template.

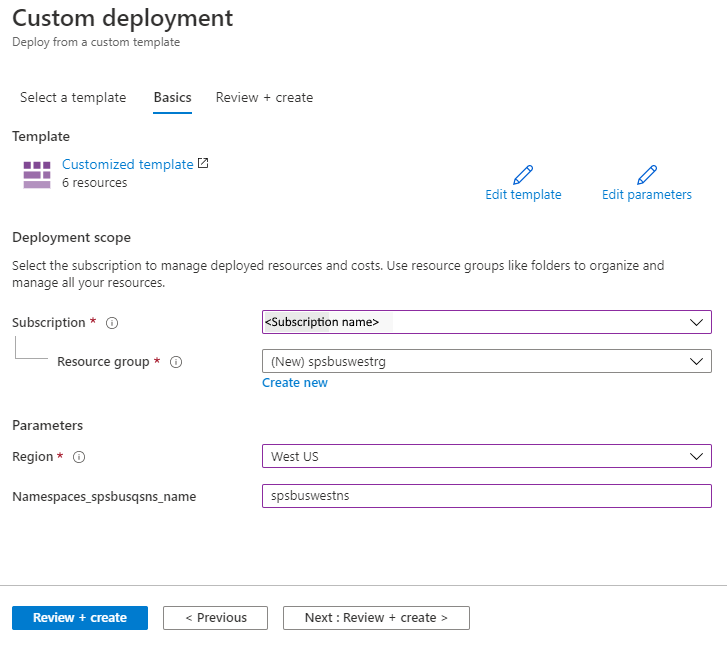
On the Custom deployment page, follow these steps:
Select an Azure subscription.
Select an existing resource group or create one.
Select the target location or region. If you selected an existing resource group, this setting is read-only.
Enter a new name for the namespace.
Select Review + create.
On the Review + create page, select Create at the bottom of the page.
Verify
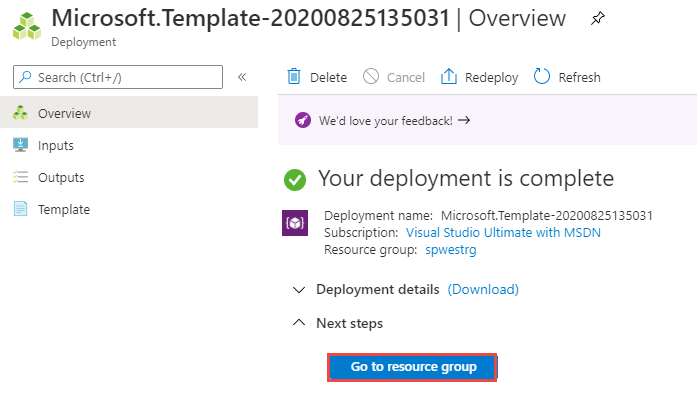
After the deployment is successful, select Go to resource group.
On the Resource group page, select the Service Bus namespace.
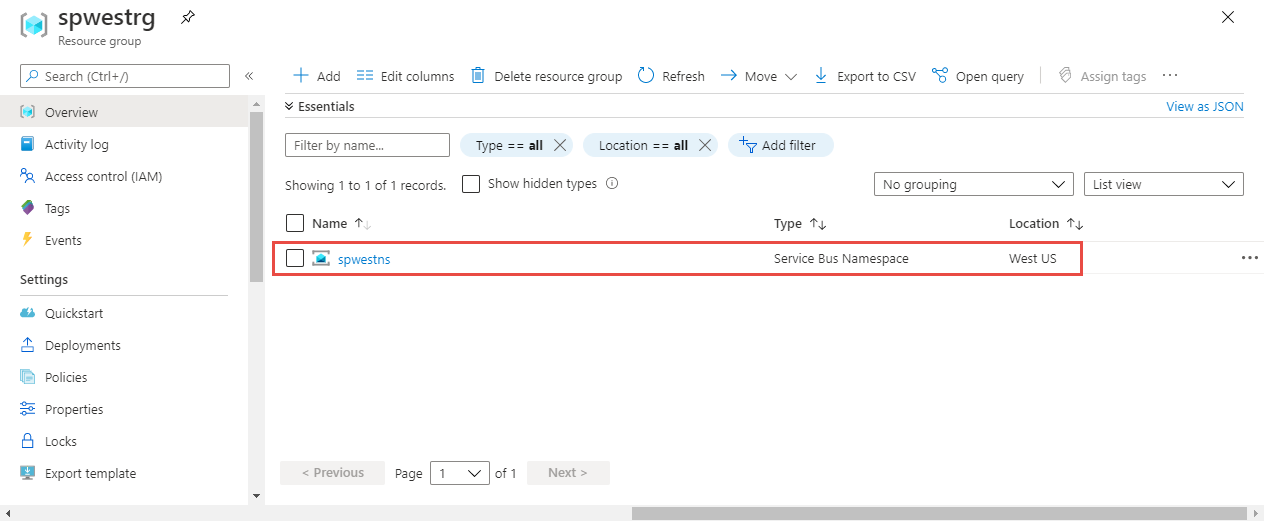
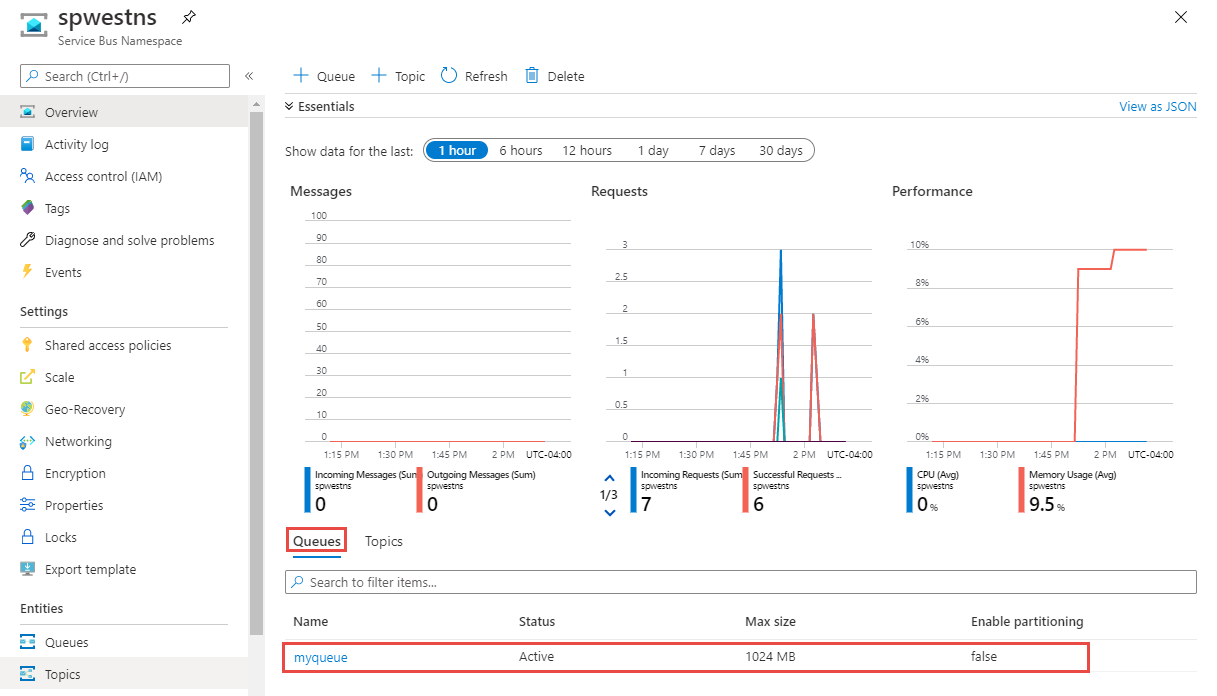
On the Service Bus namespace page, verify that you see the queues, topics, and subscriptions from the source region.
You see queues in the namespace at the bottom of the right pane.
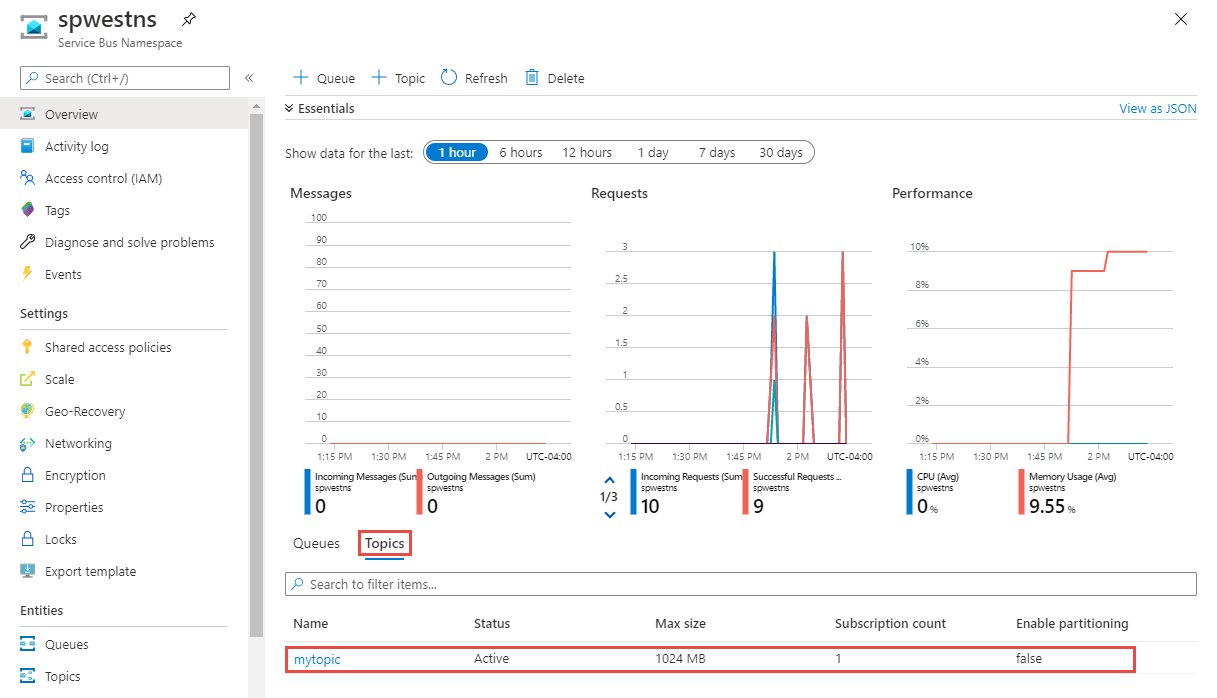
Switch to the Topics tab to see topics in the namespace
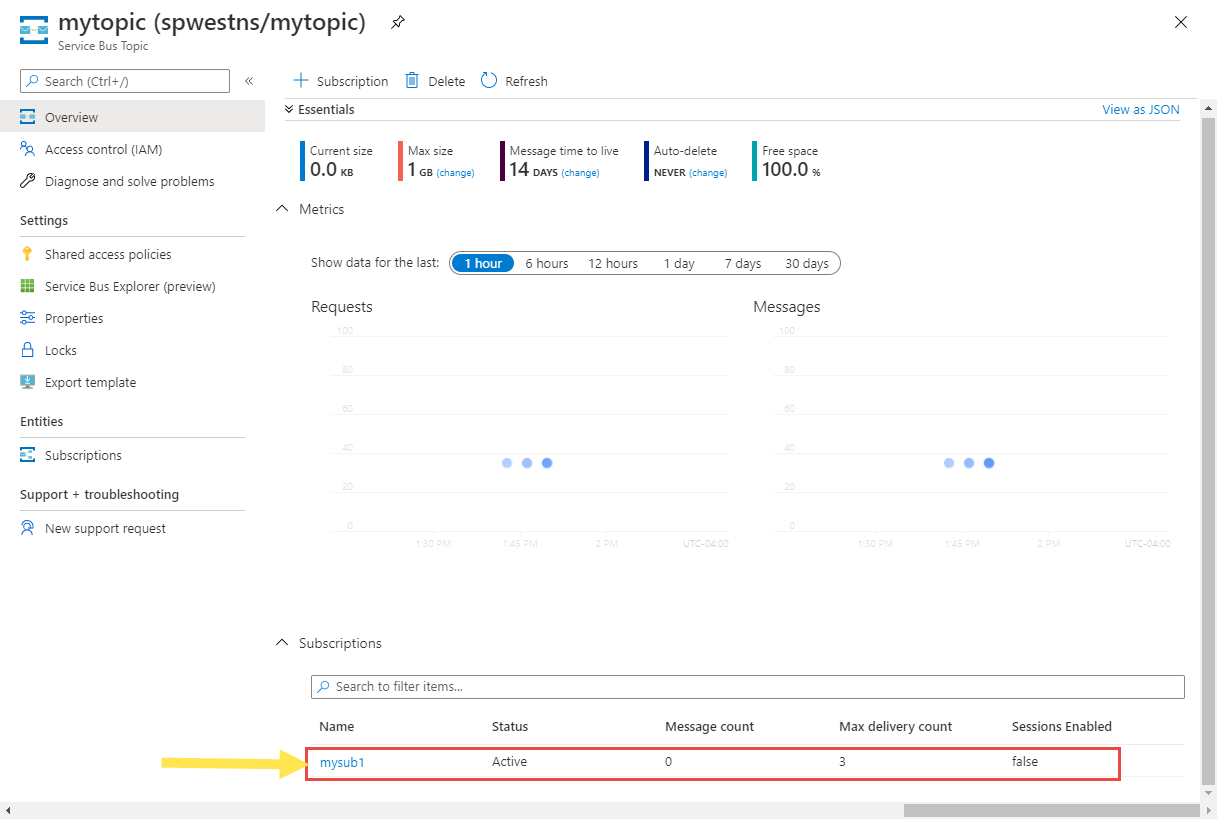
Select the topic to verify subscriptions are created.
Discard or clean up
After the deployment, if you want to start over, you can delete the target Service Bus namespace, and repeat the steps described in the Prepare and Move sections of this article.
To commit the changes and complete the move of a Service Bus namespace, delete the source Service Bus namespace. Make sure that you process all messages before deleting the namespace.
To delete a Service Bus namespace (source or target) by using the Azure portal:
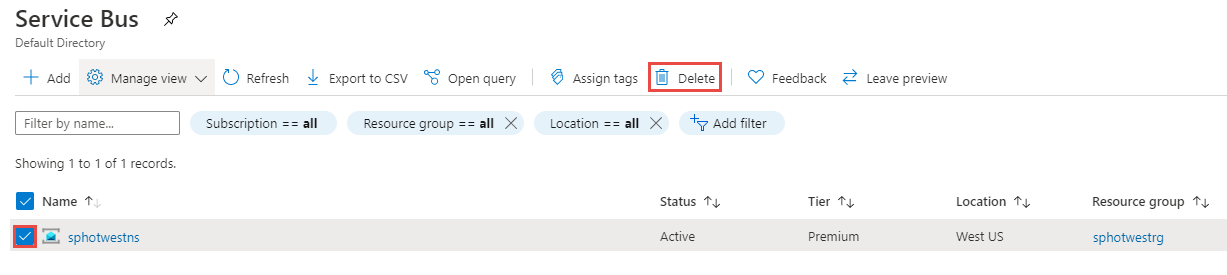
In the search window at the top of Azure portal, type Service Bus, and select Service Bus from search results. You see the Service Bus namespaces in a list.
Select the target namespace to delete, and select Delete from the toolbar.
On the Delete Resources page, verify the selected resources, and confirm the deletion by typing yes, and then select Delete.
Other option is to delete the resource group that has the Service Bus namespace. On the Resource group page, select Delete resource group on the toolbar, and then confirm the deletion.
Next steps
In this tutorial, you moved an Azure Service Bus namespace from one region to another and cleaned up the source resources. To learn more about moving resources between regions and disaster recovery in Azure, refer to:
Feedback
Coming soon: Throughout 2024 we will be phasing out GitHub Issues as the feedback mechanism for content and replacing it with a new feedback system. For more information see: https://aka.ms/ContentUserFeedback.
Submit and view feedback for