Quickstart: Deploy a Service Fabric cluster using the Azure portal
Test out Service Fabric clusters in this quickstart by creating a three-node cluster.
Azure Service Fabric is a distributed systems platform that makes it easy to package, deploy, and manage scalable and reliable microservices and containers. A Service Fabric cluster is a network-connected set of virtual machines into which your microservices are deployed and managed.
In this quickstart, you learn how to:
- Use Azure Key Vault to create a client certificate for your cluster
- Deploy a Service Fabric cluster
- View your cluster in Service Fabric Explorer
This article describes how to deploy a Service Fabric cluster for testing in Azure using the Azure portal. There is also a quickstart for Azure Resource Manager templates.
The three-node cluster created in this tutorial is only intended for instructional purposes. The cluster will use a self-signed certificate for authentication and will operate in the bronze reliability tier, so it's not suitable for production workloads. For more information about reliability tiers, see Reliability characteristics of the cluster.
Prerequisites
An Azure subscription. If you don't already have one, create a free account before you begin.
A resource group to manage all the resources you use in this quickstart. We use the example resource group name ServiceFabricResources throughout this quickstart.
Sign in to the Azure portal.
Select Resource groups under Azure services.
Choose + Create, select your Azure subscription, enter a name for your resource group, and pick your preferred region from the dropdown menu.
Select Review + create and, once the validation passes, choose Create.
Create a client certificate
Service Fabric clusters use a client certificate as a key for access control.
In this quickstart, we use a client certificate called ExampleCertificate from an Azure Key Vault named QuickstartSFKeyVault.
To create your own Azure Key Vault:
In the Azure portal, select Key vaults under Azure services and select + Create. Alternatively, select Create a resource, enter Key Vault in the
Search services and marketplacebox, choose Key Vault from the results, and select Create.On the Create a key vault page, provide the following information:
Subscription: Choose your Azure subscription.Resource group: Choose the resource group you created in the prerequisites or create a new one if you didn't already. For this quickstart, we use ServiceFabricResources.Name: Enter a unique name. For this quickstart, we use QuickstartSFKeyVault.Region: Choose your preferred region from the dropdown menu.- Leave the other options as their defaults.
Select Review + create and, once the validation passes, choose Create.
To generate and retrieve your client certificate:
In the Azure portal, navigate to your Azure Key Vault.
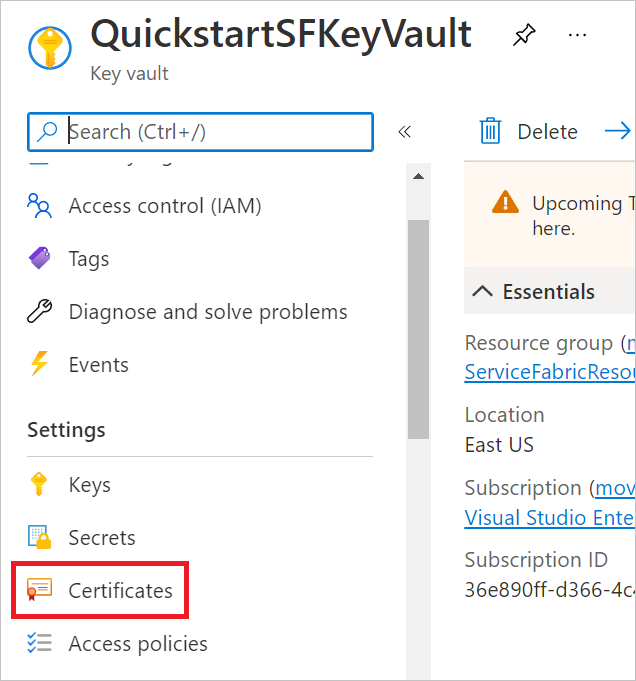
Under Settings in the pane on the left, select Certificates.
Choose + Generate/Import.
On the Create a certificate page, provide the following information:
Method of Certificate Creation: Choose Generate.Certificate Name: Use a unique name. For this quickstart, we use ExampleCertificate.Type of Certificate Authority (CA): Choose Self-signed certificate.Subject: Use a unique domain name. For this quickstart, we use CN=ExampleDomain.- Leave the other options as their defaults.
Select Create.
Your certificate will appear under In progress, failed or cancelled. You may need to refresh the list for it to appear under Completed. Once it's completed, select it and choose the version under CURRENT VERSION.
Select Download in PFX/PEM format and select Download. The certificate's name will be formatted as
yourkeyvaultname-yourcertificatename-yyyymmdd.pfx.
Import the certificate to your computer's certificate store so that you may use it to access your Service Fabric cluster later.
Note
The private key included in this certificate doesn't have a password. If your certificate store prompts you for a private key password, leave the field blank.
Before you create your Service Fabric cluster, you need to make sure Azure Virtual Machines can retrieve certificates from your Azure Key Vault. To do so:
In the Azure portal, navigate to your Azure Key Vault.
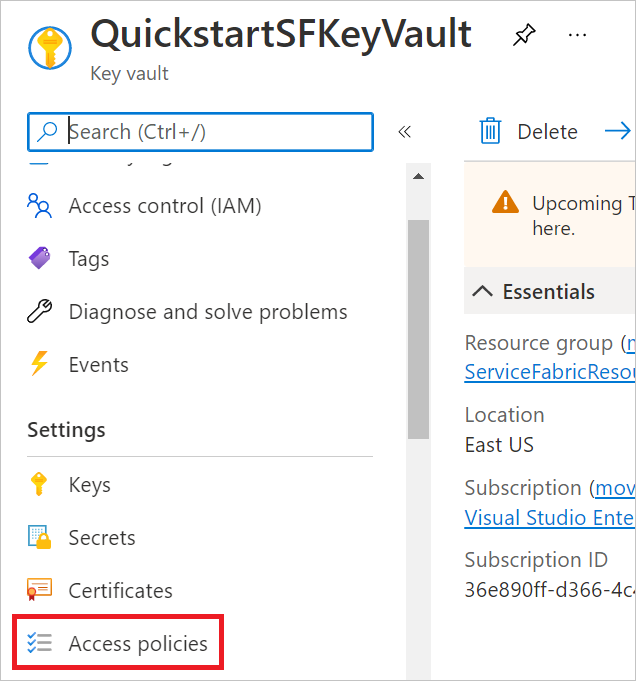
Under Settings in the pane on the left, select Access policies.
Toggle Azure Virtual Machines for deployment under Enable access to:.
Save your changes.
Create your Service Fabric cluster
In this quickstart, we use a Service Fabric cluster named quickstartsfcluster.
In the Azure portal, select Create a resource, enter Service Fabric in the
Search services and marketplacebox, choose Service Fabric Cluster from the results, and select Create.On the Create Service Fabric cluster page, provide the following information:
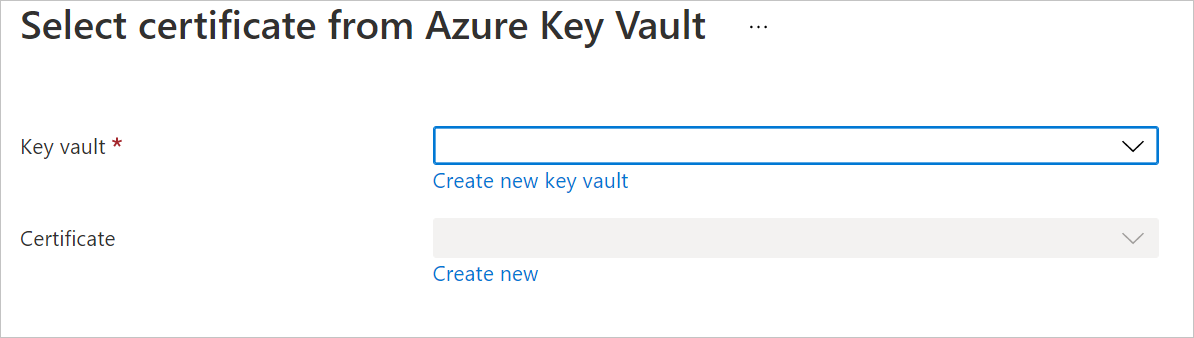
Subscription: Choose your Azure subscription.Resource group: Choose the resource group you created in the prerequisites or create a new one if you didn't already. For this quickstart, we use ServiceFabricResources.Cluster name: Enter a unique name. For this quickstart, we use quickstartsfcluster.Location: Choose your preferred region from the dropdown menu. This must be the same region as your Azure Key Vault.Operating system: Choose WindowsServer 2019-Datacenter-with-Containers from the dropdown menu.Username: Enter a username for your cluster's administrator account.Password: Enter a password for your cluster's administrator account.Confirm password: Reenter the password you chose.Initial VM scale set capacity: Adjust the slider to 3. You will see a warning that choosing less than 5 for the initial VM scale set capacity will put your cluster on a reliability tier of bronze. Bronze tier is acceptable for the purposes of this quickstart but is not recommended for production workloads.Key vault and primary certificate: Choose Select a certificate, pictured below. Select your Azure Key Vault from the Key vault dropdown menu and your certificate from the Certificate dropdown menu, pictured below.- Leave the other options as their defaults.

If you didn't already change your Azure Key Vault's access policies, you may get text prompting you to do so after you select your key vault and certificate. If so, choose Edit access policies for yourkeyvaultname, select Click to show advanced access policies, toggle Azure Virtual Machines for deployment, and save your changes. Click Create Service Fabric cluster to return to the creation page.
Select Review + create and, once the validation passes, choose Create.
Now, your cluster's deployment is in progress. The deployment will likely take around 20 minutes to complete.
Note
The Azure portal may tell you the deployment succeeded before the deployment has completed. You will know it has completed when your cluster's Overview page shows three nodes with an OK Health state.
Validate the deployment
Once the deployment completes, you're ready to view your new Service Fabric cluster.
In the Azure portal, navigate to your cluster.
On your cluster's Overview page, find the Service Fabric Explorer link and select it.

Note
You may get a warning that your connection to your cluster isn't private. Select Advanced and choose continue to yourclusterfqdn (unsafe).
When prompted for a certificate, choose the certificate you created, downloaded, and stored for this quickstart and select OK. If you completed those steps successfully, the certificate should be in the list of certificates.
You'll arrive at the Service Fabric Explorer display for your cluster, pictured below.
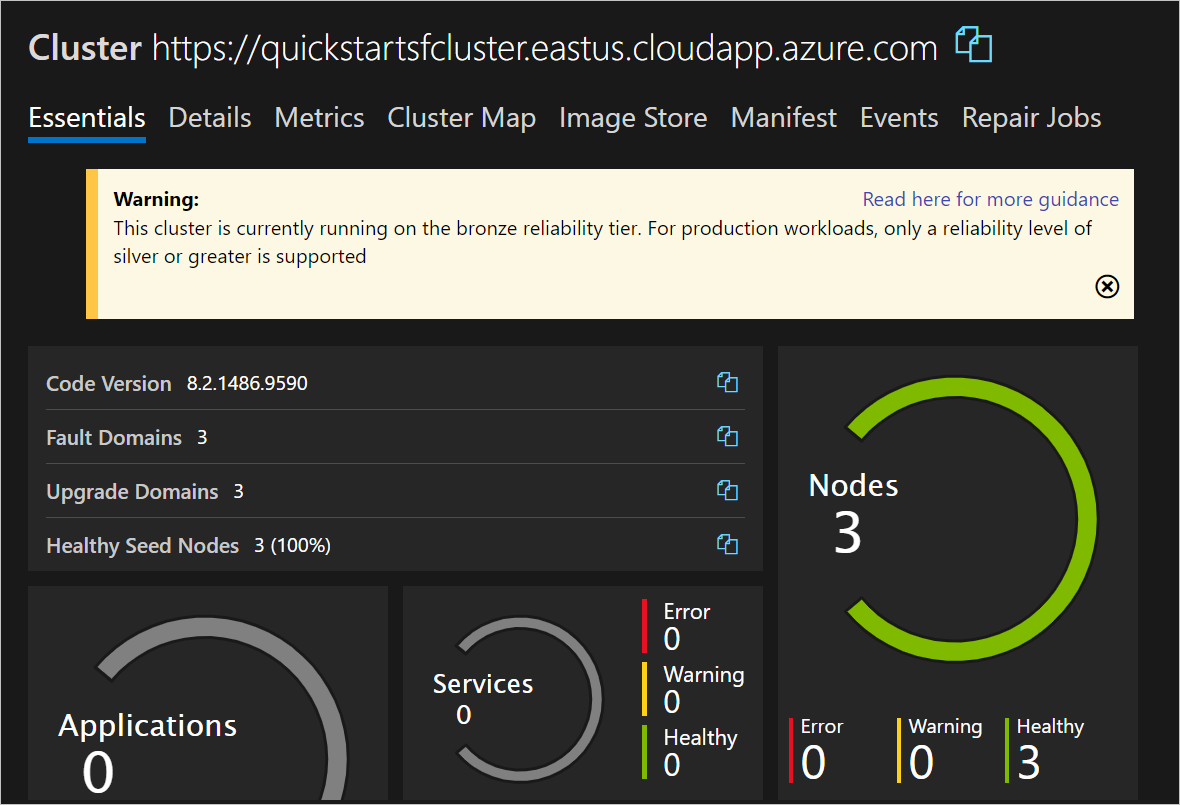
Your Service Fabric cluster consists of three nodes. These nodes are WindowsServer 2019-Datacenter virtual machines with 2 vCPUs and 8 GiB of RAM. These features are determined by the VM Size under Node types on the Create Service Fabric cluster page.
Clean up resources
When no longer needed, delete the resource group for your Service Fabric cluster. To delete your resource group:
In the Azure portal, navigate to your resource group.
Select Delete resource group.
In the
TYPE THE RESOURCE GROUP NAME:box, type the name of your resource group and select Delete.
Next steps
In this quickstart, you deployed a Service Fabric cluster. To learn more about how to scale a cluster, see:
Feedback
Coming soon: Throughout 2024 we will be phasing out GitHub Issues as the feedback mechanism for content and replacing it with a new feedback system. For more information see: https://aka.ms/ContentUserFeedback.
Submit and view feedback for