Quickstart: Build your first static site with Azure Static Web Apps
Azure Static Web Apps publishes a website by building an app from a code repository. In this quickstart, you deploy an application to Azure Static Web apps using the Visual Studio Code extension.
If you don't have an Azure subscription, create a free trial account.
Prerequisites
- GitHub account
- Azure account
- Visual Studio Code
- Azure Static Web Apps extension for Visual Studio Code
- Install Git
Create a repository
This article uses a GitHub template repository to make it easy for you to get started. The template features a starter app to deploy to Azure Static Web Apps.
- Navigate to the following location to create a new repository:
- Name your repository my-first-static-web-app
Note
Azure Static Web Apps requires at least one HTML file to create a web app. The repository you create in this step includes a single index.html file.
Select Create repository.
Clone the repository
With the repository created in your GitHub account, clone the project to your local machine using the following command.
git clone https://github.com/<YOUR_GITHUB_ACCOUNT_NAME>/my-first-static-web-app.git
Make sure to replace <YOUR_GITHUB_ACCOUNT_NAME> with your GitHub username.
Next, open Visual Studio Code and go to File > Open Folder to open the cloned repository in the editor.
Install Azure Static Web Apps extension
If you don't already have the Azure Static Web Apps extension for Visual Studio Code extension, you can install it in Visual Studio Code.
- Select View > Extensions.
- In the Search Extensions in Marketplace, type Azure Static Web Apps.
- Select Install for Azure Static Web Apps.
Create a static web app
Inside Visual Studio Code, select the Azure logo in the Activity Bar to open the Azure extensions window.

Note
You are required to sign in to Azure and GitHub in Visual Studio Code to continue. If you are not already authenticated, the extension prompts you to sign in to both services during the creation process.
Select F1 to open the Visual Studio Code command palette.
Enter Create static web app in the command box.
Select Azure Static Web Apps: Create static web app....
Select your Azure subscription.
Enter my-first-static-web-app for the application name.
Select the region closest to you.
Enter the settings values that match your framework choice.
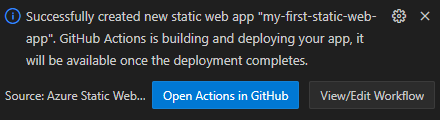
Setting Value Framework Select Custom Location of application code Enter /srcBuild location Enter /srcOnce the app is created, a confirmation notification is shown in Visual Studio Code.
If GitHub presents you with a button labeled Enable Actions on this repository, select the button to allow the build action to run on your repository.
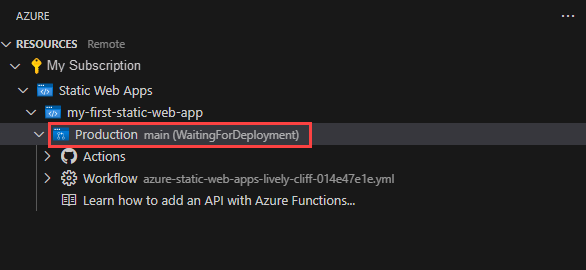
As the deployment is in progress, the Visual Studio Code extension reports the build status to you.
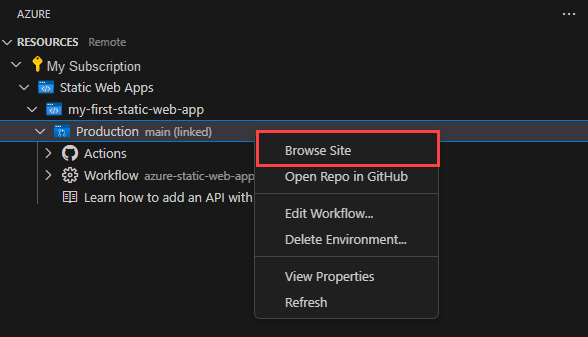
Once the deployment is complete, you can navigate directly to your website.
To view the website in the browser, right-click the project in the Static Web Apps extension, and select Browse Site.
Clean up resources
If you're not going to continue to use this application, you can delete the Azure Static Web Apps instance through the extension.
In the Visual Studio Code Azure window, return to the Resources section and under Static Web Apps, right-click my-first-static-web-app and select Delete.
Next steps
Feedback
Coming soon: Throughout 2024 we will be phasing out GitHub Issues as the feedback mechanism for content and replacing it with a new feedback system. For more information see: https://aka.ms/ContentUserFeedback.
Submit and view feedback for