How to create a Virtual Machine Scale Set with Visual Studio
This article shows you how to deploy an Azure Virtual Machine Scale Set using a Visual Studio Resource Group deployment.
Azure Virtual Machine Scale Sets is an Azure Compute resource to deploy and manage a collection of similar virtual machines with autoscale and load balancing. You can provision and deploy Virtual Machine Scale Sets using Azure Resource Manager Templates. Azure Resource Manager templates can be deployed using Azure CLI, PowerShell, REST and also directly from Visual Studio. Visual Studio provides a set of example templates, which you can deploy as part of an Azure Resource Group deployment project.
Azure Resource Group deployments are a way to group and publish a set of related Azure resources in a single deployment operation. For more information, see Creating and deploying Azure resource groups through Visual Studio.
Prerequisites
To get started deploying Virtual Machine Scale Sets in Visual Studio, you need the following prerequisites:
- Visual Studio 2013 or later
- Azure SDK 2.7, 2.8 or 2.9
Note
This article uses Visual Studio 2019 with Azure SDK 2.8.
Create a Project
Open Visual Studio and select Create a new project.
In Create a new project, choose Azure Resource Group for C# and then select Next.
In Configure your new project, enter a name and select Create.

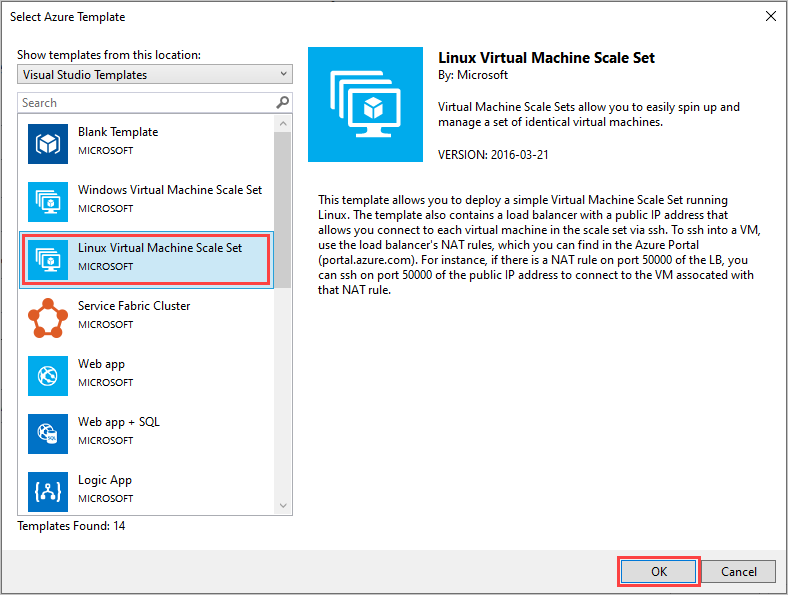
From the list of templates, choose either the Windows Virtual Machine Scale Set or Linux Virtual Machine Scale Set template. Select OK.
After you create your project, Solution Explorer contains a PowerShell deployment script, an Azure Resource Manager template, and a parameter file for the Virtual Machine Scale Set.
Customize your project
Now you can edit the template to customize it for your application's needs. You could add virtual machine extension properties or edit load-balancing rules. By default, the Virtual Machine Scale Set templates are configured to deploy the AzureDiagnostics extension, which makes it easy to add autoscale rules. The templates also deploy a load balancer with a public IP address, configured with inbound NAT rules.
The load balancer lets you connect to the virtual machine instances with SSH (Linux) or RDP (Windows). The front-end port range starts at 50000. For Linux, if you SSH to port 50000, load balancing routes you to port 22 of the first virtual machine in the Scale Set. Connecting to port 50001 is routed to port 22 of the second virtual machine, and so on.
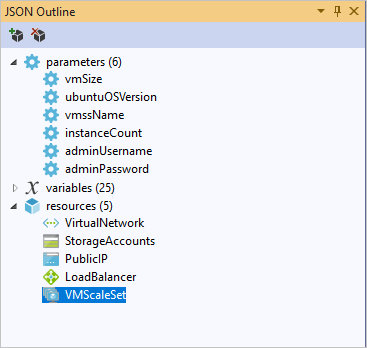
A good way to edit your templates with Visual Studio is to use the JSON Outline. You can organize the parameters, variables, and resources. With an understanding of the schema, Visual Studio can point out errors in your template before you deploy it.
Deploy the project
Deploy the Azure Resource Manager template to create the Virtual Machine Scale Set resource:
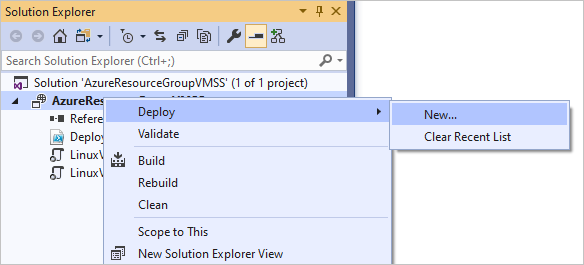
In Solution Explorer, right-click the project and choose Deploy > New.
In Deploy to Resource Group, choose which subscription to use and select a resource group. You can create a resource group, if necessary.
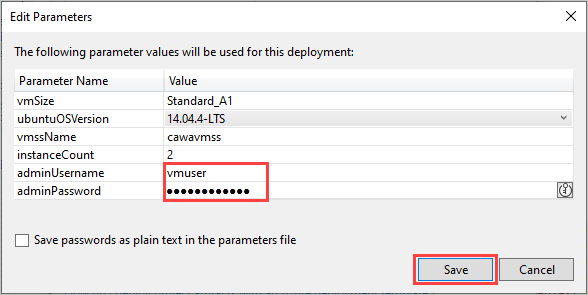
Next, select Edit Parameters to enter parameters that are passed to your template.

Provide the username and password for the operating system. These values are required to create the deployment. If you don't have PowerShell Tools for Visual Studio installed, select Save passwords to avoid a hidden PowerShell command prompt, or use Key Vault support. Select Save to continue.
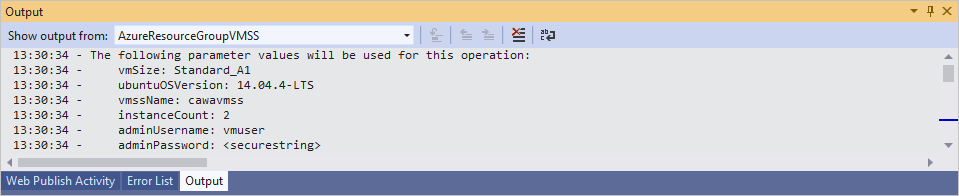
In Deploy to Resource Group, select Deploy. The action runs the Deploy-AzureResourceGroup.ps1 script. The Output window shows the deployment progress.
Explore your Virtual Machine Scale Set
Select View > Cloud Explorer to view the new Virtual Machine Scale Set. Use Refresh All, if necessary.

Cloud Explorer lets you manage Azure resources in Visual Studio while developing applications. You can also view your Virtual Machine Scale Set in the Azure portal and Azure Resource Explorer.
The portal provides the best way to manage your Azure infrastructure with a web browser. Azure Resource Explorer provides an easy way to explore and debug Azure resources. Azure Resource Explorer offers the instance view and also shows PowerShell commands for the resources you're looking at.
Next steps
Once you've successfully deployed Virtual Machine Scale Sets through Visual Studio, you can further customize your project to suit your application requirements. For example, configure autoscale by adding an Insights resource. You could add infrastructure to your template, such as standalone virtual machines, or deploy applications using the custom script extension. Good example templates can be found in the Azure Quickstart Templates GitHub repository. Search for vmss.
Feedback
Coming soon: Throughout 2024 we will be phasing out GitHub Issues as the feedback mechanism for content and replacing it with a new feedback system. For more information see: https://aka.ms/ContentUserFeedback.
Submit and view feedback for