Configure a packet capture for Virtual WAN site-to-site VPN: PowerShell
This article helps you create a packet capture for an Azure Virtual WAN site-to-site VPN gateway using Azure PowerShell. Packet capture helps you narrow down the scope of a problem to certain parts of the network. It can help you determine whether the problem is on the on-premises side or the Azure side. By narrowing down the problem, you can more efficiently debug and take remedial action.
While some commonly available packet capture tools do exist, getting relevant packet captures with these tools can be cumbersome, especially in high-volume traffic scenarios. The filtering capabilities provided by the Virtual WAN packet capture are a major differentiator. The Virtual WAN packet capture can be used along with commonly available packet capture tools.
Prerequisites
Verify that you have the following configuration already set up in your environment:
- A Virtual WAN and a virtual hub.
- A site-to-site VPN gateway deployed in the virtual hub.
- You can also have connections connecting VPN sites to your site-to-site VPN gateway.
Working with Azure PowerShell
This article uses PowerShell cmdlets. To run the cmdlets, you can use Azure Cloud Shell. Cloud Shell is a free interactive shell that you can use to run the steps in this article. It has common Azure tools preinstalled and configured to use with your account.
To open Cloud Shell, just select Open Cloudshell from the upper-right corner of a code block. You can also open Cloud Shell on a separate browser tab by going to https://shell.azure.com/powershell. Select Copy to copy the blocks of code, paste them into Cloud Shell, and select the Enter key to run them.
Set up the environment
Use the following command to verify that you're using the correct subscription and are logged in as a user that has permissions to perform the packet capture on the site-to-site VPN gateway
$subid = “<insert Virtual WAN subscription ID here>”
Set-AzContext -SubscriptionId $subid
Create a storage account and container
A storage account is used to store the results of packet captures.
- Create a storage account. For steps, see Create a storage account.
- Create a container object within your storage account. For steps, see Create a container.
Generate the SAS URL
When you stop a packet capture, you must provide the SAS URL of the storage container that you created. The results of your packet capture will be stored via this URL.
Run the following commands to generate a shared access signature (SAS) URL:
$rg = “<resource group name containing storage account>”
$storeName = “<name of storage account> “
$containerName = “<name of container you want to store packet capture in>
$key = Get-AzStorageAccountKey -ResourceGroupName $rg -Name $storeName
$context = New-AzStorageContext -StorageAccountName  $storeName -StorageAccountKey $key[0].value
New-AzStorageContainer -Name $containerName -Context $context
$container = Get-AzStorageContainer -Name $containerName  -Context $context
$now = get-date
$sasurl = New-AzStorageContainerSASToken -Name $containerName -Context $context -Permission "rwd" -StartTime $now.AddHours(-1) -ExpiryTime $now.AddDays(1) -FullUri
Start a packet capture
This section helps you start a packet capture for your site-to-site VPN gateway (all connections).
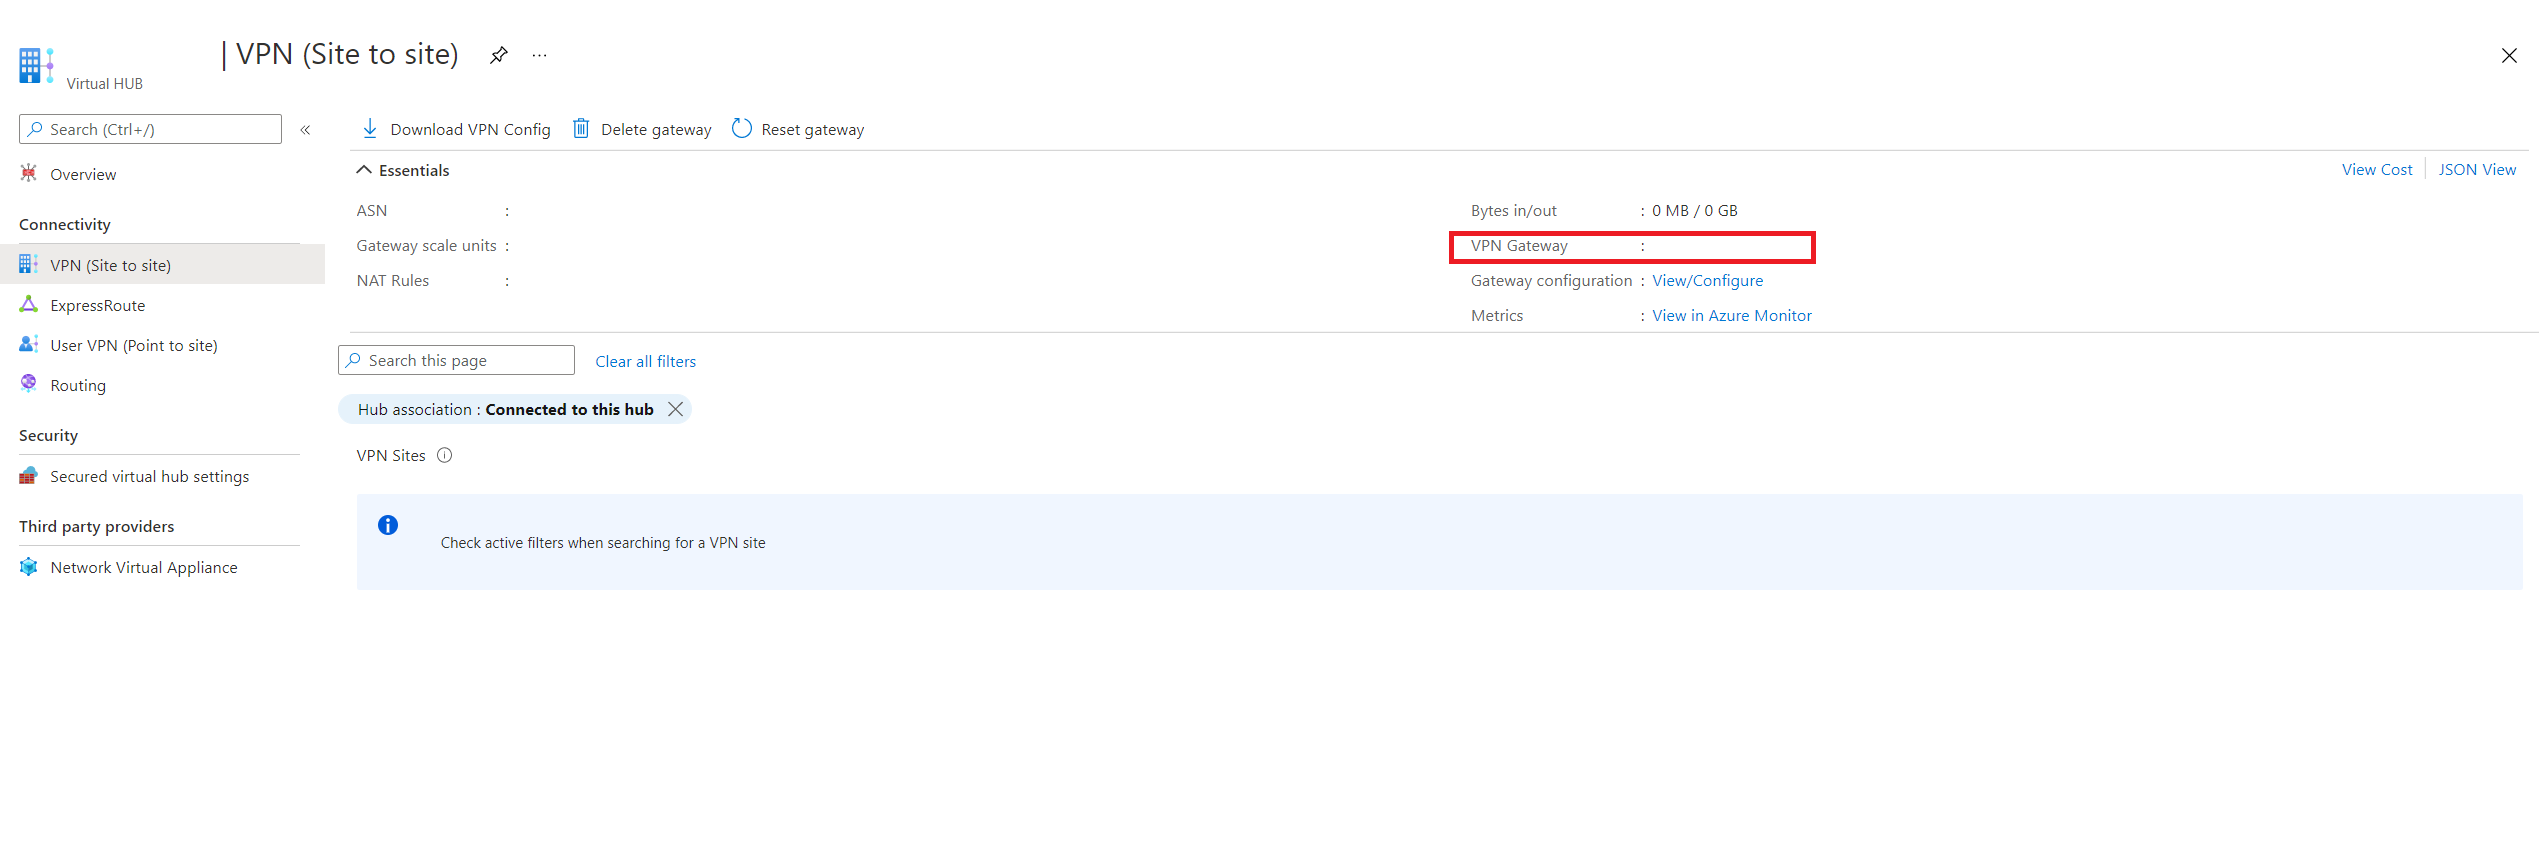
To run a packet capture, you need the -Name value of the site-to-site VPN gateway. To find the -Name value, in the Azure portal, navigate to your virtual hub, under Connectivity, click VPN (Site-to-site).
To start a packet capture, run the following command:
Start-AzVpnGatewayPacketCapture -ResourceGroupName $rg -Name "<name of the Gateway>"

Optional: Specify filters
To simplify your packet captures, you can specify filters on your packet capture to focus on specific behaviors.
Note
For TracingFlags and TCPFlags, you can specify multiple protocols by adding up the numerical values for the protocols you wish to capture (same as a logical OR). For example, if you want to capture only ESP and OPVN packets, specify a TracingFlag value of 8+1 = 9.
| Parameter | Description | Default values | Available values |
|---|---|---|---|
| TracingFlags | Integer that determines what types of packets are captured | 11 (ESP, IKE, OVPN) | ESP = 1 IKE = 2 OPVN = 8 |
| TCPFlags | Integer that determines which types of TCP Packets are captured | 0 (none) | FIN = 1, SYN = 2, RST = 4, PSH = 8, ACK = 16,URG = 32, ECE = 64, CWR = 128 |
| MaxPacketBufferSize | Maximum size of a captured packet in bytes. Packets are truncated if larger than the provided value. | 120 | Any |
| MaxFileSize | Maximum capture file size in Mb. Captures are stored in a circular buffer so overflow is handled in a FIFO manner (older packets removed first) | 100 | Any |
| SourceSubnets | Packets from the specified CIDR ranges are captured. Specified as an array. | [] (all IPv4 addresses) | Array of comma-separated IPV4 Subnets |
| DestinationSubnets | Packets destined for the specified CIDR ranges are captured. Specified as an array. | [] (all IPv4 addresses) | Array of comma-separated IPV4 Subnets |
| SourcePort | Packets with source in the specified ranges are captured. Specified as an array. | [] (all ports) | Array of comma-separated ports |
| DestinationPort | Packets with destination in the specified ranges are captured. Specified as an array. | [] (all ports) | Array of comma-separated ports |
| CaptureSingleDirectionTrafficOnly | If true, only one direction of a bidirectional flow will show up in the packet capture. This will capture all possible combo of IP and ports. | True | True, False |
| Protocol | An array of integers that correspond to IANA protocols. | [] (all protocols) | Any protocols found here |
The following example shows a packet capture using a filter string. You can change the parameters to suit your needs.
$filter="{`"TracingFlags`":11,`"MaxPacketBufferSize`":120,`"MaxFileSize`":500,`"Filters`":[{`"SourceSubnets`":[`"10.19.0.4/32`",`"10.20.0.4/32`"],`"DestinationSubnets`":[`"10.20.0.4/32`",`"10.19.0.4/32`"],`"TcpFlags`":9,`"CaptureSingleDirectionTrafficOnly`":true}]}"
Start-AzVpnConnectionPacketCapture -ResourceGroupName $rg -Name "<name of the VPN connection>" -ParentResourceName “<name of the Gateway>” -LinkConnection “<comma separated list of links>” -SasUrl $sasurl -FilterData $filter

Start-AzVpnGatewayPacketCapture -ResourceGroupName $rg -Name "<name of the Gateway>" -FilterData $filter
Stop a packet capture
We recommend that you let the packet capture run for at least 600 seconds before stopping. When you stop a packet capture, the parameters are similar to the parameters in the Start a packet capture section. In the command, the SAS URL value was generated in the Create a storage account section. If the SasUrl parameter isn't configured correctly, the capture might fail with storage errors.
When you're ready to stop the packet capture, run the following command:
Stop-AzVpnGatewayPacketCapture -ResourceGroupName $rg -Name <GatewayName> -SasUrl $sasurl
View a packet capture
This section helps you download the packet capture PCAP file to view.
In the Azure portal, navigate to the storage account that you created.
Click Containers to view the containers for the storage account.
Click the container that you created.
Navigate through the folder structure to locate your PCAP file. The folder name and structure is based on the date and UTC time. When you locate the PCAP file, click Download.

Packet capture data files are generated in PCAP format. You can use Wireshark or another commonly available application to open PCAP files.

Next steps
Next, to learn more about Virtual WAN, see the Virtual WAN FAQ.
Feedback
Coming soon: Throughout 2024 we will be phasing out GitHub Issues as the feedback mechanism for content and replacing it with a new feedback system. For more information see: https://aka.ms/ContentUserFeedback.
Submit and view feedback for