Quickstart: Route to shared services VNets using an ARM template
This quickstart describes how to use an Azure Resource Manager template (ARM template) to set up routes to access a shared service VNet with workloads that you want every VNet and Branch (VPN/ER/P2S) to access. Examples of these shared workloads might include virtual machines with services like domain controllers or file shares, or Azure services exposed internally through Azure Private Endpoint.
An Azure Resource Manager template is a JavaScript Object Notation (JSON) file that defines the infrastructure and configuration for your project. The template uses declarative syntax. You describe your intended deployment without writing the sequence of programming commands to create the deployment.
If your environment meets the prerequisites and you're familiar with using ARM templates, select the Deploy to Azure button. The template will open in the Azure portal.

Prerequisites
- If you don't have an Azure subscription, create a free account before you begin.
- Public key certificate data is required for this configuration. Sample data is provided in the article. However, the sample data is provided only to satisfy the template requirements in order to create a P2S gateway. After the template completes and the resources are deployed, you must update this field with your own certificate data in order for the configuration to work. See User VPN certificates.
Review the template
The template used in this quickstart is from Azure Quickstart Templates. The template for this article is too long to show here. To view the template, see azuredeploy.json.
In this quickstart, you'll create an Azure Virtual WAN multi-hub deployment, including all gateways and VNet connections. The list of input parameters has been purposely kept at a minimum. The IP addressing scheme can be changed by modifying the variables inside of the template. The scenario is explained further in the Scenario: Shared services VNet article.

This template creates a fully functional Azure Virtual WAN environment with the following resources:
- 2 distinct hubs in different regions.
- 4 Azure Virtual Networks (VNet).
- 2 VNet connections for each VWan hub.
- 1 Point-to-Site (P2S) VPN gateway in each hub.
- 1 Site-to-Site (S2S) VPN gateway in each hub.
- 1 ExpressRoute gateway in each hub.
- Custom Route Tables RT_SHARED in each hub.
- A label LBL_RT_SHARED to group RT_SHARED route tables.
Multiple Azure resources are defined in the template:
- Microsoft.Network/virtualwans
- Microsoft.Network/virtualhubs
- Microsoft.Network/virtualnetworks
- Microsoft.Network/hubvirtualnetworkconnections
- Microsoft.Network/hubroutetables
- Microsoft.Network/p2svpngateways
- Microsoft.Network/vpngateways
- Microsoft.Network/expressroutegateways
- Microsoft.Network/vpnserverconfigurations
Note
This ARM template doesn't create the customer-side resources required for hybrid connectivity. After you deploy the template, you still need to create and configure the P2S VPN clients, VPN branches (Local Sites), and connect ExpressRoute circuits.
To find more templates, see Azure Quickstart Templates.
Deploy the template
To deploy this template properly, you must use the button to Deploy to Azure button and the Azure portal, rather than other methods, for the following reasons:
- In order to create the P2S configuration, you need to upload the root certificate data. The data field doesn't accept the certificate data when using PowerShell or CLI.
- This template doesn't work properly using Cloud Shell due to the certificate data upload.
- Additionally, you can easily modify the template and parameters in the portal to accommodate IP address ranges and other values.
Click Deploy to Azure.
To view the template, click Edit template. On this page, you can adjust some of the values such as address space or the name of certain resources. Save to save your changes, or Discard.
On the template page, enter the values. For this template, the P2S public certificate data is required. The following example shows the certificate data. You can use the same certificate data for both hubs. Note that while it may be possible to use this example data to run the steps for this exercise, in order to connect properly, you must supply your own certificate data for your hubs. For more information, see certificate data.
MIIC5zCCAc+gAwIBAgIQGxd3Av1q6LJDZ71e3TzqcTANBgkqhkiG9w0BAQsFADAW
MRQwEgYDVQQDDAtQMlNSb290Q2VydDAeFw0yMDExMDkyMjMxNTVaFw0yMTExMDky
MjUxNTVaMBYxFDASBgNVBAMMC1AyU1Jvb3RDZXJ0MIIBIjANBgkqhkiG9w0BAQEF
AAOCAQ8AMIIBCgKCAQEA33fFra/E0YmGuXLKmYcdvjsYpKwQmw8DjjDkbwhE9jcc
Dp50e7F1P6Rxo1T6Hm3dIhEji+0QkP4Ie0XPpw0eW77+RWUiG9XJxGqtJ3Q4tyRy
vBfsHORcqMlpV3VZOXIxrk+L/1sSm2xAc2QGuOqKaDNNoKmjrSGNVAeQHigxbTQg
zCcyeuhFxHxAaxpW0bslK2hEZ9PhuAe22c2SHht6fOIDeXkadzqTFeV8wEZdltLr
6Per0krxf7N2hFo5Cfz0KgWlvgdKLL7dUc9cjHo6b6BL2pNbLh8YofwHQOQbwt6H
miAkEnx1EJ5N8AWuruUTByR2jcWyCnEAUSH41+nk4QIDAQABozEwLzAOBgNVHQ8B
Af8EBAMCAgQwHQYDVR0OBBYEFJMgnJSYHH5AJ+9XB11usKRwjbjNMA0GCSqGSIb3
DQEBCwUAA4IBAQBOy8Z5FBd/nvgDcjvAwNCw9h5RHzgtgQqDP0qUjEqeQv3ALeC+
k/F2Tz0OWiPEzX5N+MMrf/jiYsL2exXuaPWCF5U9fu8bvs89GabHma8MGU3Qua2x
Imvt0whWExQMjoyU8SNUi2S13fnRie9ZlSwNh8B/OIUUEtVhQsd4OfuZZFVH4xGp
ibJMSMe5JBbZJC2tCdSdTLYfYJqrLkVuTjynXOjmz2JXfwnDNqEMdIMMjXzlNavR
J8SNtAoptMOK5vAvlySg4LYtFyXkl0W0vLKIbbHf+2UszuSCijTUa3o/Y1FoYSfi
eJH431YTnVLuwdd6fXkXFBrXDhjNsU866+hE
When you have finished entering values, select Review + create.
On the Review + create page, after validation passes, select Create.
It takes about 75 minutes for the deployment to complete. You can view the progress on the template Overview page. If you close the portal, deployment will continue.
Validate the deployment
Sign in to the Azure portal.
Select Resource groups from the left pane.
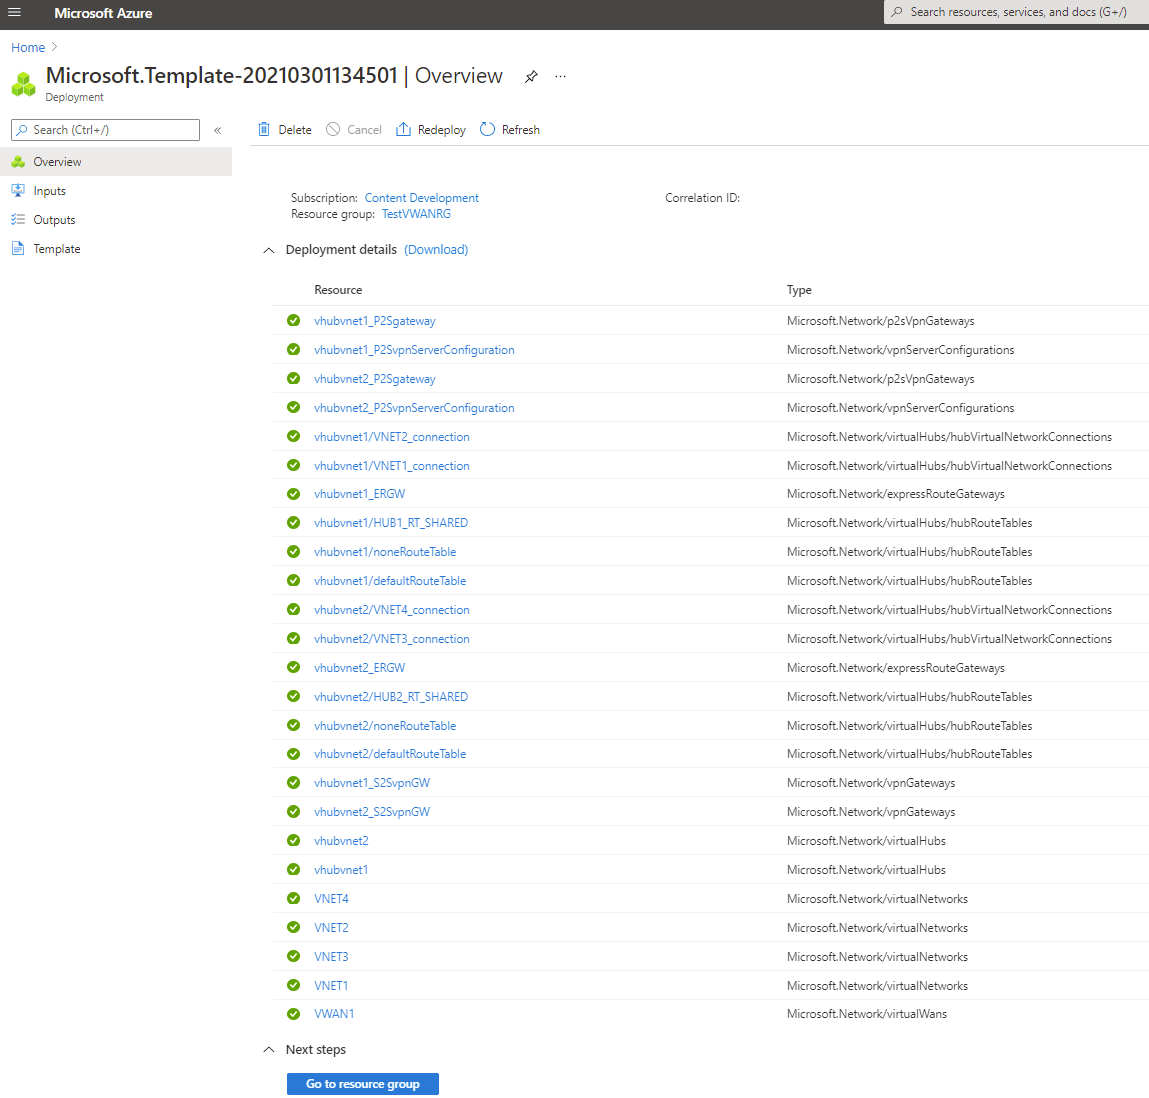
Select the resource group that you created in the previous section. On the Overview page, you'll see something similar to this example:

Click the virtual WAN to view the hubs. On the virtual WAN page, click each hub to view connections and other hub information.


Complete the hybrid configuration
The template doesn't configure all of the settings necessary for a hybrid network. You need to complete the following configurations and settings, depending on your requirements.
- Configure the VPN branches - local sites
- Complete the P2S VPN configuration
- Connect the ExpressRoute circuits
Clean up resources
When you no longer need the resources that you created, delete them. Some of the Virtual WAN resources must be deleted in a certain order due to dependencies. Deleting can take about 30 minutes to complete.
Open the virtual WAN that you created.
Select a virtual hub associated to the virtual WAN to open the hub page.
Delete all gateway entities following the below order for each gateway type. This can take 30 minutes to complete.
VPN:
- Disconnect VPN sites
- Delete VPN connections
- Delete VPN gateways
ExpressRoute:
- Delete ExpressRoute connections
- Delete ExpressRoute gateways
Repeat for all hubs associated to the virtual WAN.
You can either delete the hubs at this point, or delete the hubs later when you delete the resource group.
Navigate to the resource group in the Azure portal.
Select Delete resource group. This deletes the other resources in the resource group, including the hubs and the virtual WAN.
Next steps
Feedback
Coming soon: Throughout 2024 we will be phasing out GitHub Issues as the feedback mechanism for content and replacing it with a new feedback system. For more information see: https://aka.ms/ContentUserFeedback.
Submit and view feedback for