Step 1: Add the BizTalk Server Application project in Visual Studio
When you build your applications using Visual Studio Team Services, a new BizTalk project file is created – .btaproj. This new project holds all the BizTalk applications that you build and deploy using the Azure DevOps build and release features.
The BizTalk Application Project includes the BizTalkServerInventory.json file. In this file, add your BizTalk assemblies, add the binding files for your BizTalk application, and then set a deployment sequence.
Before you begin
- Create a simple BizTalk project with orchestration.
- Have the path to the XML binding file to your BizTalk project ready. This XML file creates your send and receive port.
- Know your Azure DevOps account, your collection, and your team project details.
- Be familiar with git concepts, including cloning and working with repositories.
Add the application project
On the BizTalk Server, open your solution (ProjectName.sln) in Visual Studio. Do not select Visual Studio Blend.
In solution explorer, right-click your project > Build. Be sure your build succeeds. Right-click your project > Deploy. Be sure your deploy succeeds.
Right-click your solution > Add > Add New Project.
Select BizTalk Server Application Project > Next. Enter a project name, such as
appProjectHelloWorld> Create.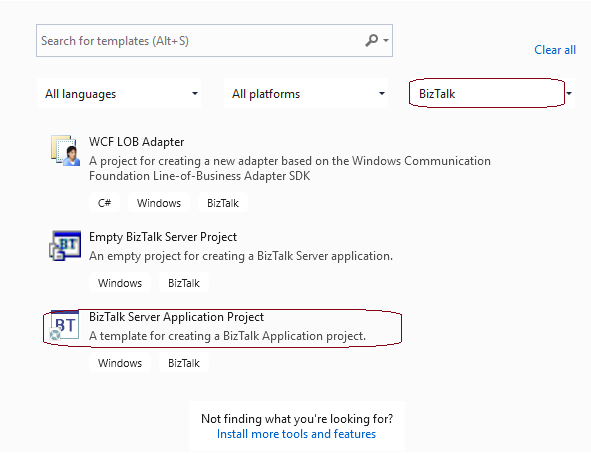
In Solution Explorer, right-click your newly-added application project (.btaproj) > Add > Reference. Expand the Projects tab, and check your BizTalk project (the project you're deploying using Azure DevOps). Select OK.
Once added, expand References under your application project (e.g. appProjectHelloWorld) to see the BizTalk project you just added.
In Solution Explorer, right-click your application project (.btaproj) > Add > Existing Item > Add your binding XML file.
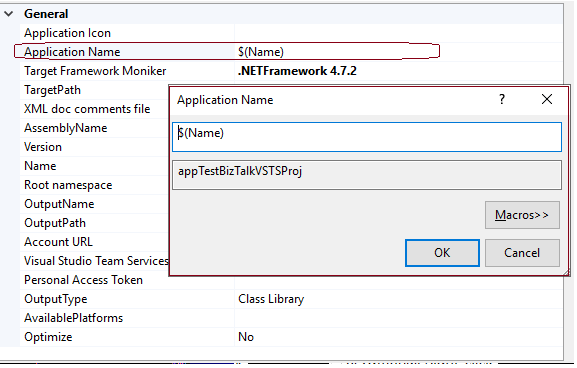
Optional. Right-click your newly-added application project > Properties. Customize the Application Name you want shown in BizTalk Administration:
Configure the JSON template
In Visual Studio, in your application project (.btaproj), open the
BizTalkServerInventory.jsonfile.The template includes the following sections:
- BizTalkAssemblies: The assemblies used in your applications.
- BindingFiles: The binding files you're referencing.
- DeploymentSequence: The sequence for the elements to be installed.
Sample template:
Important
Depending on the complexity of your solution, the elements you want in the build must be referenced in this JSON template file.
In
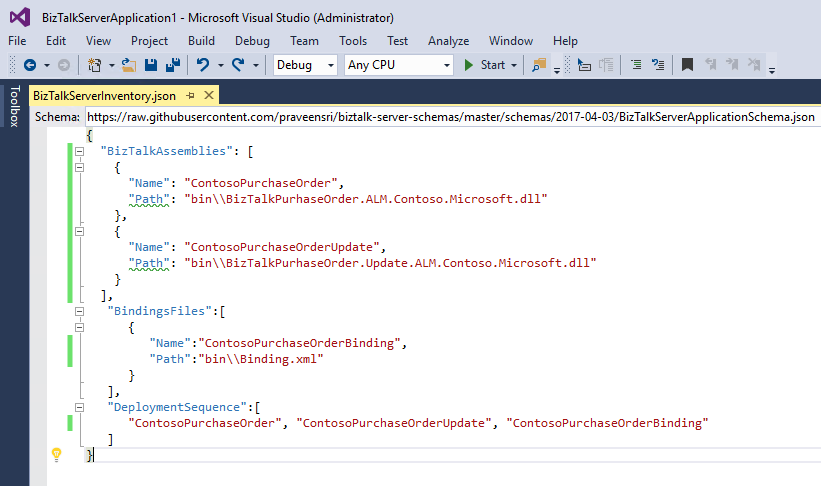
BizTalkAssemblies, add the assemblies used by your BizTalk project:"BizTalkAssemblies": [ { "Name": "AssemblyName", "Path": "PathToAssembly } ]In
BindingsFiles, add the binding files for your BizTalk project:"BindingsFiles": [ { "Name": "Binding File Name", "Path": "PathToBindingFile } ]In
DeploymentSequence, add the application names in the order you want them deployed, and installed on the BizTalk Server:"DeploymentSequence": [ "NameOfFirst", "NameOfSecond", "NameOfThird" ]Save your changes. When finished, your .json file looks like the following:
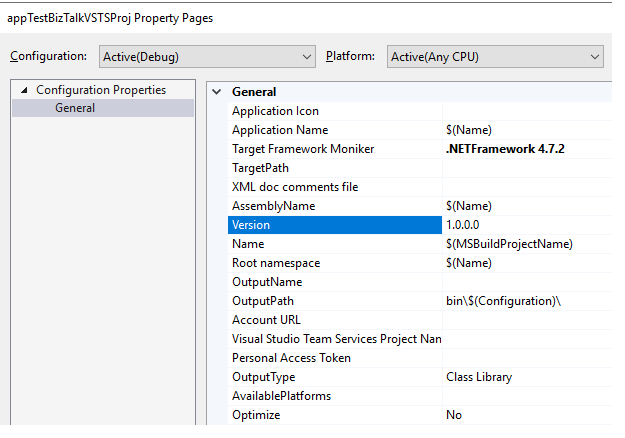
{ "$schema": "http://json.schemastore.org/BizTalkServerApplicationSchema", "BizTalkAssemblies": [ { "Name": "HelloWorld", "Path": "HelloWorld\\bin\\Release\\HelloWorld.dll" } ], "BindingsFiles": [ { "Name": "HelloWorldBinding", "Path": "HelloWorld\\HelloWorldBinding.xml" } ], "DeploymentSequence": [ "HelloWorld", "HelloWorldBinding" ] }Optional. Right-click your application project (e.g. appProjectHelloWorld) > Properties. You can set the Debug or Release version to a new value. We don’t in these steps, but know you can:
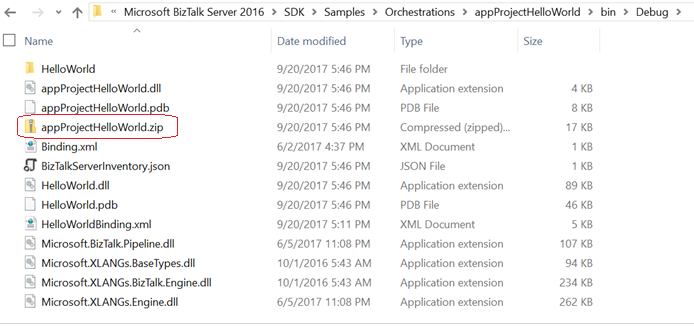
Right-click your application project (e.g. appProjectHelloWorld) > Build. If it succeeds, a zip file is created in yourApplicationProject\bin\debug folder:
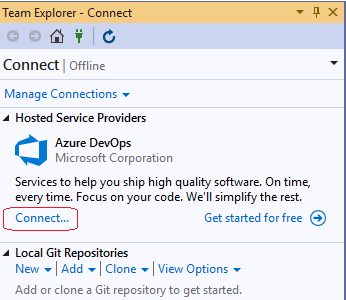
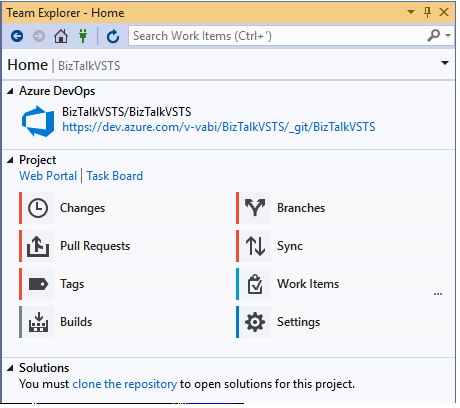
Select your solution, and select the Team Explorer tab. Under Azure DevOps, select Connect.
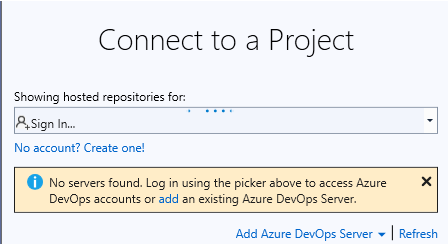
Select your Azure DevOps account, your collection, and your team project. Select OK. If you didn’t create an Azure DevOps account yet, then create one (Step 2: Create the Azure DevOps token provides some guidance). Once it's created, come back to this step, and connect.
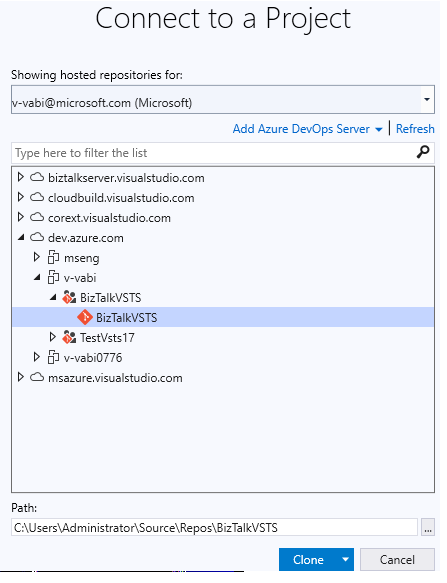
When you connect, you may get a prompt to clone this repository. Select the Clone this repository link.
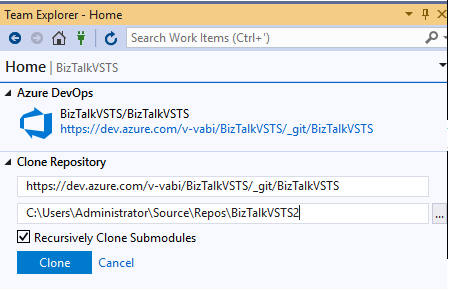
Note the URL and paths, and select Clone:
Once completed, the Azure DevOps deployment task honors the required files and the install sequence.
Tip
If you make changes to your project after you clone in git, you can Stage your changes, and then Push, all within Visual Studio.
What you did
In your BizTalk project, you added a BizTalk Application project (.btaproj). This project is used to automate deployments of your BizTalk Server projects using Azure DevOps. After you created the application project, you added a reference to your BizTalk project. Then, you updated a JSON file that tells the automated deployment what DLLs to deploy, which binding file to use, and the order to deploy the applications.
Next steps
Step 2: Create the Azure DevOps token
Step 3: Create the build definitions
Step 4: Create the release definition
Configure environmental tokens and variables
Feedback
Coming soon: Throughout 2024 we will be phasing out GitHub Issues as the feedback mechanism for content and replacing it with a new feedback system. For more information see: https://aka.ms/ContentUserFeedback.
Submit and view feedback for