Released version 20190304
Introduction
Version 20190304 for Power Automate portal is now available in all regions. This article describes the updates, including the new features, and the fixes to existing functionality, which are included in this update. This version was first made available in preview on March 7, 2019, and completed worldwide rollout on March 15, 2019.
Adaptive cards for Microsoft Teams
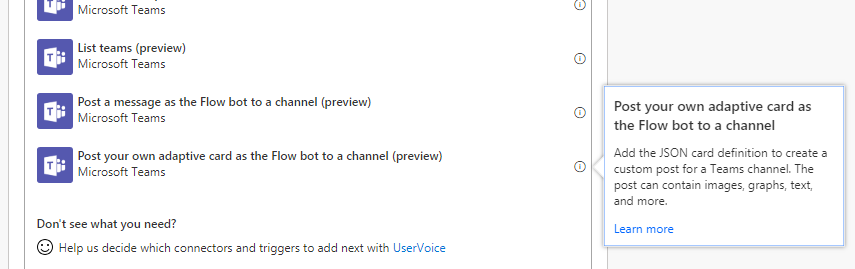
You can now post your own adaptive card as the Flow bot to a channel. An adaptive card is a way to present richly formatted content directly into a Microsoft Teams (Teams) conversation. Adaptive cards can contain components like images, graphs, richly formatted text, and more. To get started, select the new action on the Teams connector:
Adaptive cards use a common JSON format that you can use across many different channels. However, you don't need to author this JSON by hand - you can use the rich drag-and-drop designer on the Adaptive Cards website to build your card.
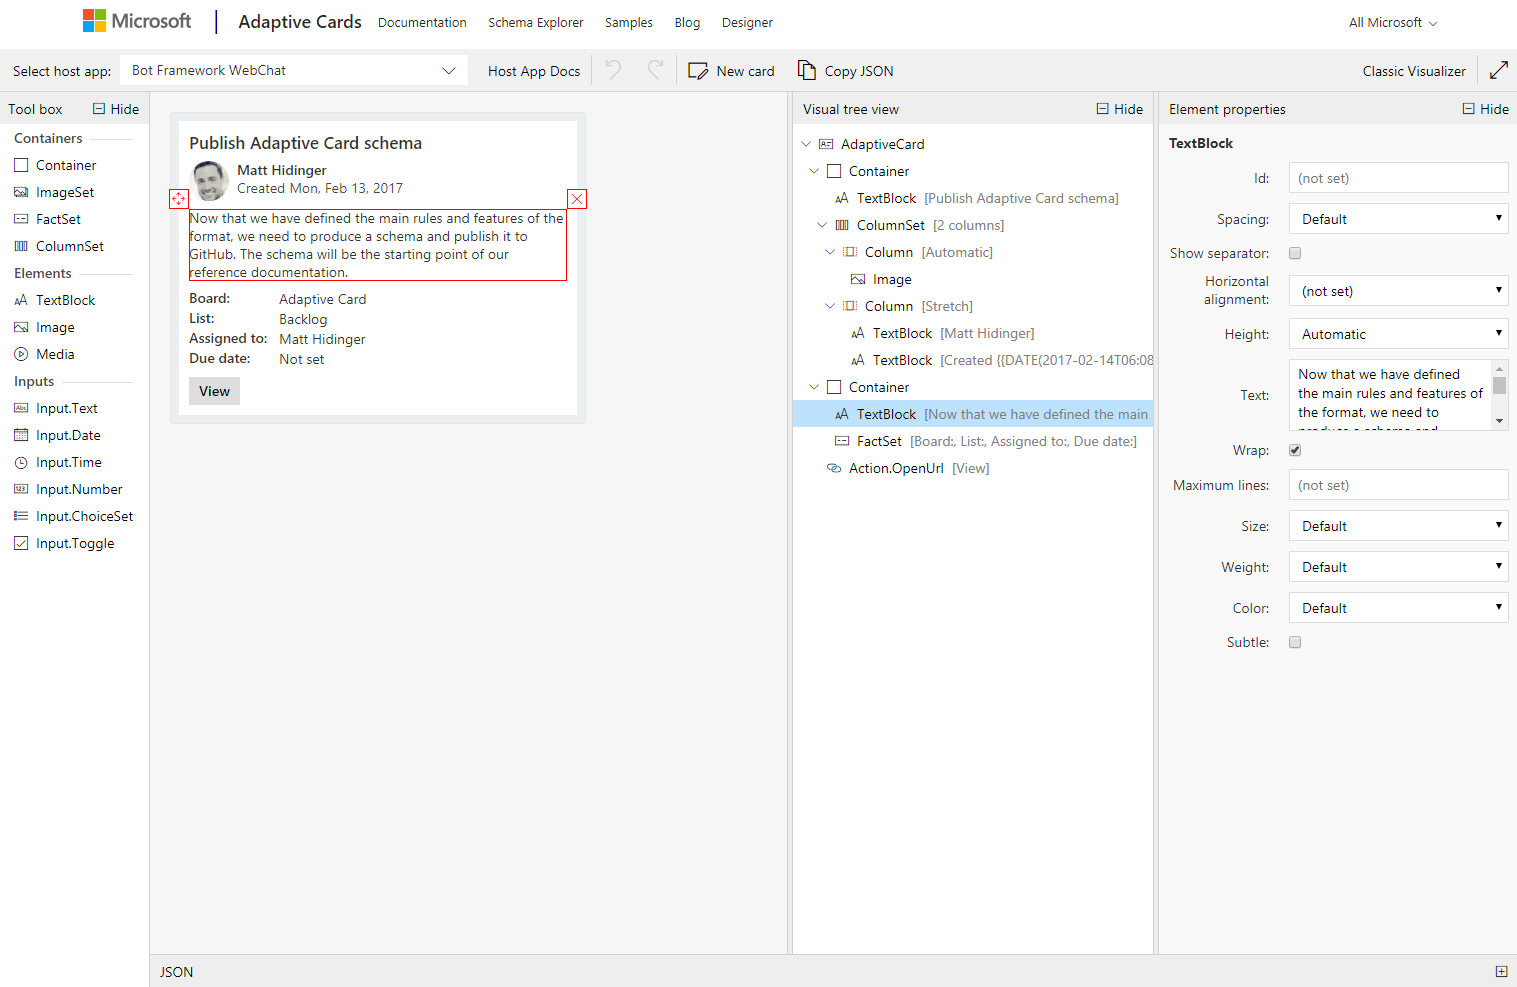
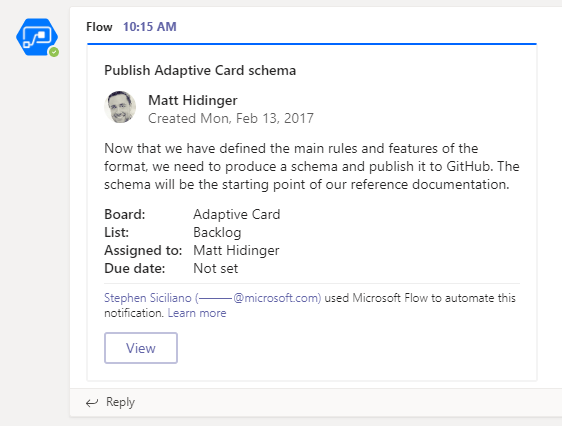
Once you have added all of the elements that you want on the card, open the JSON pane at the bottom and copy everything there. Then, paste that content into the Message field on the action in the Microsoft Flow designer. When the action runs, a nicely formatted adaptive card appears in the Teams channel you selected:
In addition to posting an adaptive card, you can also post a simple message as a bot to a Teams channel. These messages can come from the Flow bot instead of your user account. In addition, these messages can contain @mentions of other users, so they will be notified when you post. To create an @mention you need to surround their email address or user ID with the <at> tag. For example:
Hello <at>stephen@example.com</at> - your request has been completed!
Microsoft Flow US Government is generally available
Microsoft is committed to enabling government agencies to reduce the complexity of IT, meet compliance and security regulations, and turn data and insight into intelligent action – making interactions with citizens impactful and driving government efficiencies.
Agencies are adopting the cloud to store data from a multitude of sources like web traffic and business systems. Once an organization has the infrastructure for harnessing data, they also need a layer atop that data that enables them to get insights easily. That’s what the Power Platform is—a system that enables users to do three key actions on data: Analyze, Act, and Automate. Power BI, PowerApps, and Microsoft Flow work together to help anyone, regardless of technical ability, drive decisions with data.
Now, Microsoft Flow for the US Government is generally available. Microsoft Flow general availability will also land in Dynamics 365, Microsoft 365, and Office 365 in Spring 2019. This environment supports compliance with US government requirements for cloud services, including FedRAMP High, and requirements for criminal justice.
Microsoft Flow US Government does have different URLs, and there are some features that are not yet enabled. You can read the full details about these topics in our documentation page. To learn more about our commitments to storing data, visit the Microsoft Trust Center page for Microsoft Flow.
Use custom response options in Approvals
Use custom response options to create approval flows with responses that you tailor specifically for your organization's needs. For example, you can use custom responses to provide granular feedback like approve, approve with edits, or reject for content reviews, and more.
Create an approval with custom responses
Let’s say we want to send an approval request each time someone uploads a proposal to SharePoint and then allow the approver to respond with one of three options: Accept, Accept with edits, or Reject.
Follow these steps to get started:
Add an action that starts an approval.

Select one of the two types from the Approval type list.

Enter your custom responses into the Response Options Item fields.
Tip
Select Add new item to add more custom responses.

Use approval responses
After an approver provides a decision on a request, you might want to do different things. For instance, if the response to the request is Accept or Reject, move the proposal to a SharePoint folder for accepted or rejected proposals. However, if the response is Accept with edits, send an email to the author to request changes to the proposal.
To do this, add a Condition or a Switch action to your flow, and then select the Outcome field of the approval request from the dynamic content picker. Be sure to confirm whether the value is Accept, Accept with edits or Reject.

Respond to approval requests with a custom response
Go to the Approvals Center in Microsoft Flow, or to the actionable email, and then select your response.

Fixes and improvements
Note
No specific fixes or improvements have been publicly disclosed as a part of this released version