Create a custom connector in Azure Logic Apps
Note
This topic is part of a tutorial series on creating and using custom connectors in Azure Logic Apps, Microsoft Power Automate, and Microsoft Power Apps. Make sure you read the custom connector overview to understand the process.
In Azure Logic Apps, you must first create the custom connector resource by performing the following steps before defining the behavior of the connector by using an OpenAPI definition.
In the Azure portal, on the Azure services menu, select Create a resource.
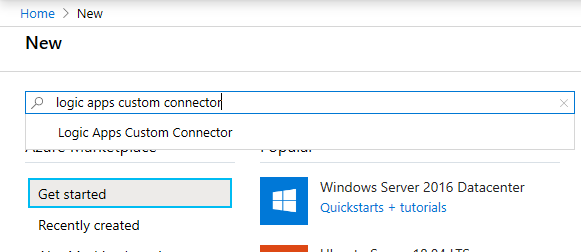
In the New dialog, enter logic apps custom connector in the search box, and then select Logic Apps Custom Connector from the dropdown list.
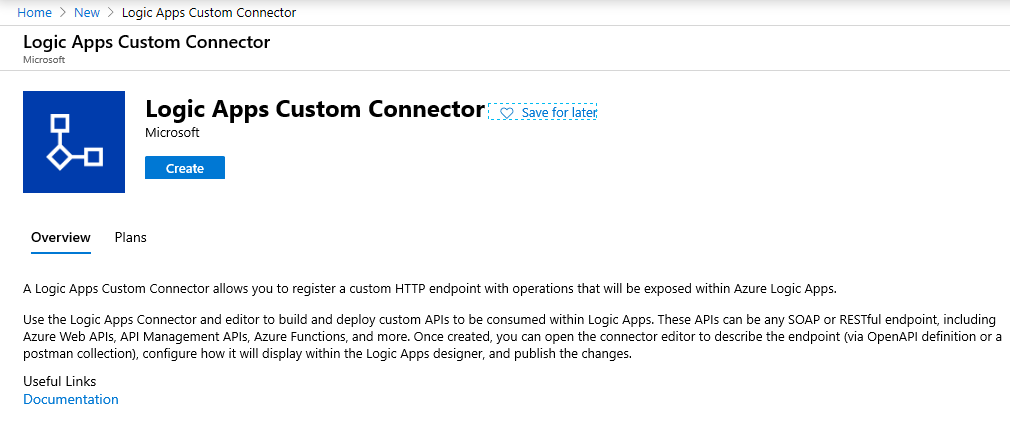
In the Logic Apps Custom Connector dialog, select Create.
Enter the details for registering your connector as described in the following table, and then select Review + create.
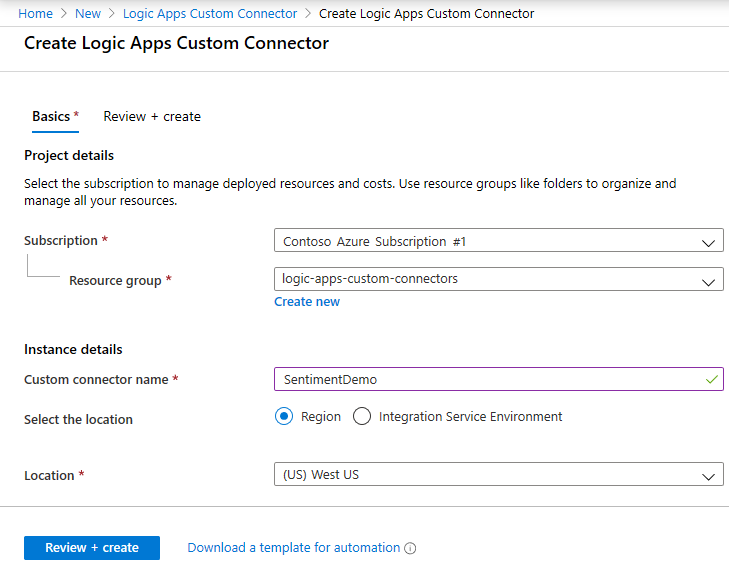
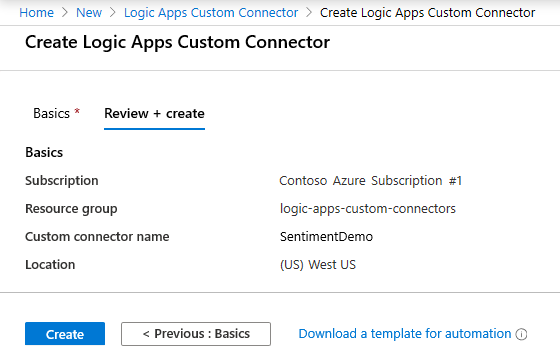
Property Description Example text Subscription Azure subscription for the connector Contoso Azure Subscription #1 Resource group Azure resource group for the connector logic-apps-custom-connectors Name Name of your custom connector SentimentDemo Location Same Azure region as your logic app (US) West US In the Create Logic Apps Custom Connector dialog, review the details you've entered, and then select Create.
After you've created the custom connector resource, the custom connector menu should open automatically. If it doesn't, you can go to the subscription and resource group you selected and open it directly.
Now that you've created a custom connector, you can define the connector's behavior.
See also
Define a custom connector using an OpenAPI definition
Provide feedback
We greatly appreciate feedback on issues with our connector platform, or new feature ideas. To provide feedback, go to Submit issues or get help with connectors and select your feedback type.