Configure and use a custom channel in outbound marketing
Note
Dynamics 365 Marketing and Dynamics 365 Customer Insights are now Customer Insights - Journeys and Customer Insights - Data. For more information, see Dynamics 365 Customer Insights FAQs
New Customer Insights - Journeys customers receive real-time journeys features only. For more information, see Default real-time journeys installation.
Important
This article only applies to outbound marketing.
This step is typically performed by administrators of your Dynamics 365 Customer Insights - Journeys instance.
To configure a custom channel in your instance of Customer Insights - Journeys, administrators can:
- Search for the required custom channel on the Microsoft commercial marketplace.
- For a custom channel, select Get it now or Free trial depending on the pricing of the custom channel.
- If you're signed into AppSource using your work or school account that you have registered with Microsoft while signing up for Customer Insights - Journeys, you'll be prompted to accept the license agreement for the custom channel. Otherwise, you'll be prompted to sign in using your work or school account. After signing in, you'll be prompted to accept the license agreement for the custom channel. Select Continue to accept and proceed.
- The next page will let you select the instance where you want to add the custom channel. Select the appropriate instance, select the check boxes to accept Microsoft legal terms and privacy notices, and select Agree to install.
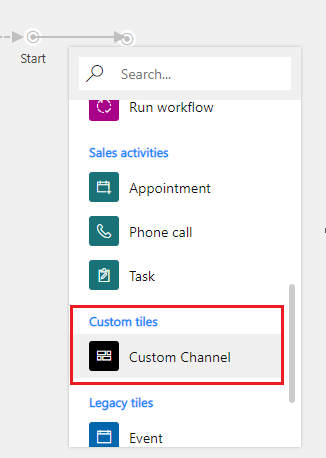
Installing a custom channel installs a managed solution for the custom channel in your instance. After the custom channel is installed in your instance, users will see the new custom channel tile in their customer journey designer when they create a customer journey.
