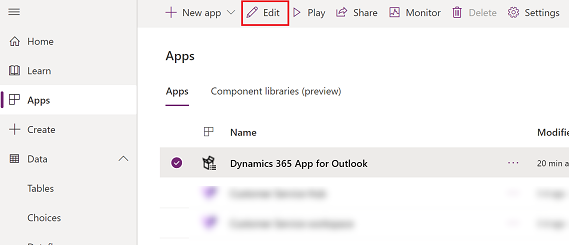
Add a table to the quick create menu
An app maker can enable a table or a custom table to appear in the create New menu (quick create) in Dynamics 365 App for Outlook.
| Before: Quick create menu | After: Quick create menu with custom table added |
|---|---|
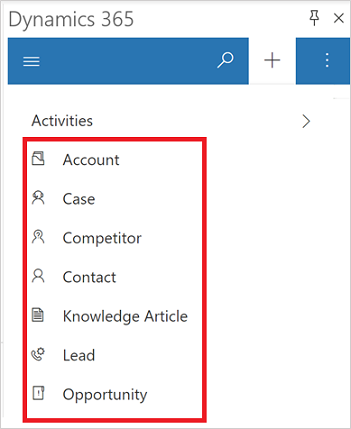 |
 |
Step 1: Enable a table to appear in New (quick create) menu
Sign in to Power Apps.
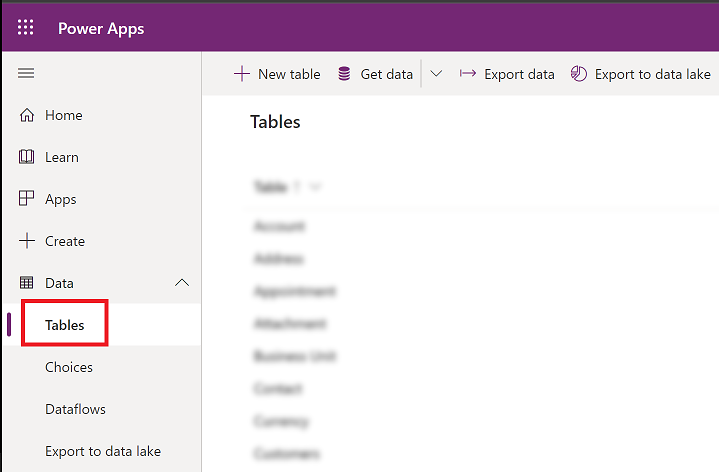
On the left nav, select Data to expand it and then select Tables.
Select a table then on the command bar, select Settings.

Expand More settings > Create and update settings and then select the checkbox for Enable quick create forms.

Select Done and then Save Table.
Step 2: Create a quick create form
If the quick create form is already enabled, then you can skip this step.
Sign in to Power Apps.
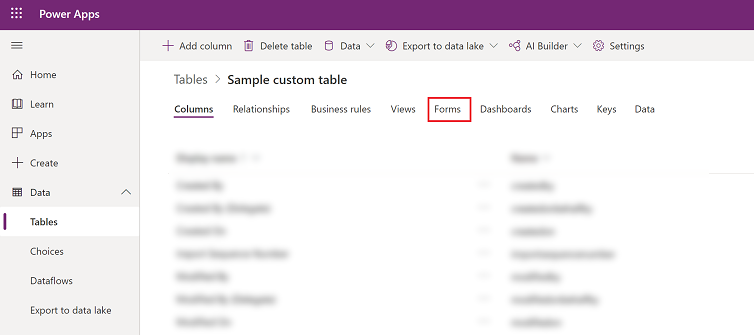
On the left navigation pane, expand Data, and then select Tables. Select the table that you enabled for Enable quick create forms, and then select the Forms tab.
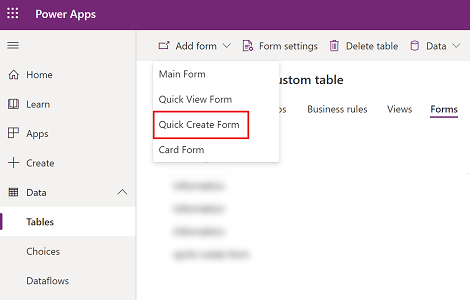
- On the toolbar, select Add form > Quick Create Form.
In the form designer, drag any columns from the Column Explorer into the sections on the form.
When you're done, select Save and then Publish.
Step 3: Verify the custom table is added to the app designer
This step is only necessary if you're adding a custom table that you created to the quick create form.
Sign in to Power Apps.
On the left navigation pane, select Apps.
From the list of apps select Dynamics 365 App for Outlook and then select Edit.
In the app designer, choose table and browse to find your custom table.
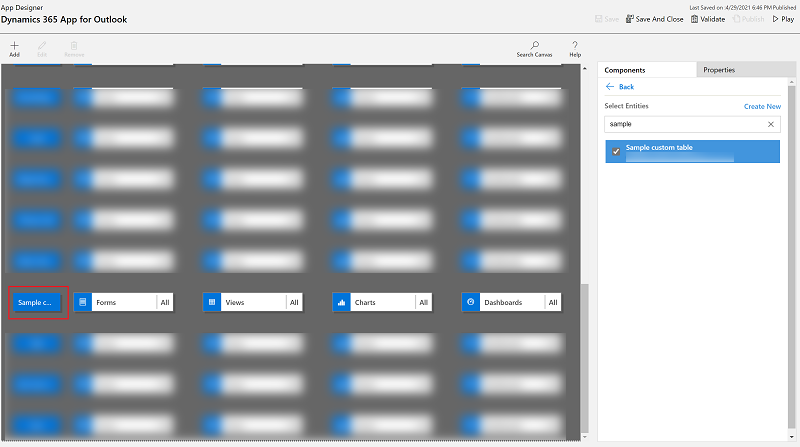
Select Save and then Publish the app.
Feedback
Coming soon: Throughout 2024 we will be phasing out GitHub Issues as the feedback mechanism for content and replacing it with a new feedback system. For more information see: https://aka.ms/ContentUserFeedback.
Submit and view feedback for