Windows Autopilot
Windows Autopilot is designed to simplify all parts of Windows devices lifecycle, from initial deployment through end of life. Using cloud-based services, Windows Autopilot can reduce the overall costs for deploying, managing, and retiring devices.
Traditionally, IT pros spend a significant amount of time building and customizing images that will later be deployed to devices. Windows Autopilot introduces a new, simplified approach. Devices don't need to be reimaged, rather they can be deployed with the OEM image, and customized using cloud-based services.
From the user's perspective, it only takes a few simple operations to make their device ready to use. The only interaction required from the end user is to set their language and regional settings, connect to a network, and verify their credentials. Everything beyond that is automated.
Prerequisites
Before setting up Windows Autopilot, consider these prerequisites:
- Software requirements. Ensure your school and devices meet the software, networking, licensing, and configuration requirements for Windows Autopilot
- Devices ordered and registered. Ensure your school IT administrator or Microsoft partner has ordered the devices from an original equipment manufacturer (OEM) and registered them for the Autopilot deployment service. To connect with a partner, you can use the Microsoft Partner Center and work with them to register your devices
- Networking requirements. Ensure students know to connect to the school network during OOBE setup. For more information on managing devices behind firewalls and proxy servers, see Network endpoints for Microsoft Intune
Note
Where not explicitly specified, both HTTPS (443) and HTTP (80) must be accessible. If you are auto-enrolling your devices into Microsoft Intune or deploying Microsoft Office, follow the networking guidelines for Microsoft Intune and Microsoft 365.
Register devices to Windows Autopilot
Before deployment, devices must be registered in the Windows Autopilot service. Each device's unique hardware identity (known as a hardware hash) must be uploaded to the Autopilot service. In this way, the Autopilot service can recognize which tenant devices belong to, and which OOBE experience it should present. There are three main ways to register devices to Autopilot:
- OEM registration process. When you purchase devices from an OEM or Reseller, that company can automatically register devices to Windows Autopilot and associate them to your tenant. Before this registration can happen, a Global Administrator must grant the OEM/Reseller permissions to register devices. For more information, see OEM registration
Note
For Microsoft Surface registration, collect the details shown in this documentation table and follow the instruction to submit the request form to Microsoft Support.
- Cloud Solution Provider (CSP) registration process. As with OEMs, CSP partners must be granted permission to register devices for a school. For more information, see Partner registration
Tip
Try the Microsoft Partner Center clickable demo, which provides detailed steps to establish a partner relationship and register devices.
- Manual registration. To manually register a device, you must first capture its hardware hash. Once this process has been completed, the hardware hash can be uploaded to the Windows Autopilot service using Microsoft Intune
Important
Windows 11 SE devices do not support the use of Windows PowerShell or Microsoft Configuration Manager to capture hardware hashes. Hardware hashes can only be captured manually. We recommend working with an OEM, partner, or device reseller to register devices.
Create groups for Autopilot devices
Windows Autopilot deployment profiles determine the Autopilot deployment mode and define the out-of-box experience of your devices. A device group is required to assign a Windows Autopilot deployment profile to the devices. For this task, it's recommended to create dynamic device groups using Autopilot attributes.
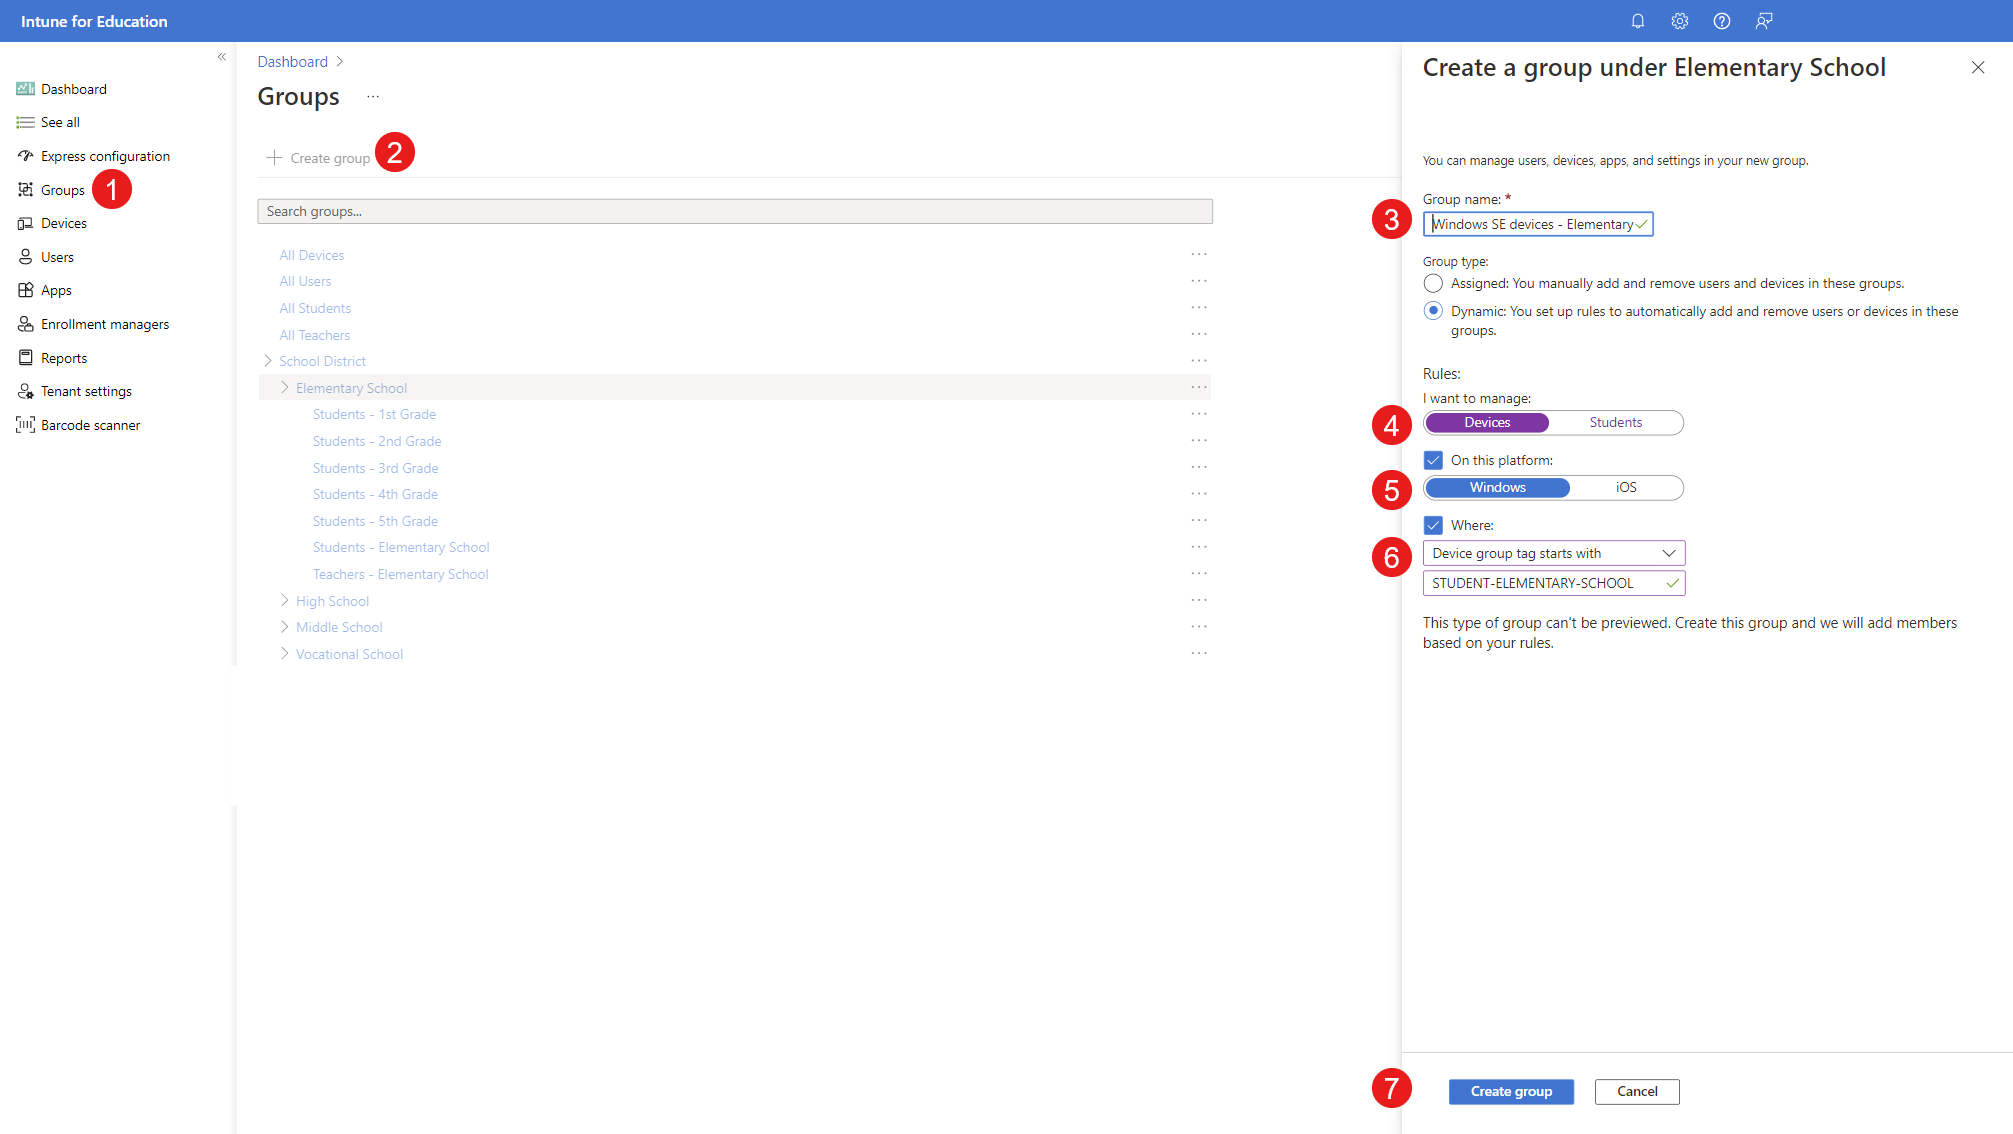
Here are the steps for creating a dynamic group for the devices that have an assigned Autopilot group tag:
- Sign in to the Intune for Education portal
- Select Groups > Create group
- Specify a Group name and select Dynamic
- Under Rules, select I want to manage: Devices and use the clause Where: Device group tag starts with, specifying the required tag value
- Select Create group
More advanced dynamic membership rules can be created from Microsoft Intune admin center. For more information, see Create an Autopilot device group using Intune.
Tip
You can use these dynamic groups not only to assign Autopilot profiles, but also to target applications and settings.
Create Autopilot deployment profiles
For Autopilot devices to offer a customized OOBE experience, you must create Windows Autopilot deployment profiles and assign them to a group containing the devices. A deployment profile is a collection of settings that determine the behavior of the device during OOBE. Among other settings, a deployment profile specifies a deployment mode, which can either be:
- User-driven: devices with this profile are associated with the user enrolling the device. User credentials are required to complete the Microsoft Entra join process during OOBE
- Self-deploying: devices with this profile aren't associated with the user enrolling the device. User credentials aren't required to complete the Microsoft Entra join process. Rather, the device is joined automatically and, for this reason, specific hardware requirements must be met to use this mode
To create an Autopilot deployment profile:
- Sign in to the Intune for Education portal
- Select Groups > Select a group from the list
- Select Windows device settings
- Expand the Enrolment category
- From Configure Autopilot deployment profile for device select User-driven
- Ensure that User account type is configured as Standard
- Select Save
While Intune for Education offers simple options for Autopilot configurations, more advanced deployment profiles can be created from Microsoft Intune admin center. For more information, see Windows Autopilot deployment profiles.
Configure an Enrollment Status Page
An Enrollment Status Page (ESP) is a greeting page displayed to users while enrolling or signing in for the first time to Windows devices. The ESP displays provisioning progress, showing applications and profiles installation status.

Note
Some Windows Autopilot deployment profiles require the ESP to be configured.
To deploy the ESP to devices, you need to create an ESP profile in Microsoft Intune.
Tip
While testing the deployment process, you can configure the ESP to:
- allow the reset of the devices in case the installation fails
- allow the use of the device if installation error occurs
This enables you to troubleshoot the installation process in case any issues arise and to easily reset the OS. You can turn these settings off once you are done testing.
For more information, see Set up the Enrollment Status Page.
Caution
The Enrollment Status Page (ESP) is compatible with Windows 11 SE. However, due to the E Mode policy, devices may not complete the enrollment. For more information, see Enrollment Status Page.
Autopilot end-user experience
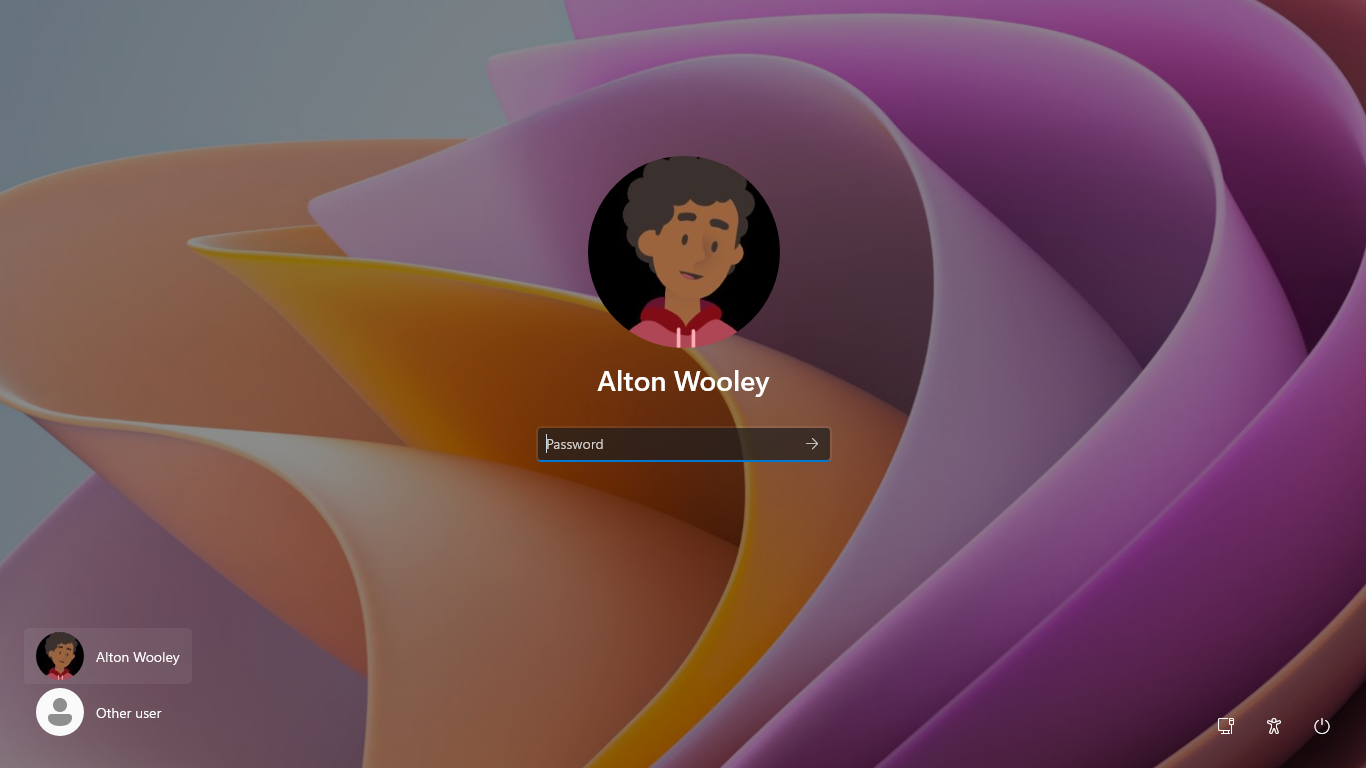
Once configuration is complete and devices are distributed, students and teachers are able to complete the out-of-box experience with Autopilot. They can set up their devices at home, at school, or wherever there's a reliable Internet connection. When a Windows device is turned on for the first time, the end-user experience with Windows Autopilot is as follows:
- Identify the language and region
- Select the keyboard layout and decide on the option for a second keyboard layout
- Connect to the internet: if connecting through Wi-Fi, the user will be prompted to connect to a wireless network. If the device is connected through an ethernet cable, Windows will skip this step
- Apply updates: the device will look for and apply required updates
- Windows will detect if the device has an Autopilot profile assigned to it. If so, it will proceed with the customized OOBE experience. If the Autopilot profile specifies a naming convention for the device, the device will be renamed, and a reboot will occur
- The user authenticates to Microsoft Entra ID, using the school account
- The device joins Microsoft Entra ID, enrolls in Intune and all the settings and applications are configured
Note
Some of these steps may be skipped, depending on the Autopilot profile configuration and if the device is using a wired connection.
Next steps
With the devices joined to Microsoft Entra tenant and managed by Intune, you can use Intune to maintain them and report on their status.
Feedback
Coming soon: Throughout 2024 we will be phasing out GitHub Issues as the feedback mechanism for content and replacing it with a new feedback system. For more information see: https://aka.ms/ContentUserFeedback.
Submit and view feedback for