Quickstart: Create a tenant
Microsoft Entra External ID offers a customer identity access management (CIAM) solution that lets you create secure, customized sign-in experiences for your apps and services. You'll need to create a tenant with external configurations in the Microsoft Entra admin center to get started. Once the tenant with external configurations is created, you can access it in both the Microsoft Entra admin center and the Azure portal.
In this quickstart, you'll learn how to create a tenant with external configurations if you already have an Azure subscription.
Prerequisites
- An Azure subscription.
- An Azure account that's been assigned at least the Contributor role scoped to the subscription or to a resource group within the subscription.
Create a new tenant with external configurations
Sign in to the Microsoft Entra admin center.
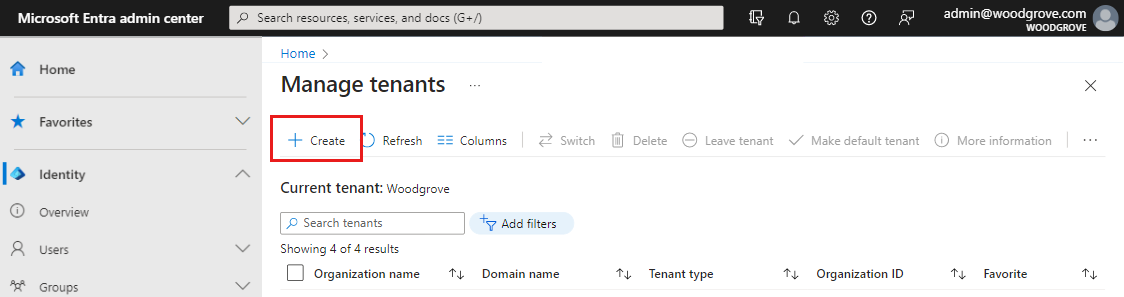
Browse to Identity > Overview > Manage tenants.
Select Create.
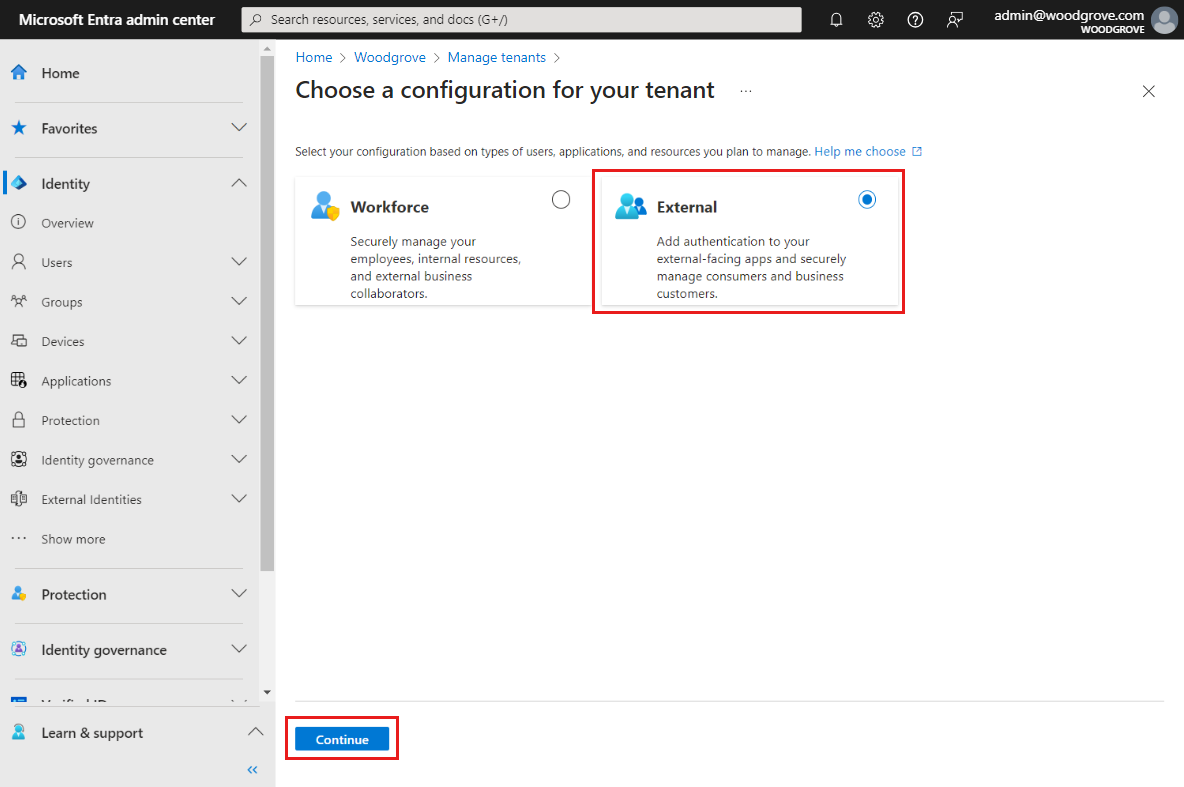
Select Customer, and then select Continue.
Select Use an Azure Subscription.
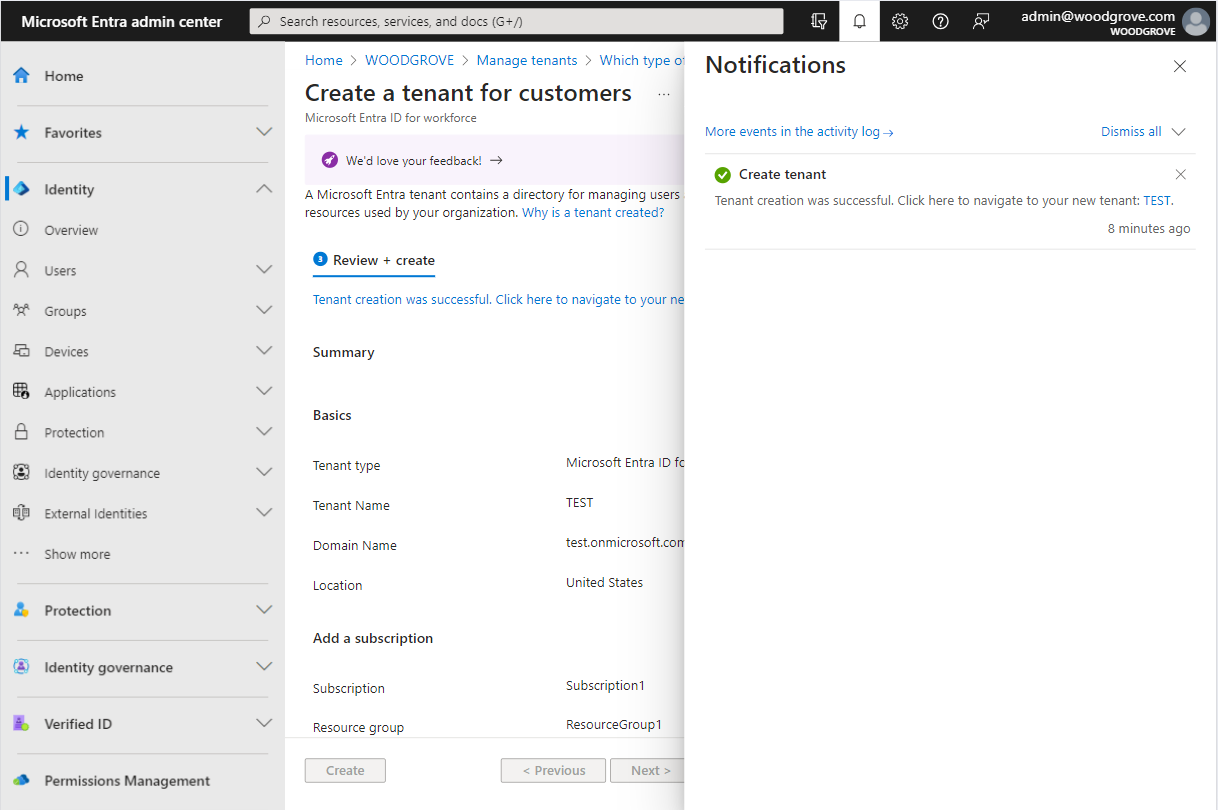
On the Basics tab, in the Create a tenant for customers page, enter the following information:
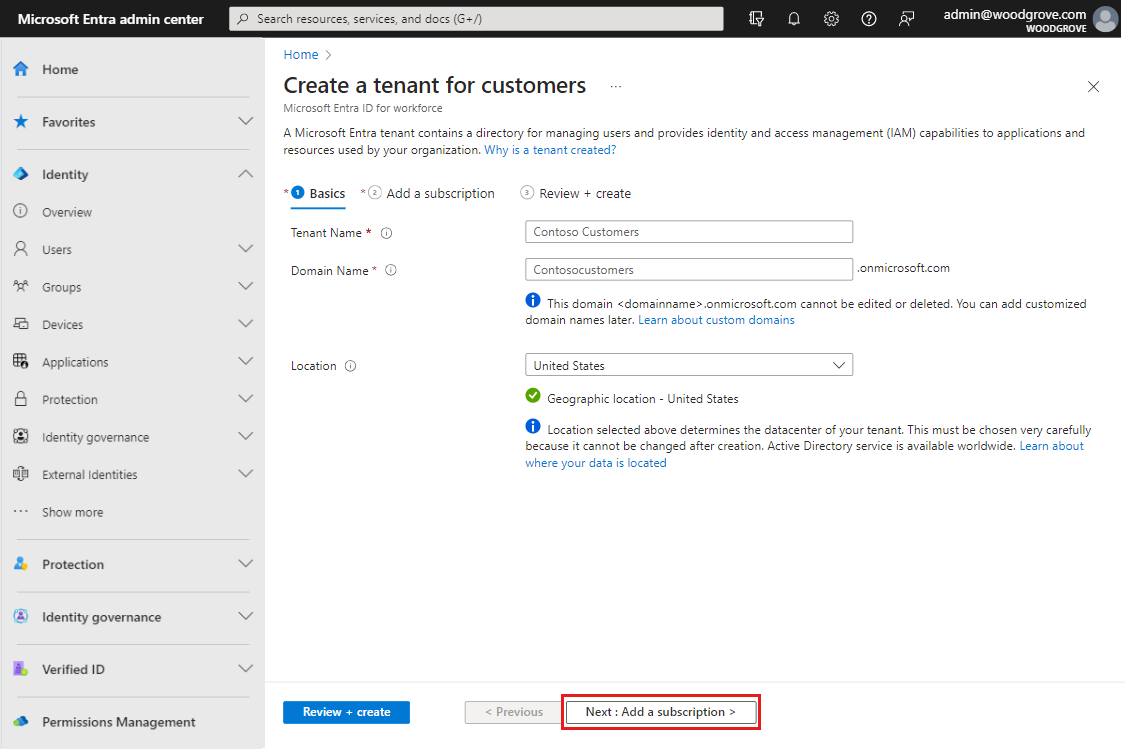
Type your desired Tenant Name (for example Contoso Customers).
Type your desired Domain Name (for example Contosocustomers).
Select your desired Location. This selection can't be changed later.
Select Next: Add a subscription.
On the Add a subscription tab, enter the following information:
Next to Subscription, select your subscription from the menu.
Next to Resource group, select a resource group from the menu. If there are no available resource groups, select Create new, add a name, and then select OK.
If Resource group location appears, select the geographic location of the resource group from the menu.
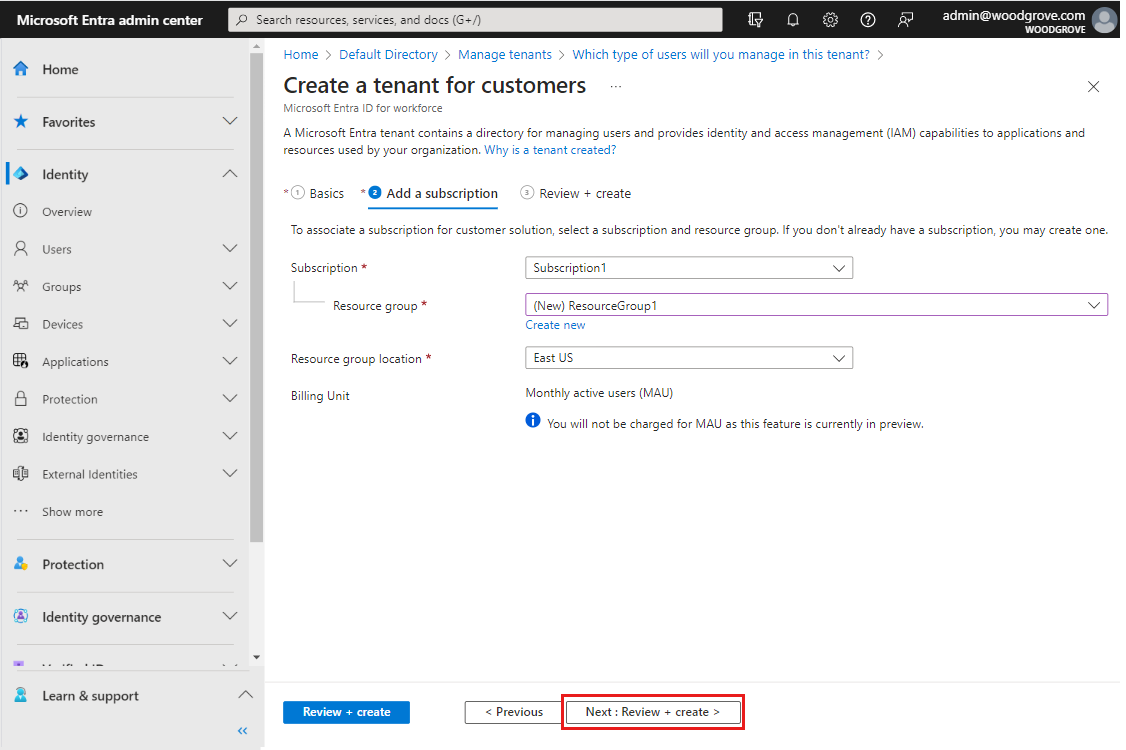
Select Next: Review + Create. If the information that you entered is correct, select Create. The tenant creation process can take up to 30 minutes. You can monitor the progress of the tenant creation process in the Notifications pane. Once the tenant is created, you can access it in both the Microsoft Entra admin center and the Azure portal.
Customize your tenant with a guide
Our guide will walk you through the process of setting up a user and configuring a sample app in just a few minutes. This means that you can quickly and easily test out different sign-in and sign-up options and set up a sample app to see what works best for you. This guide is available in any external tenant.
Note
The guide won’t run automatically in external tenants that you created with the steps above. If you want to run the guide, follow the steps below.
Sign in to the Microsoft Entra admin center.
If you have access to multiple tenants, use the Settings icon
 in the top menu to switch to your external tenant from the Directories + subscriptions menu.
Browse to Home > Tenant overview.
On the Get started tab, select Start the guide.
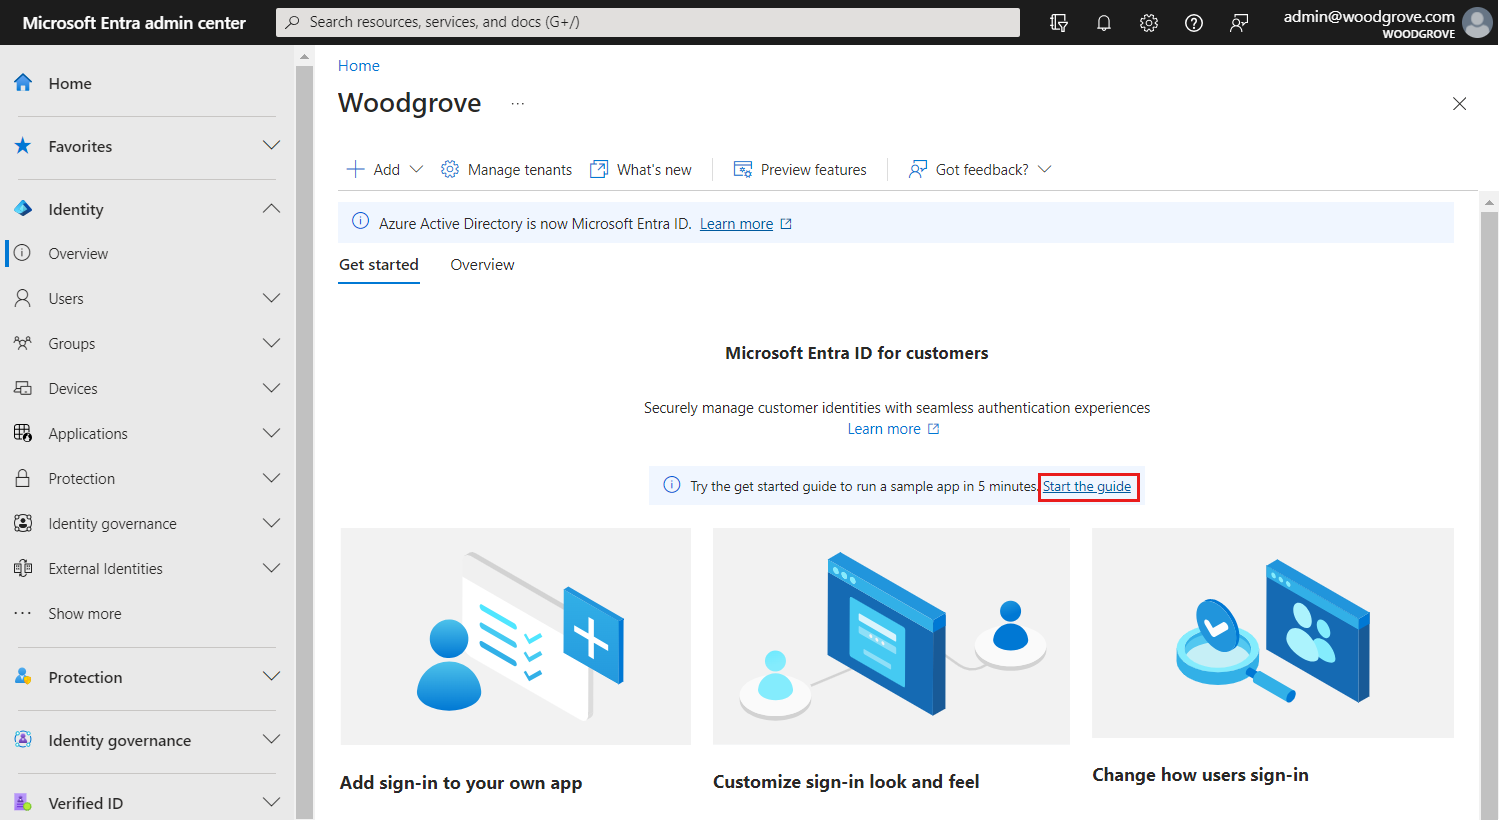
This link will take you to the guide, where you can customize your tenant in three easy steps.
Related content
- To learn more about the set-up guide and how to customize your tenant, see the Get started guide article.
- To learn how to delete your tenant, see the Delete an external tenant article.
Feedback
Coming soon: Throughout 2024 we will be phasing out GitHub Issues as the feedback mechanism for content and replacing it with a new feedback system. For more information see: https://aka.ms/ContentUserFeedback.
Submit and view feedback for