Customize and share playlists
Create a Playlist
A playlist is a compilation of "assets". An "asset" is a SharePoint page or existing item of Microsoft training content. When you create a playlist, you select assets that go together to create a learning path for your user.
The benefit of adding SharePoint pages is that you can create SharePoint pages with a YouTube video or videos hosted in your organization. You can also create pages with Forms or other Office 365 content.
Step 1: Create a SharePoint page for your playlist
In this example, we would create a SharePoint page to add to the playlist. Then, we would create a page with a YouTube video web part and Text web part. These instructions assume you're using the SharePoint Online service.
Create a new page
Select the Settings menu > Site Contents > Site Pages > New > Site Page.
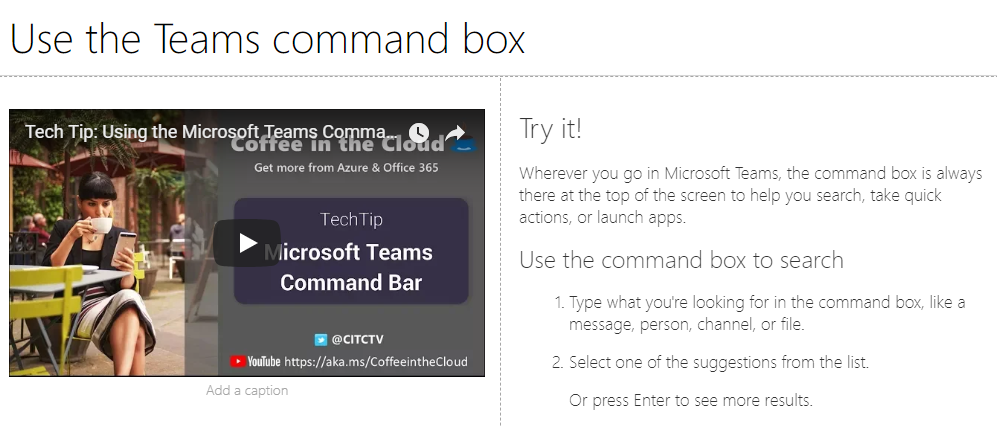
In the title area, type Use the Teams command box
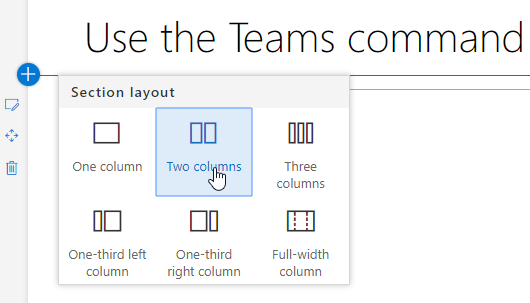
Select the Add a new section, and then select Two Columns.
In the left-hand box, select Add a new web part, and then select Embed.
In a Web browser, go to this URL https://youtu.be/wYrRCRphrp0 and get the embedded code for the video.
In the SharePoint Web part, select Add Embed code and then paste it into the Embed box.
In the right-hand box, select Add a new web part, and then select Text.
In a Web browser, go to this URL: https://support.office.com/article/13c4e429-7324-4886-b377-5dbed539193b and copy the Try it! Instructions from the page and paste them into the Text Web part. Your page should look like the following.
Select Publish, and then copy the URL of the page and paste it in Notepad
Step 2: Create the Playlist
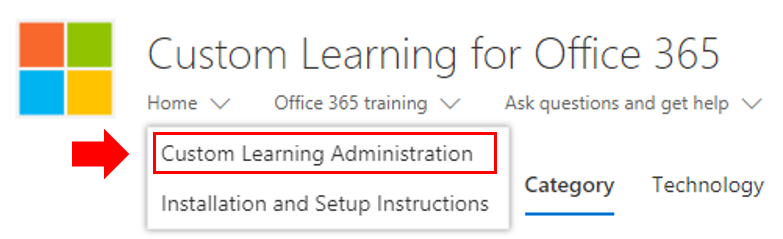
Navigate to the Custom Learning Administration page in your site experience.
Make sure Category is selected
Select on the category where you'd like your new playlist to appear
Next to the category name, select on the plus symbol

Fill in the values as shown in the following example and select Create.
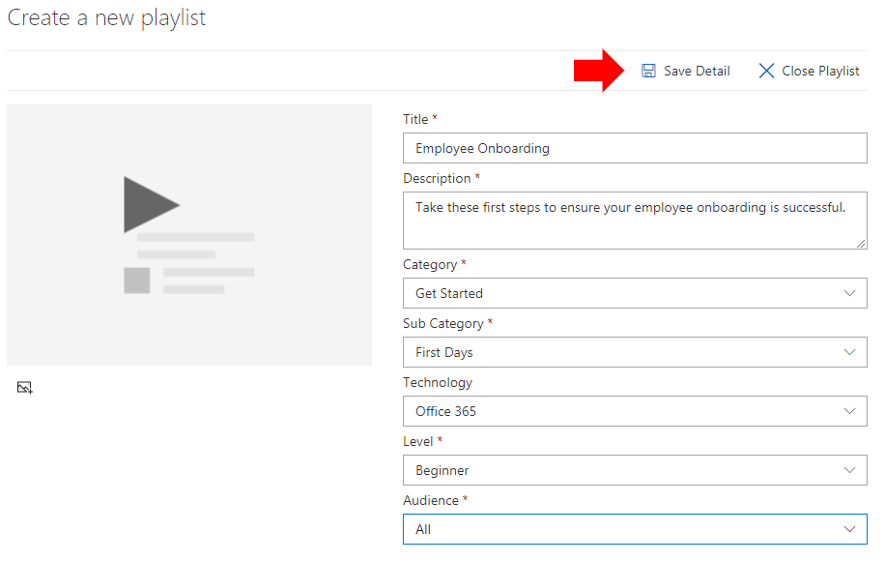
- Title - Display name of the playlist
- Description - Information about what will be learned
- Category - Preselected based on your initial selection
- Sub Category - Preselected based on your initial selection
- Technology - Select as applicable
- Level - Beginner, Intermediate, or Advanced
- Audience - This allows you to target content based on a pre-defined list of roles provided by Microsoft.
- Select Save Detail
Tip
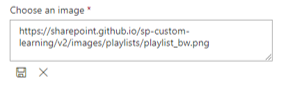
You can customize the icon image for your playlist. Click the image icon and insert a URL of a previously uploaded image. Make sure the image is located within the Custom Learning site collection or in another location that all users will have access to the file.
Step 3: Add assets to the playlist
In this step, you can add existing assets from Microsoft and the SharePoint page you created to the playlist.
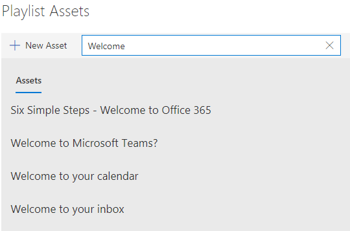
Once you have saved the details for your Playlist, you can use the Search for Existing Assets.
Enter in any search term to see a list of predefined assets that are available from other playlists. Click on the name of an asset to include it in your new playlist.
You can also add the SharePoint page you created earlier or create one from scratch in the experience.
- Select on the New Asset option in the Playlist Assets dialog
- Give your asset a Title. Once entered, more options display
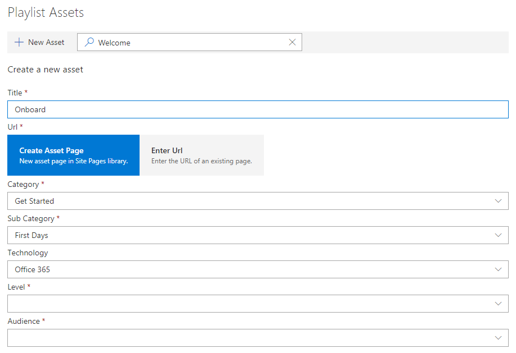
- You can now create a new asset page in SharePoint Online or enter in the URL of an existing page to add it to your custom playlist.
- Category, Sub Category, and Technology fields are pre-populated based on your previous selections for this playlist.
- Make the appropriate selections for Level and Audience for this individual asset.
- Select Save Asset to add it to the custom playlist
- Repeat these steps, either searching or adding individual pages, until your playlist is complete.
- Select Close Playlist to save
Your playlist with this content would now be available anywhere you have installed / embedded the Custom Learning web part.
Note
If you made a mistake once you have closed the playlist, you can delete it from the category by clicking the X next to the playlist name.
Things to Think About
Custom playlists can be used to assist your end users in various tasks. Do you have a time off request form? A form to request hardware equipment? Any existing training assets can be programmed into the experience.
Share Playlists
Navigate to any playlist within the web part or site experience
In the upper left hand corner, you can see three icons
Select on the icon representing a link
Copy the URL to the playlist
 This URL can now be inserted in your site navigation or utilized in other communications to take your employees directly to that playlist.
Next Steps - Drive Adoption
Feedback
Coming soon: Throughout 2024 we will be phasing out GitHub Issues as the feedback mechanism for content and replacing it with a new feedback system. For more information see: https://aka.ms/ContentUserFeedback.
Submit and view feedback for