How to run (SaRA) Fiddler Trace
Summary
Fiddler is a third-party (non-Microsoft) web debugging proxy that logs all HTTP(S) traffic between a user's computer and the Internet. It includes a powerful, event-based scripting subsystem (Fiddler Tracer) and can be extended by using any Microsoft .NET language.
More information
Note
The Fiddler Trace scenario in SaRA can only be run with the assistance of Microsoft Support.
To install and run the Fiddler Trace scenario in Microsoft Support and Recovery Assistant (SaRA), follow these steps:
Go to the SaRA Assisted Setup.
When prompted by your browser, select Run.
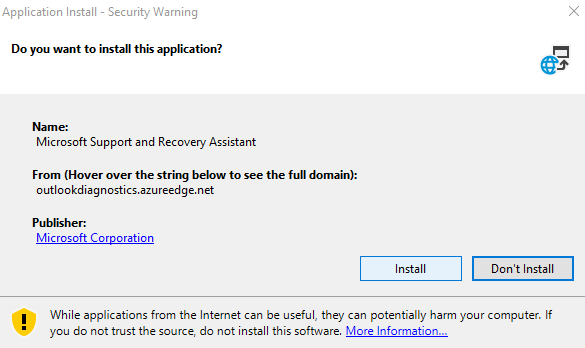
In the "Do you want to install this application?" window, select Install.
Wait for the download to finish.

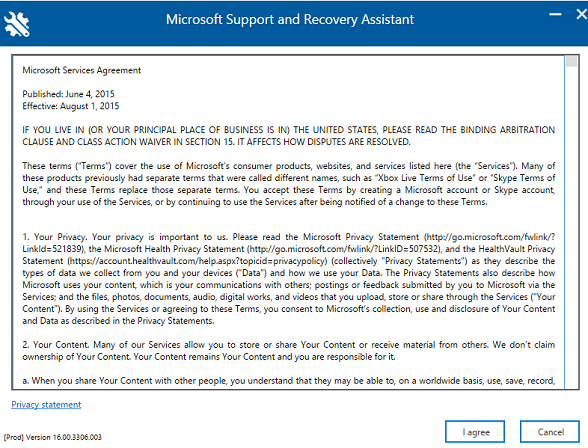
Read the Microsoft Services Agreement, then at the bottom of the window, select I agree.
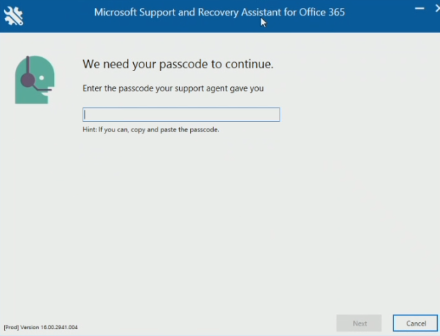
Enter the passcode provided by Microsoft Support in the box, and then select Next.
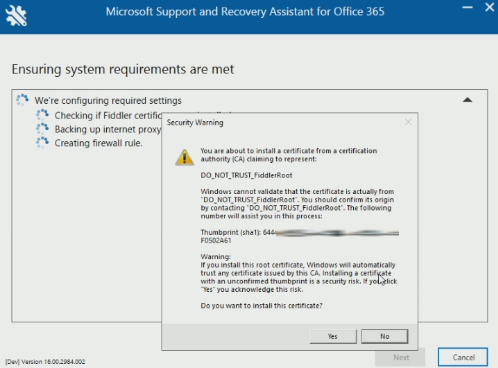
In the Security Warning window, select Yes and then select Next.
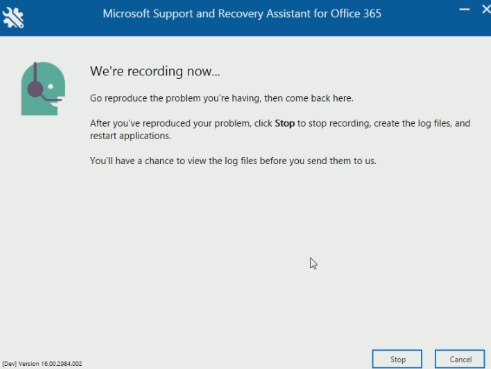
Select Start to capture the log.
Note
The log may contain personal information. Review the logs before you send them to Microsoft. You can decide whether or not to send the logs.

Reproduce the issue that you are having, and then return to the Recovery Assistant and select Stop. The Recover Assistant stops recording, creates the log files, and then restarts your applications.
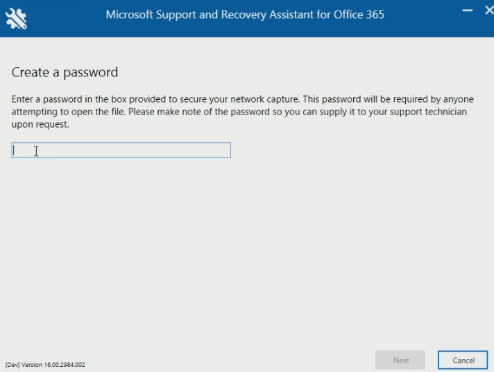
To help secure the network capture, enter a password. Note the password so that you can provide it to support technicians if they request it. When finished, select Next.
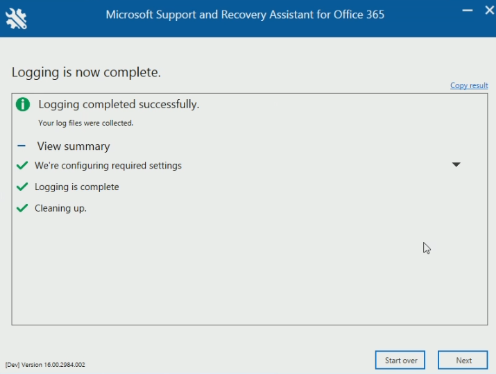
If you're satisfied with the information that the Recovery Assistant has collected, select Next. If you want to discard the information and repeat this procedure to collect new information, select Start over.
On the Thanks for collecting diagnostic logs page, follow the instructions to upload the log files and then select Next.
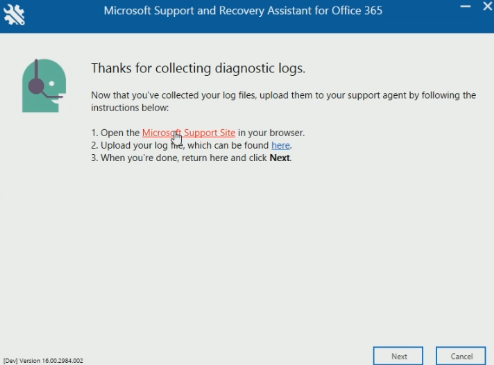
Note
- Selecting the "Microsoft Support Site" link opens the file transfer workspace.
- Selecting the "here" link opens the folder that holds the recorded log files.
- The log files in Windows are available as %localappdata%\Temp\<random characters>\Fiddler_*.saz.
- If the user account that ran the scenario is different from the user account that's logged into Windows, you may receive an error when you select the "here" link. This error indicates that the folder isn't available, because %localappdata% is different in the two accounts. If you receive an error, look in the %localappdata%\Temp\<random characters>\ folder for the user account that ran the scenario.
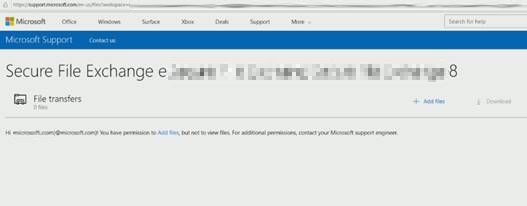
On the Microsoft Support Secure File Exchange website, select Add files to upload the log files.
Feedback
Coming soon: Throughout 2024 we will be phasing out GitHub Issues as the feedback mechanism for content and replacing it with a new feedback system. For more information see: https://aka.ms/ContentUserFeedback.
Submit and view feedback for