Integrate with Microsoft Planner
In this article, we'll learn how to integrate Power Apps with Planner to create and assign tasks to users within the organization.
Power Apps in Microsoft Teams enables collaboration between people and groups. Employees already use Teams to work, communicate, and collaborate. Apps in Teams have deep integration with other Teams capabilities. For example, in Teams, you can assign tasks to team members using Planner in your Teams channel. Apps that require follow-up by others in your team, such as to address issues reported in the Issue Reporting app, can leverage Planner in the Teams channel and create Tasks where users already manage their tasks.
Watch this video to learn how to integrate Power Apps with Planner:
Prerequisites
To complete this lesson, we'd need the ability to create apps within Teams that will be available as part of select Microsoft 365 subscriptions. We'll also need the ability to connect to Planner.
Login into Teams
Login into Teams using either the Desktop app or the web app.
Create a new Team
In this section, we'll create a new Teams team and then create an app within that team. Skip this section if you already have a team that you want to use instead.
To create a new team, select the Teams tab > select Join or create a team > select Create Team > select From Scratch > select Public, and give the team a name such as "Planner Integration". And then, select Create.
Select and add any members in your organization that you'd like to add to the team for testing purposes, and select Add.
Select Close.
The new team gets created and is listed under the Teams tab.
Create a new app
We'll create an app with five fields capturing details that will be used to create a Task in Planner.
Open Teams.
Select Power Apps from the left-pane.
Select + New app under Recent apps.
Select the team created earlier, and select Create to open Power Apps Studio.
Enter a name for the app, such as "Integrate with Planner", and select Save.
The app shows a default gallery
Select the database option from the left-pane to connect to the Planner.
Select + Add data, and then select Connectors.
Enter "Planner" in the search box to look for the Planner connector.
Select Planner.
If prompted, sign in.
Planner gets added as a data connection to the app
Select to open the Tree view.
Select + New screen > Blank layout.
Add the following controls.
Title (text input)
Property Value Name Title Type Text box X Screen2.Width/2 Y 135 Width 320 Height 35 From Date (date picker)
Property Value Name FromDate Type Date picker X Screen2.Width/2 Y 235 Width 320 Height 35 Due Date (date picker)
Property Value Name DueDate Type Date picker X Screen2.Width/2 Y 335 Width 320 Height 35 Assigned To (combo box)
Property Value Name AssignedTo Type Combo box X Screen2.Width/2 Y 435 Width 320 Height 35 Planner ID (combo box)
Property Value Name PlannerID Type Combo box Items Planner.ListGroupPlans(Param("groupID")).value X Screen2.Width/2 Y 535 Width 320 Height 35
Add the following labels.
Title
Property Value Name Label_Title X 365 Y 135 Width 320 Height 35 From Date
Property Value Name Label_FromDate X 365 Y 235 Width 320 Height 35 Due Date
Property Value Name Label_DueDate X 365 Y 335 Width 320 Height 35 Assigned To
Property Value Name Label_AssignedTo X 365 Y 435 Width 320 Height 35 Planner ID
Property Value Name Label_PlannerID X 365 Y 535 Width 320 Height 35
Add a button to the bottom of the screen with the following properties.
Property Value Name Button_CreateTask X 526 Y 635 Width 320 Height 35 Copy the following formula in the OnSelect property of Button_CreateTask.
Planner.CreateTaskV3(
    Param("groupId"),
    PlannerID.Selected.id,
    Title.Value,
    {
        startDateTime: FromDate.Value,
        dueDateTime: DueDate.Value,
        assignments: AssignedTo.Selected.'User Name'
    }
)
Note
Upon selecting the Create Task button, it'll use the parameters provided in the formula to figure out the team for which the task is being created, the planner within the team the task is to be created, the Title from the text box captured on the screen, and the From and Due dates captured on the screen.
Move Screen2 up above Screen1. If you want, you can also delete Screen1 instead.
Save and publish the app
Select Save on the top-right side of the screen to save the app.
Select Publish.
Select Next.
Under Add to Channel, make sure the channel under which the app should be shown is listed and shows as at least "1 active tab(s)" and not "0 active tab(s)".

Select Save and Close.
Test the app
Open the team under which the app is created.
Select + Add a tab.
Search for tasks by Planner to add a planner tab to the team.
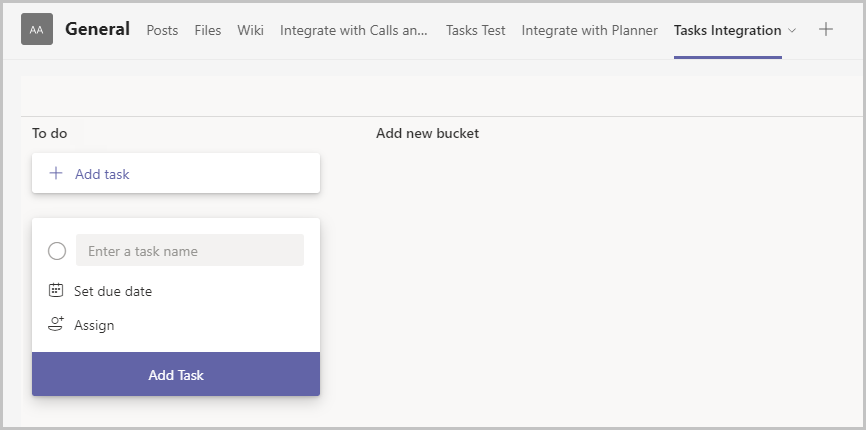
Enter tab name under Create a new plan, for example "Tasks Integration". And then, select Save.
The tab gets added to the Team
Run the app in preview mode or from within the team.
Populate the columns with appropriate values.

Select Create Task.
Go to the Planner tab for which the task is being created—in our example, "Tasks Integration Planner".
A new task with the details should be added to the list.

See Planner integration in action
To see an example of Planner integration, check out the Issue Reporting sample app template for Teams. Issue Reporting makes it easy for users to report issues. These issues are created in Planner and assigned for follow-up.
This integration can be easily extended to add logic to automatically assign the Planner Tasks or provide notifications for issue tasks.
Feedback
Coming soon: Throughout 2024 we will be phasing out GitHub Issues as the feedback mechanism for content and replacing it with a new feedback system. For more information see: https://aka.ms/ContentUserFeedback.
Submit and view feedback for