Trigger desktop flows from cloud flows
Prerequisites
A registered machine or machine group that will run the triggered desktop flows. Machines are the physical or virtual devices you use to automate desktop processes. Machine groups allow you to handle multiple machines as one entity and distribute your automation workload.
A work or school account.
A configured desktop flow connection.
To run the triggered desktop flows, you need to have the appropriate license (for attended runs) or an unattended add-on (for unattended runs). The user who needs to have the appropriate license is the creator of the connection.
Trigger a desktop flow from a cloud flow
To trigger a desktop flow from a cloud flow:
Go to Power Automate and sign in with your credentials.
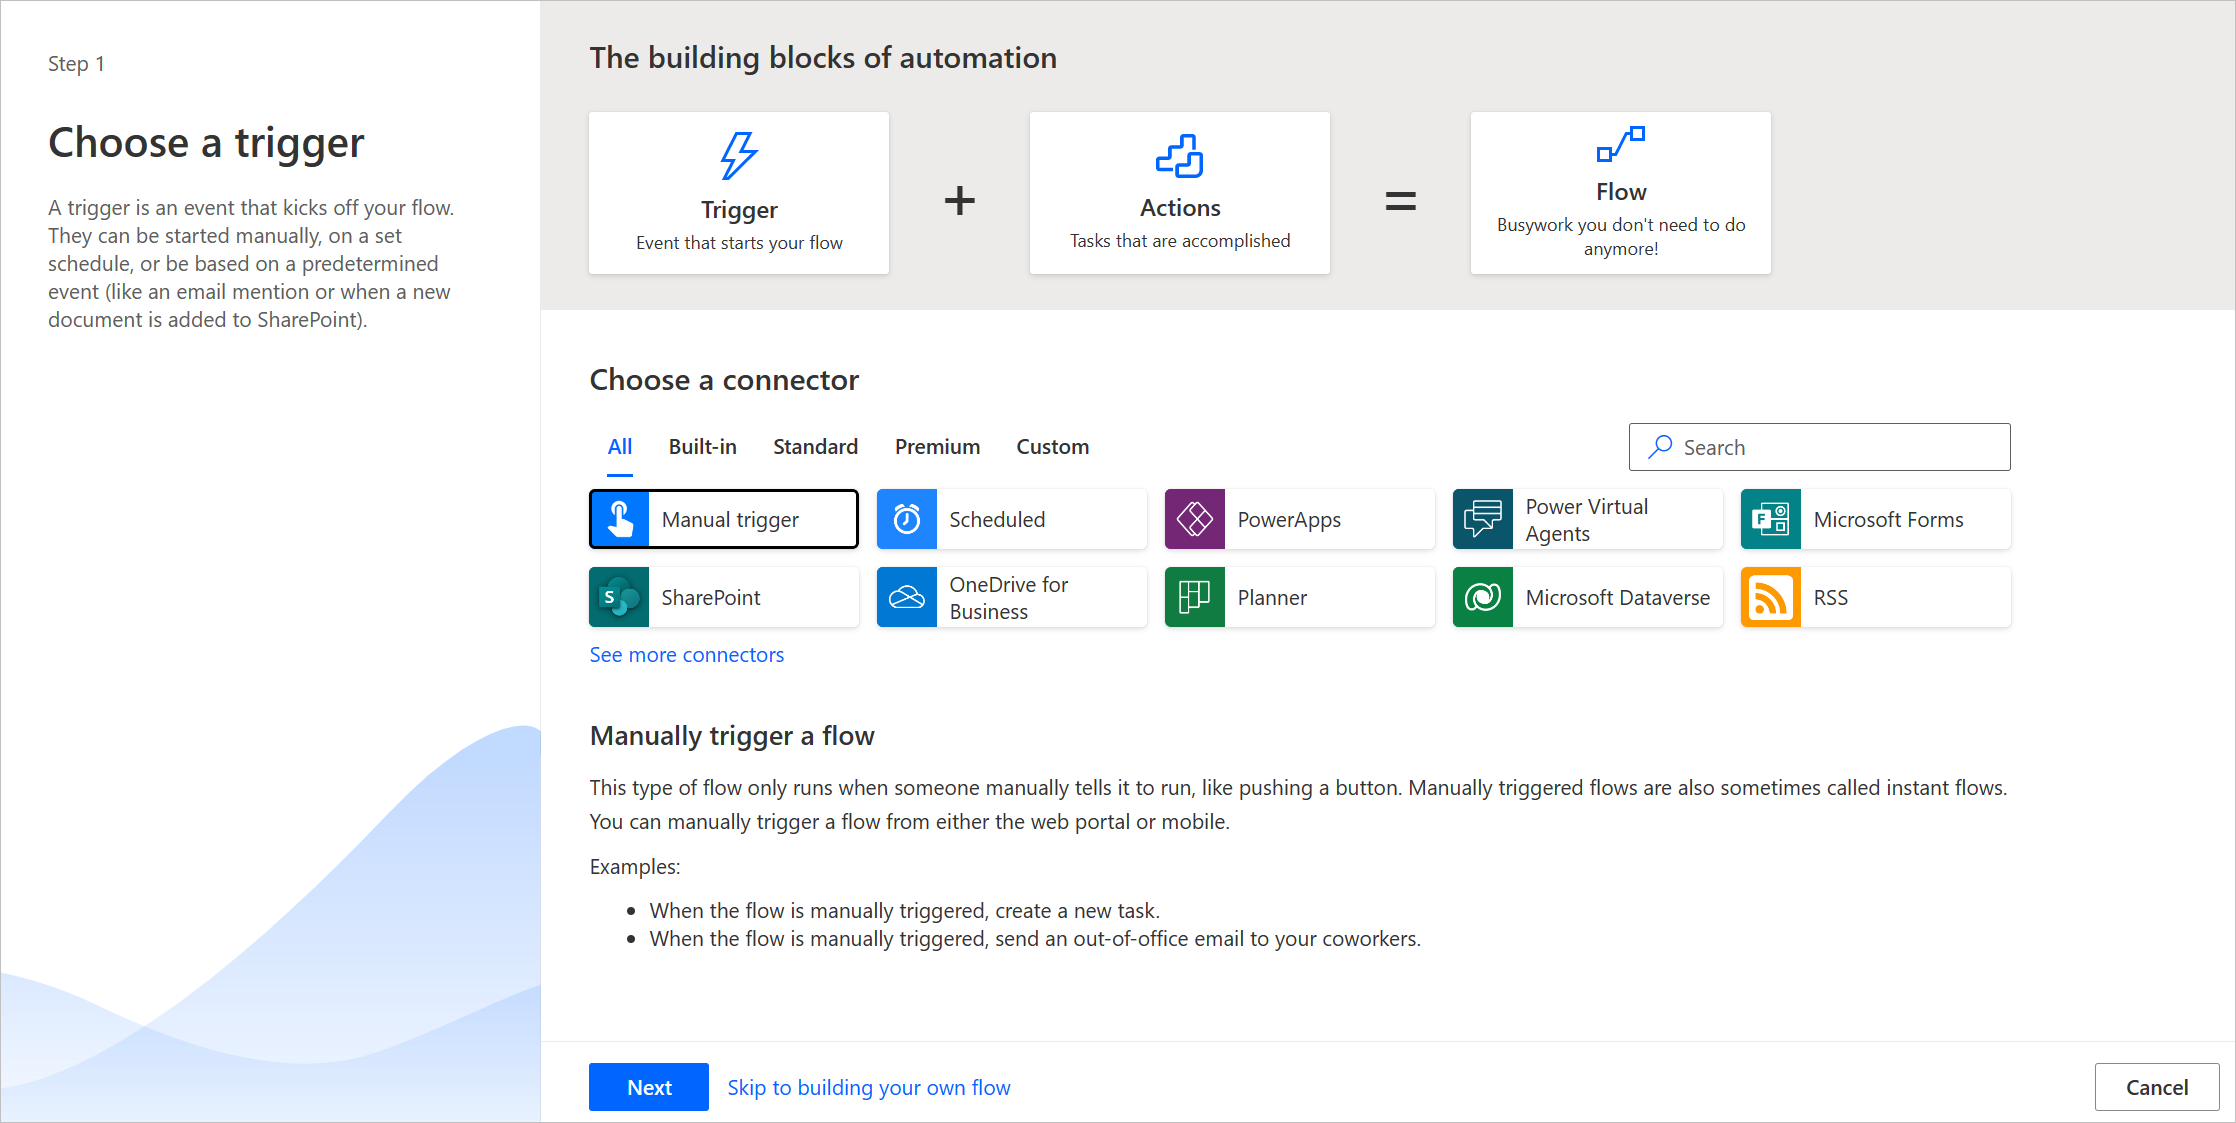
Create a new cloud flow that you'll later use to trigger your desktop flow. This flow can be an instant or an automated cloud flow.
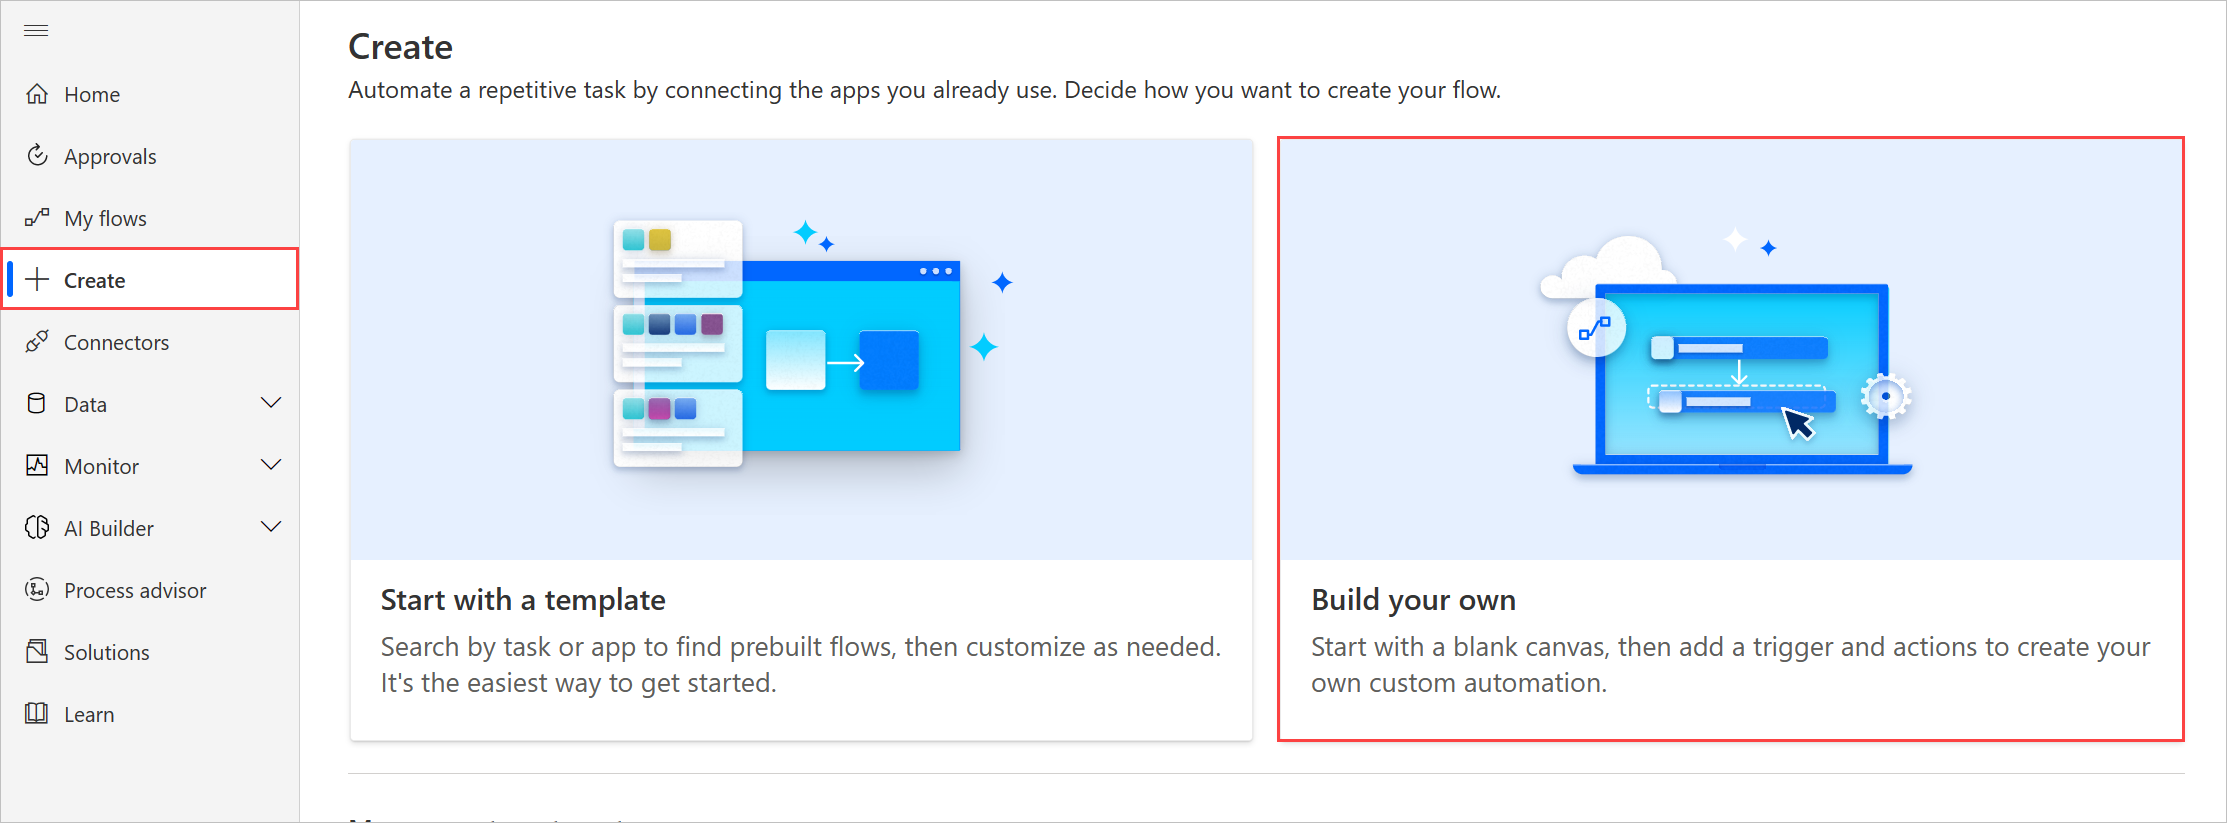
The following example displays the creation of a manually triggered cloud flow. This step may differ depending on the type of cloud flow you want to create.
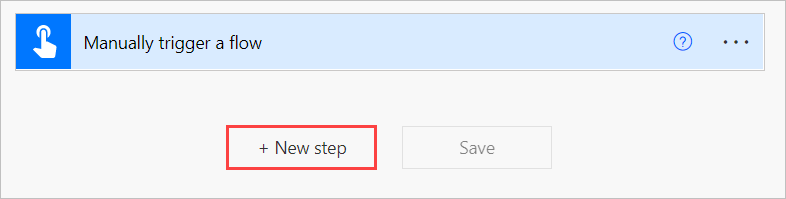
In the cloud flow designer, select + New step.
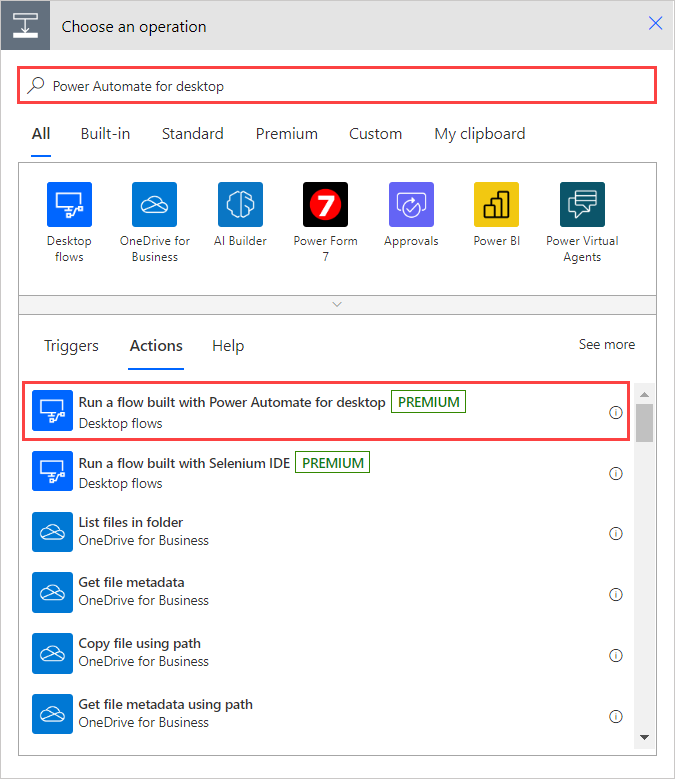
In the Choose an action dialog, search for Power Automate for desktop. Under Actions, select Run a flow built with Power Automate for desktop.
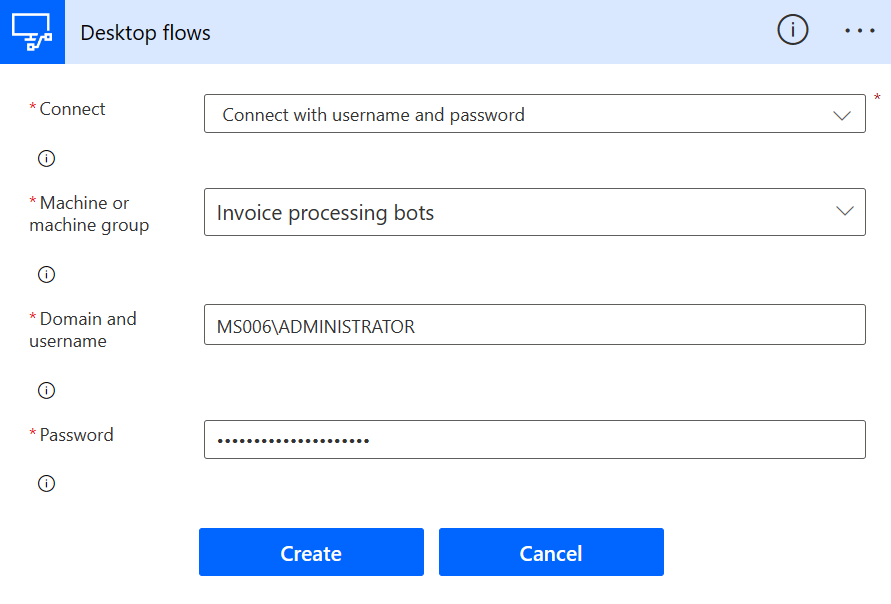
If you haven't already created a desktop flow connection, the action will prompt you to create one. You can find more information regarding desktop flow connections in Create desktop flow connections.
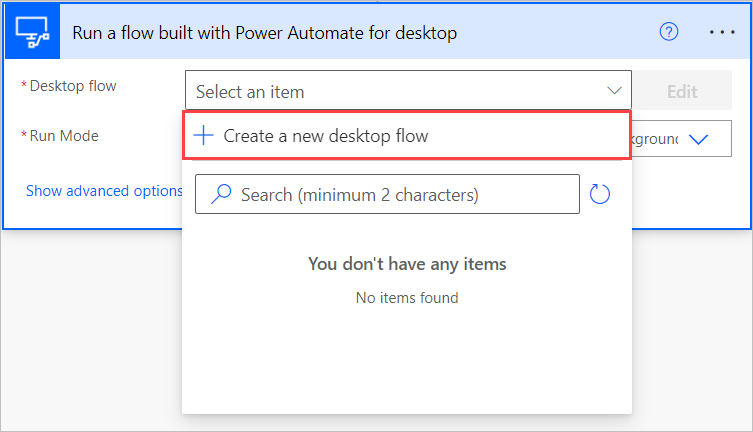
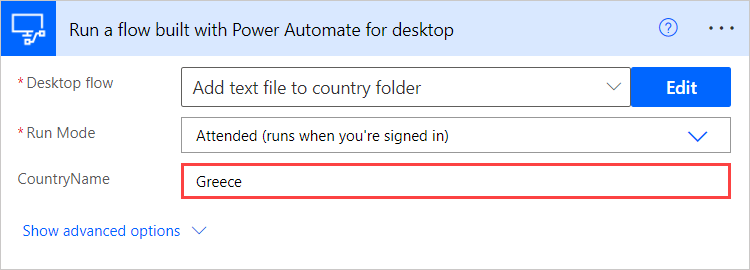
Set the desired run mode (attended or unattended) for your desktop flow and select Create a new desktop flow in Desktop flow. If you want to trigger an existing desktop flow, select its name instead.
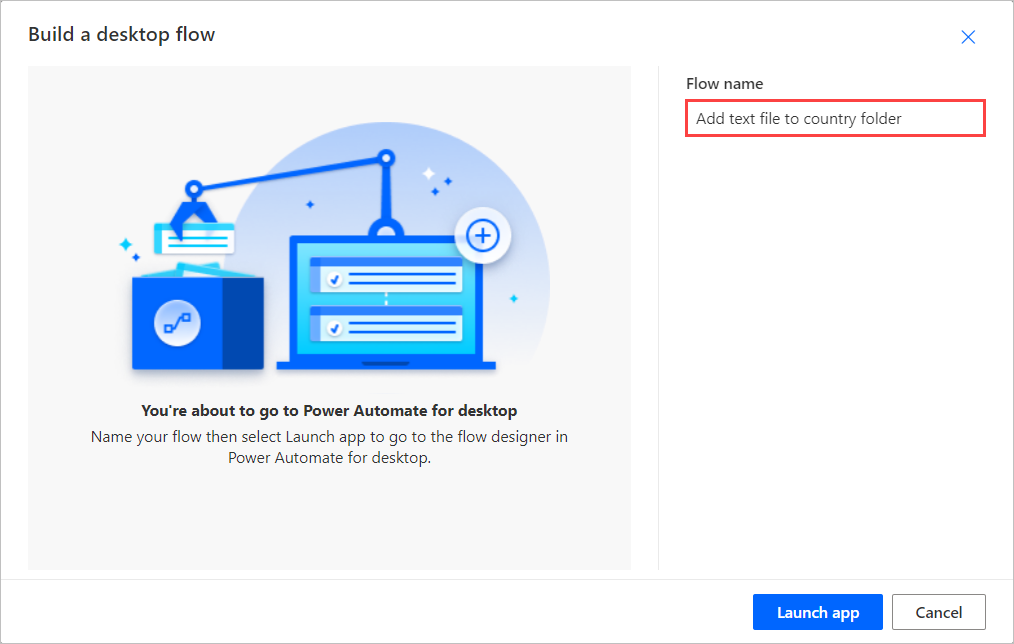
Enter a name for the new desktop flow and select Launch app.
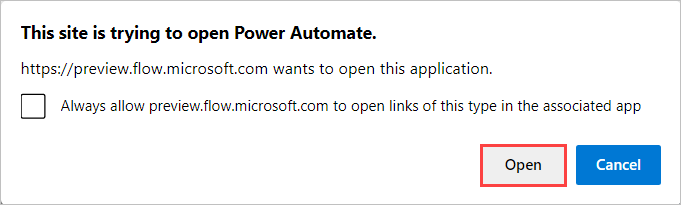
A message from the browser may appear, asking whether to allow the page to open Power Automate. Select Open.
At this step, Power Automate should have created a new desktop flow and opened it in the flow designer.

Desktop flows can contain input and output variables to pass data between desktop and cloud flows.
Input variables enable you to pass data from cloud to desktop flow, while output variables allow you to pass data from desktop to cloud flows. To see more information about input and output variables, go to Input and output variables.
Back in the Power Automate portal, any input variables appear as fields in the Run a flow built with Power Automate for desktop action.
Note
- If an input variable contains sensitive data, you may want to obfuscate or omit it from the logs. To find more information regarding sensitive text inputs, go to Manage sensitive input like passwords.
- The limit of the input size for a desktop flow is 2 MB (1 MB for China regions).
Known limitations
- We currently support up to 70 desktop flows runs per minute for every connection.
- It is not supported to disable the Asynchronous Pattern under settings of a 'Run a flow built with Power Automate for desktop' action in a cloud flow.
Feedback
Coming soon: Throughout 2024 we will be phasing out GitHub Issues as the feedback mechanism for content and replacing it with a new feedback system. For more information see: https://aka.ms/ContentUserFeedback.
Submit and view feedback for