Automate using images
To capture a new image in Power Automate, navigate to the Images tab on the right pane of the flow designer.
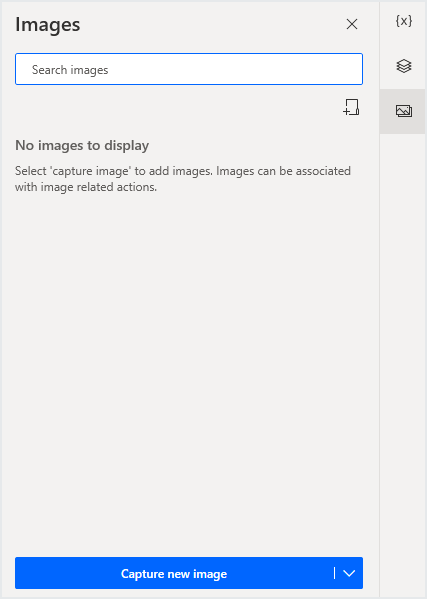
Select Capture image, and click and drag the cursor on the area you want to capture. A magnifying glass will help you to capture the image with high precision.

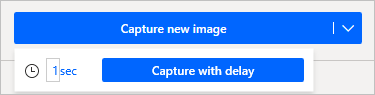
Alternatively, select the arrow on the Capture image button to capture images on a timer. Then, choose one of the suggested time options or Capture image with custom delay to set a custom delay time.
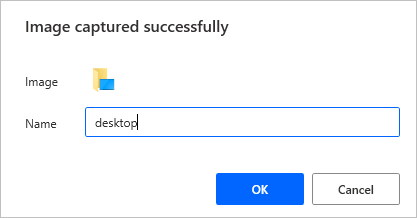
After capturing the image, populate a name for it in the dialog box and select OK to add it to the flow.
Manage captured images
To remove all the images that aren't used in any action, select the dots icon next to the Capture image option, and then select Remove unused images. If you navigate inside a specific folder, the Remove unused images option will remove only the unused images located in this folder.
To create a new folder, select Add a new folder and specify a name for the created folder. You can store images into a specific folder by capturing them while the folder is open.

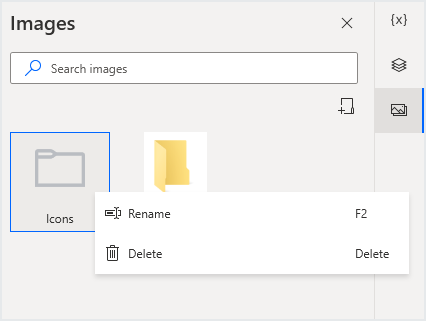
To rename or delete images and folders, right-click on the respective item and select the appropriate function. Select the image thumbnail to open and view it.
To find where an image is being used in the flow, right-click on it and select Find usages. The results will present the actions that use the specific image. Double-clicking on a result will highlight the action in the workspace.

Use images in actions
After capturing images, you can use them as input in actions that require them, such as the Move mouse to image action.

In the advanced settings of these actions, you can select which image matching algorithm you want to use. The Basic algorithm achieves better results with images less than 200x200 pixels, while the Advanced algorithm is more effective with bigger images and more robust to color changes.
The Tolerance field defines the acceptable amount of differences between the provided image and the image is compared with. High tolerance values may affect the precision of image recognition.

Feedback
Coming soon: Throughout 2024 we will be phasing out GitHub Issues as the feedback mechanism for content and replacing it with a new feedback system. For more information see: https://aka.ms/ContentUserFeedback.
Submit and view feedback for