Create a canvas app to manage projects
Note
This article is part of a tutorial series on using Power Apps, Power Automate, and Power BI with SharePoint Online. Make sure you read the series introduction to get a sense of the big picture, as well as related downloads.
In this task, we'll build a canvas app from scratch. This app allows a user to assign a manager to projects and to update project details. You will see some of the same controls and formulas you saw in the first app, but you will build more of the app yourself this time. The process is more complex, but you'll learn more, so we think it's a fair trade-off.
Quick review of Power Apps Studio
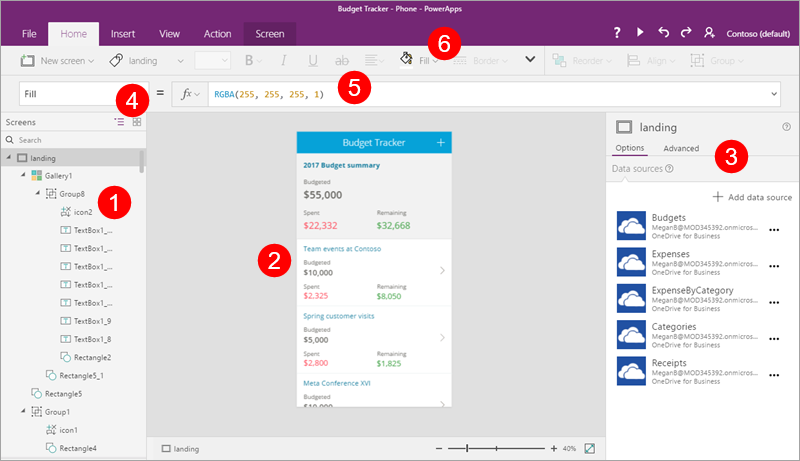
Power Apps Studio has three panes and a ribbon that make app creation feel like building a slide deck in PowerPoint:
- Left navigation bar, which shows a hierarchical view of all the app's screens and controls, as well as thumbnails of the screens
- Middle pane, which contains the app screen you are working on
- Right-hand pane, where you set options like layout and data sources
- Property drop-down list, where you select the properties that formulas apply to
- Formula bar, where you add formulas (like in Excel) that define app behavior
- Ribbon, where you add controls and customize design elements
Step 1: Create screens
With that review out of the way, let's start building an app.
Create the app
Create a blank canvas app with Phone layout, and "Project Management app" name.
Add four screens to the app
In this step, we'll create four blank screens for the app. We'll use different screen layouts, depending on the screen's purpose. We'll add to these screens in later steps.
| Screen | Purpose |
|---|---|
| SelectTask | Opening screen; navigate to other screens |
| AssignManager | Assign a manager to an approved project |
| ViewProjects | View a list of projects, with summary information |
| UpdateDetails | View and update the details for a project |
On the Home tab, click or tap NewScreen, then Scrollable screen.

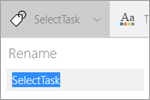
Rename the screen to SelectTask.
Create and rename additional screens:
- Click or tap NewScreen, then Scrollable screen. Rename the screen to AssignManager.
- Click or tap NewScreen, then List screen. Rename the screen to ViewProjects.
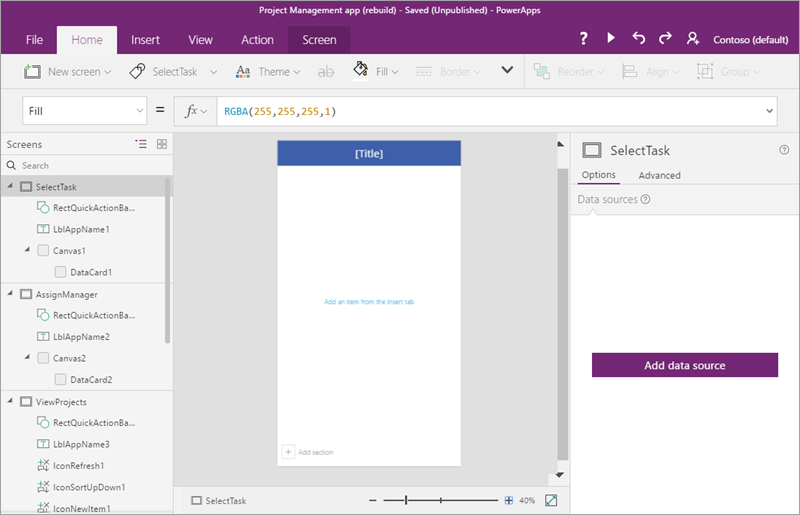
- Click or tap NewScreen, then Form screen. Rename the screen to UpdateDetails.
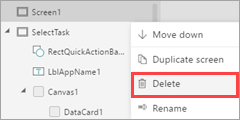
Select the ellipsis (. . .) next to Screen1, then click or tap Delete.
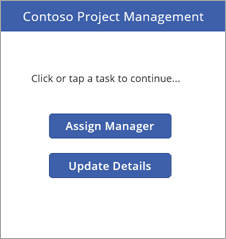
The app should now look like the following image.
Step 2: Connect to a list created using Microsoft Lists
In this step, we'll connect to the Project Details list. We only use one list in this app, but you could easily connect to both if you want to extend the app.
In the left navigation bar, click or tap the SelectTask screen.
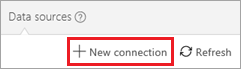
In the right pane, click or tap Add data source.

Click or tap New connection.
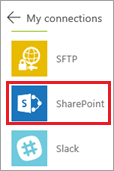
Click or tap SharePoint.
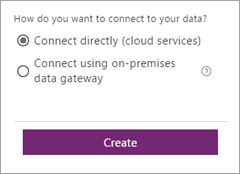
Select Connect directly (cloud services), then click or tap Create.
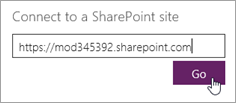
Enter a SharePoint URL, then click or tap Go.
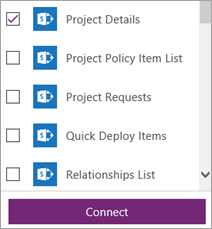
Select the Project Details list, then click or tap Connect.
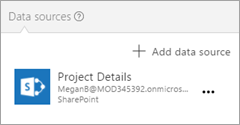
The Data sources tab in the right pane now shows the connection that you have created.
Step 3: Build the SelectTask screen
In this step, we'll provide a way to navigate to the other screens in the app - working with some of the controls, formulas, and formatting options that Power Apps provides.
Update the title and insert introductory text
In the left navigation bar, select the SelectTask screen.
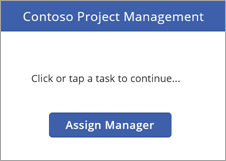
In the middle pane, select the default [Title], then in the formula bar, update the Text property to "Contoso Project Management".

On the Insert tab, click or tap Label, then drag the label down below the top banner.

In the formula bar, set the following properties for the label:
Color property = DarkGray
Size property = 18
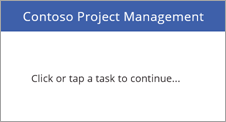
Text property = "Click or tap a task to continue..."
Add two navigation buttons
On the Insert tab, click or tap Button, then drag the button below the label.
In the formula bar, set the following properties for the button:
OnSelect property = Navigate(AssignManager, Fade). When you run the app and click this button, you navigate to the second screen in the app, with a fade transition between the screens.
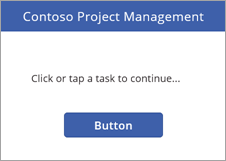
Text property = "Assign Manager"
Resize the button to accommodate the text.
Insert another button with the following properties:
OnSelect property = Navigate(ViewProjects, Fade).
Text property = "Update Details"
Note
The button is labeled Update Details, but we first navigate to the ViewProjects screen to select a project to update.
Run the app
The app doesn't do a lot yet, but you can run it if you like:
Click or tap the SelectTask screen (the app always starts from the selected screen in Preview mode in Power Apps Studio).
Click or tap
 in the upper right corner to run the app.
Click or tap one of the buttons to navigate to another screen.
Click or tap
 in the upper right corner to close the app.
Step 4: Build the AssignManager screen
In this step, we'll use a gallery to display all projects that have been approved but don't yet have a manager. We'll add other controls, so you can assign a manager.
Note
We'll build a page later in the app that allows you to edit all fields for a project (including the manager field), but we thought it would be cool to build a screen like this one as well.
Save the changes you've made so far.
In the left navigation bar, click or tap the AssignManager screen.
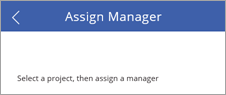
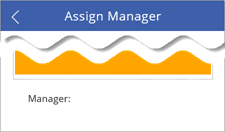
Update the title and insert introductory text
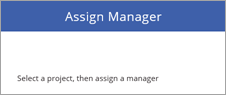
Change [Title] to Assign Manager.
Add a label with the following properties:
Color property = DarkGray
Size property = 18
Text property = "Select a project, then assign a manager"
Add a back arrow to return to the SelectTask screen
Click or tap the blue bar at the top of the screen.
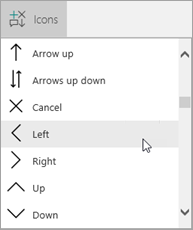
On the Insert tab, click or tap Icons, then click or tap Left.
Move the arrow to the left side of the blue bar, and set the following properties:
Color property = White
Height property = 40
OnSelect property = Navigate(SelectTask, Fade)
Width property = 40
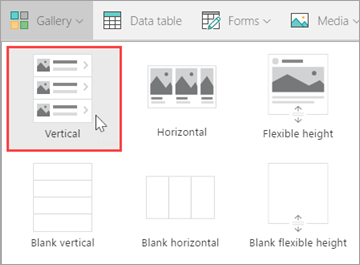
Add and modify a gallery
On the Insert tab, click or tap Gallery, then Vertical.
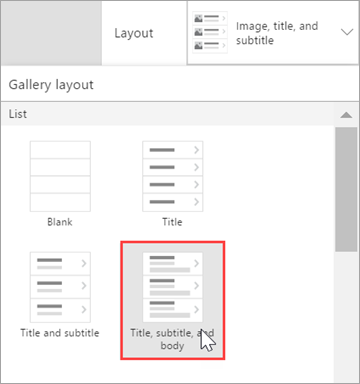
Select Title, subtitle, and body from the Layout menu in the right pane.
The gallery now has the right layout, but it still has the default sample text. We'll fix that next.
Set the following properties for the gallery:
BorderThickness property = 1
BorderStyle property = Dotted
Items property = Filter('Project Details', PMAssigned="Unassigned"). Only projects with no manager assigned are included in the gallery.
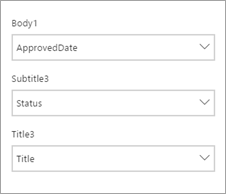
In the right pane, update the fields to match the following list:
ApprovedDate
Status
Title
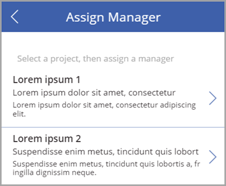
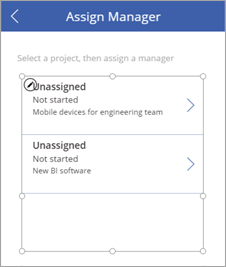
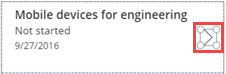
Resize labels in the gallery as appropriate, and remove the arrow from the first gallery item (we don't need to navigate anywhere from this gallery).
The screen should now look like the following image.

Change the color of an item if it's selected
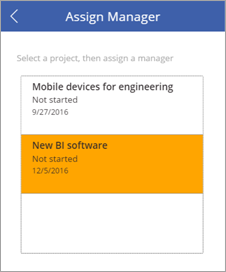
Select the gallery, then set the TemplateFill property to If (ThisItem.IsSelected=true, Orange, White).
Select an item in the gallery. The screen should now look like the following image.
Add a label, text input, and OK button to submit manager assignments
Click or tap outside the gallery you've been working on.
On the Insert tab, click or tap Label. Drag the label below the gallery, to the left. Set the following properties for the label:
Size property = 20
Text property = "Manager:"
On the Insert tab, click or tap Text, then Text input. Drag the text input below the gallery, in the center. Set the following properties for the drop down:
Default property = ""
Height property = 60
Size property = 20
Width property = 250

On the Insert tab, click or tap Button. Drag the button below the gallery, to the right. Set the following properties for the button:
Height property = 60
OnSelect property = Patch('Project Details', LookUp('Project Details', ID = Gallery1.Selected.ID), {PMAssigned: TextInput1.Text}). For more information, see Formula deep-dive.
This formula updates the Project Details list, setting a value for the PMAssigned field.
Size property = 20
Text property = "OK"
Width property = 80
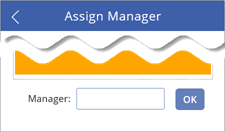
The completed screen should now look like the following image.

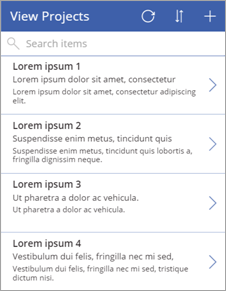
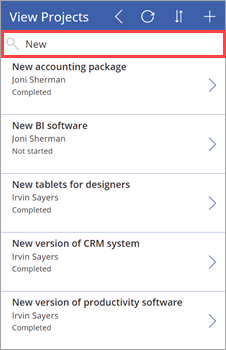
Step 5: Build the ViewProjects screen
In this step, we'll change properties for the gallery on the ViewProjects screen. This gallery displays items from the Project Details list. You select an item on this screen, then you edit the details on the UpdateDetails screen.
In the left navigation bar, click or tap the ViewProjects screen.
Change [Title] to "View Projects".
In the left navigation bar, click or tap BrowserGallery1 under ViewProjects.
Select Title, subtitle, and body from the Layout menu in the right pane.
The gallery now has the right layout, with the default sample text.
Select the refresh button
 , and set its OnSelect property to Refresh('Project Details').
Select the new item button
 , and set its OnSelect property to NewForm(EditForm1); Navigate(UpdateDetails, ScreenTransition.None).
Add a back arrow to return to the SelectTask screen
In the left navigation bar, click or tap the AssignManager screen.
Select the back arrow you added there, and copy it.
Paste the arrow into the ViewProjects screen and position it to the left of the refresh button.
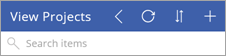
All its properties come along with it, including the OnSelect property of Navigate(SelectTask, Fade).
Change the data source for the BrowseGallery1 gallery
Select the BrowseGallery1 gallery, and set the Items property of the gallery to SortByColumns(Filter('Project Details', StartsWith(Title, TextSearchBox1.Text)), "Title", If(SortDescending1, Descending, Ascending)).
This sets the data source of the gallery to the Project Details list, and uses the Title field for search and sort.
Select the
 in the first gallery item, and set the OnSelect property to Navigate(UpdateDetails, None).
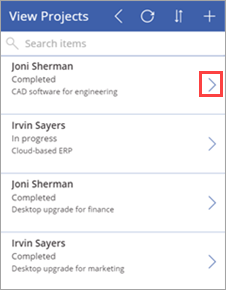
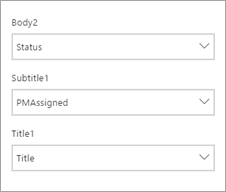
In the right pane, update the fields to match the following list:
Status
PMAssigned
Title
The completed screen should now look like the following image.

Step 6: Build the UpdateDetails screen
In this step, we'll connect the edit form on the UpdateDetails screen to our data source, and we'll make some property and field changes. On this screen, you edit details for a project that you selected on the View Projects screen.
In the left navigation bar, click or tap the UpdateDetails screen.
Change [Title] to "Update Details".
In the left navigation bar, click or tap EditForm1 under UpdateDetails.
Set the following properties for the form:
DataSource property = 'Project Details'
Item property = BrowseGallery1.Selected
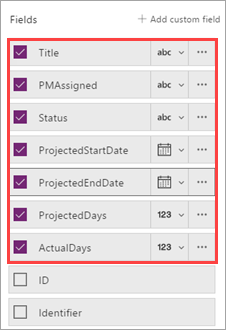
With the form still selected, in the right pane click or tap the checkbox for the following fields, in the order shown:
Title
PMAssigned
Status
ProjectedStartDate
ProjectedEndDate
ProjectedDays
ActualDays
Select the cancel button
 , and set its OnSelect property to ResetForm(EditForm1); Back().
Select the save button
 and check out the OnSelect formula - SubmitForm(EditForm1). Because we're using the edit form control, we can use Submit(), instead of using Patch() like we did earlier.
The completed screen should now look like the following image (if the fields are blank, make sure you select an item on the View Projects screen).

Step 7: Run the app
Now that the app is complete, let's run it to see how it works. We'll add a link on the SharePoint site to the app. You will be able to run the app in the browser, but you might need to share the app for other people to run it. For more information, see Share your app.
Add a link to the app
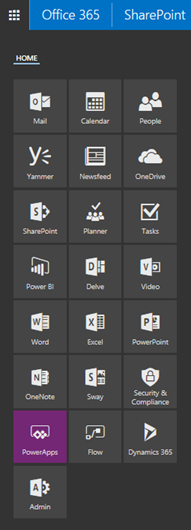
In the Office 365 app launcher, click or tap Power Apps.
In Power Apps, click or tap the ellipsis (. . .) for Project Management app, then Open.
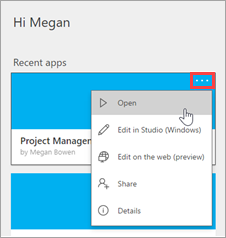
Copy the address (URL) for the app in the browser.

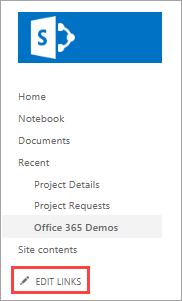
In SharePoint, click or tap EDIT LINKS.
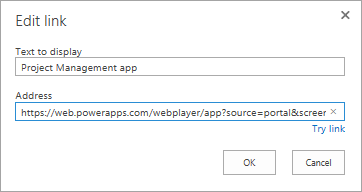
Click or tap (+) link.

Enter "Project Management app", and paste in the address for the app.
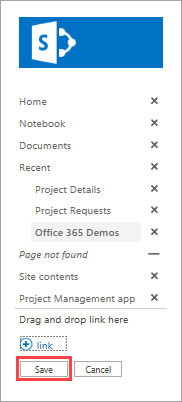
Click or tap OK, then Save.
Assign a manager to a project
Now that we have the app in our SharePoint site, we'll assume the role of the project approver - we'll look for any projects that don't have a manager assigned, and assign a manager to one of the projects. Then we'll assume the role of the project manager, and add some information about a project that is assigned to us.
First, let's look at the Project Details list in SharePoint. Two projects have a value of Unassigned in the PMAssigned column. We will see these in the app.

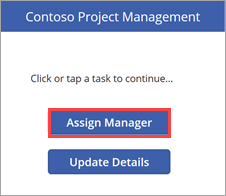
Click or tap the link that you created to the app.
On the first screen, click or tap Assign Manager.
On the Assign Manager screen, you see the two unassigned projects from the list. Select the New BI software project.
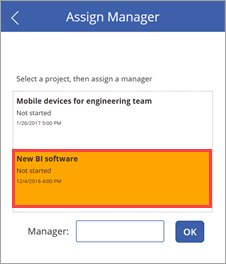
In the Manager text input, enter "Joni Sherman", then click OK.
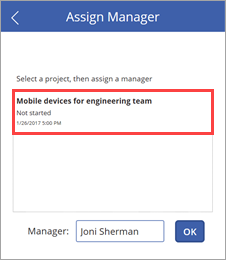
The change is applied to the list, and the gallery refreshes so only the remaining unassigned project is displayed.
Go back to the list and refresh the page. You'll see that the project entry is now updated with the project manager name.

Update details for the project
Click or tap
 to go back to the first screen, then click or tap Update Details.
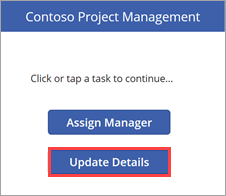
On the View Projects screen, enter "New" in the search box.
Click
for the New BI software item.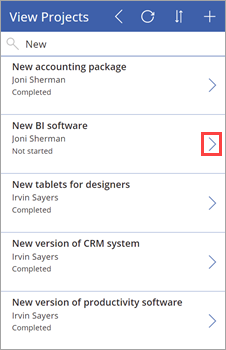
On the Update Details screen, set the following values:
The ProjectedStartDate field = "3/6/2017"
The ProjectedEndDate field = "3/24/2017"
The ProjectedDays field = "15"
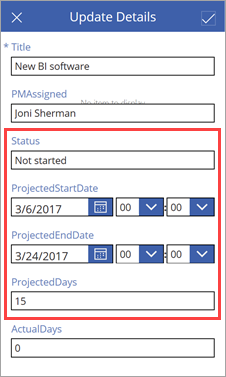
Click or tap
to apply the change to the list.Close the app, and go back to the list. You see that the project entry is now updated with the date and day changes.

Formula deep-dive
This is the second optional section on Power Apps formulas. In the first deep-dive, we looked at one of the formulas that Power Apps generates for the browse gallery in a three-screen app. In this deep-dive, we'll look at a formula that we use for the AssignManager screen of our second app. Here's the formula:
Patch( 'Project Details', LookUp( 'Project Details', ID = Gallery1.Selected.ID ), {PMAssigned: TextInput1.Text} )
What does this formula do? When you select an item in the gallery and click the OK button, the formula updates the Project Details list, setting the PMAssigned column to the value that you specify in the text input. The formula uses functions to do its work:
The Patch function modifies one or more records of a data source.
The LookUp function finds the first record in a table that satisfies a formula.
When you put the functions together in the formula, here's what happens:
When you click the OK button, the Patch function is called to update the Project Details list.
Within the Patch function, the LookUp function identifies which row of the Project Details list to update. It does this by comparing the ID of the selected gallery item to the ID in the list. For example, an ID of 12 means that the entry for New BI software should be updated.
Now that the Patch function has the right ID, it updates the PMAssigned field to the value in TextInput1.Text.
Next steps
The next step in this tutorial series is to create a Power BI report to analyze projects.
See also
Feedback
Coming soon: Throughout 2024 we will be phasing out GitHub Issues as the feedback mechanism for content and replacing it with a new feedback system. For more information see: https://aka.ms/ContentUserFeedback.
Submit and view feedback for