5. Share your sprint plan
TFS 2017 | TFS 2015 | TFS 2013
Once you've completed your sprint plan, you can easily share it with other members of your team or organization. This article shows you how to:
- Create a query from your sprint plan
- Email your sprint plan
Any stakeholder on your team (someone with permissions to connect to your project) can view your sprint plan. Send them the URL of your sprint backlog page. But also, you can share it with them through email or print a version.
Open a sprint backlog for a team
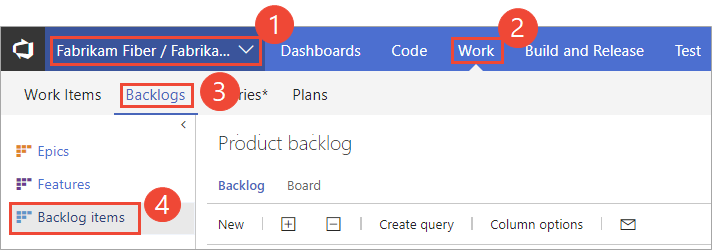
From your web browser, open your team's product backlog. (1) Select the team from the project/team selector, choose (2) Work, (3) Backlogs, and then (4) the product backlog, which is Backlog items (for Scrum), Stories (for Agile), or Requirements (for CMMI).
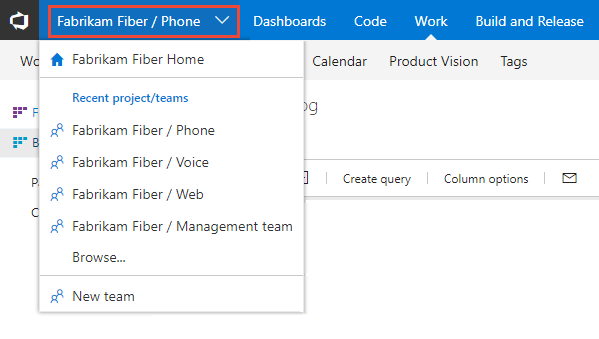
To choose another team, open the project/team selector and select a different team or choose the Browse option.
The set of sprints selected for your team appears in the left pane. If you don't see any sprints listed, you can add sprints or select existing sprints for your team's use. To learn how, see Define sprints.
Choose the sprint you want to plan.
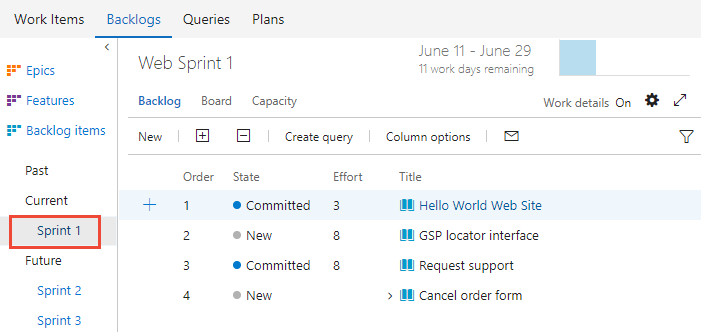
The system lists only those sprints that have been selected for the current team focus. For more information, see Define iteration (sprint) paths.
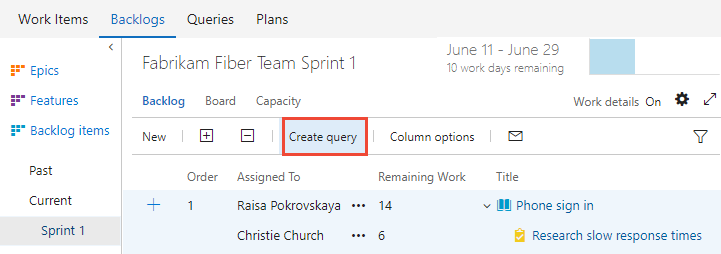
Create query for your sprint plan
(Optional) To choose which columns should display and in what order, choose Column options. To learn more, see Change column options.
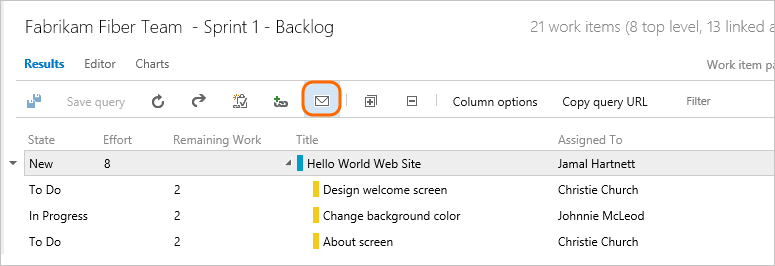
To email the sprint plan, create and save the query for the sprint backlog.
Then, open the query and choose the email icon.
In the form that appears, enter the name(s) of valid users (ones who have access to the project).
Important
You can only send the email to individual address for a project member that is recognized by the system. Adding a team group or security group to the to line isn't supported. If you add an email account that the system doesn't recognize, you receive a message that one or more recipients of your email don't have permissions to read the mailed work items.
Or, you can select all the items in the list, choose Copy as HTML, and paste the formatted list into an email form or Word document. See Copy a list of work items.