Configure CSV File Location
Step 1: Download the on-premises Data Gateway
Download, save, and run the gateway installer on a local computer.
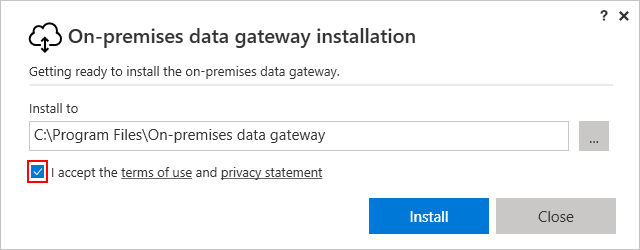
Accept the default installation path, or specify the location on your computer where you want to install the gateway.
Review and accept the terms of use and privacy statement, and then choose Install.
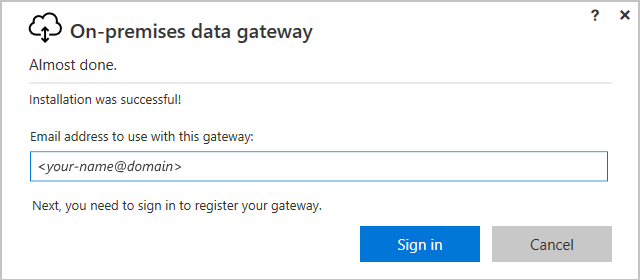
After the gateway successfully installs, provide your global administrator account, and choose Sign in.
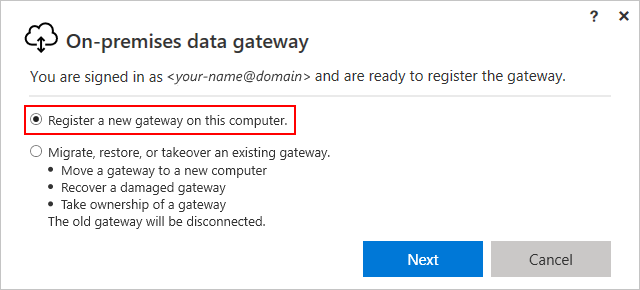
Choose Register a new gateway on this computer > Next, which registers your gateway installation with the gateway cloud service.
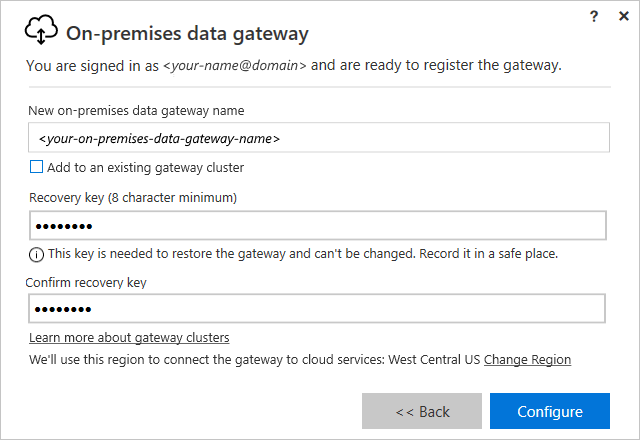
- Provide this information for your gateway installation:
- The name you want for your installation
- The recovery key you want to create, which must have at least eight characters
Save and keep your recovery key in a safe place. You need this key when you change the gateway's location, or when you migrate, recover, or take over an existing gateway.
Select Configure.
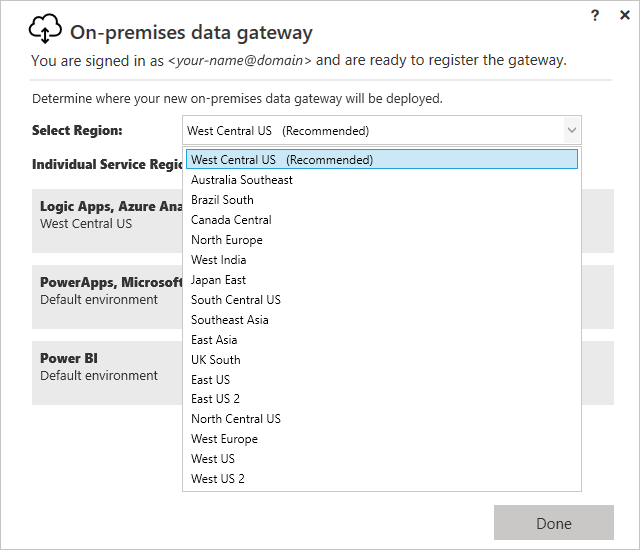
On the next screen, don’t change the recommended region under Select Region unless you know with certainty that you need to change the region. Then select Done.
After the confirmation page appears, choose Close. The installer confirms that your gateway is now online and ready for use.
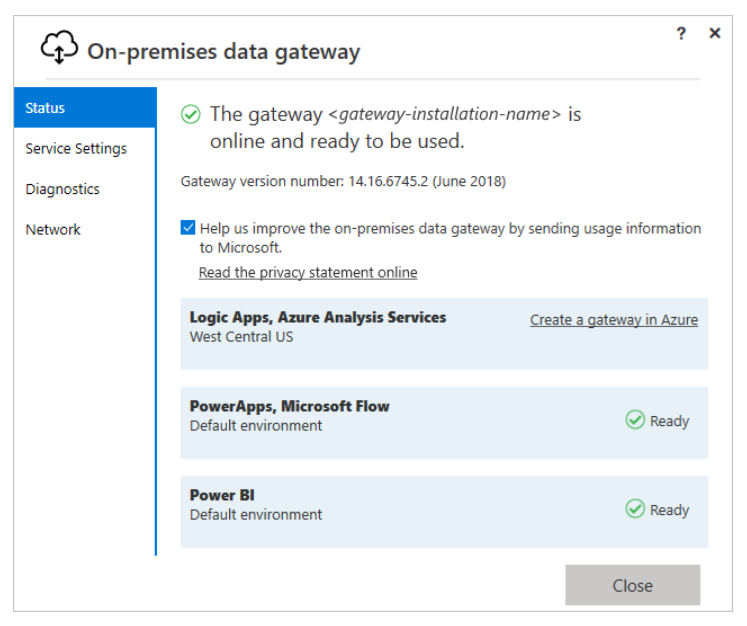
You don't need to select on the link that reads Create a gateway in Azure. For more context, this article explains how the data gateway works.
Step 2: Create a new local service account.
- Go to Computer Management.
- Double-click on Local Users and Groups.
- Double-click on Users.
- Right-click in the center pane to Add New User.
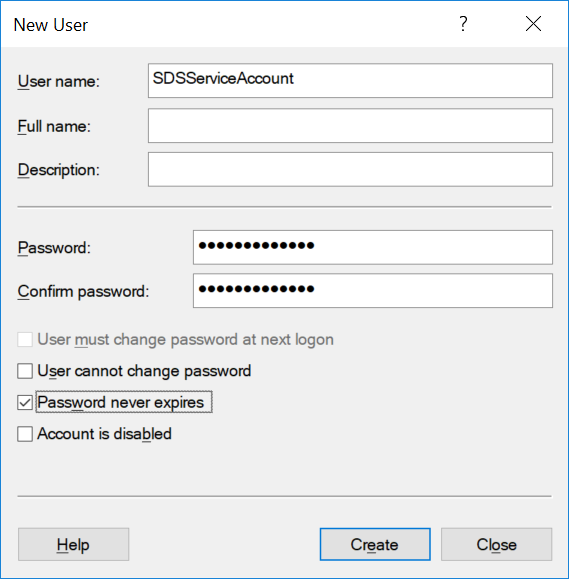
- Enter a User Name you'll remember like SDSServiceAccount and record the name and password you choose as you'll need to use it again.
- Uncheck the option “User must change password at next sign in.”
- Optional: Check the option to “Password never expires.”
- Select Create.
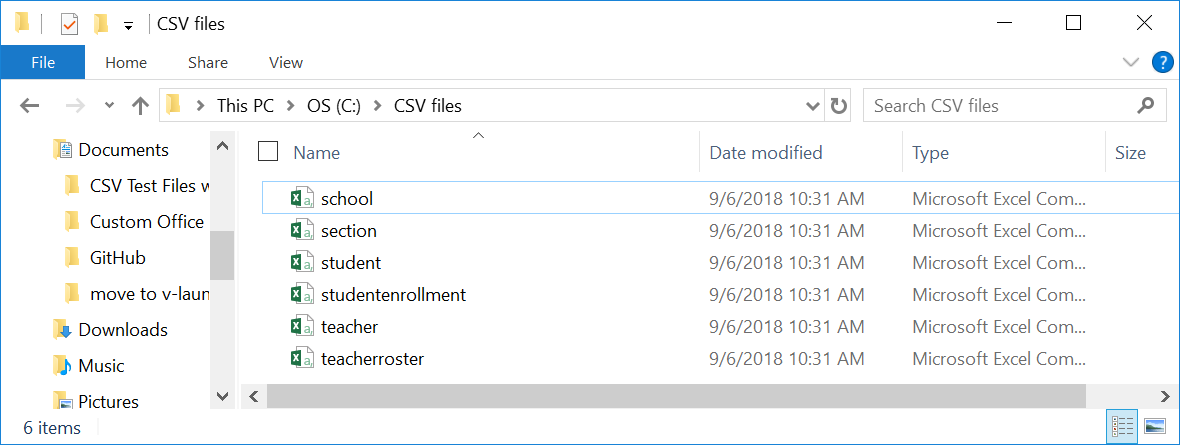
Step 3: Create a folder for your CSV files.
This is the folder location where you’ll export your CSV files to.
- Open File Explorer.
- Navigate to your C:\drive.
- Right select and select New > Folder.
- Enter Folder Name. In this example, we're creating the folder named “CSV files”.
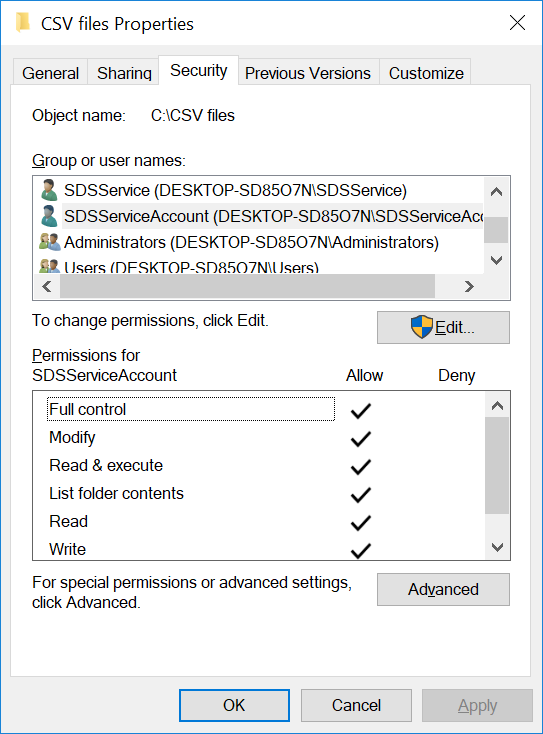
Step 4: Give your local service account full permissions on the CSV folder.
Right select on the folder you created in Step 3, and go to Properties.
Go to the Security tab.
Select Edit.

Select Add.
Set the Location option to your local machine. This will be the first option in the list when you select Locations.
Type in the SDSServiceAccount name (that you created in Step 2, number 5) in the objects names field (third field) and select Check Names.
Select OK.

Ensure full control has been granted to the service account. Select Apply.
Select OK.
Step 5: Copy your CSV files into the folder.
- Make sure that you only have CSV files in this folder.
NEXT STEPS: