Apply a shader to a 3D model
This article demonstrates how to use the Model Editor to apply a Directed Graph Shader Language (DGSL) shader to a 3D model.
Apply a shader to a 3D model
You can apply a shader effect to a 3D model to give it an interesting appearance.
Before you begin, make sure that the Properties window is displayed.
Begin with a 3D scene that contains one or more models. If you don't have a suitable 3D scene, create one as described in How to: Create a basic 3D Model. You must also have a DGSL shader that you can apply to the model. If you don't have a suitable shader, create one as described in How to: Create a basic color shader and make sure that you've saved it to a file before you continue.
In Select mode, select the model to which you want to apply the shader, and then in the Properties window, in the Filename property of the Effect property group, specify the DGSL shader that you want to apply to the model.
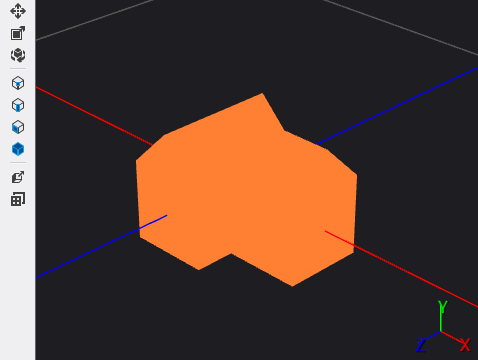
Here's a model that has the basic color effect applied to it:
After you apply a shader to a model, you can open it in the Shader Designer by selecting the model, and then in the Properties window, in the (Advanced) property of the Effect property group, choosing the ellipsis (...) button.
Related content
Feedback
Coming soon: Throughout 2024 we will be phasing out GitHub Issues as the feedback mechanism for content and replacing it with a new feedback system. For more information see: https://aka.ms/ContentUserFeedback.
Submit and view feedback for