Walkthrough: Build an application
Applies to: ![]() Visual Studio
Visual Studio ![]() Visual Studio for Mac
Visual Studio for Mac
Note
This article applies to Visual Studio 2017. If you're looking for the latest Visual Studio documentation, see Visual Studio documentation. We recommend upgrading to the latest version of Visual Studio. Download it here
In this article, you'll become more familiar with several options that you can configure when you build applications with Visual Studio. You'll create a custom build configuration, hide certain warning messages, and increase build output information for a sample application.
Install the sample application
Download the Introduction to building WPF applications sample. Choose either C# or Visual Basic. After the .zip file has downloaded, extract it and open the ExpenseItIntro.sln file using Visual Studio.
Create a custom build configuration
When you create a solution, debug and release build configurations and their default platform targets are defined for the solution automatically. You can then customize these configurations or create your own. Build configurations specify the build type. Build platforms specify the operating system that an application targets for that configuration. For more information, see Understand build configurations, Understand build platforms, and How to: Set debug and release configurations.
You can change or create configurations and platform settings by using the Configuration Manager dialog box. In this procedure, you'll create a build configuration for testing.
Create a build configuration
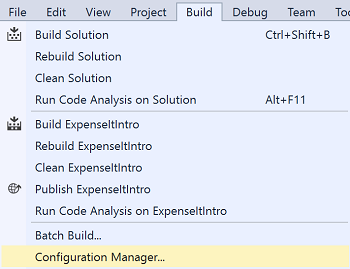
Open the Configuration Manager dialog box.
In the Active solution configuration list, choose <New...>.
In the New Solution Configuration dialog box, name the new configuration
Test, copy settings from the existing Debug configuration, and then choose the OK button.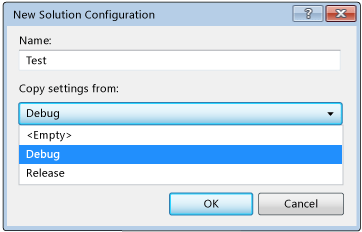
In the Active solution platform list, choose <New...>.
In the New Solution Platform dialog box, choose x64, and don't copy settings from the x86 platform.
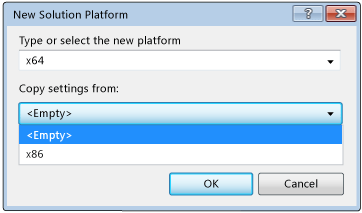
Choose the OK button.
The active solution configuration has been changed to Test with the active solution platform set to x64.
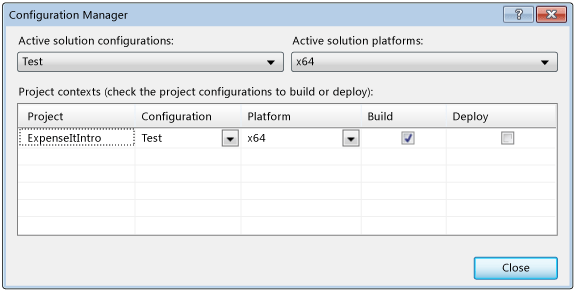
Choose Close.
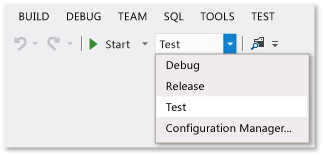
You can quickly verify or change the active solution configuration by using the Solution Configurations list on the Standard toolbar.
Build the application
Next, you'll build the solution with the custom build configuration.
Build the solution
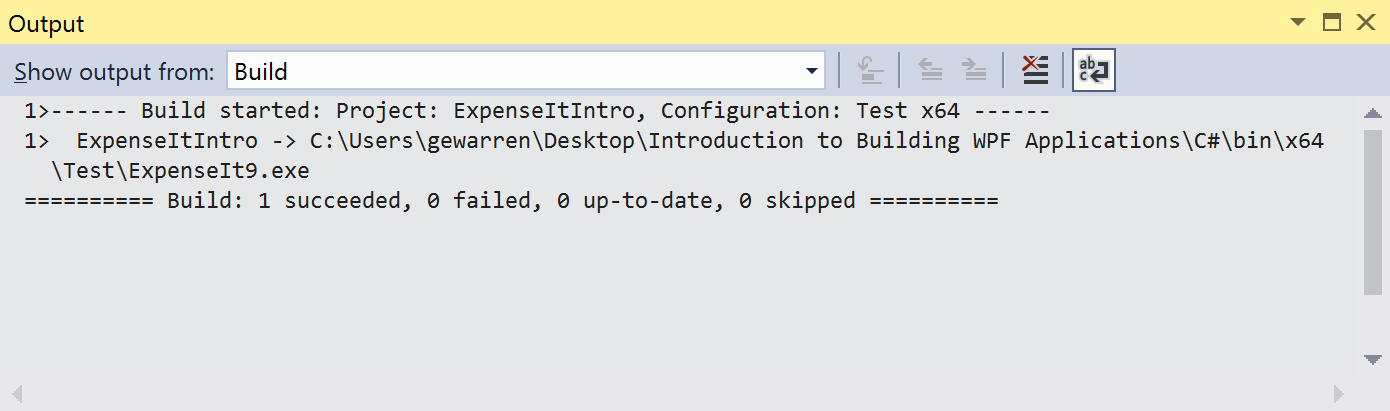
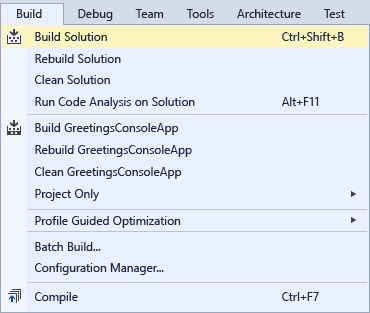
On the menu bar, choose Build > Build Solution, or press Ctrl+Shift+B.
The Output window displays the results of the build. The build succeeded.
Hide compiler warnings
Next we'll introduce some code that causes a warning to be generated by the compiler.
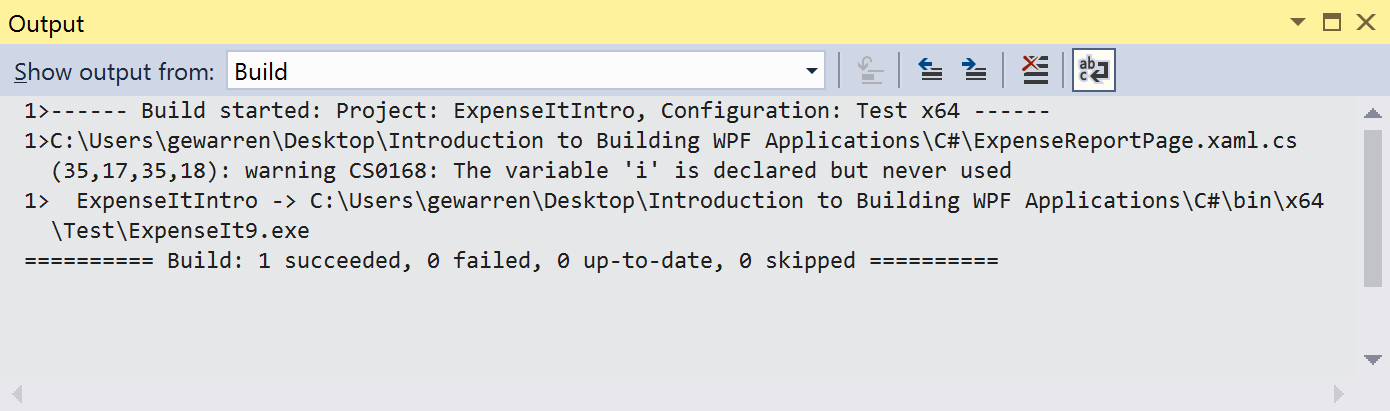
In the C# project, open the ExpenseReportPage.xaml.cs file. In the ExpenseReportPage method, add the following code:
int i;.OR
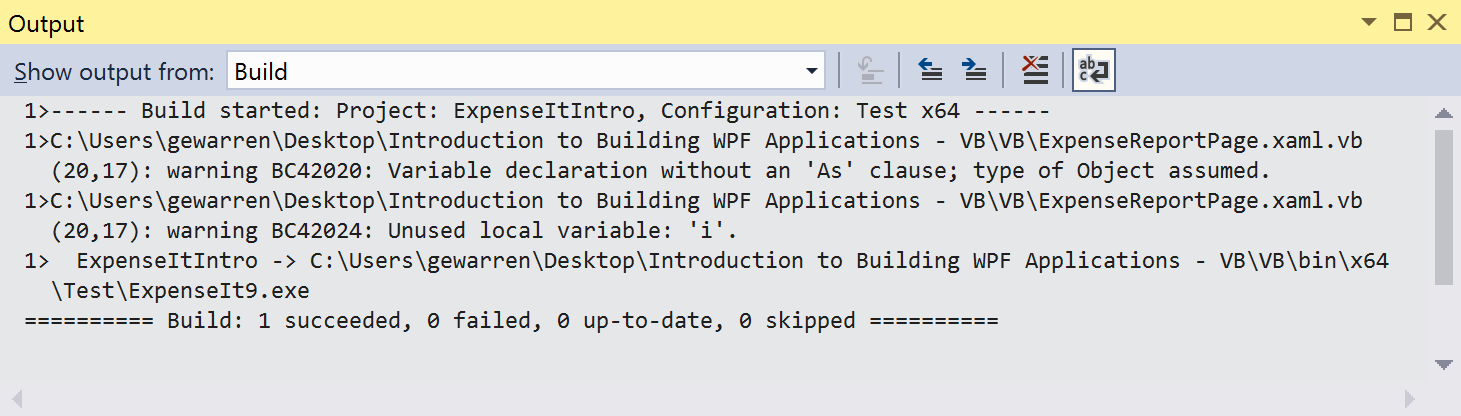
In the Visual Basic project, open the ExpenseReportPage.xaml.vb file. In the custom constructor Public Sub New..., add the following code:
Dim i.Build the solution.
The Output window displays the results of the build. The build succeeded, but warnings were generated:
You can temporarily hide certain warning messages during a build rather than have them clutter up the build output.
Hide a specific C# warning
In Solution Explorer, choose the top-level project node.
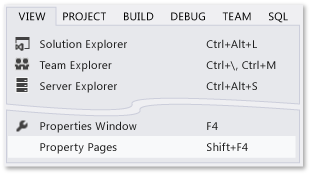
On the menu bar, choose View > Property Pages.
The Project Designer opens.
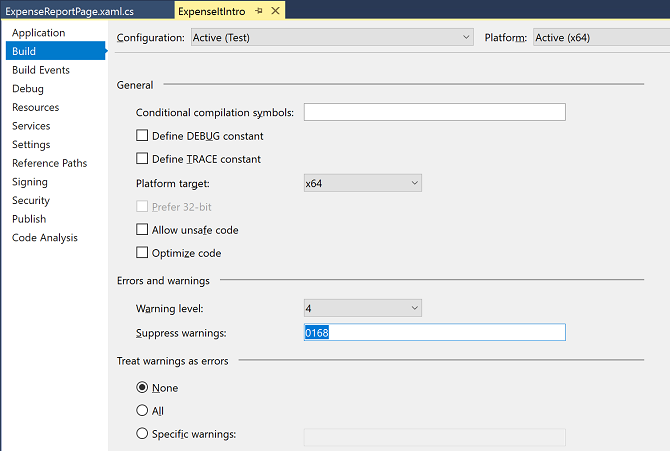
Choose the Build page and then, in the Suppress warnings box, specify the warning number 0168.
For more information, see Build Page, Project Designer (C#).
Build the solution.
The Output window displays only summary information for the build.
Suppress all Visual Basic build warnings
In Solution Explorer, choose the top-level project node.
On the menu bar, choose View > Property Pages.
The Project Designer opens.
On the Compile page, select the Disable all warnings check box.
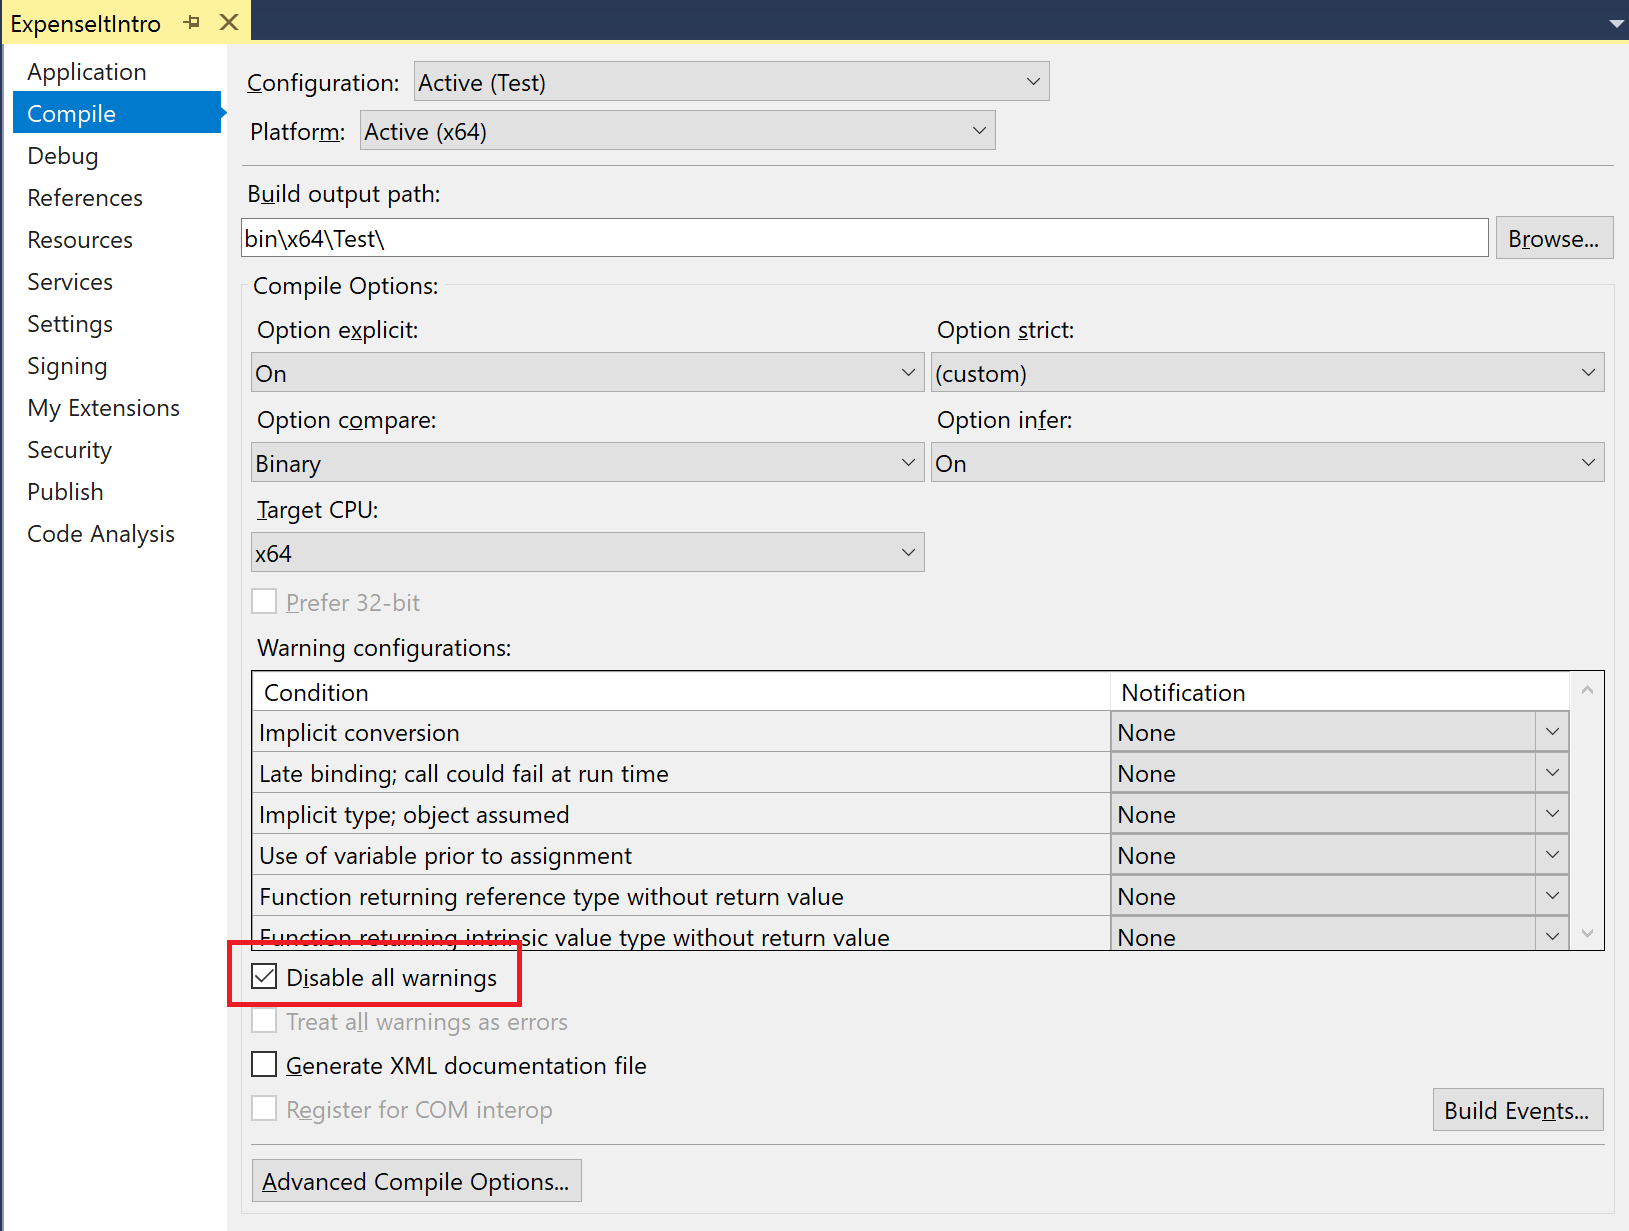
For more information, see Configure warnings in Visual Basic.
Build the solution.
The Output window displays only summary information for the build.

For more information, see How to: Suppress compiler warnings.
Display additional build details in the Output window
You can change how much information about the build process appears in the Output window. Build verbosity is usually set to Minimal, which means that the Output window displays only a summary of the build process along with any high priority warnings or errors. You can display more information about the build by using the Options dialog box, Projects and Solutions, Build and Run.
Important
If you display more information, the build will take longer to complete.
Change the amount of information in the Output window
Open the Options dialog box.

Choose the Projects and Solutions category, and then choose the Build and Run page.
In the MSBuild project build output verbosity list, choose Normal, and then choose the OK button.
On the menu bar, choose Build > Clean Solution.
Build the solution, and then review the information in the Output window.
The build information includes the time that the build started (located at the beginning) and the order in which files were processed. This information also includes the actual compiler syntax that Visual Studio runs during the build.
For example, in the C# build, the /nowarn option lists the warning code, 0168, that you specified earlier in this topic, along with three other warnings.
In the Visual Basic build, /nowarn doesn't include specific warnings to exclude, so no warnings appear.
Tip
You can search the contents of the Output window if you display the Find dialog box by choosing the Ctrl+F keys.
For more information, see How to: View, save, and configure build log files.
Create a Release Build
You can build a version of the sample application that's optimized for shipping it. For the release build, you'll specify that the executable is copied to a network share before the build is kicked off.
For more information, see How to: Change the build output directory and Build and clean projects and solutions in Visual Studio.
Specify a release build for Visual Basic
Open the Project Designer.
Choose the Compile page.
In the Configuration list, choose Release.
In the Platform list, choose x86.
In the Build output path box, specify a network path.
For example, you can specify
\\myserver\builds.Important
A message box might appear, warning you that the network share that you've specified might not be a trusted location. If you trust the location that you've specified, choose the OK button in the message box.
Build the application.
Specify a release build for C#
Open the Project Designer.
Choose the Build page.
In the Configuration list, choose Release.
In the Platform list, choose x86.
In the Output path box, specify a network path.
For example, you could specify
\\myserver\builds.Important
A message box might appear, warning you that the network share that you've specified might not be a trusted location. If you trust the location that you've specified, choose the OK button in the message box.
On the Standard toolbar, set the Solution Configurations to Release and the Solution Platforms to x86.
Build the application.
The executable file is copied to the network path that you specified. Its path would be
\\myserver\builds\\FileName.exe.
Congratulations! You've successfully completed this walkthrough.