Create a Vue.js app
In this 5-10 minute introduction to the Visual Studio integrated development environment (IDE), you create and run a simple Vue.js frontend web application.
Prerequisites
Make sure to install the following:
- Visual Studio 2022 or later. Go to the Visual Studio downloads page to install it for free.
- npm (
https://www.npmjs.com/), which is included with Node.js - Vue.js (Installation | Vue.js (vuejs.org))
Create your app
In the Start window (choose File > Start Window to open), select Create a new project.

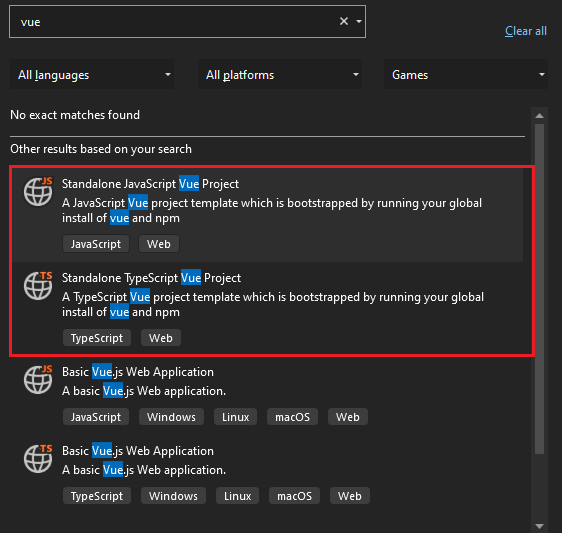
Search for Vue in the search bar at the top and then select Standalone JavaScript Vue Project or Standalone TypeScript Vue Project, based on your preference.
Give your project and solution a name, and then choose Next.
Choose Create, and then wait for Visual Studio to create the project.
View the project properties
The default project settings allow you to build and debug the project. But, if you need to change settings, right-click the project in Solution Explorer, select Properties, and then go the Build or Debugging section.
Note
launch.json stores the startup settings associated with the Start button in the Debug toolbar. Currently, launch.json must be located under the .vscode folder.
Build Your Project
Choose Build > Build Solution to build the project.
Start Your Project
Press F5 or select the Start button at the top of the window, and you'll see a command prompt such as:
VITE v4.4.9 ready in 780 ms
Note
Check console output for messages, such as a message instructing you to update your version of Node.js.
Next, you should see the base Vue.js app appear!
Next steps
For ASP.NET Core integration:
Feedback
Coming soon: Throughout 2024 we will be phasing out GitHub Issues as the feedback mechanism for content and replacing it with a new feedback system. For more information see: https://aka.ms/ContentUserFeedback.
Submit and view feedback for