Create a Multi-Container App with Docker Compose for Visual Studio for Mac
Important
Visual Studio for Mac is scheduled for retirement on August 31, 2024 in accordance with Microsoft’s Modern Lifecycle Policy. While you can continue to work with Visual Studio for Mac, there are several other options for developers on Mac such as the preview version of the new C# Dev Kit extension for VS Code.
In this tutorial, you'll learn how to manage more than one container and communicate between them when using Docker Compose in Visual Studio for Mac.
Looking for steps on the Windows version of Visual Studio, read Tutorial: Create a multi-container app with Docker Compose with Visual Studio for Windows.
Prerequisites
Create an ASP.NET Core Web Application and Add Docker Support
- Create a new solution by going to File > New Solution.
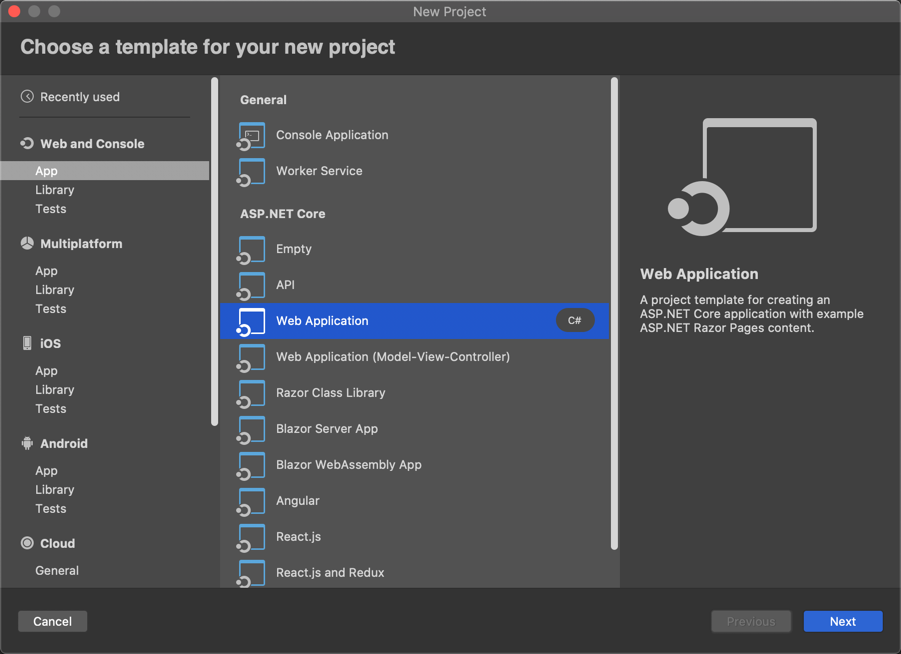
- Under Web and Console > App choose the Web Application template:
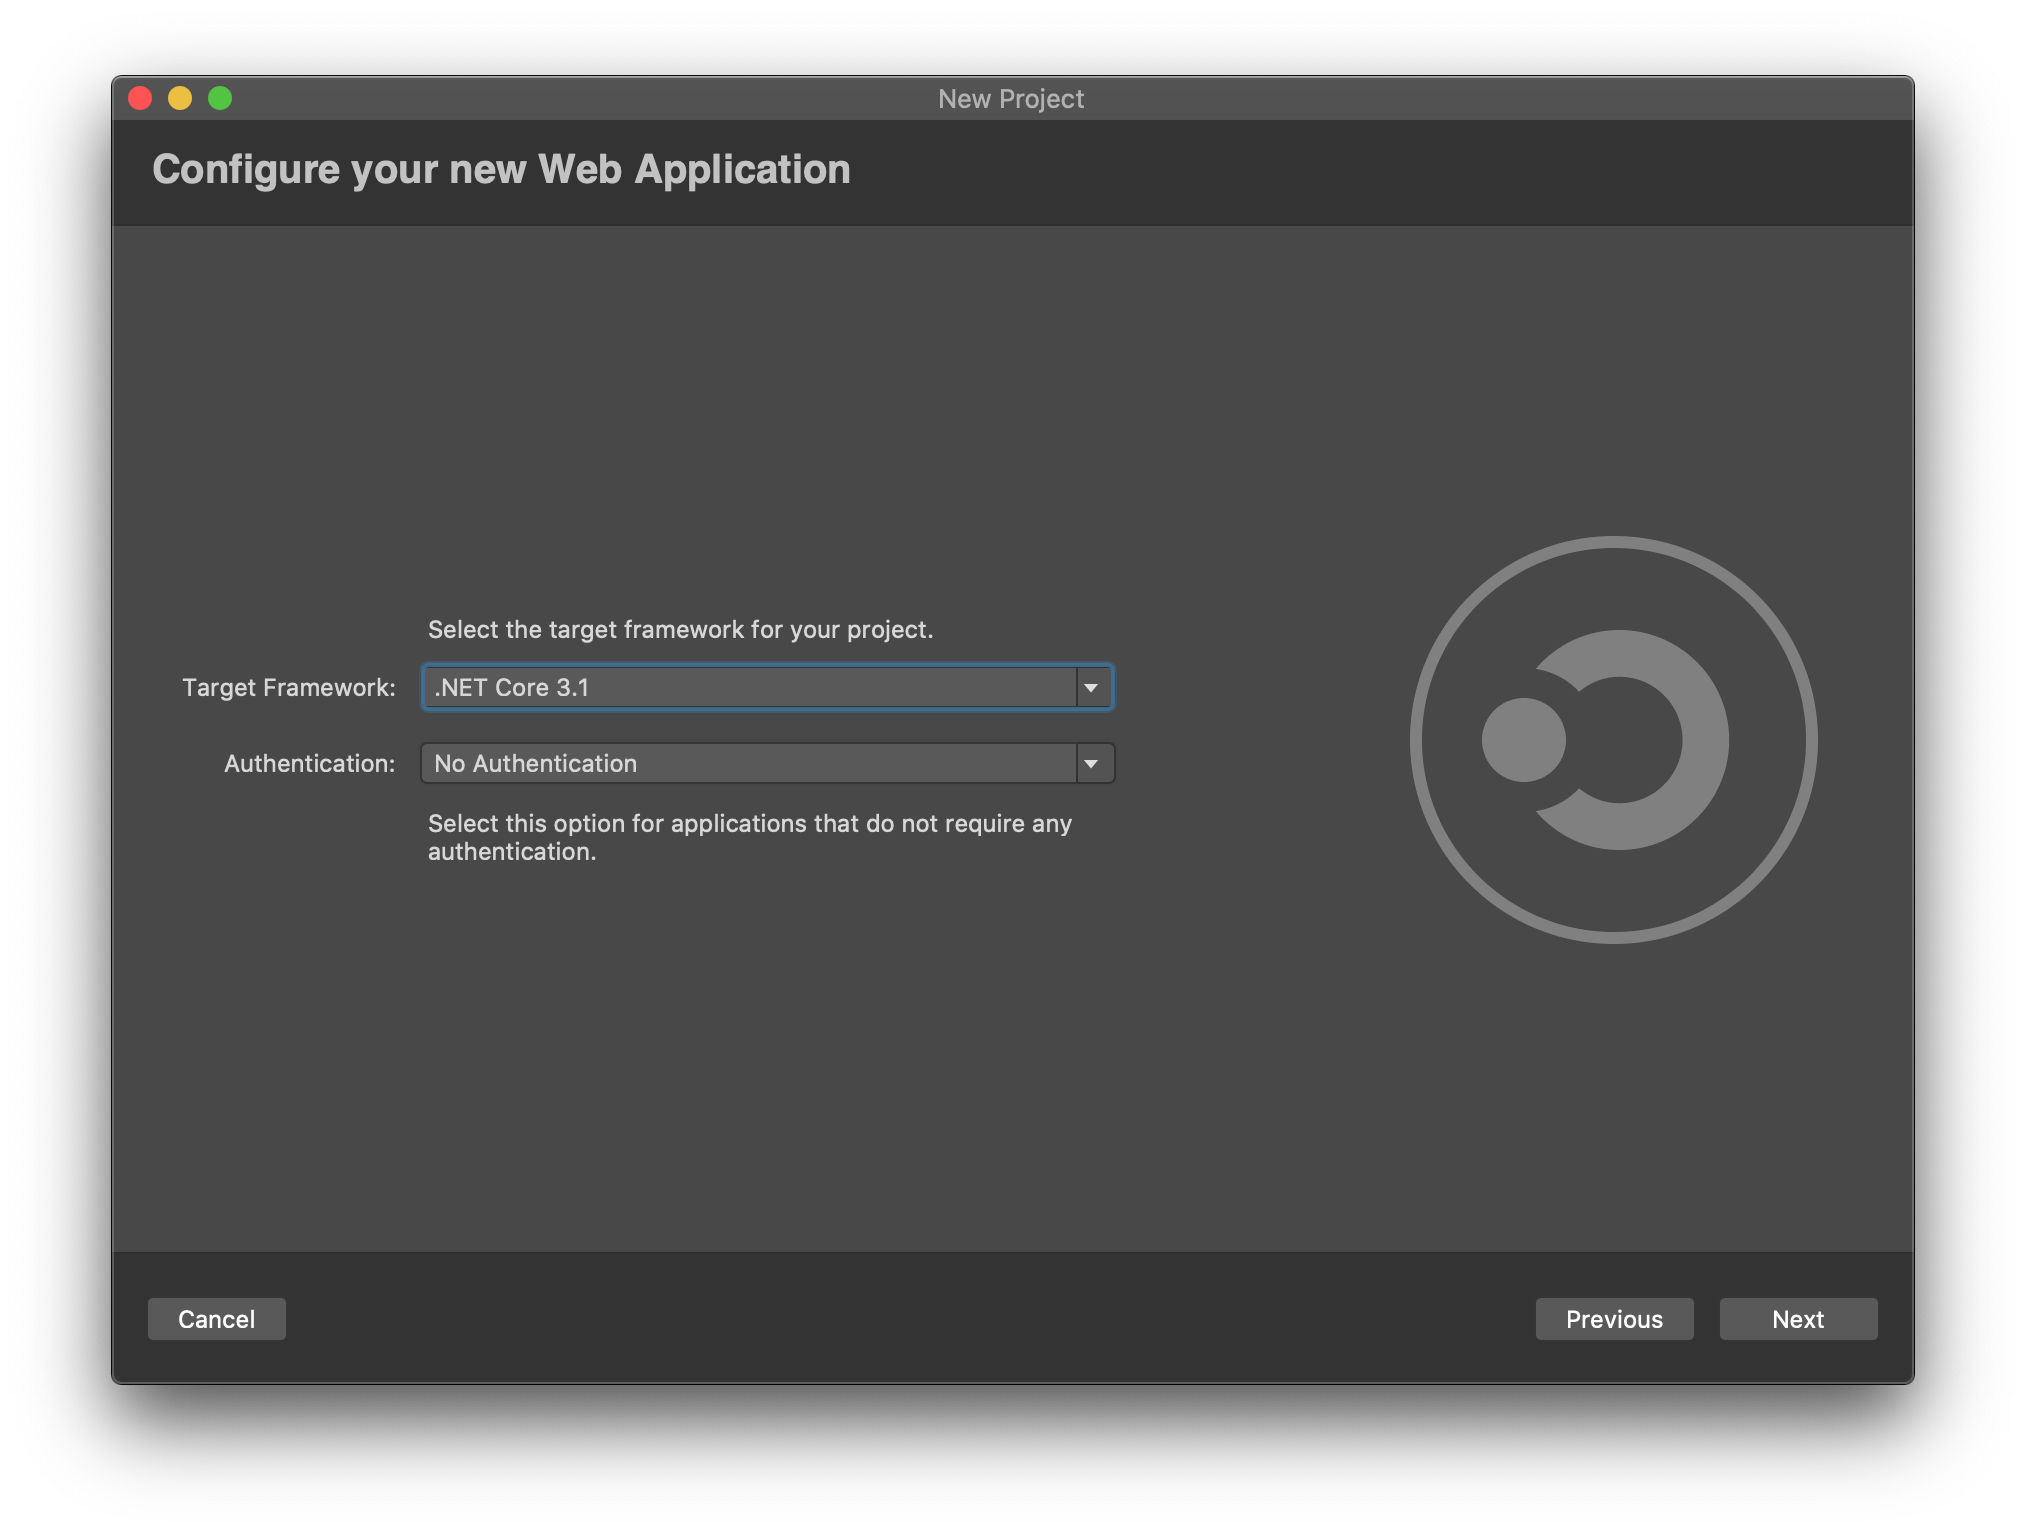
- Select the target framework. In this example we use .NET Core 3.1:
- Enter the project details, such as Project Name (DockerDemoFrontEnd in this example) and Solution Name (DockerDemo). The created project contains all the basics you need to build and run an ASP.NET Core web site.
- In the Solution Window, right click the DockerDemoFrontEnd project and select Add > Add Docker Support:
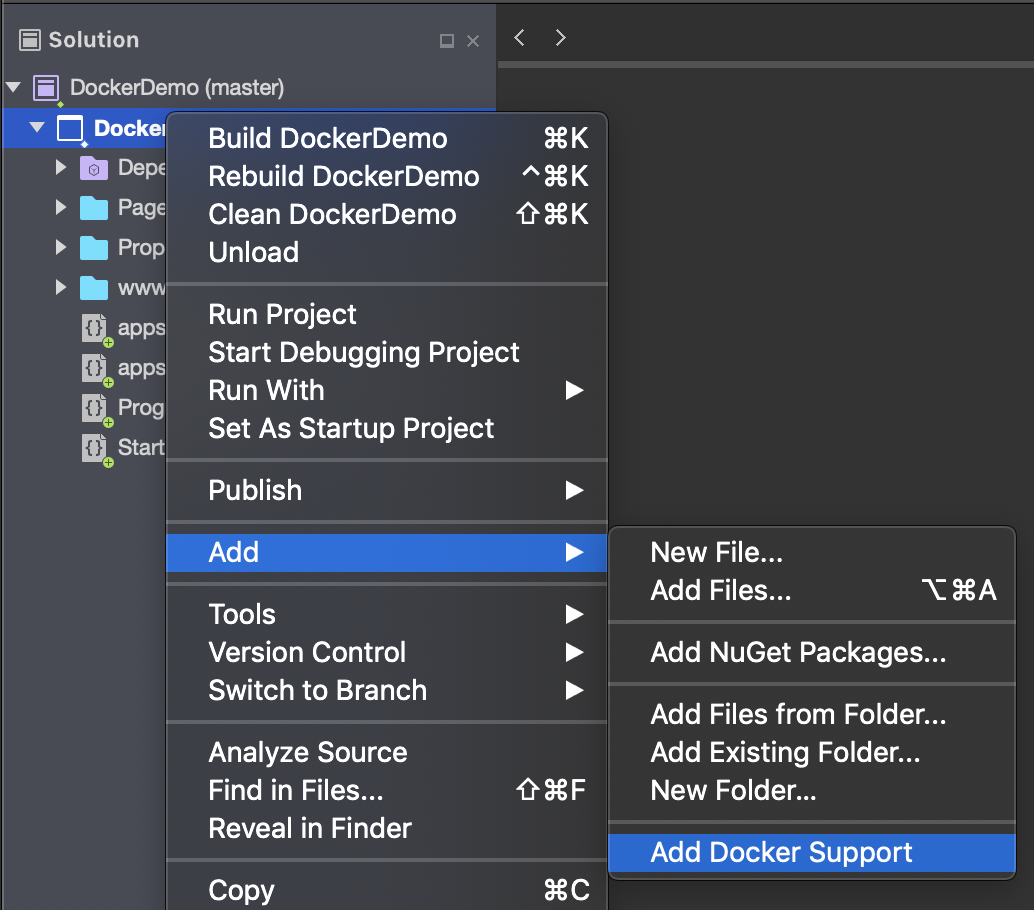
Visual Studio for Mac automatically adds a new project to your solution called docker-compose and add a Dockerfile to your existing project.
Create an ASP.NET Core Web API and Add Docker Support
Next, we create a second project that acts as our backend API. The .NET Core API template includes a controller that allows us to handle RESTful requests.
- Add a new project to the existing solution by right-clicking on the solution and choosing Add > Add New Project.
- Under Web and Console > App choose the API template.
- Select the target framework. In this example, we use .NET Core 3.1.
- Enter the project details, such as Project Name (MyWebAPI in this example).
- Once created, go to the Solution Window and right click the MyWebAPI project and select Add > Add Docker Support.
The docker-compose.yml file in the docker-compose project is automatically updated to include the API project alongside the existing Web App project. When we build and run the docker-compose project, each of these projects is deployed to a separate Docker container.
version: '3.4'

services:
  dockerdemofrontend:
    image: ${DOCKER_REGISTRY-}dockerdemofrontend
    build:
      context: .
      dockerfile: DockerDemoFrontEnd/Dockerfile

  mywebapi:
    image: ${DOCKER_REGISTRY-}mywebapi
    build:
      context: .
      dockerfile: MyWebAPI/Dockerfile
Integrate The Two Containers
We now have two ASP.NET projects in our solution and both are configured with Docker support. Next we need to add some code!
In the
DockerDemoFrontEndproject, open the Pages/Index.cshtml.cs file, and replace theOnGetmethod with the following code:public async Task OnGet() { ViewData["Message"] = "Hello from webfrontend"; using (var client = new System.Net.Http.HttpClient()) { // Call *mywebapi*, and display its response in the page var request = new System.Net.Http.HttpRequestMessage(); request.RequestUri = new Uri("http://mywebapi/WeatherForecast"); var response = await client.SendAsync(request); ViewData["Message"] += " and " + await response.Content.ReadAsStringAsync(); } }Note
In production code, you shouldn't dispose
HttpClientafter every request. For best practices, see Use HttpClientFactory to implement resilient HTTP requests.In the Index.cshtml file, add a line to display
ViewData["Message"]so that the file looks like the following code:@page @model IndexModel @{ ViewData["Title"] = "Home page"; } <div class="text-center"> <h1 class="display-4">Welcome</h1> <p>Learn about <a href="https://learn.microsoft.com/aspnet/core">building Web apps with ASP.NET Core</a>.</p> <p>@ViewData["Message"]</p> </div>In both the Front End and Web API projects, comment out the call to Microsoft.AspNetCore.Builder.HttpsPolicyBuilderExtensions.UseHttpsRedirection in the
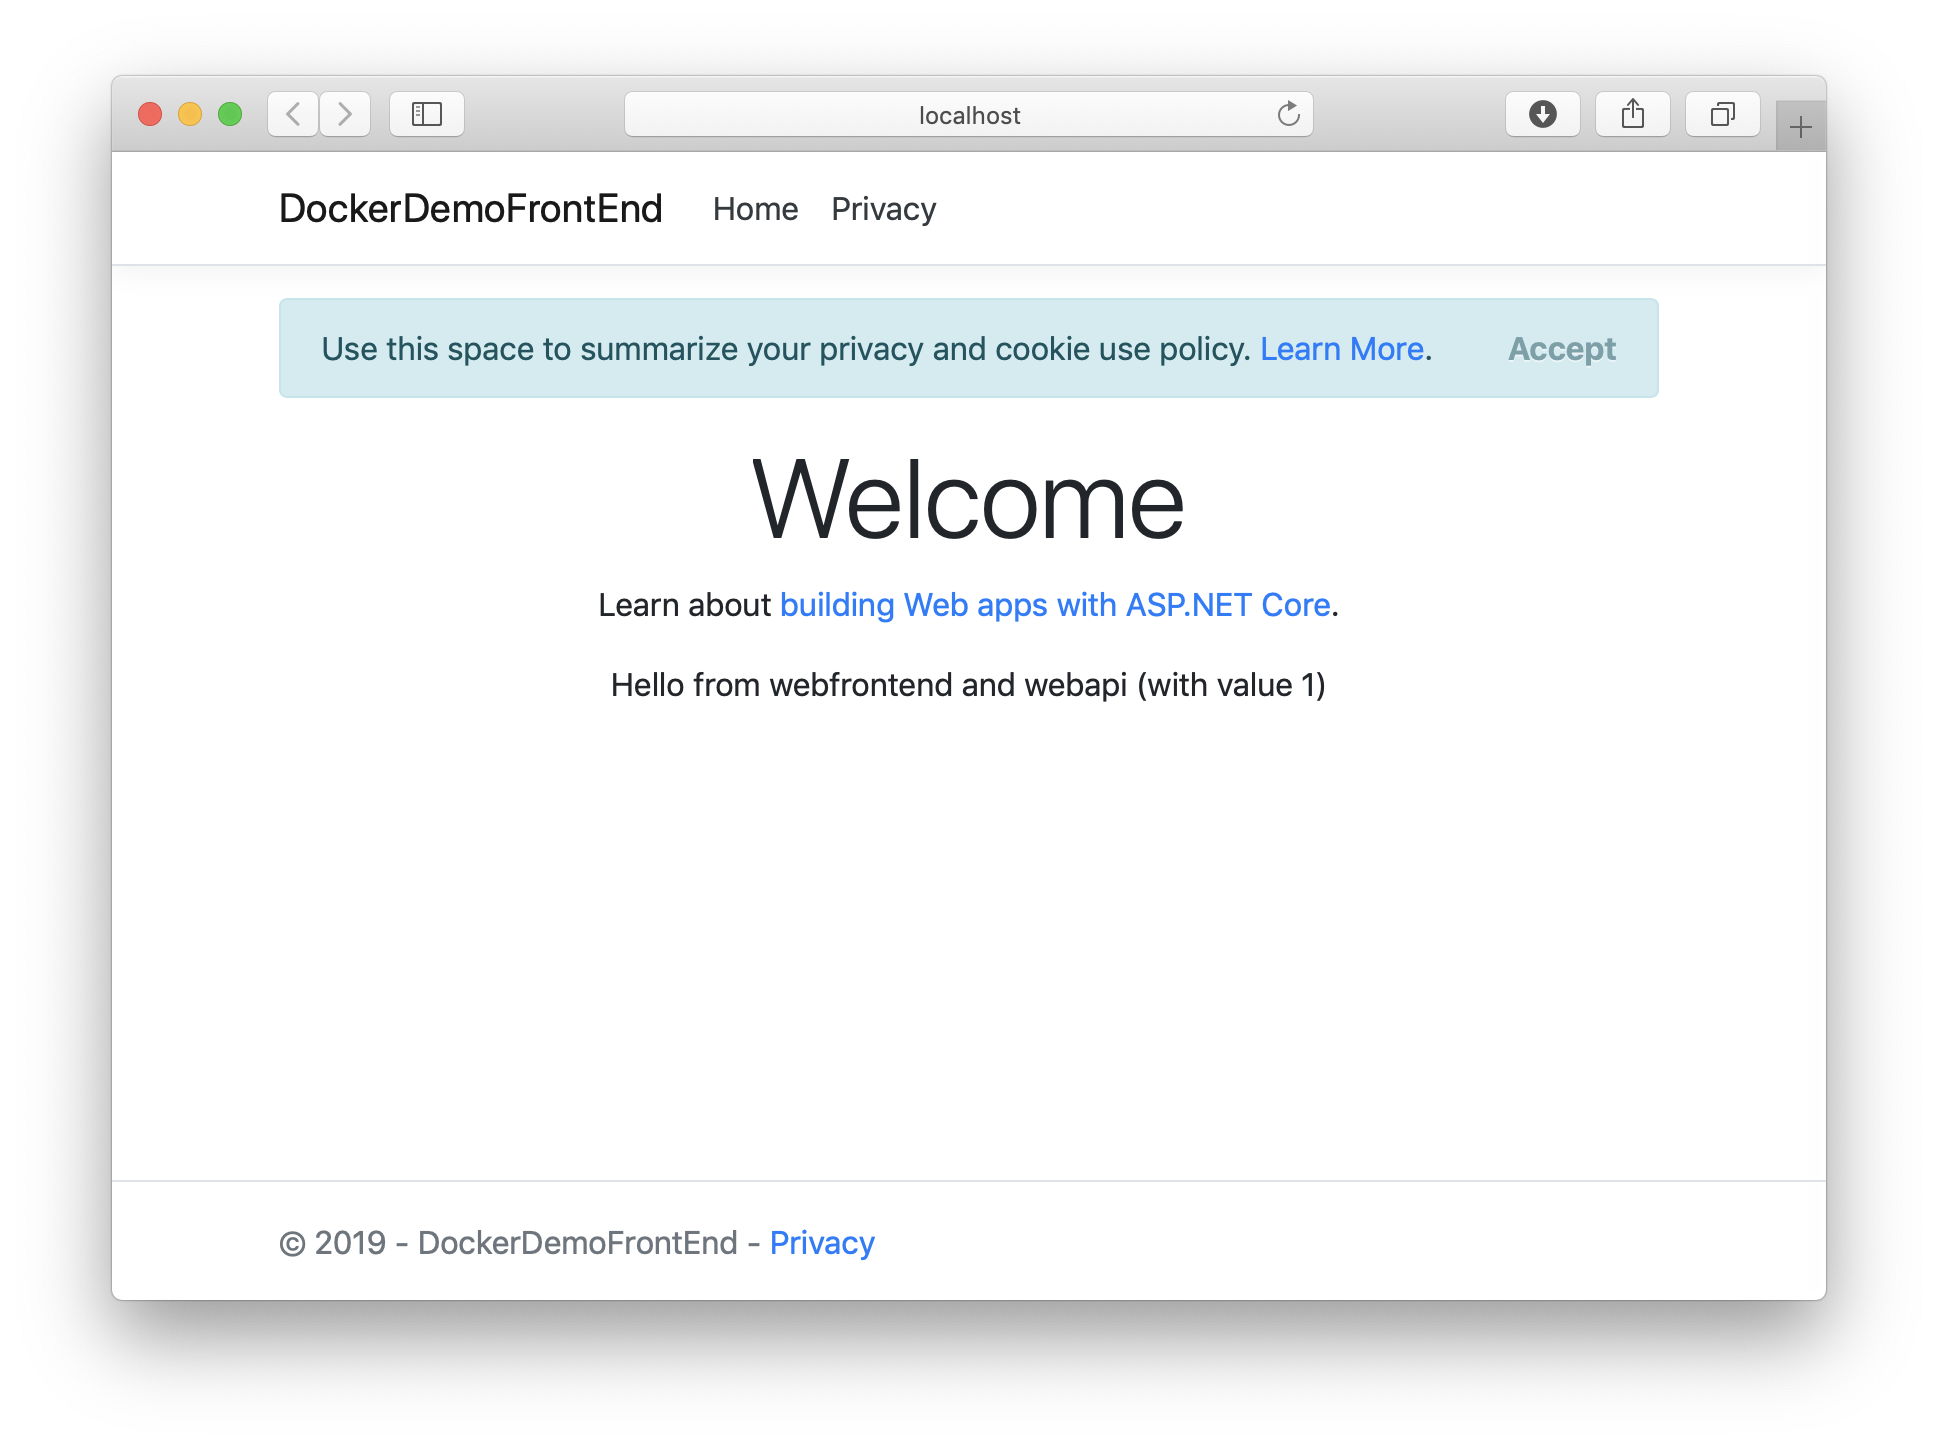
Configuremethod in Startup.cs, because this sample code uses HTTP, not HTTPS, to call the Web API.//app.UseHttpsRedirection();Set the
docker-composeproject as the startup project and go to Run > Start Debugging. If everything is configured correctly, you see the message "Hello from webfrontend and webapi (with value 1).":