Publishing to the Microsoft Store
When you're ready to get your Unreal app out to the world, there are a few project settings that need updating before you submit to the Microsoft Store. All of these settings have default values, but should be changed for production to best represent the application.
Project settings for the store packaging
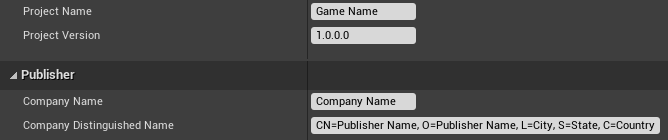
- First, select Project Settings > Description and update the game and publisher information:
- The Game Name will appear in the app tile on the HoloLens
- The Company Distinguished Name is used when generating the project certificate and should be in the format:
- CN=CommonName, O=OrganizationName, L=LocalityName, S=StateOrProvinceName, C=CountryName:
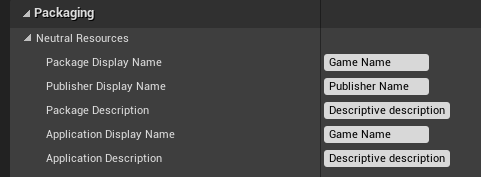
- Expand the HoloLens section of the project settings and update the packaging resources. These resource names will be shown on the application’s store page:
- Expand the Images section and update the default store images with textures that represent the store app. Optionally, select the 3D Logo checkbox to upload a glb file to use as a 3D live cube when launching the application:

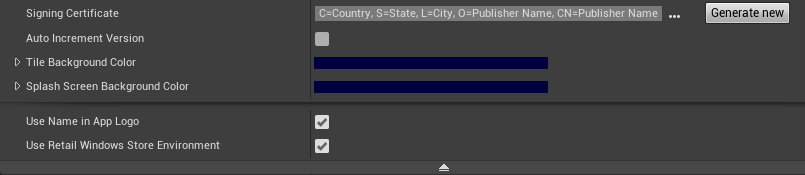
- Lastly, select Generate New to generate a signing certificate from the project name and company distinguished name
- Set a Tile Background Color, which will appear in place of any transparent pixels in the store images.
- Expand the dropdown and enable Use Retail Windows Store Environment to run on retail-locked, not dev-unlocked, devices.
Optional App Installer
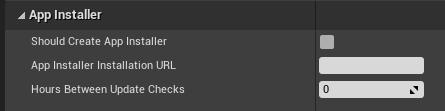
An App Installer file can be created from Project Settings > HoloLens, which can be used to distribute the application outside of the store. Enable the Should Create App Installer checkbox and set a URL or network path where you'd like the game’s appxbundle to be stored.
When the app is being packaged, both the appxbundle and appinstaller will be generated. Upload the appxbundle to the installation URL, then launch the appinstaller to install the app from the network location.
Windows App Certification Kit
The Windows 10 SDK ships with the Windows App Certification Kit (WACK) to validate common issues that could affect uploading a package to the store. You can find the WACK in the Windows Kits directory, usually under the following path:
C:\Program Files (x86)\Windows Kits\10\App Certification Kit.
- After your appx file is packaged for publication, run appcertui.exe and follow the prompts to scan the appx:
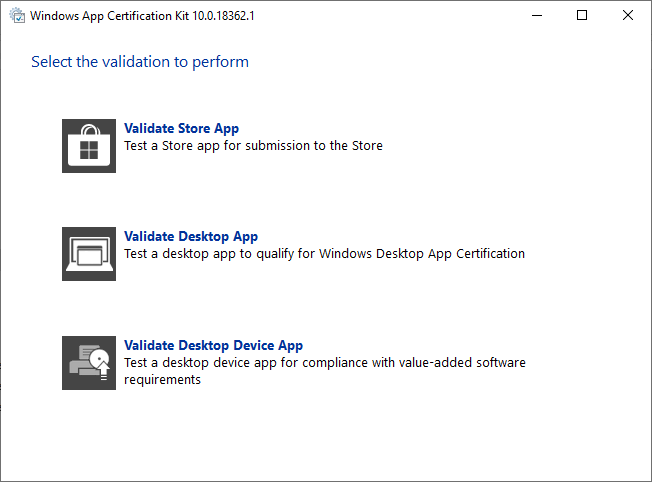
- Select Validate Store App:
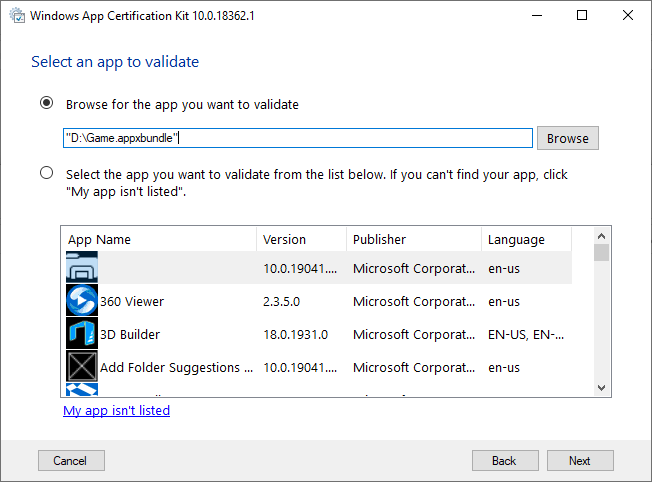
- Browse for the appx in the top section and select Next:
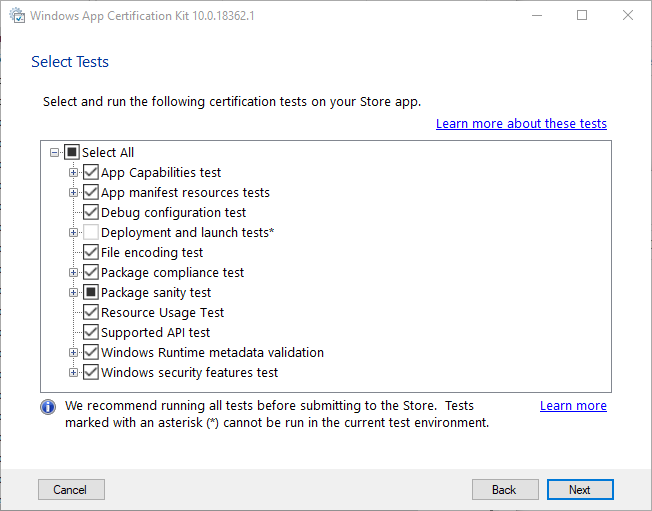
- Select Next to run the tests and create a report:
- All available tests that can be run on the host PC will be enabled by default
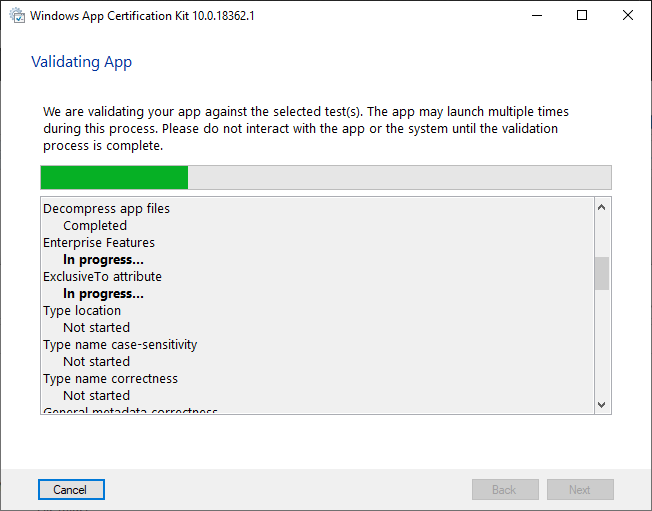
- Wait for the tests to finish. Once complete, the final window will show a pass or fail result, which can be viewed in the saved report.
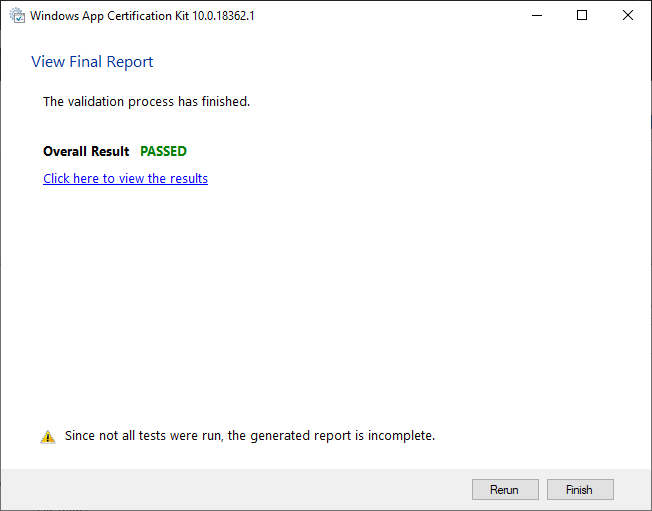
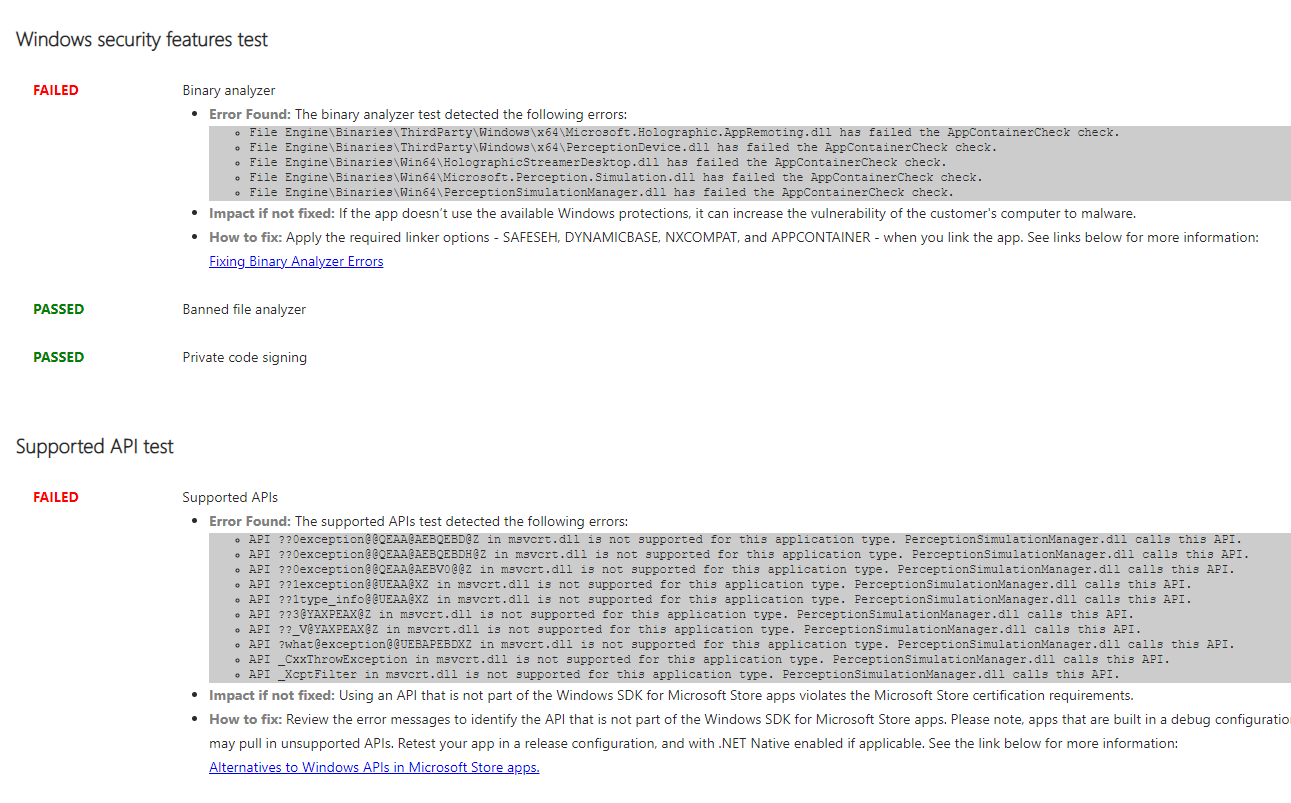
Known WACK failure with 4.25
The Windows Mixed Reality plugin in Unreal 4.25 will fail WACK because some x64 binaries are included while packaging for HoloLens. The failure will look like this:
To fix the issue:
- Browse to the Unreal installation or source directory root by opening an Unreal project and right-click on the Unreal icon in the taskbar.
- Right-click on UE4Editor, select properties, and browse to the path in the Location entry:
Open Engine\Plugins\Runtime\WindowsMixedReality\Source\WindowsMixedRealityHMD\WindowsMixedRealityHMD.Build.cs.
- In WindowsMixedRealityHMD.Build.cs, modify line 32 from:
if(Target.Platform != UnrealTargetPlatform.Win32)
to:
if(Target.Platform == UnrealTargetPlatform.Win64)
- Close Unreal, reopen the project, and repackage for HoloLens. Rerun WACK and the error will be gone.
See also
Feedback
Coming soon: Throughout 2024 we will be phasing out GitHub Issues as the feedback mechanism for content and replacing it with a new feedback system. For more information see: https://aka.ms/ContentUserFeedback.
Submit and view feedback for