Author your first Azure AI Health Bot scenario Quickstart
The Azure AI Health Bot Service supports several built-in scenarios. For example, the bot can triage a medical condition, find information about a disease, or even provide copilot experiences to your scenario. With the copilot features, you can chat with your own data powered by Large Language Models, or use our Healthcare Intelligence feature to get access to credible sources.
This Quickstart guide walks you through creating your first custom Azure AI Health Bot scenario.
You learn how to:
- Author a new custom Azure AI Health Bot scenario
- Chat with the bot instance to test your scenario
If you don't have an access to the Azure AI Health Bot Create your first Azure AI Health Bot
Sign in to the Azure AI Health Bot Service Management Portal
Sign in to the Microsoft Azure AI Health Bot Service Portal.
Author a new custom scenario
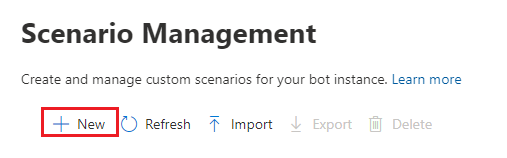
Customized scenarios can be added in the scenarios tab of the management portal. To begin creating scenarios for a new Azure AI Health Bot instance, select the Add button at the top of the page.
We start by defining the unique Name and Description of our scenario:
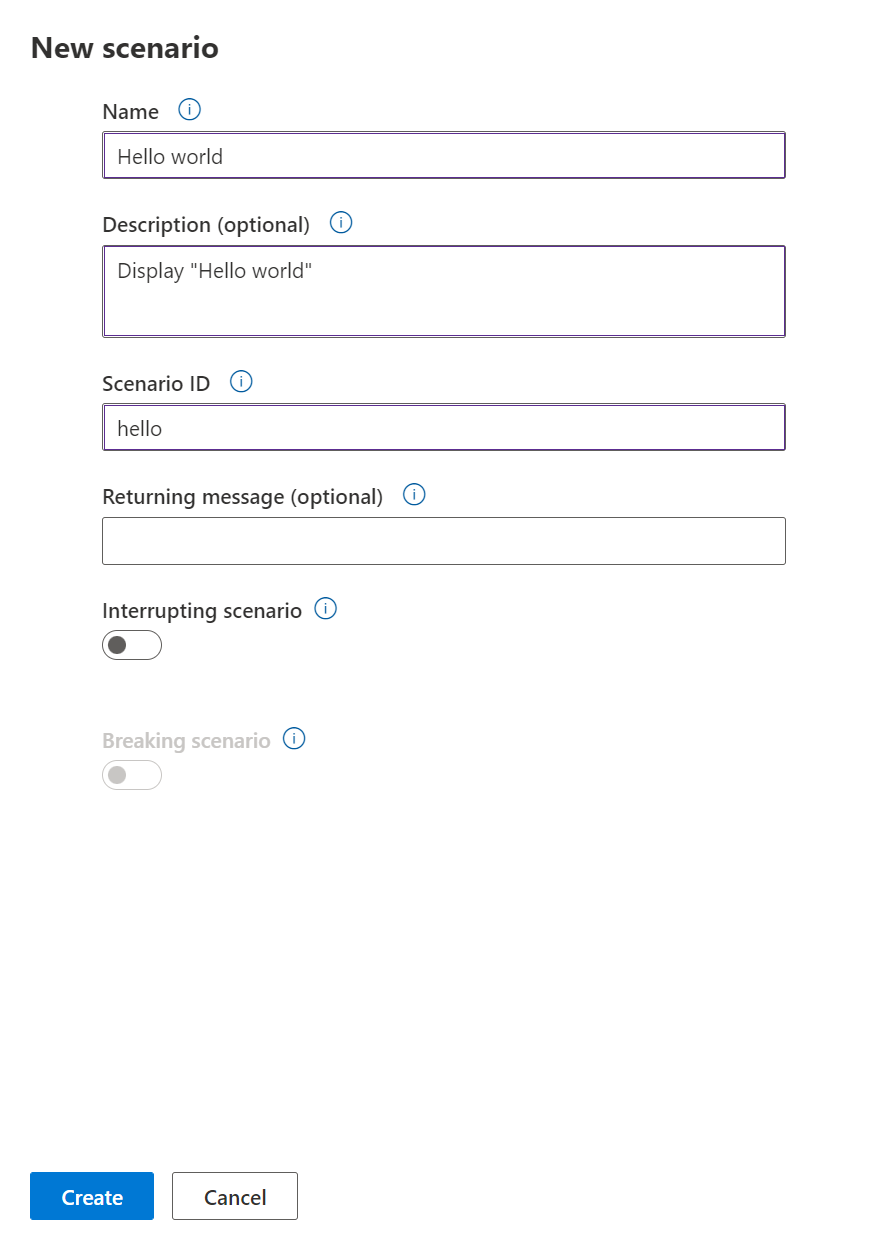
We will also set the Scenario ID as "hello". This is an internal identifier that is used later on, once we define intents to be mapped to this scenario.
The Returning Message and Interrupting toggle are advanced settings that control how scenarios can temporarily interrupt the conversation flow. To learn more, read Configure interrupting scenarios. For now, let hit create.
Note: Scenario ID is case sensitive.
The fields, visual editor, and elements provided in the Scenario Editor allow you to author, test, and debug scenarios.
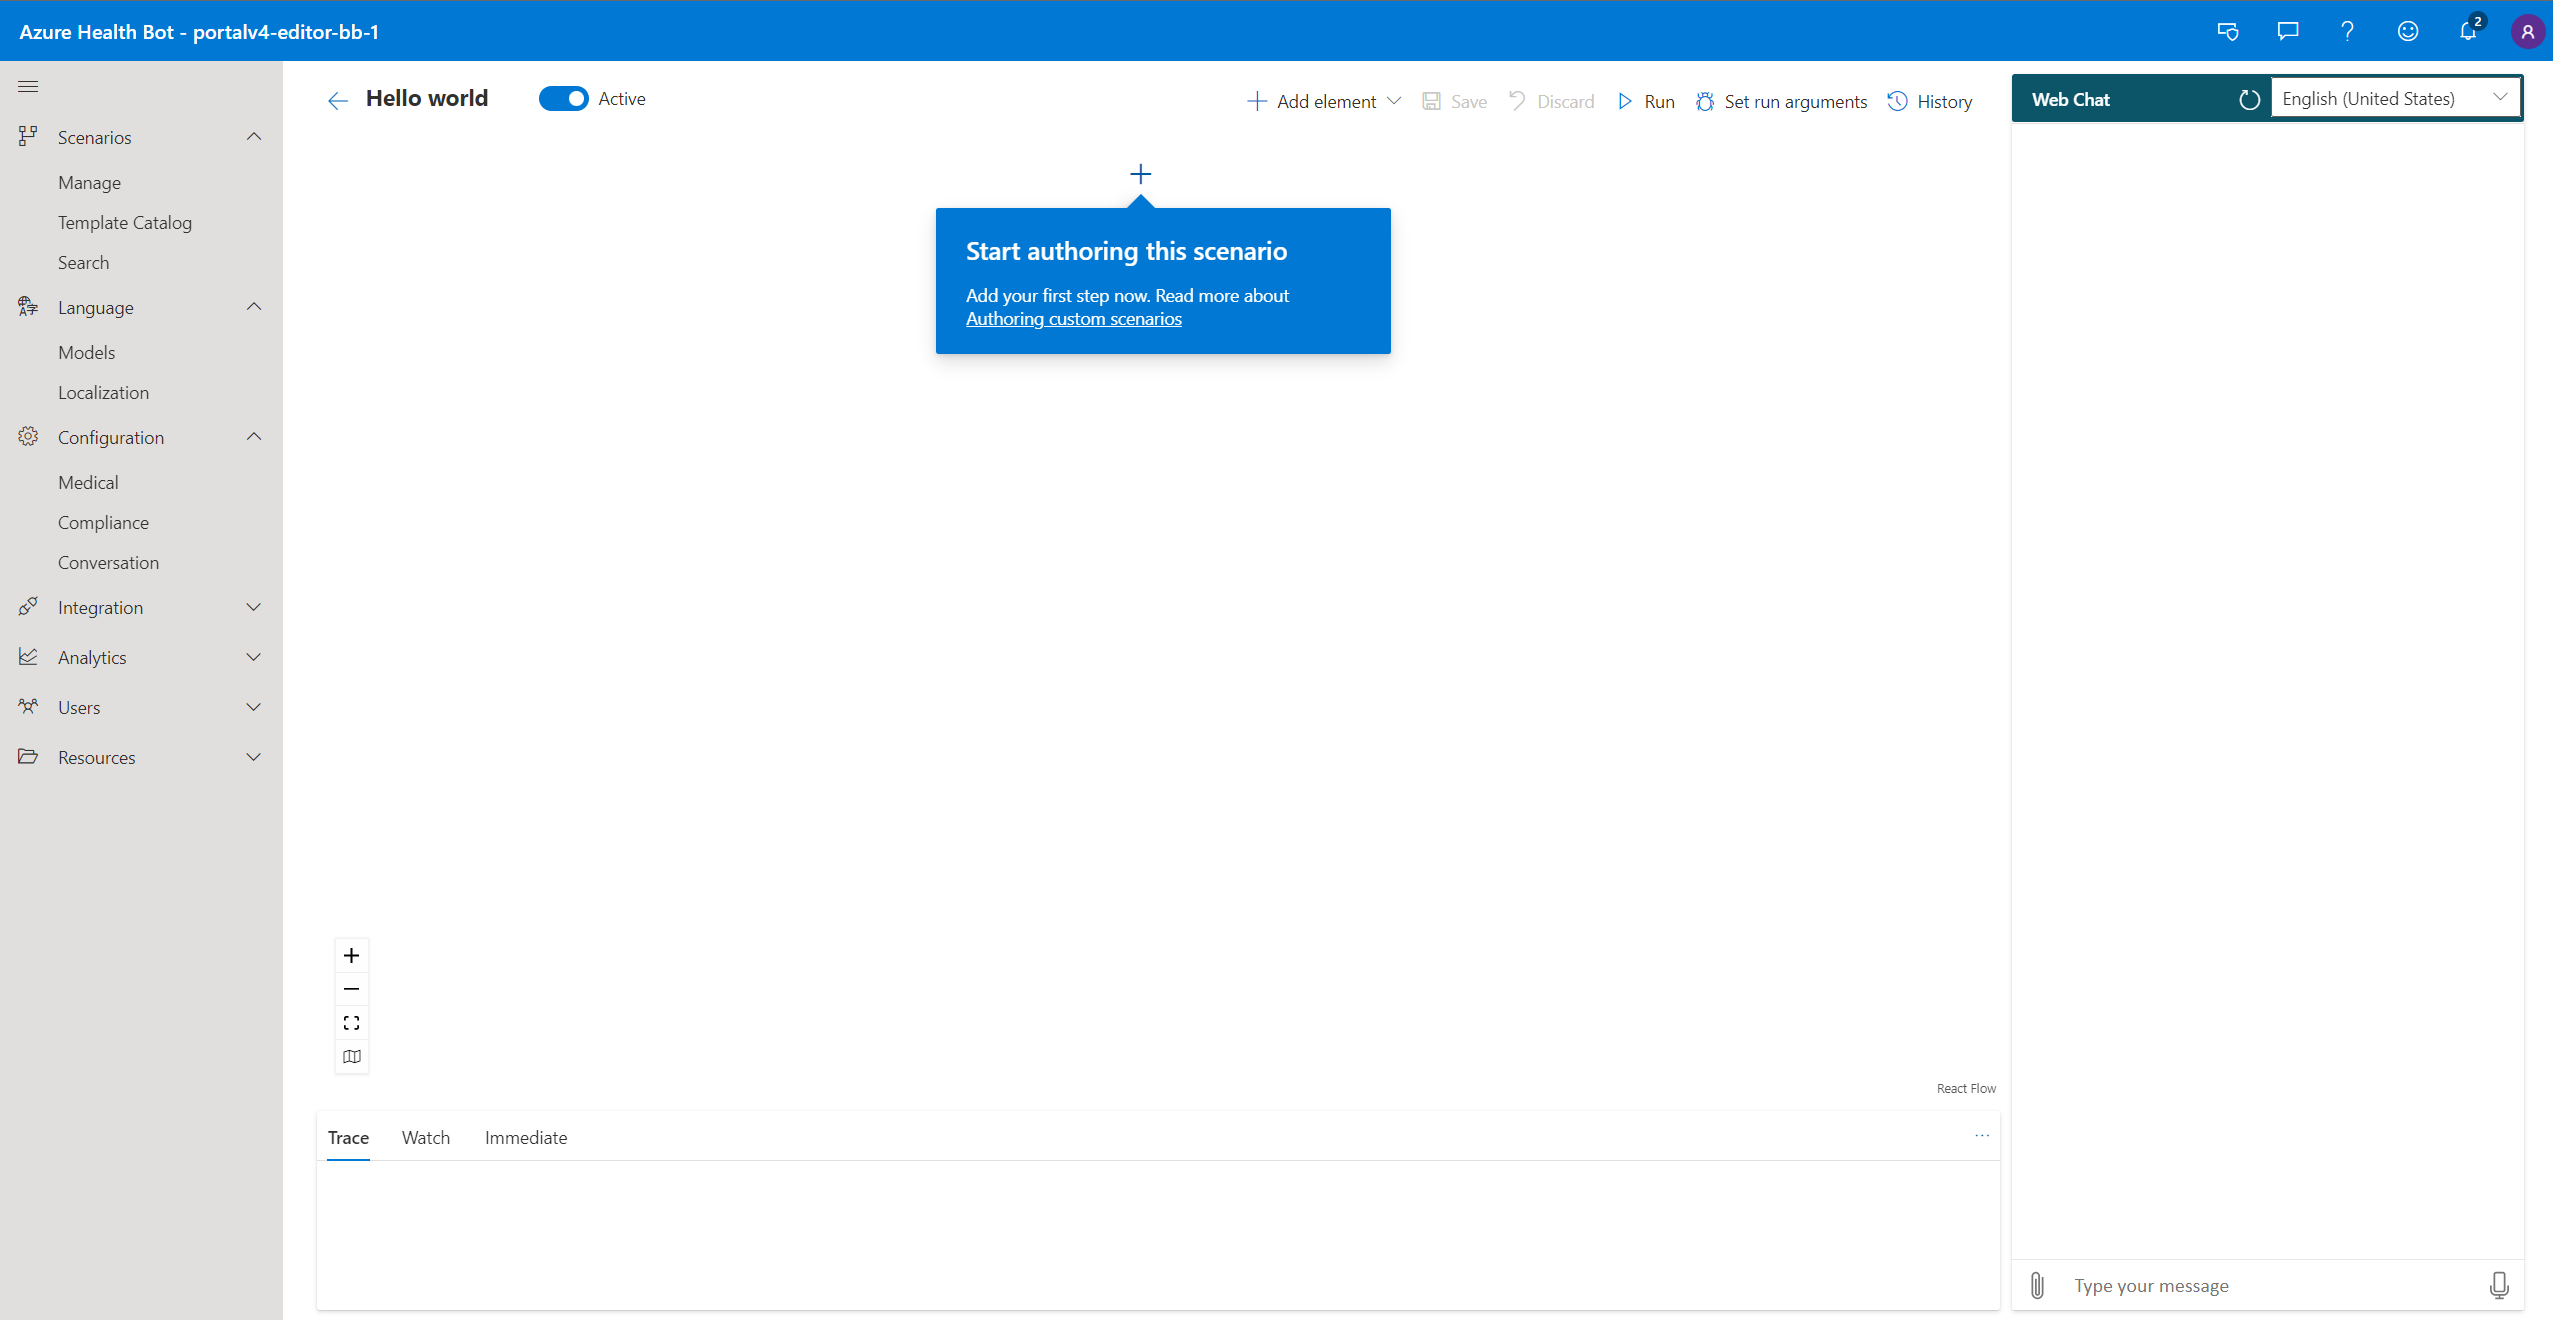
Each scenario appears as a graphical flow of controllers. Three types of controllers are available in the scenario editor:
- Conversational elements that are visible to the end user, such as Prompts and Statements.
- Flow control elements not visible to the end users but rather used to create the logic of the conversation.
- Navigational elements such as Zoom, Trace, and Watch not used at runtime, but that help the scenario author to create and debug the scenario.
For the full list of elements and their meaning see Scenario Elements
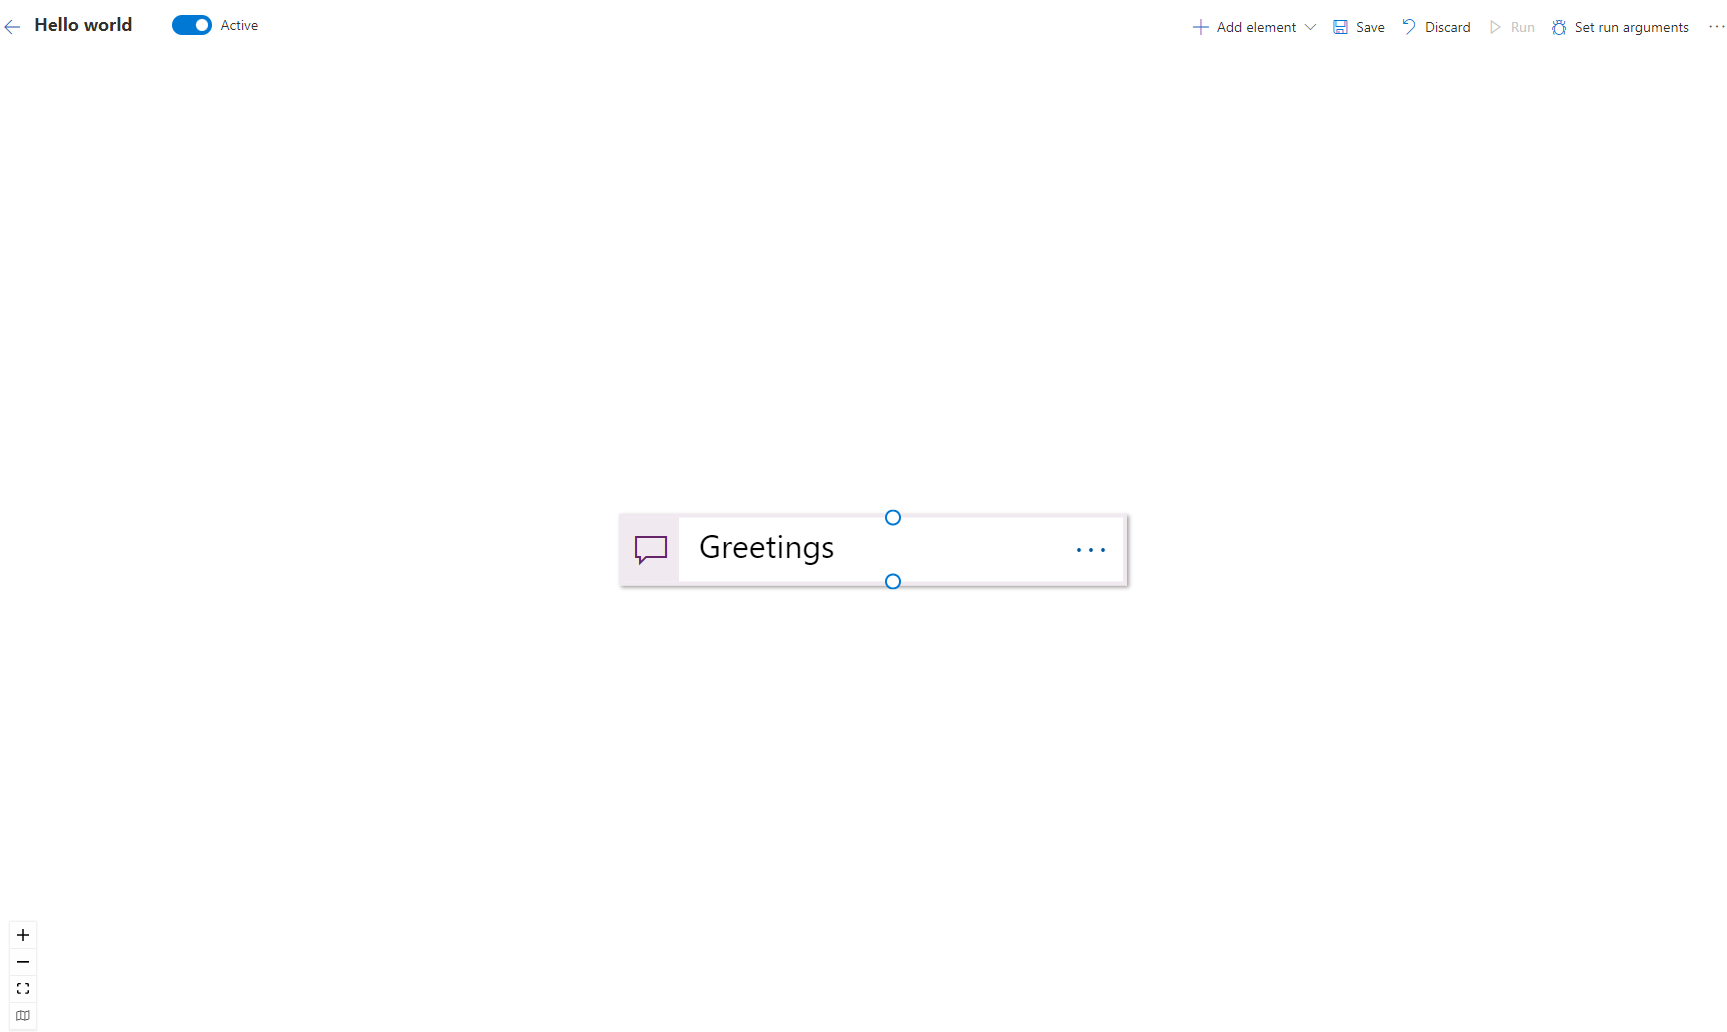
Let's select a Statement element and place it in the editor window. A Statement triggers an output from the Azure AI Health Bot instance with no expectation of a response.
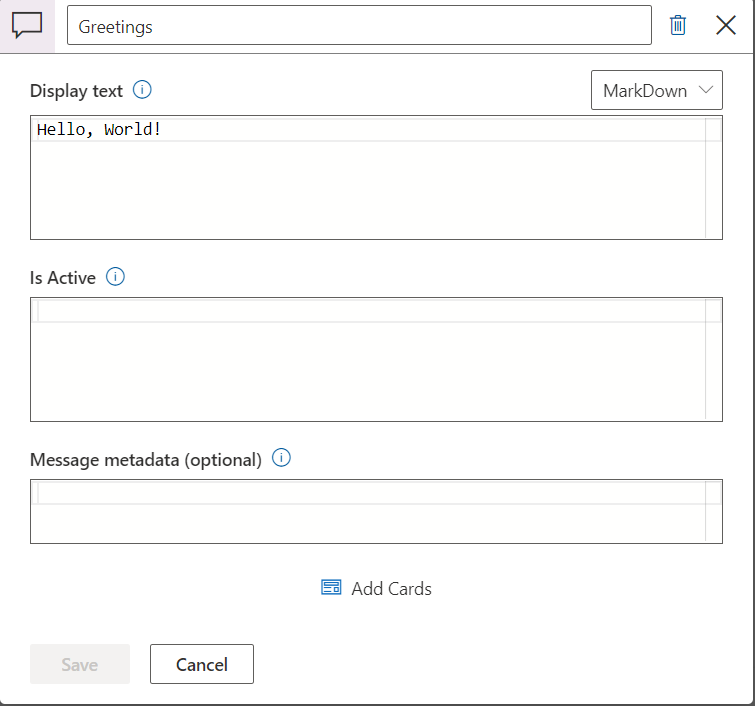
An edit window will appear. In the display text we enter "Hello, world!" Note: The display text can be a string literal or a valid JavaScript expression. Editing the label of an object is a good authoring practice. In this case, we have labeled it Greeting.
You can open and edit the fields at any time by double-clicking on the object in the visual editor, or right-clicking and selecting Edit.
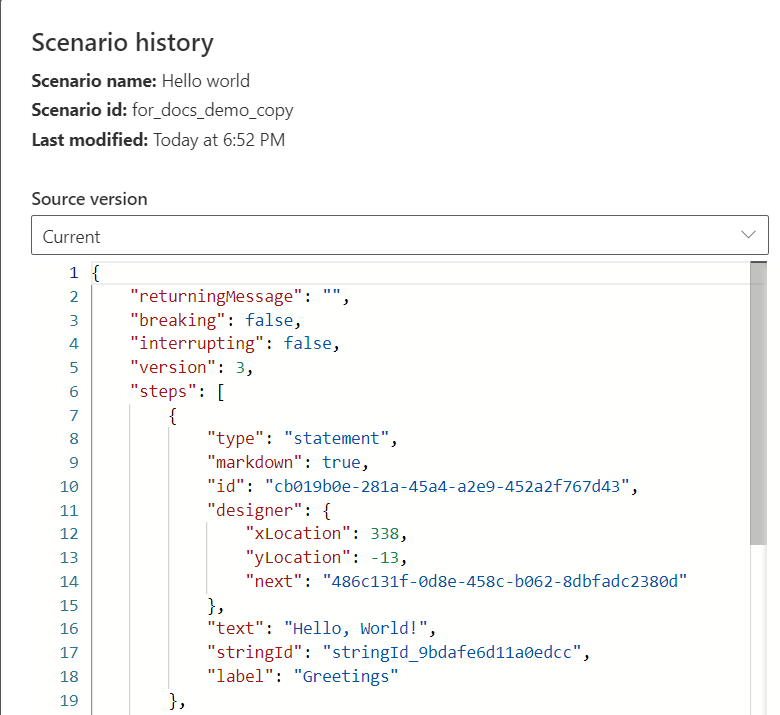
A JSON view is available to view.
The text-based code is generated automatically when the author adds new objects to the visual editor and is updated automatically after any changes.
The JSON format also allows scenarios to be exported and imported.
Move to the code tab to see the underlying JSON code.
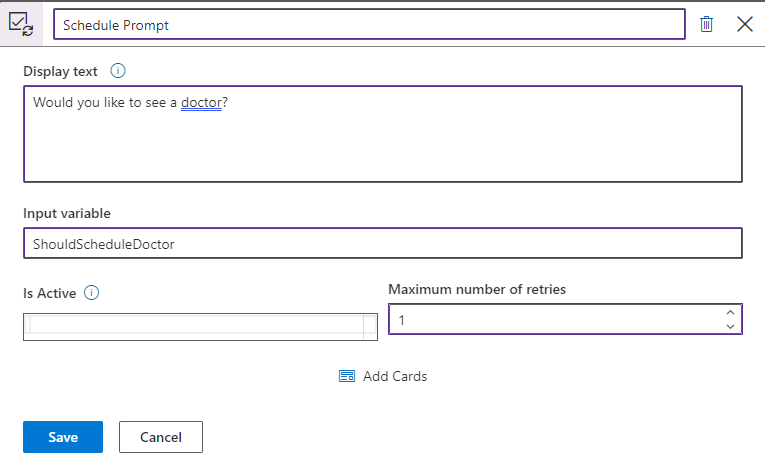
Now let's make things more interesting and add other elements to the conversation flow. A Yes/No Prompt defines a two-way split in the flow based on user input. We use it to ask the user if they're interested in scheduling a meeting with a doctor. The response to this question will be saved in a variable named "ShouldScheduleDoctor".
To learn more about Azure AI Health Bot variables see Azure AI Health Bot instance variables
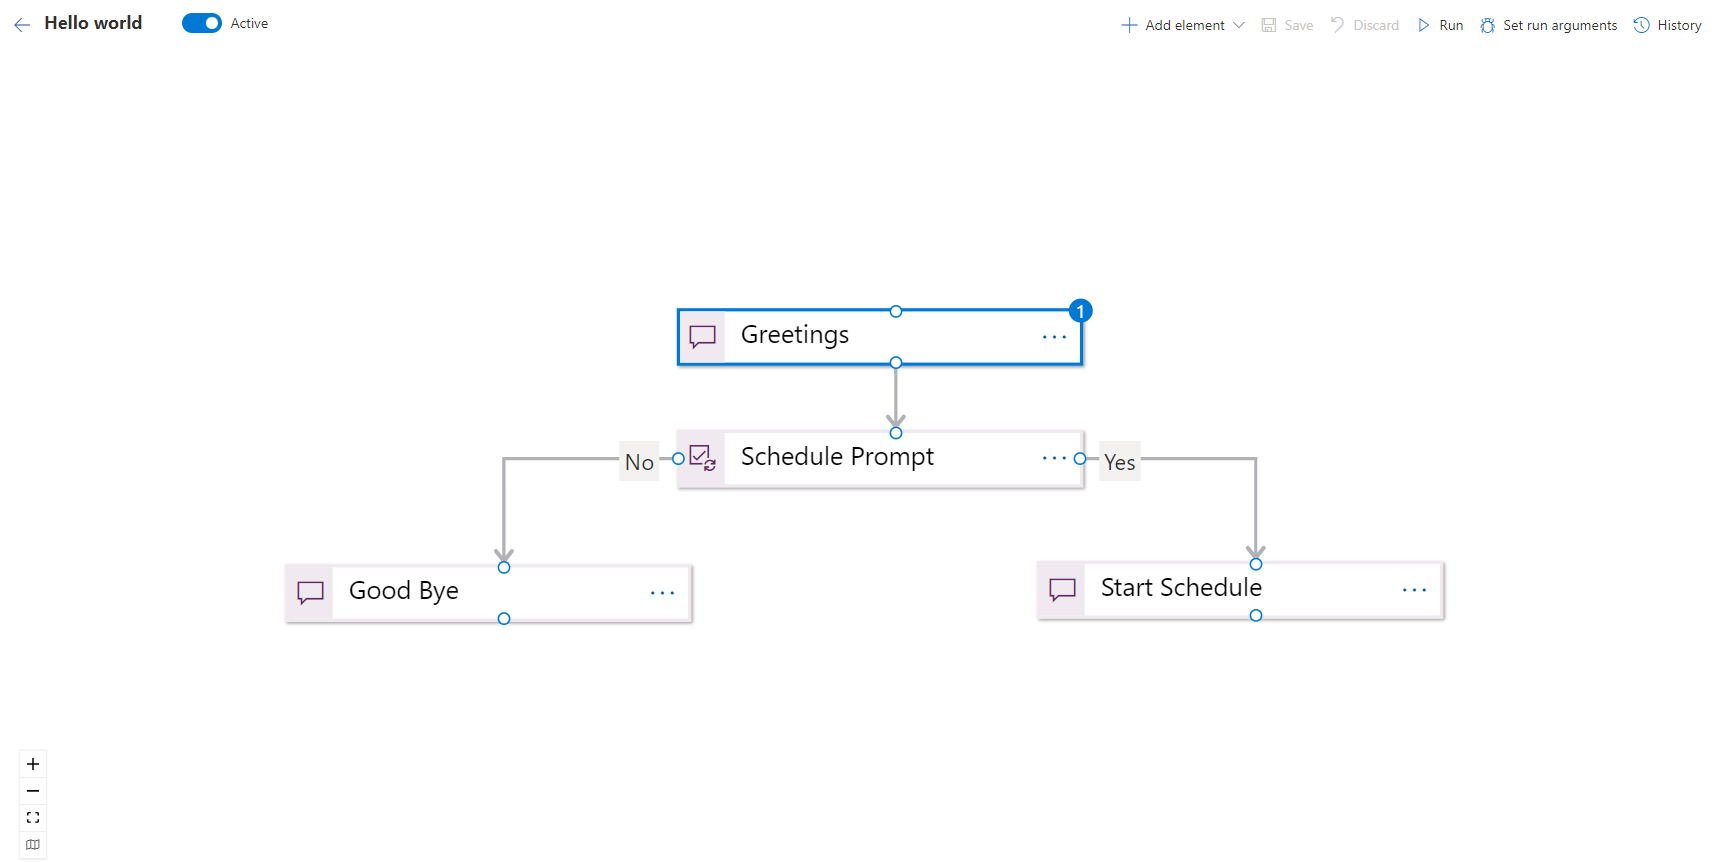
Now let's connect the Greeting element with the Schedule prompt by dragging an arrow from one element to the other.
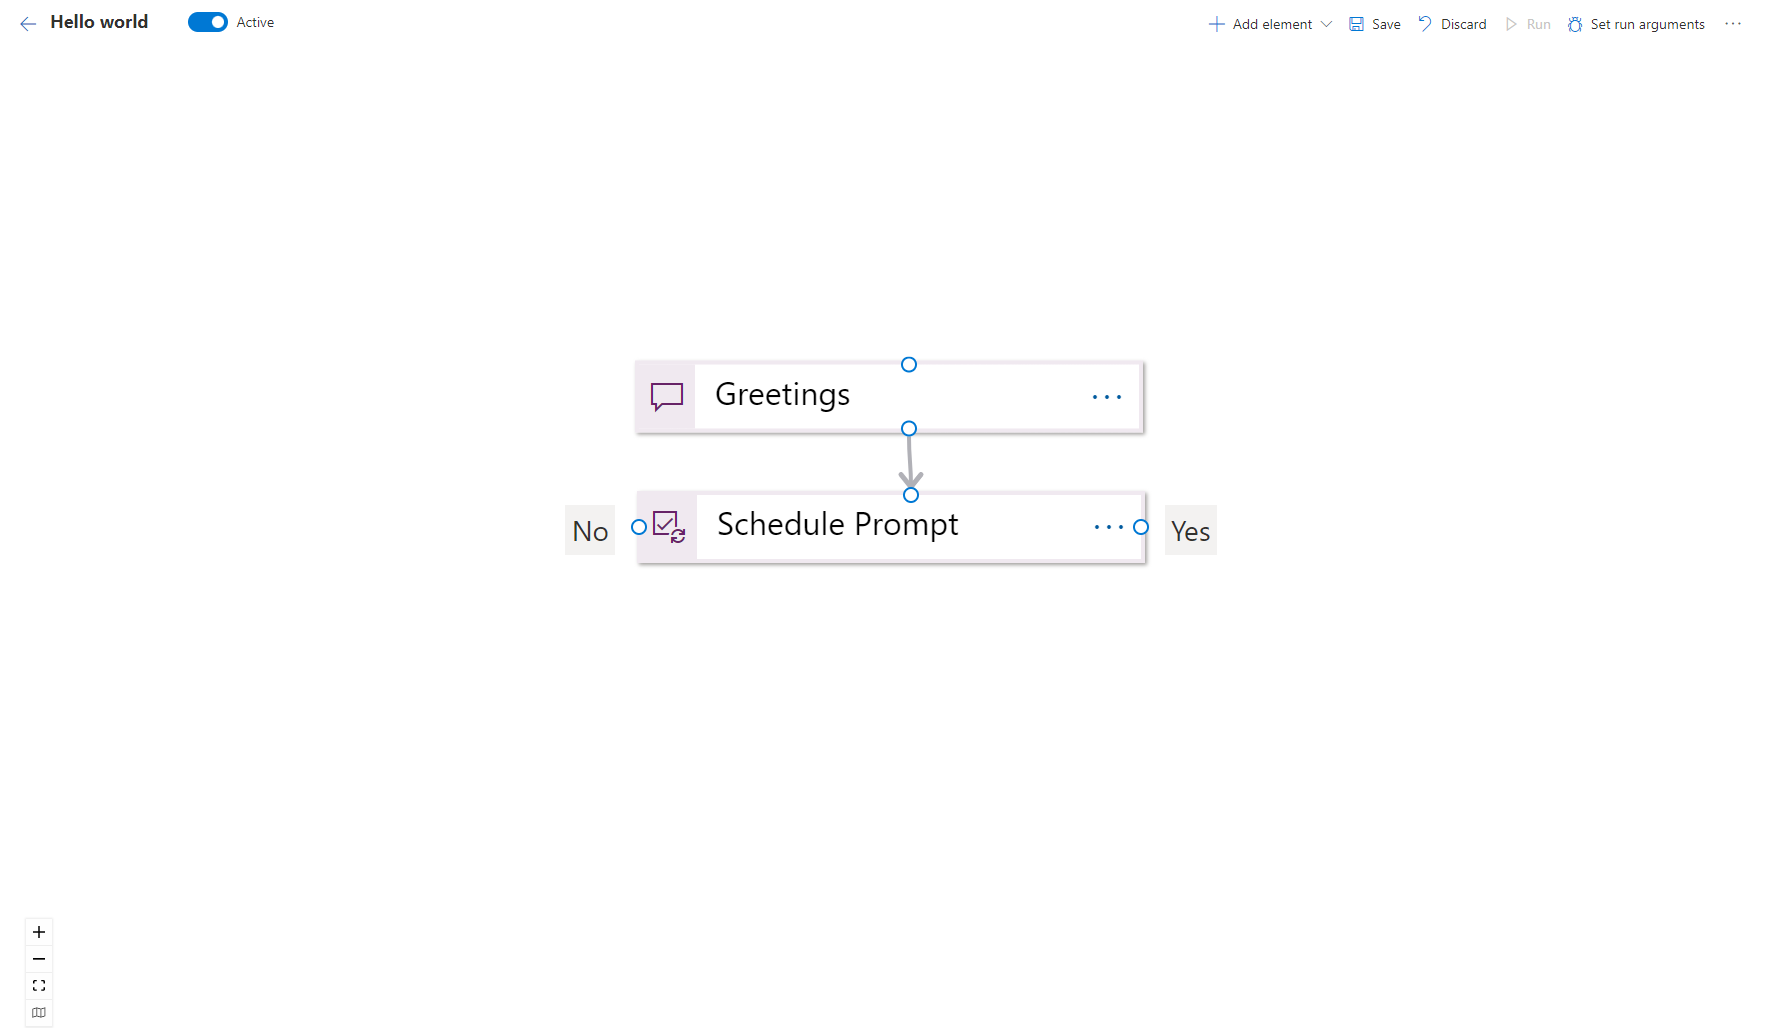
We can define what will happen further in the conversation based on the user response.
Let's write something to the user by adding two more statement elements and proceed to test the conversation we have authored.
Chat with the bot instance to test your scenario
Note! Before you can test your scenario, make sure to first Save it. Then, press Run.

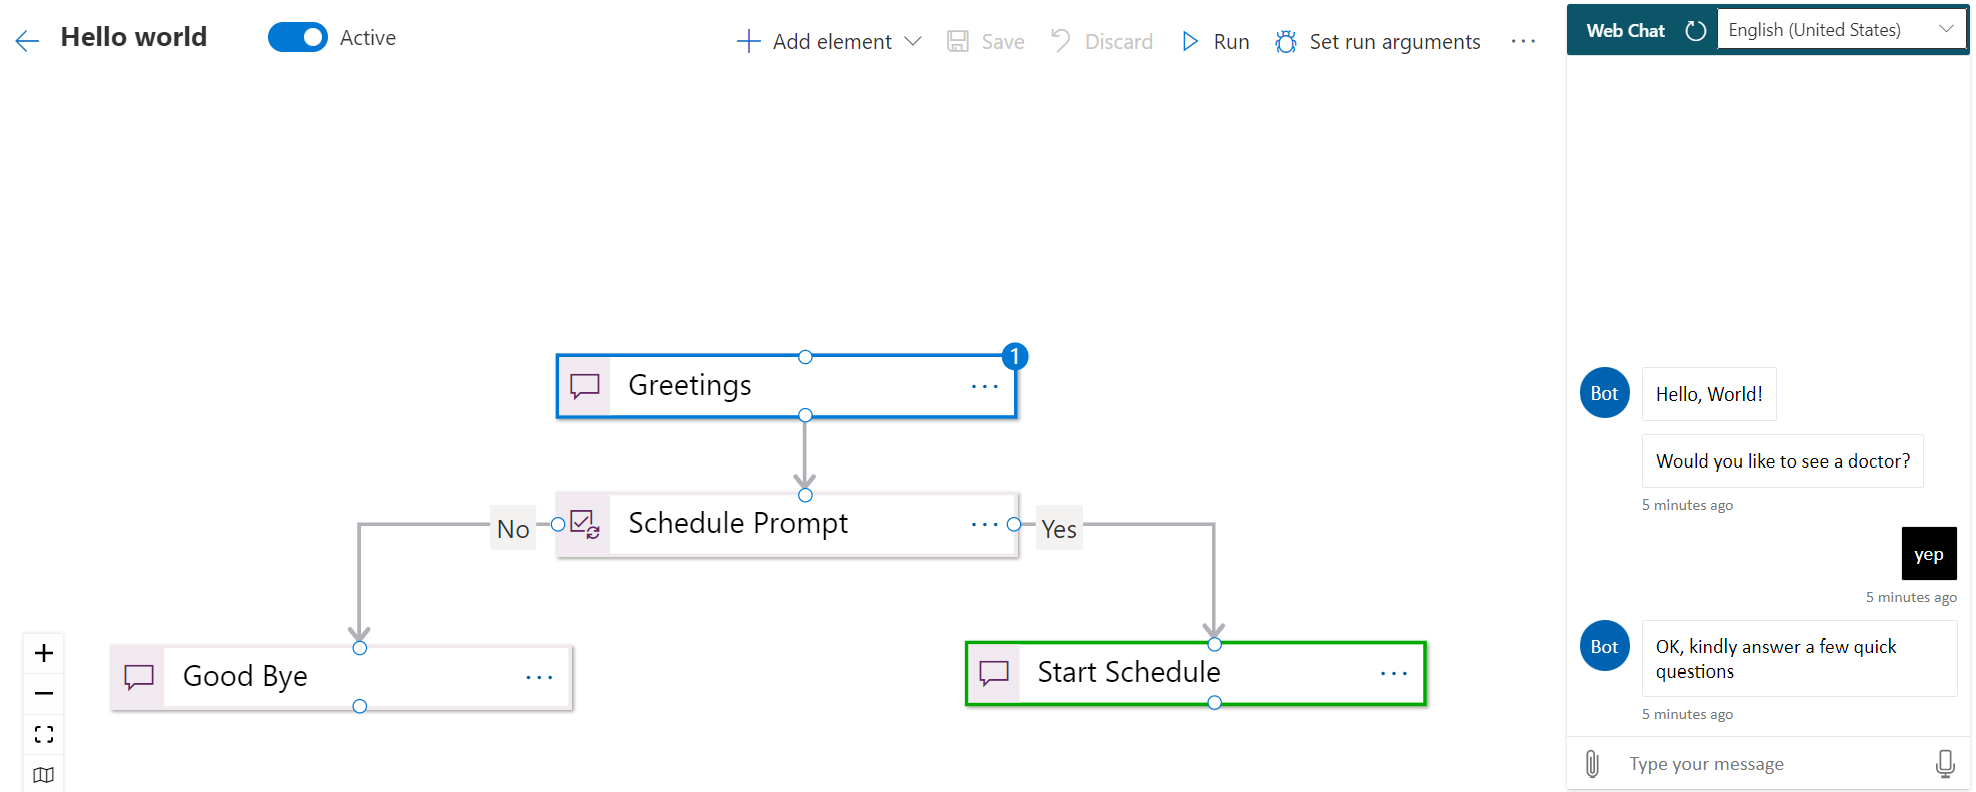
The Web Chat panel in the upper right of the Scenario editor allows you to run and test scenarios as you go. It will first display the 'Hello, World!' greeting element and will then continue to the scheduling condition.
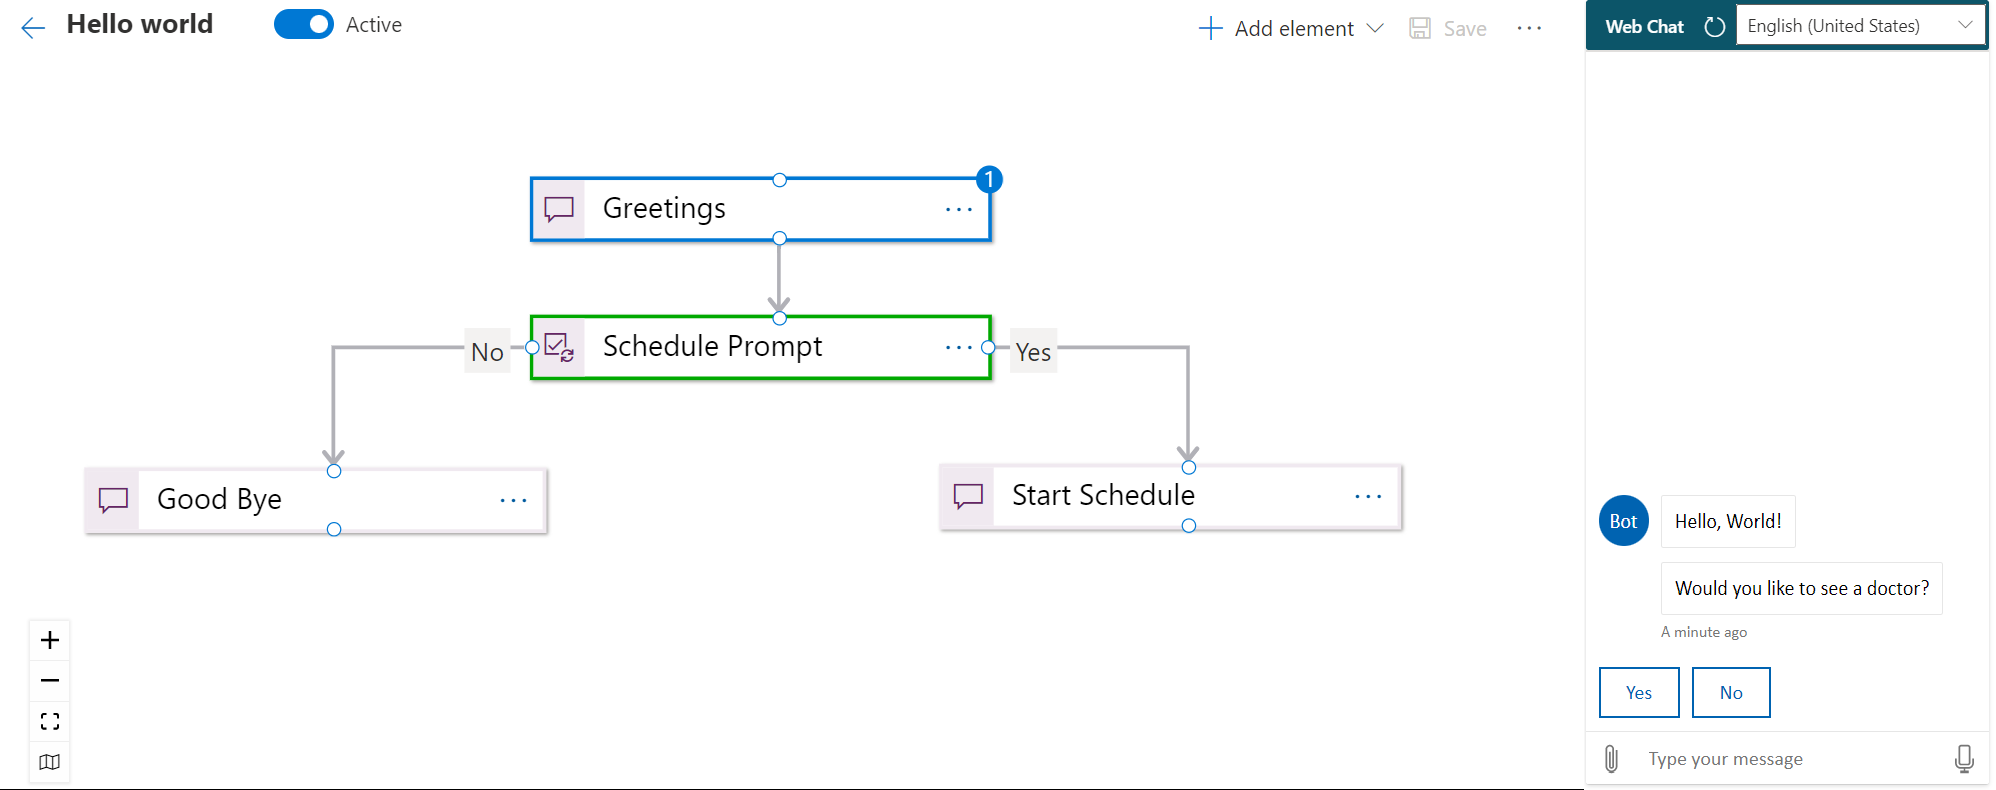
At any time, you'll be able to see the current step being executed in the conversation
For more debugging options please see Advanced Debugging
Once you have completed testing the flow, you can exit the scenario editor.

Managing Scenarios
A new record is added to the list of scenarios.
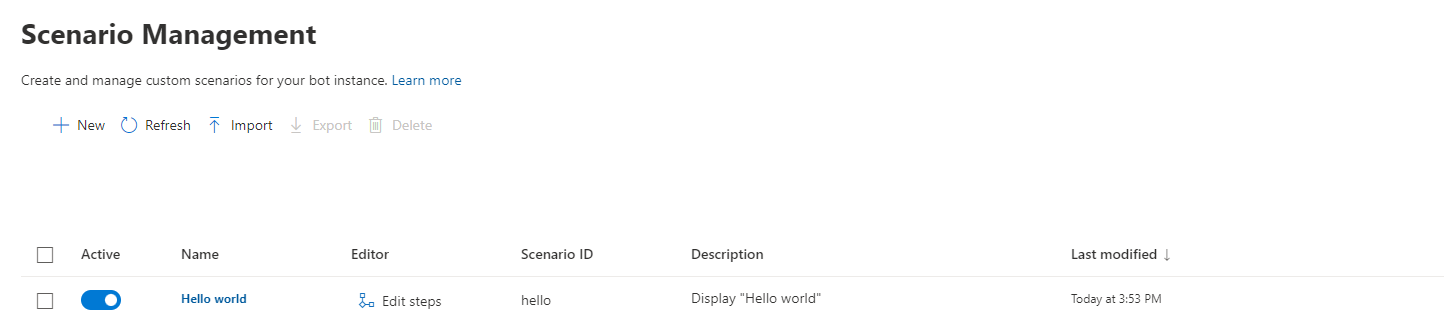
| Action | Description |
|---|---|
| New | Create a new scenario |
| Refresh | Refresh the list of scenarios |
| Import | Use Import to import a JSON blob in to one or more scenarios. |
| Export your scenarios | Use the Export button to export all the selected scenarios as JSON files for safekeeping, sharing, and to move from staging to production. |
| Delete | Delete one or more scenarios |
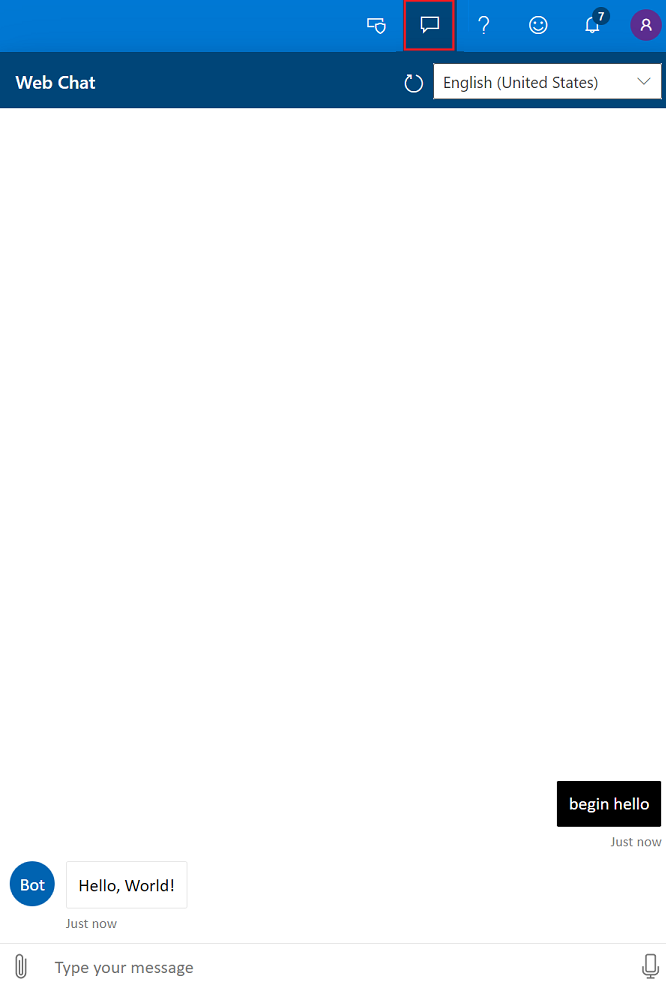
When using the chat window, via the top right screen, you can use the "begin" keyword followed by the scenario ID to explicitly trigger this scenario from the main Chat window
Next steps
Now that you have authored your first scenario, get yourself familiar with other Bot capabilities.