Tutorial - Create your first extension: Hello World
Applies to: ![]() Visual Studio
Visual Studio ![]() Visual Studio for Mac
Visual Studio for Mac
Note
This article applies to Visual Studio 2017. If you're looking for the latest Visual Studio documentation, see Visual Studio documentation. We recommend upgrading to the latest version of Visual Studio. Download it here
This Hello World example walks you through creating your first extension for Visual Studio. This tutorial shows you how to add a new command to Visual Studio.
In the process, you will learn how to:
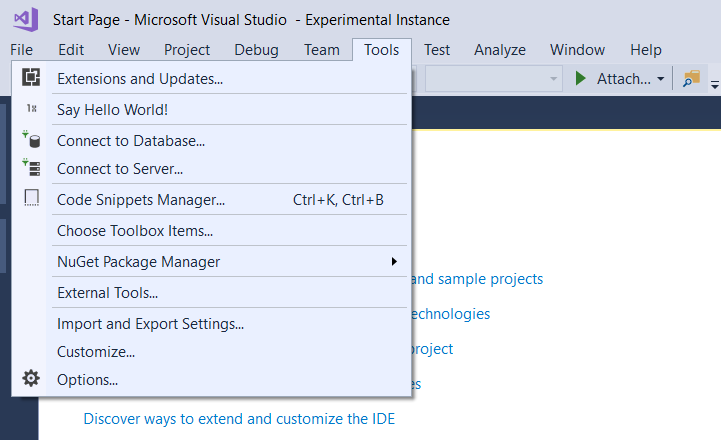
For this example, you'll use Visual C# to add a custom menu button named "Say Hello World!" that looks like this:
Note
This article applies to Visual Studio on Windows. For Visual Studio for Mac, see Extensibility walkthrough in Visual Studio for Mac.
Prerequisites
Before you start, make sure you have installed the Visual Studio extension development workload, which includes the VSIX template you'll need and sample code.
Note
You can use any edition of Visual Studio (Community, Professional, or Enterprise) to create a Visual Studio extensibility project.
Create an extensibility project
Step 1. From the File menu, select New > Project.
Step 2. In the search box in the upper right, type "vsix" and select the Visual C# VSIX Project. Enter "HelloWorld" for the Name at the bottom of the dialog and select OK.

You should now see the Getting Started page and some sample resources.
If you need to leave this tutorial and come back to it, you can find your new HelloWorld project on the Start Page in the Recent section.
Add a custom command
Step 1. If you select the .vsixmanifest manifest file, you can see what options are changeable, such as description, author, and version.
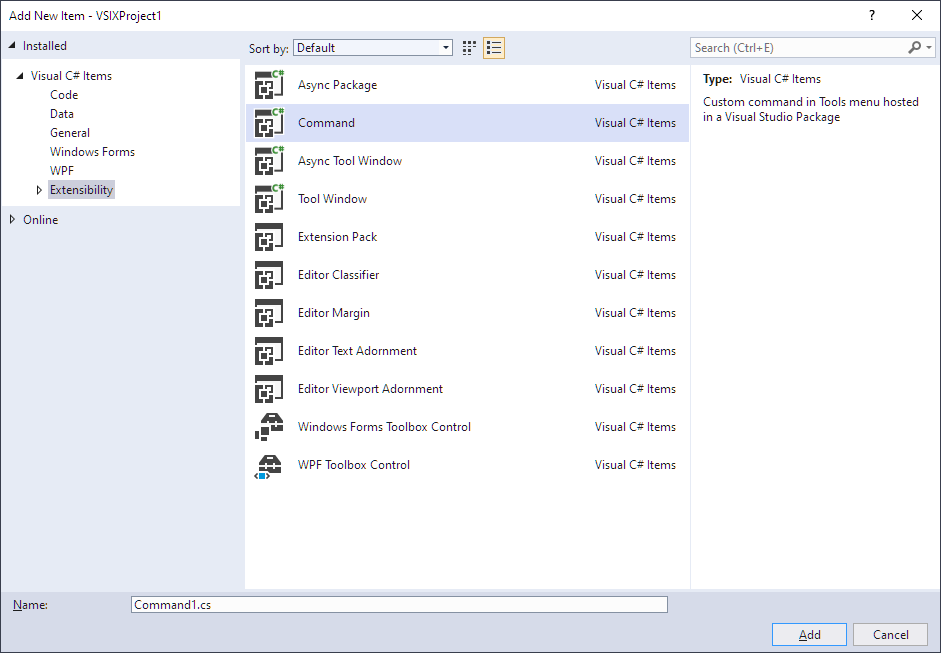
Step 2. Right-click the project (not the solution). On the context menu, select Add, and then New Item.
Step 3. Select the Extensibility section, and then choose Command.
Step 4. In the Name field at the bottom, enter a filename such as Command.cs.
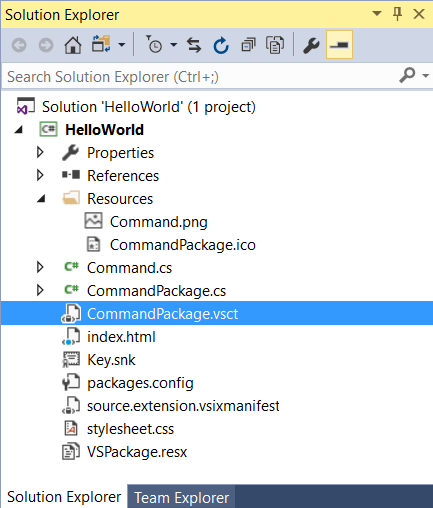
Your new command file is visible in Solution Explorer. Under the Resources node, you'll find other files related to your command. For example, if you wish to modify the image, the PNG file is here.
Modify the source code
At this point, the command and Button text are autogenerated and not very interesting. You can modify the VSCT file and CS file if you want to make changes.
The VSCT file is where you can rename your commands, as well as define where they go in the Visual Studio command system. As you explore the VSCT file, you will notice comments that explain what each section of the VSCT code controls.
The CS file is where you can define actions, such as the click handler.
Step 1. In Solution Explorer, find the VSCT file for your new command. In this case, it will be called CommandPackage.vsct.
Step 2. Change the ButtonText parameter to Say Hello World!.
  ...
  <Button guid="guidCommandPackageCmdSet" id="CommandId" priority="0x0100" type="Button">
     <Parent guid="guidCommandPackageCmdSet" id="MyMenuGroup" />
     <Icon guid="guidImages" id="bmpPic1" />
     <Strings>
        <ButtonText>Say Hello World!</ButtonText>
     </Strings>
  </Button>
  ...
Step 3. Go back to Solution Explorer and find the Command.cs file. In the Execute method, change the string message from string.Format(..) to Hello World!.
  ...
  private void Execute(object sender, EventArgs e)
  {
    ThreadHelper.ThrowIfNotOnUIThread();
    string message = "Hello World!";
    string title = "Command";

    // Show a message box to prove we were here
    VsShellUtilities.ShowMessageBox(
        this.ServiceProvider,
        message,
        title,
        OLEMSGICON.OLEMSGICON_INFO,
        OLEMSGBUTTON.OLEMSGBUTTON_OK,
        OLEMSGDEFBUTTON.OLEMSGDEFBUTTON_FIRST);
  }
  ...
Make sure to save your changes to each file.
Run it
You can now run the source code in the Visual Studio Experimental Instance.
Step 1. Press F5 to run the Start Debugging command. This command builds your project and starts the debugger, launching a new instance of Visual Studio called the Experimental Instance.
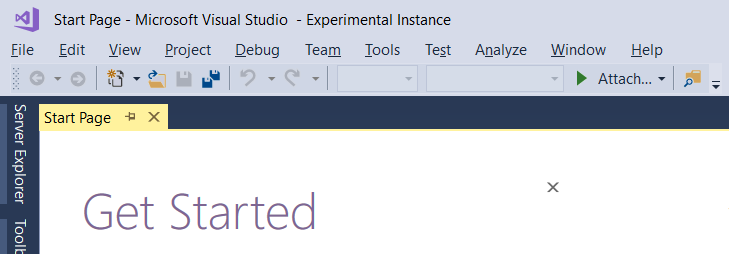
You will see the words Experimental Instance in the Visual Studio title bar.
Step 2. On the Tools menu of the Experimental Instance, click Say Hello World!.
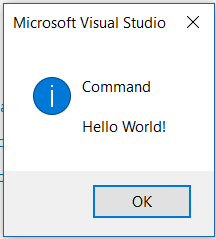
You should see the output from your new custom command, in this case the dialog in the center of the screen that gives you the Hello World! message.
Next steps
Now that you know the basics of working with Visual Studio Extensibility, here's where you can learn more:
- Start to develop Visual Studio extensions - Samples, tutorials. and publishing your extension
- What's new in the Visual Studio 2017 SDK - New extensibility features in Visual Studio 2017
- What's new in the Visual Studio 2019 SDK - New extensibility features in Visual Studio 2019
- Inside the Visual Studio SDK - Learn the details of Visual Studio Extensibility