Vagrant でホストされているローカル Ubuntu サーバーをデプロイし、それを Azure Arc に接続する
この記事では、Vagrant を使用してローカルの Ubuntu 仮想マシンをデプロイし、それを Azure Arc 対応サーバー リソースとして接続するためのガイダンスを提供します。
前提条件
Azure Arc Jumpstart リポジトリを複製します。
git clone https://github.com/microsoft/azure_arc.gitバージョン 2.7 以降の Azure CLI をインストールするか、更新します。 現在インストールされているバージョンを確認するには、次のコマンドを使用してください。
az --versionVagrant は、基になるハイパーバイザーに依存しています。 このガイドでは、Oracle VM VirtualBox を使用します。
VirtualBox をインストールします。
- macOS ユーザーの場合は、
brew cask install virtualboxを実行 - Windows ユーザーの場合は、Chocolatey パッケージを使用可能
- Linux ユーザーの場合は、Linux ホスト用の VirtualBox のダウンロードに関するページですべてのパッケージのインストール方法を確認できます。
- macOS ユーザーの場合は、
Vagrant をインストールします。
- macOS ユーザーの場合は、
brew cask install vagrantを実行 - Windows ユーザーの場合は、Chocolatey パッケージを使用可能
- Linux ユーザーの場合は、Vagrant のダウンロードページを参照してください。
- macOS ユーザーの場合は、
Azure サービス プリンシパルを作成します。
Vagrant 仮想マシンを Azure Arc に接続するには、共同作成者ロールが割り当てられた Azure サービス プリンシパルが必要です。 これを作成するには、自分の Azure アカウントにサインインして、次のコマンドを実行します。 このコマンドは、Azure Cloud Shell 内で実行することもできます。
az login
az account set -s <Your Subscription ID>
az ad sp create-for-rbac -n "<Unique SP Name>" --role contributor --scopes "/subscriptions/<Your Subscription ID>"
次に例を示します。
az ad sp create-for-rbac -n "http://AzureArcServers" --role contributor --scopes "/subscriptions/00000000-0000-0000-0000-000000000000"出力は次のようになります。
{
  "appId": "XXXXXXXXXXXXXXXXXXXXXXXXXXXX",
  "displayName": "http://AzureArcServers",
  "password": "XXXXXXXXXXXXXXXXXXXXXXXXXXXX",
  "tenant": "XXXXXXXXXXXXXXXXXXXXXXXXXXXX"
}
注意
サービス プリンシパルのスコープを、特定の Azure サブスクリプションとリソース グループに限定することを強くお勧めします。
Vagrant ファイルは、必要なすべてのアーティファクトをインストールするため、そして環境変数を挿入するためのスクリプトを VM OS 上で実行します。
scripts/vars.shシェル スクリプトを、作成した Azure サービス プリンシパルに合わせて編集します。subscriptionId= お使いの Azure サブスクリプション IDappId= お使いの Azure サービス プリンシパル名password= お使いの Azure サービス プリンシパル パスワードtenantId= お使いの Azure テナント IDresourceGroup= Azure リソース グループ名location= Azure リージョン
デプロイ
Vagrant のすべてのデプロイと同様に、vagrantfile と Vagrant box が必要です。 大まかに言えば、デプロイでは以下が行われます。
- Ubuntu 16.04 イメージ ファイル Vagrant box をダウンロードする
- インストール スクリプトを実行する
scripts/vars.sh スクリプトをお使いの環境に合わせて編集した後で、Vagrantfile フォルダーから vagrant up を実行します。 VM を作成するのはこのときが初めてなので、最初の実行ではデプロイによって Ubuntu box が初めてダウンロードされるため、その後に実行する場合よりはるかに時間がかかります。

ダウンロードが完了すると、プロビジョニングが始まります。 次のスクリーンショットに示すように、プロセスは 3 分以内に完了します。

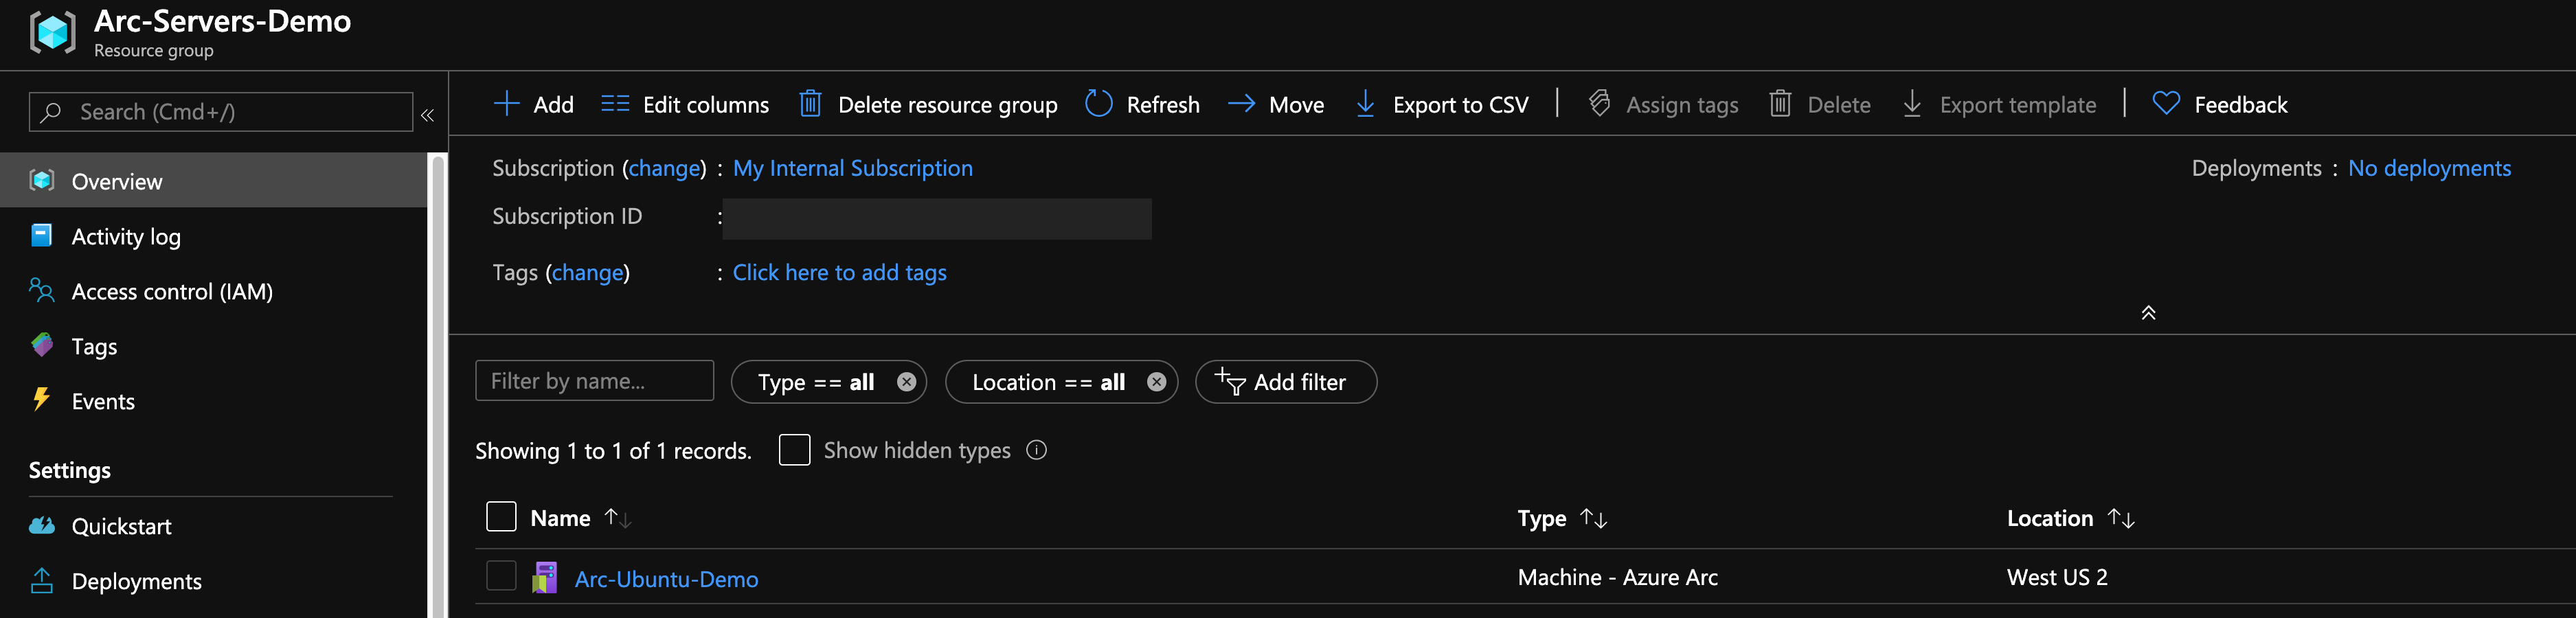
完了すると、新しいリソース グループに新しい Azure Arc 対応サーバーとして接続された Ubuntu VM がローカルにデプロイされます。

半自動デプロイ (省略可能)
最後の段階では、VM を新しい Azure Arc 対応サーバー リソースとして登録します。

実際の登録プロセスをデモンストレーションまたはコントロールする場合は、次の手順を行います。
install_arc_agentシェル スクリプトで、run connect commandセクションをコメント アウトしてファイルを保存します。 リソース グループの作成をコメント アウトまたは変更することもできます。

vagrant sshコマンドを使用して VM に SSH 接続します。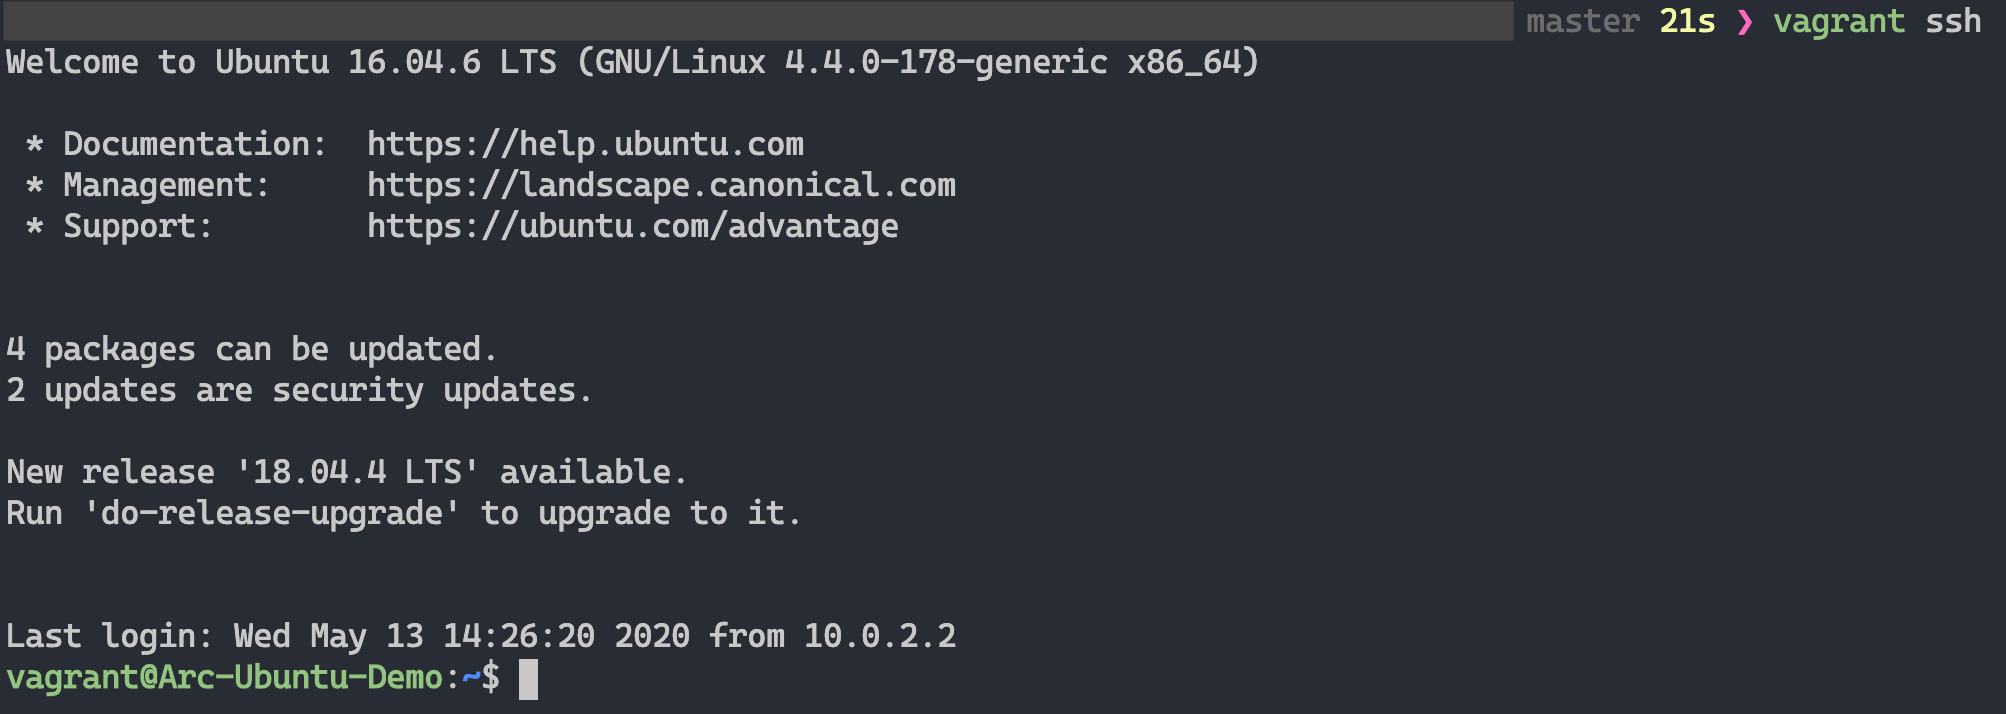
環境変数を使用して、コメント アウトした同じ
azcmagent connectコマンドを実行します。
デプロイの削除
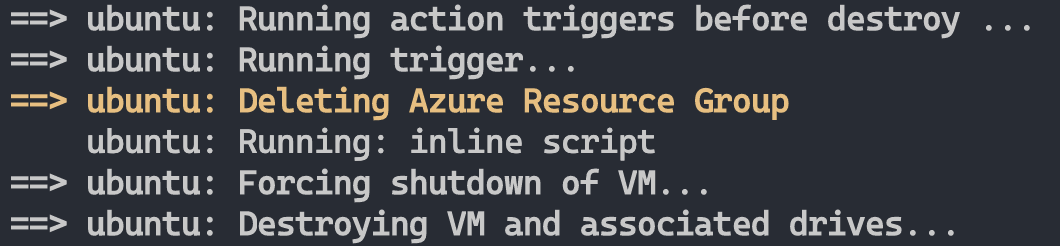
デプロイ全体を削除するには、vagrant destroy -f コマンドを実行します。 vagrantfile には、実際の VM を破棄する前に Azure リソース グループを削除するスクリプトを実行する before: destroy Vagrant トリガーが含まれています。
フィードバック
以下は間もなく提供いたします。2024 年を通じて、コンテンツのフィードバック メカニズムとして GitHub の issue を段階的に廃止し、新しいフィードバック システムに置き換えます。 詳細については、「https://aka.ms/ContentUserFeedback」を参照してください。
フィードバックの送信と表示