Lab - Work with batch jobs and set up alerts
Read this first - before you start the lab!
Important
For this lab, you CANNOT sign in with your own credentials. Use the following steps to sign in to your lab environment with the correct credentials.
Ensure that you are signed in to Microsoft Learn.
Select Launch VM mode or Sign in to launch VM mode in this unit.
In the Resources tab on the lab side bar, select the T icon next to Password in the MININT box, to have the administrator password for the Virtual Machine entered for you.
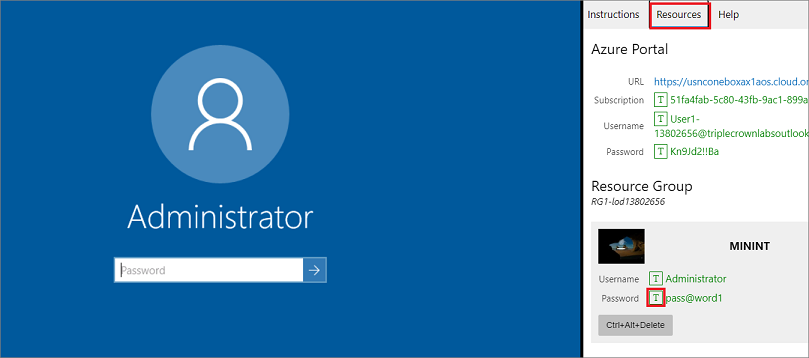
Select Enter.
Microsoft Edge will open. Wait for it to navigate to the Sign in page for finance and operations.
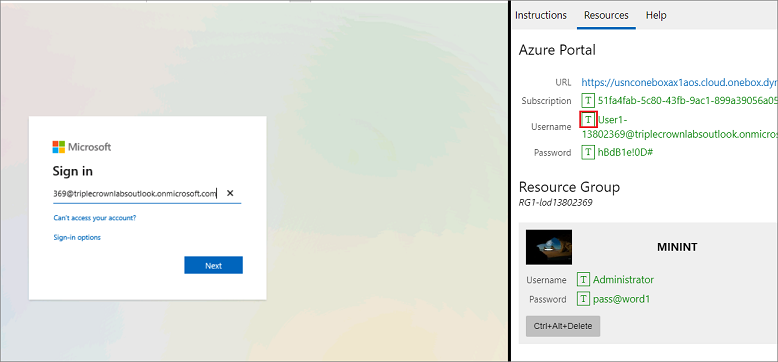
On the Microsoft Sign in page in finance and operations, place your mouse cursor into the Username field.
On the Resources tab of the lab side bar, below the Azure portal heading, select the T icon next to Username, then press Enter.
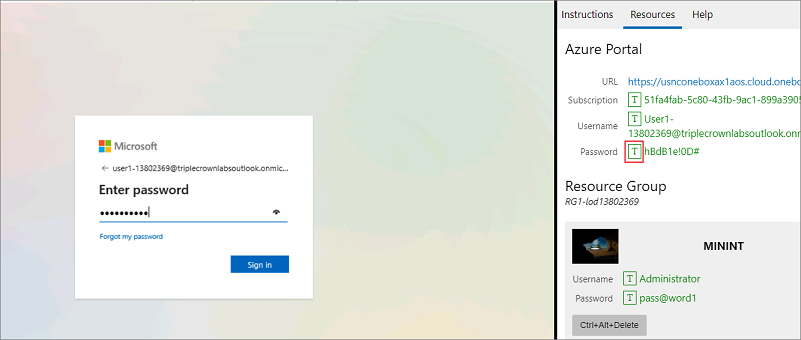
Your mouse cursor will now be in the Password page.
On the Resources tab of the lab side bar, below the Azure portal heading, select the T icon next to select Password, then press Enter.
Don't stay signed in or store the password on the virtual machine.
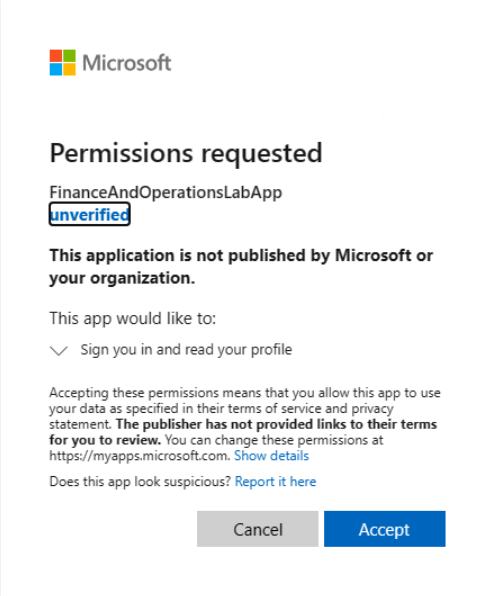
Select Accept in the Permissions requested page.
To see the lab instructions, select the Instructions tab on the lab side bar.
You can now begin your work on this lab.
Scenario
You have been asked to work with some batch jobs and alerts. To do this, you must perform the following tasks:
- Create a batch job
- Create a recurrence
- Add alerts
- Copy a batch job
- Enable the batch job
- Assign the Batch job manager role to a user
Create a batch job
- Go to System administration > Inquiries > Batch jobs.
- Select New.
- In the Job description field, enter a value, such as Data cache refresh batch.
- In the Scheduled start date/time field, enter a date and time.
- Select Save.
Create a recurrence
- On the Action Pane, select Recurrence and use the options to enter a range and pattern for the recurrence.
- Select OK.
Add alerts
- On the Action Pane, select Alerts.
- Indicate if you want alert messages sent when the batch job ends, has an error, or is canceled. Then specify if you want the alerts to be displayed as pop-up messages.
- Select OK.
Copy a batch job
- Select System administration > Inquiries > Batch jobs.
- Select the job that you want to copy, and on the Action Pane, select Copy batch job.
- Enter or add any changes. If you set View tasks for the new batch job to Yes, when you select OK you will go directly to the Batch tasks page for the copied job. The copied batch job will be created with a Withhold status. The Run by user can also be set to give this user the privilege to run the job without being a system administrator.
- Close the page.
Enable the batch job
- On the Batch jobs page, on the Action Pane, select Change status.
- Select the Waiting status, and then select OK.
Assign the Batch job manager role to a user
- Select System administration > Security > Assign users to roles.
- Select Batch Job Manager, and on the right pane, notice how there is a user assigned to the role.
- Close the page.
Close the lab environment
- Select Done in the Instructions pane in the lab side bar.
- In the Lab is complete window, select Continue, and then select Leave to return to the next unit in the module.