Use the wrap wizard to build your mobile app
Use the wrap feature to package one or more canvas apps as a single native mobile app package using the step-by-step wizard.
The wrap feature in Power Apps lets you create native mobile versions of your canvas apps as custom-branded Android and iOS mobile apps. You can distribute such wrapped native mobile apps to the end users through Microsoft Intune, Microsoft app center, Google Play or Apple Business Manager or other native distribution methods.
Wrap feature allows you to create mobile apps for iOS, Android or Google Play Store:
- iOS (IPA package)
- Android (APK package)
- Google Play Store (AAB package)
The wrap feature wraps your canvas apps in a native mobile app shell that you can digitally sign and distribute. When you update your app and republish it, the app is automatically updated.
Prerequisites
You need access to:
- Azure portal to register your app.
- App center to add new organization and apps.
- This feature requires the apps to be part of a managed or unmanaged solution. If your apps aren't part of a solution already, add them to an existing or a new solution. More information: Create a canvas app from within a solution.
If you're creating a mobile app package for Android platform and you plan to code sign it manually, ensure you generate keys, and then generate signature hash before you start. You need the generated signature hash to configure the Redirect URI.
Add canvas app to solution
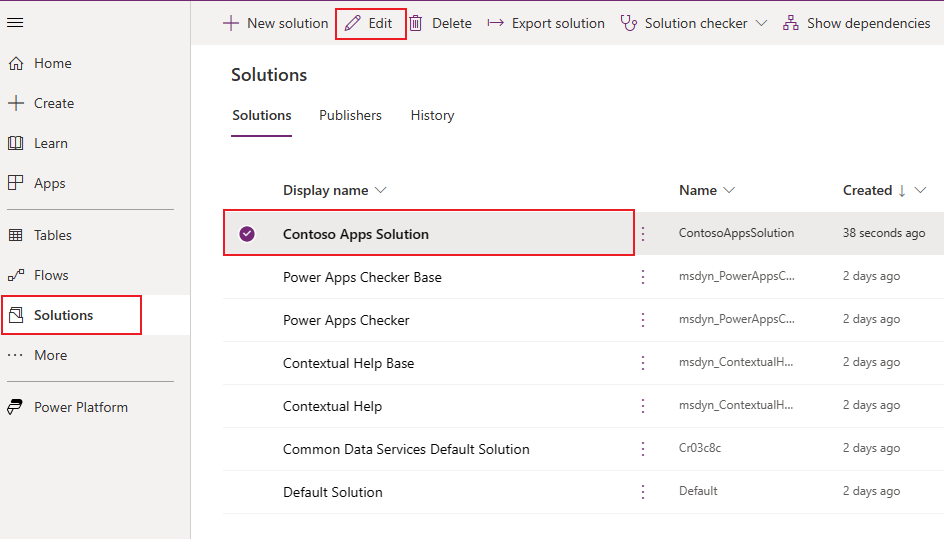
Wrap for Power Apps requires the apps to be part of a solution. If your canvas apps aren't part of a solution already, add them to an existing or a new solution. From the left navigation pane, select Solutions. If the item isn’t in the side panel pane, select …More and then select the item you want. Select a solution and then select Edit.
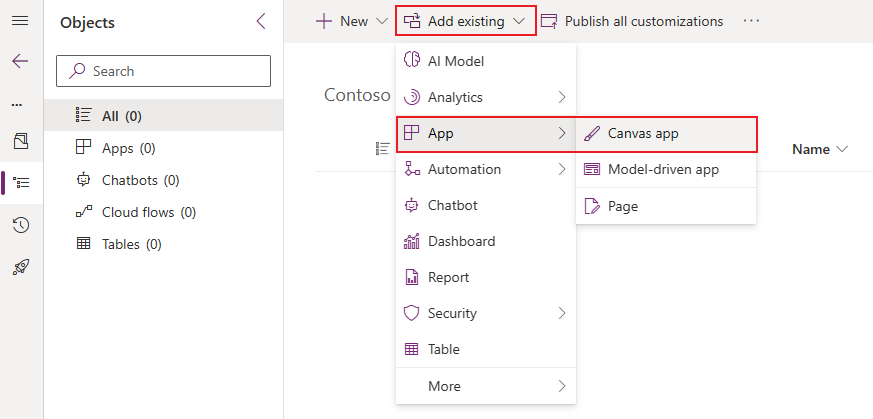
Choose + Add existing option from the top menu and select App > Canvas app in the dropdown list.
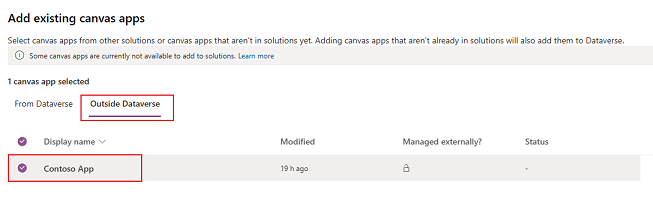
Select Outside Dataverse tab and choose your app from the list. Press Add button to add this app to a solution.
More information: Add an app to a solution
Create native mobile apps for iOS and Android using the wizard
Sign in to Power Apps.
Select Wrap, from the left navigation pane. If the item isn’t in the side panel pane, select …More and then select the item you want.
Select the app that you want to wrap, and then select Wrap on the command bar.
Step 1: Select apps
On the Select the app(s) to wrap screen, select your primary and secondary app.
Primary app: Select the app your end users see when the mobile app is launched.
Secondary app(s): Optional other apps that you can bundle the same build for mobile app package along with the Primary app.

Note
You can use the same Primary app in multiple wrap projects.
Select Next.
Step 2: Target platform
On the Choose mobile platform to target screen, enter a Bundle ID of our choice.
Note
The Bundle ID is a unique identifier that you create for your app. A bundle ID must contain one period (.) and no spaces.
Under Target platforms(s), select all the mobile platforms that your end users use on their mobile devices.
Set the Sign my app toggle to ON to automatically code sign your mobile app, then select the Azure Key Vault URI from the list and click Next. If you don't have any entries in Azure Key Vault URI list, you need to create Azure Key Vault first. More information: Create Azure Key Vault for wrap for Power Apps.

You can also code sign your mobile app package manually instead of using automatic code signing available in wrap wizard. For more information on how to code sign your app manually, see:
- Select Next.
Step 3: Configure branding
On the Configure Branding Step, set the following look and feel options for your app:
Note
All the images must be in .png format. A default image will be used if no custom images are selected.
- App icons: Upload icons to use for your app. Recommended size for iOS: 1024px by 1024px .png image or larger. Recommended image size for Android: 432px by 432px .png image or larger.
- Splash screen image: Image that's used on the splash screen of your mobile app, while it loads. Default image used when not provided.
- Welcome screen image: Image that's used on the welcome (sign in) screen of your mobile app, while it loads. Default image used when not provided.
- Background fill color: Hexadecimal color code used for the background of the welcome screen.
- Button fill color: Hexadecimal color code used to fill the button color.
- Status bar text theme: Color for the status bar text at the top of the app.
Select Next.
Step 4: Register app
On the Register your app screen, register your application in Azure to establish a trust relationship between your app and the Microsoft identity platform. Your app must be registered in Microsoft Entra so that your app users can sign in.
New app registration
Select New app registration to create a new registration for your app automatically.

You can also create a new app registration manually. More information: Registering your app on Azure portal manually.
The wrap wizard configures all the required API permissions for your app automatically. You can also configure the API permissions manually if your need to troubleshoot this step. More information: Configure the API permissions for your app manually.
Step 5: Manage output
On the Manage output screen, create or select an existing app center location to send your mobile app once the build is complete. To automatically create a new location in wrap wizard, select New location on top of the screen, and then select Android or iOS.

Android: Choose an existing location or create a new location.
iOS: Choose an existing location or create a new location.
You can also choose to create your app center location manually at App Center. More information: Create an app center location for your mobile app manually.
Step 6: Wrap up
On the Wrap up screen, review the app details and then select Build. After a successful build, you'll see your mobile app in the app center location that you have selected in the previous step.
Test and distribute mobile app package
For testing and distribution, see App center test and Distribute.
Register your app on Azure portal manually (optional)
You can automatically create your app registration in the wrap wizard as mentioned in step 4. Or, you can manually create a new registration for your app on Azure portal. More information: Quickstart: Register an application with the Microsoft identity platform.
Note
Both single tenant and multitenant customers can use wrap to create native mobile apps based on their Power Apps canvas apps.
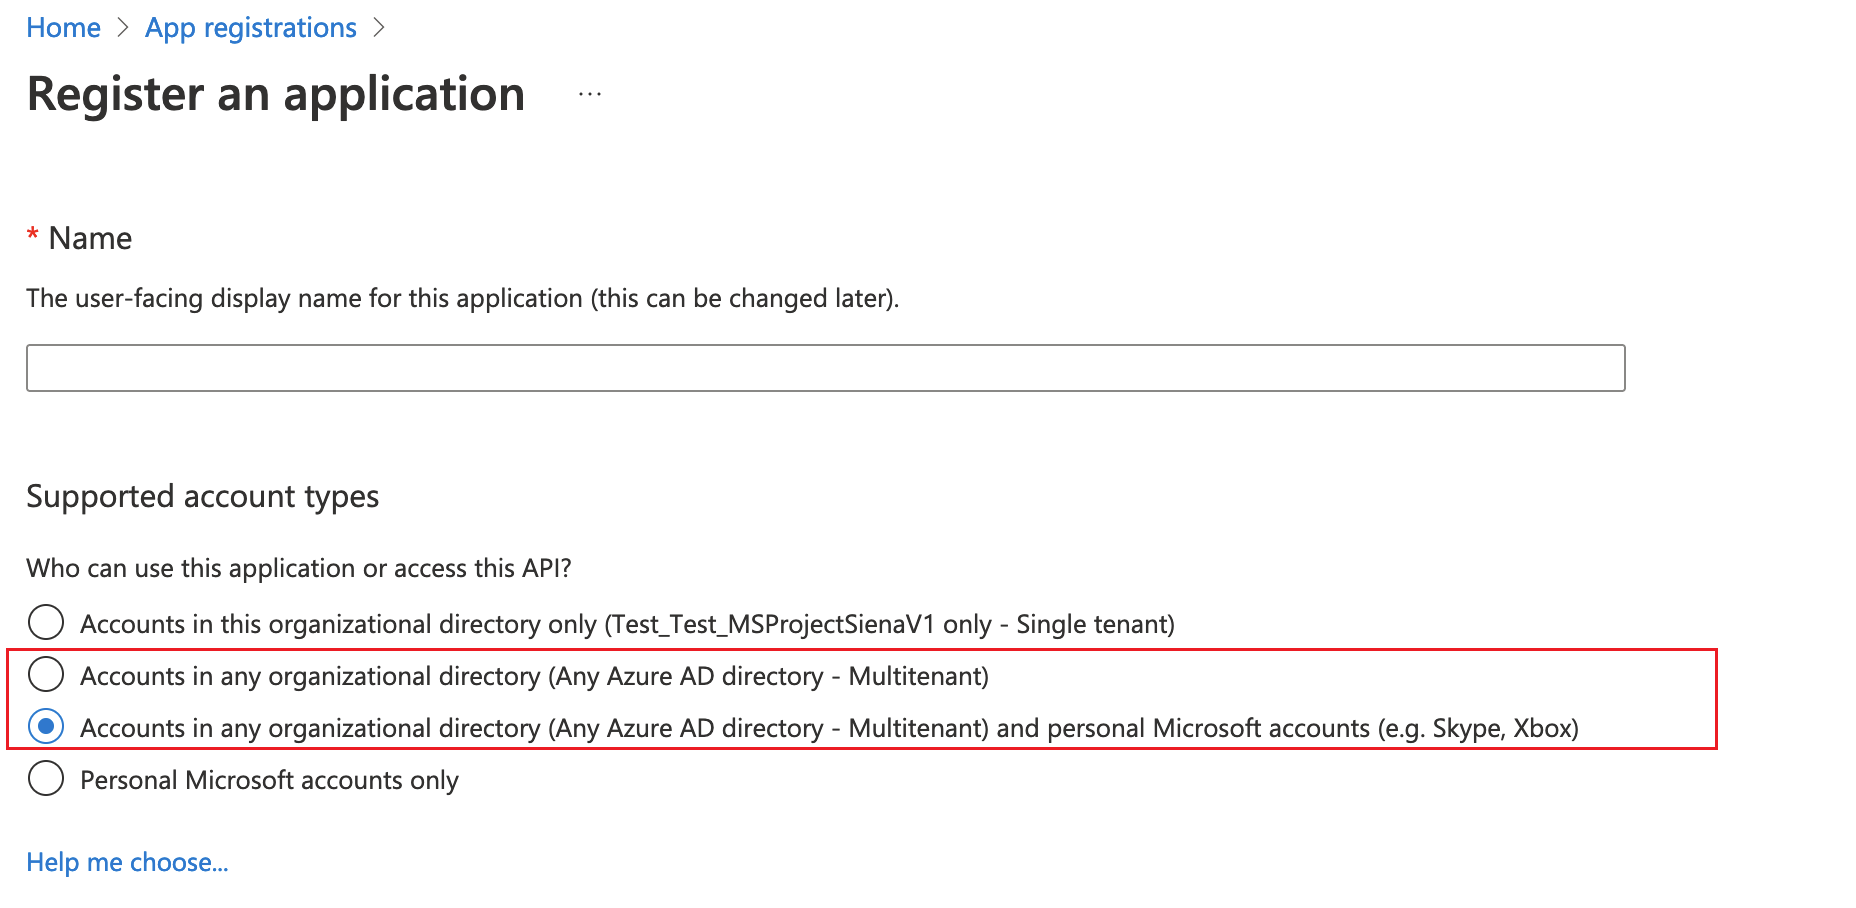
Whether you're a single or multitenant maker, you must select any of the options containing Any Microsoft Entra directory - Multitenant when choosing the supported account type for your app to enable it for wrap. Choose one of the following account types:
- Accounts in any organizational directory (Any Microsoft Entra directory - Multitenant)
- Accounts in any organizational directory (Any Microsoft Entra directory - Multitenant) and personal Microsoft accounts such as Skype or Xbox.
Important
- Wrap only supports Multitenant account types currently. Single tenant account type is not yet supported. More information on the account types: Account types in Microsoft identity platform.
- You must create a separate Redirect URI for each platform (iOS, Android) that you want to target.
Configure the API permissions for your app manually (optional)
When you complete step 4 the wrap wizard will automatically configure all the required API permissions for your app.
If you get errors in wrap wizard, you can manually configure API permissions. More information: Add and configure
The following API permissions are required when manually configure API permissions:
- Microsoft APIs
- Dynamics CRM
- APIs my organization uses
- Azure API Connections
- PowerApps Service
- Power BI (only required if your canvas app(s) use Power BI data)
- Microsoft Mobile Application Management (only required if you want to use Microsoft Intune for mobile app distribution)
Note
If you don't find the permissions under APIs my organization uses, run the following PowerShell commands as appropriate, and try again:
- Missing Azure API Connections permission:
Connect-AzureAD -TenantId <your tenant ID> New-AzureADServicePrincipal -AppId fe053c5f-3692-4f14-aef2-ee34fc081cae -DisplayName "Azure API Connections" - Missing PowerApps Service permission:
Connect-AzureAD -TenantId <your tenant ID>
New-AzureADServicePrincipal -AppId 475226c6-020e-4fb2-8a90-7a972cbfc1d4 -DisplayName "PowerApps Service"
For detailed steps, refer to Request the permissions in the app registration portal.
Create an app center location for your mobile app manually (optional)
You have an option to automatically create a new app center location to store your mobile app as mentioned in step 5 in wrap wizard, but you can also manually create it directly in app center. More information: App center location
Tip
For more information about app center, go to Visual Studio app center documentation.
Go to app center.
Sign in with your work or school account.
If you don't have any existing organization, select Add new > Add new organization to create a new organization.
Select the organization from the list on the left-pane.
Select Apps > Add app.
Enter app name.
Select app release type.
Select Custom OS for iOS apps, or Android OS for Android apps.
Note
You must create separate app center containers for each platform.
For Android OS, select Platform as React Native.
Note
Platform must be React Native for all apps in app center.
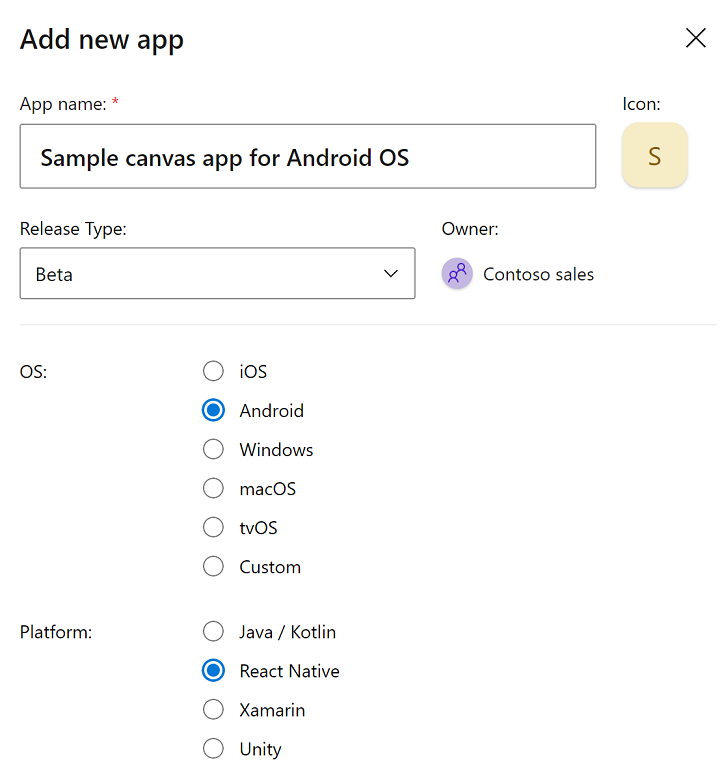
Select Add new app.
Copy the app's app center URL. You'll need it later, to configure the wrap project in Power Apps.
For example,
https://appcenter.ms/orgs/Contoso-sales/apps/Sample-canvas-app-for-Android-OS/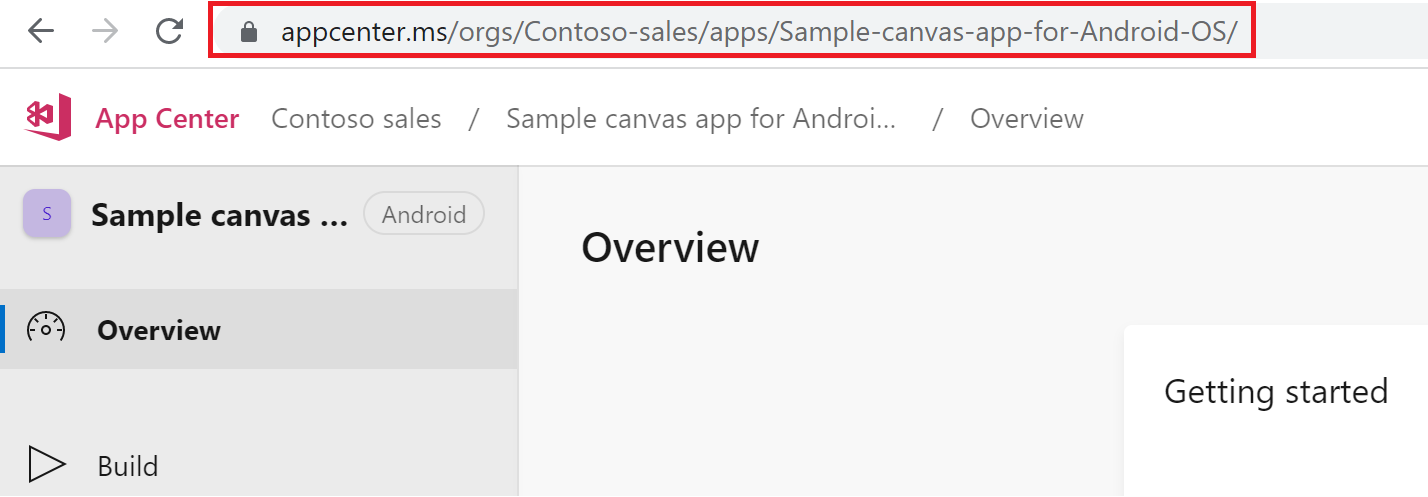
Sign your mobile app package manually (optional)
You can automatically sign your mobile app package during wrap process in Step 2, but you can also do so manually after the mobile app package is build. Code signing process is different for Android and iOS devices.
See also
Feedback
Coming soon: Throughout 2024 we will be phasing out GitHub Issues as the feedback mechanism for content and replacing it with a new feedback system. For more information see: https://aka.ms/ContentUserFeedback.
Submit and view feedback for