Connect your SQL Server to Azure Arc
Applies to: ![]() SQL Server
SQL Server
Important
Azure Arc automatically installs the Azure extension for SQL Server when a server connected to Azure Arc has SQL Server installed. All the SQL Server instance resources are automatically created in Azure, providing a centralized management platform for all your SQL Server instances.
To automatically connect your SQL Server instances, see Automatically Connect your SQL Server to Azure Arc.
Use the method in this article, if your server is already connected to Azure, but Azure extension for SQL Server is not deployed automatically.
An ArcSQLServerExtensionDeployment = Disabled tag is created on the Arc machine resource if the extension is deployed using this method.
This article explains how to connect your SQL Server instance to Azure Arc. Before you proceed, complete the Prerequisites.
Onboard the server to Azure Arc
If the server that runs your SQL Server instance isn't yet connected to Azure, you can initiate the connection from the target machine using the onboarding script. This script connects the server to Azure and installs the Azure extension for SQL Server.
Note
If your server is already connected to Azure and to deploy Azure SQL Server extension for SQL Server proceed to When the machine is already connected to an Arc-enabled Server.
Generate an onboarding script for SQL Server
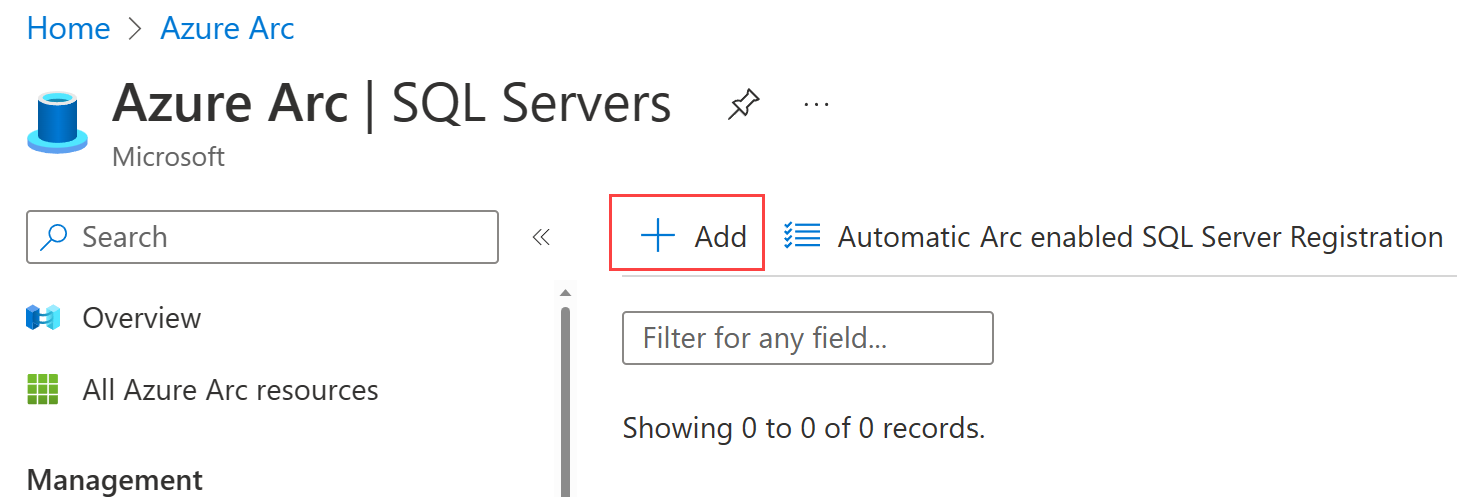
Go to Azure Arc > SQL Server and select + Add
Under Connect SQL Server to Azure Arc, select Connect Servers
Review the prerequisites and select Next: Server details
Specify:
- Subscription
- Resource group
- Region
- Operating system
If necessary, specify the proxy your network uses to connect to the Internet.
To use a specific name for Azure Arc enabled Server instead of default host name, users can add the name for Azure Arc enabled Server in Server Name.

Select the SQL Server edition and license type you are using on this machine. Some Arc-enabled SQL Server features are only available for SQL Server instances with Software Assurance (Paid) or with Azure pay-as-you-go. For more information, review Manage SQL Server license type.
Specify the SQL Server instance(s) you want to exclude from registering (if you have multiple instances installed on the server). Separate each excluded instance by a space.
Important
If the machine hosting the SQL Server instance is already connected to Azure Arc, make sure to select the same resource group that contains the corresponding Server - Azure Arc resource.
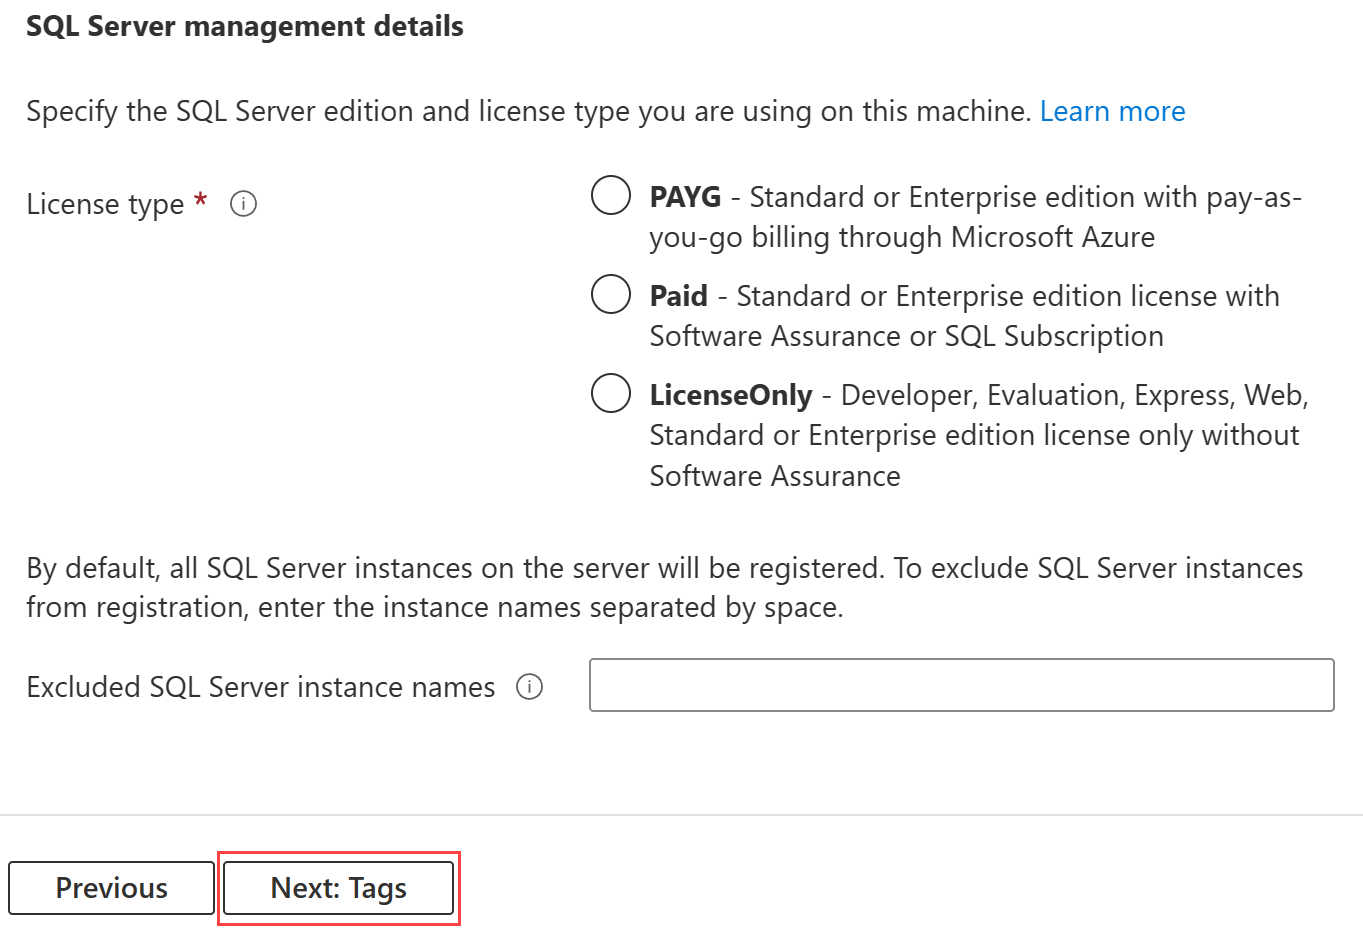
Select Next: Tags to optionally add tags to the resource for your SQL Server instance.
Select Run script to generate the onboarding script. Screenshot of
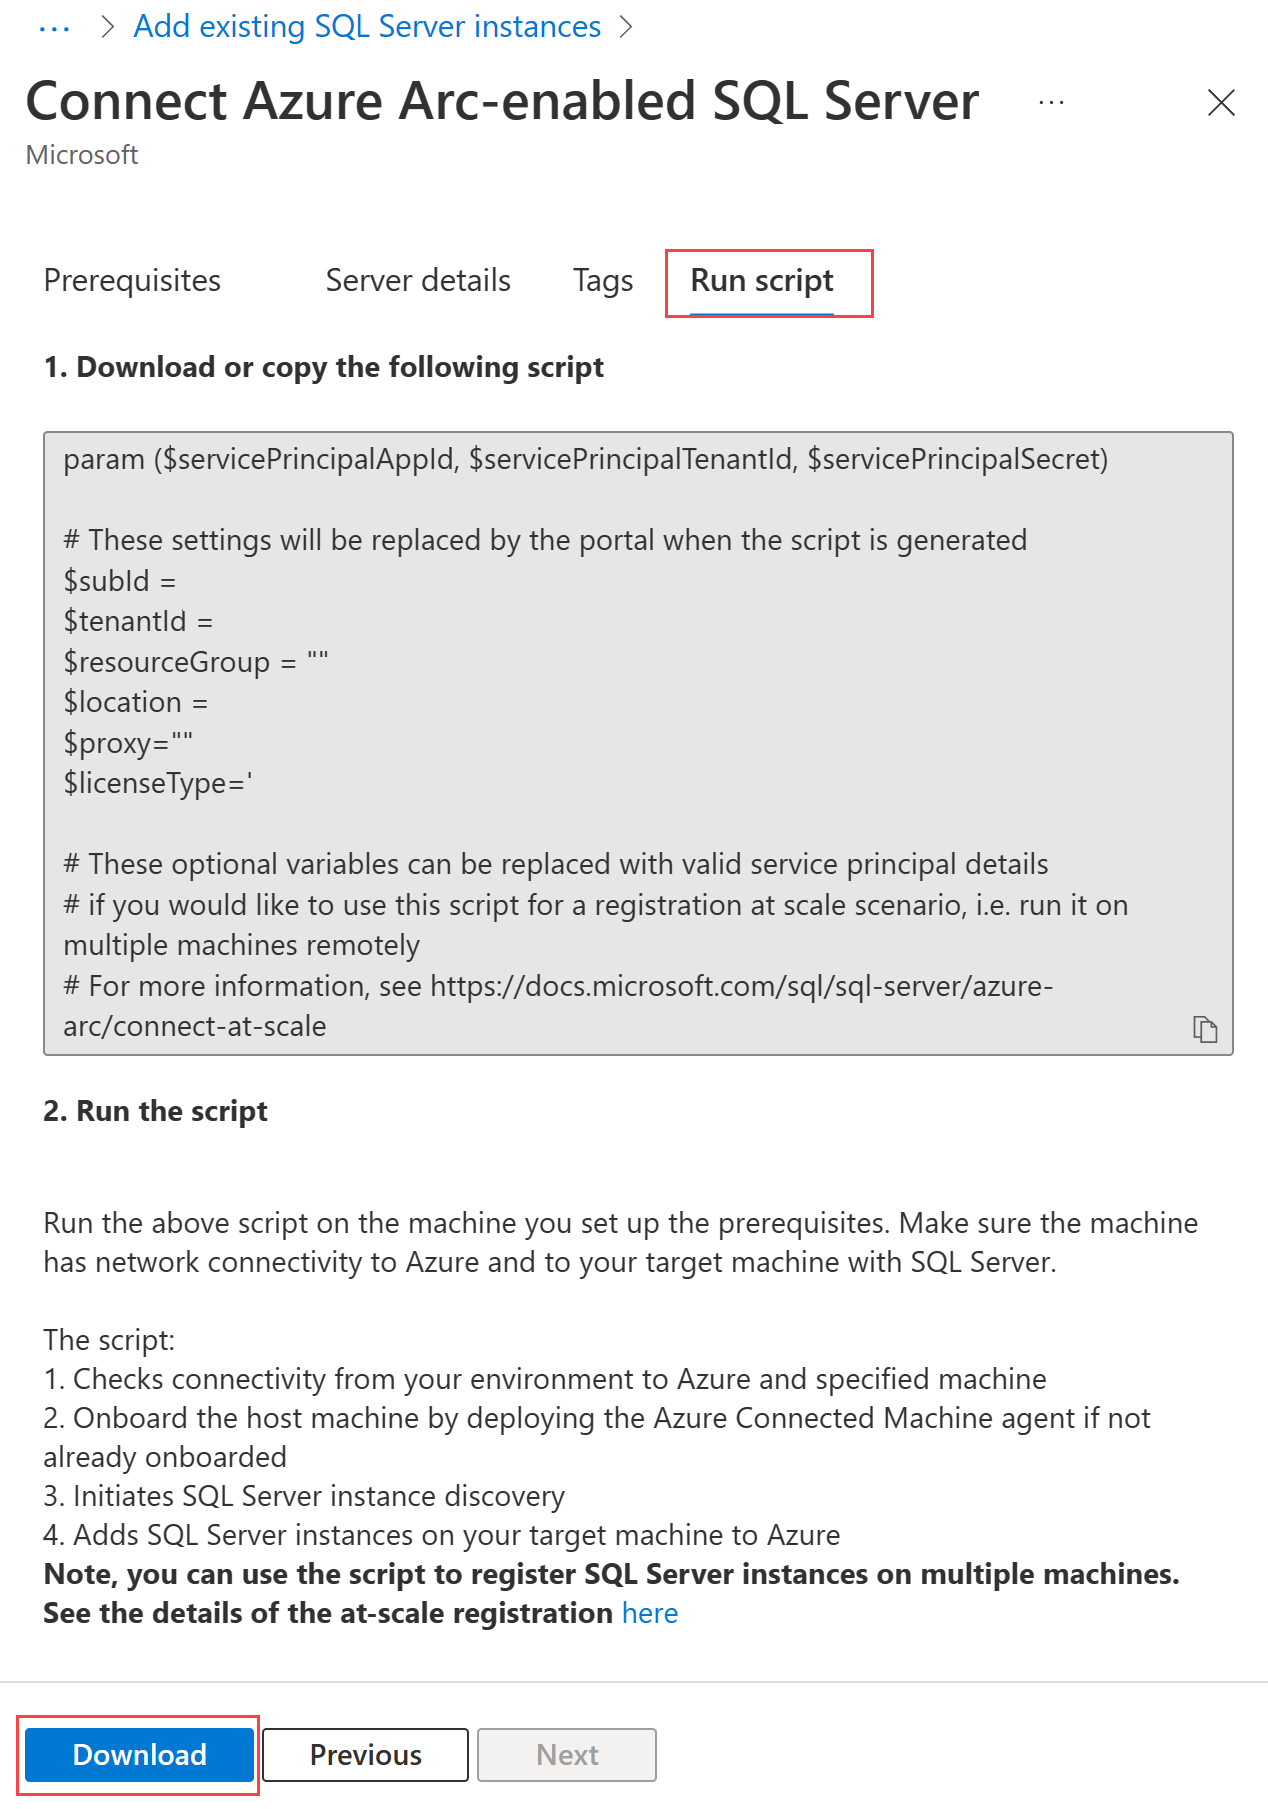
Select Download to download the script to your machine.
Connect SQL Server instances to Azure Arc
In this step, execute the script you downloaded from the Azure portal, on the target machine. The script installs Azure extension for SQL Server. If the machine itself doesn't have the Azure connected machine agent installed, the script installs it first, then install the Azure extension for SQL Server. Azure connected machine agent registers the connected server as an Azure resource of type Server - Azure Arc, and the Azure extension for SQL Server connects the SQL Server instances as an Azure resource of type SQL Server - Azure Arc.
Important
Make sure to execute the script using an account that meets the minimum permission requirements described in prerequisites.
Launch an admin instance of powershell.exe and sign in to your PowerShell module with your Azure credentials. Follow the sign-in instructions.
Execute the downloaded script.
& '.\RegisterSqlServerArc.ps1'Note
If you have yet to previously install the Az PowerShell module and see issues the first time you run it, follow the instructions in the script and rerun it.
Validate your Arc-enabled SQL Server resources
Go to Azure Arc > SQL Server and open the newly registered Arc-enabled SQL Server resource to validate.

Next steps
Pripomienky
Pripravujeme: V priebehu roka 2024 postupne zrušíme službu Problémy v službe GitHub ako mechanizmus pripomienok týkajúcich sa obsahu a nahradíme ju novým systémom pripomienok. Ďalšie informácie nájdete na stránke: https://aka.ms/ContentUserFeedback.
Odoslať a zobraziť pripomienky pre