Produce your event
Considerations before starting your event
Customize before your event
To ensure the event runs smoothly, ensure that you customize and save customizations at least 30 minutes before the event start time.
Event capacity
- 200 attendees per event
- 16 attendees per room
- Up to 16 hosts in a separate room, additional to the 200 attendees
Event Producers tools
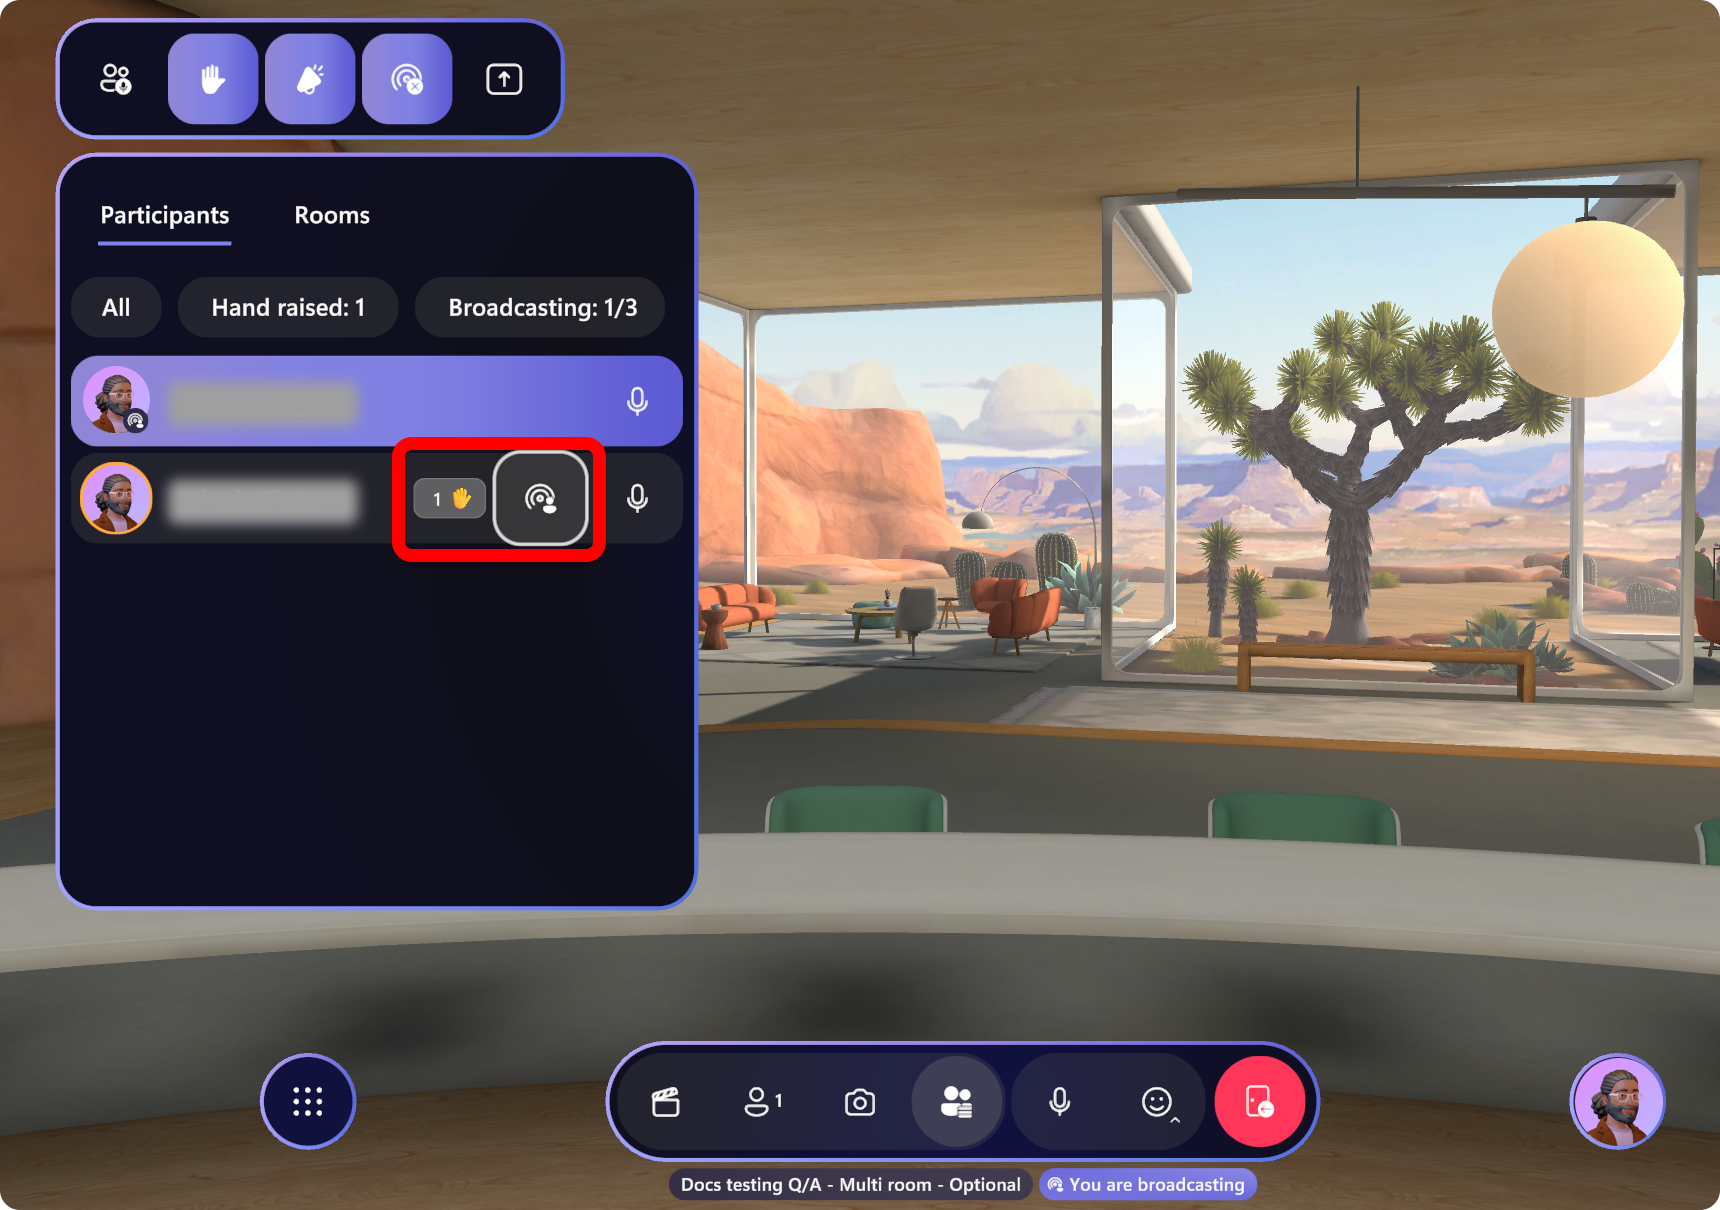
- Host panel: See the participants in your event and use the host panel toolbar to access the Mute all, Hand Raise, Megaphone, Broadcast, and Share buttons.
- Control panel: Control the elements that were added in a Customization session. Play a video, for example, or control custom objects that you may have added!
Common event scenarios
For those interested in running question and answer scenarios where participants can raise their hand, be called on by the host, and megaphoned or broadcast to the entire event, see the common event scenarios article for more info.
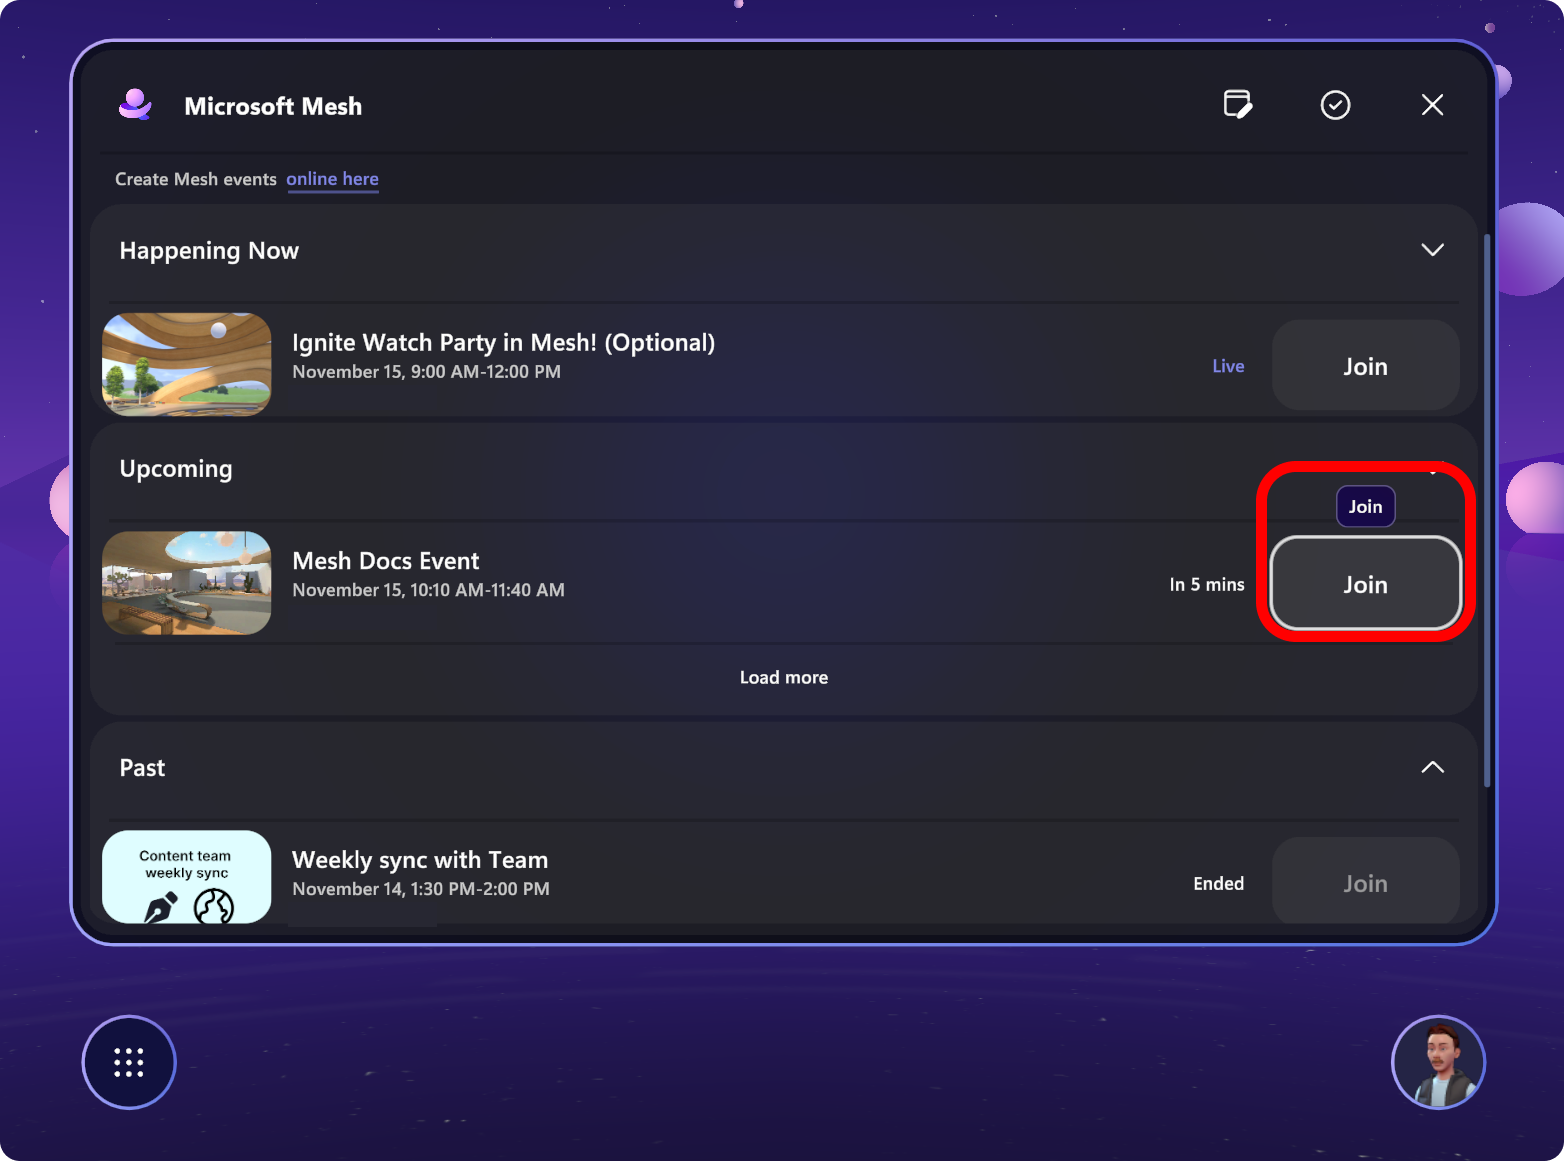
Join the event
After you've created your event, customized it, and added content to the control panel, it's time to join and produce your event.
Tip
Ensure that you've customized your event properly (added custom content or objects to your environment, added it to the control panel, and saved) before producing your event.
Open the Mesh app directly or use the link your calendar invite to open the Mesh app.
Find your event in the Upcoming or Happening now sections, and select Join.
Note
As a host, you'll join into a Host Room along with any other co-organizers. Attendees will be in their own room(s).
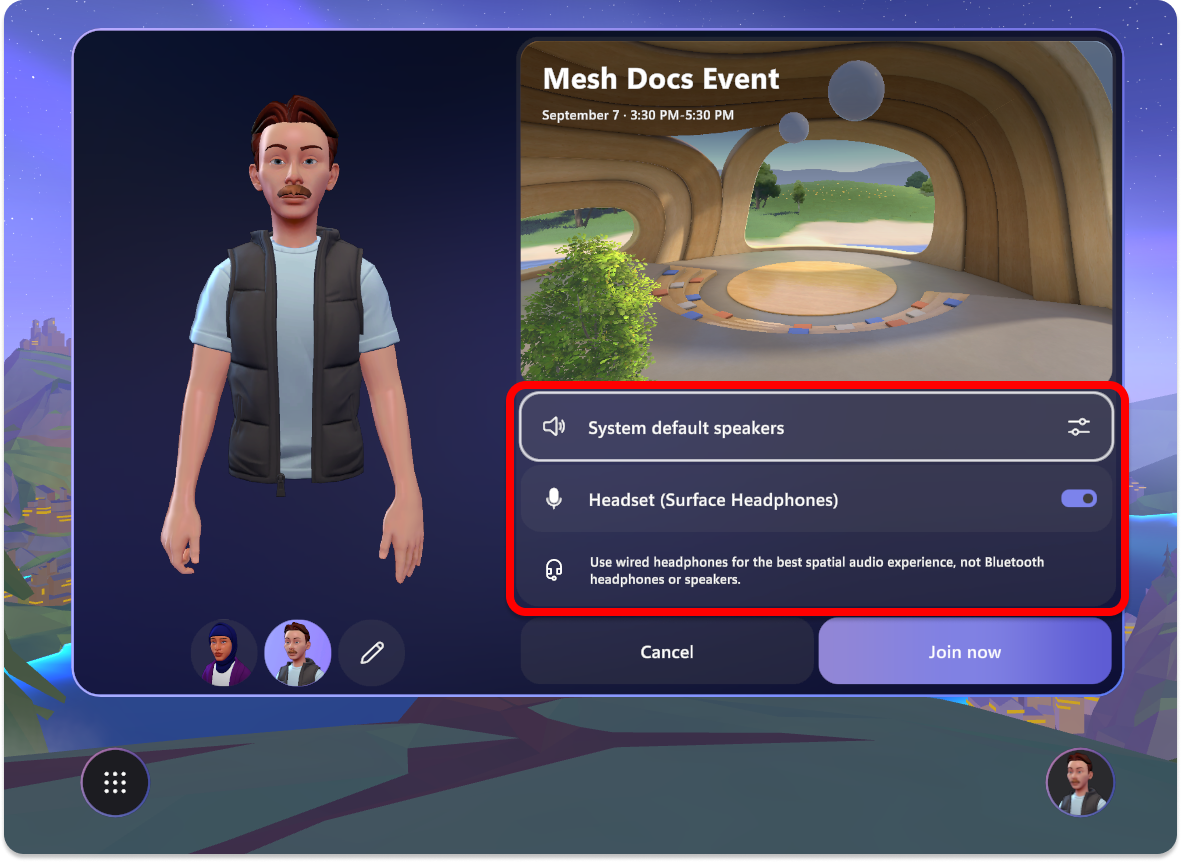
Adjust your device settings to ensure they're set up properly.
Once you select Join now, you'll utilize two main tools, Host panel and the Control panel, for your run of show:
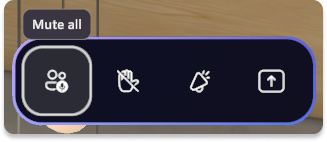
Host panel
Select the Host panel button in the menu bar.
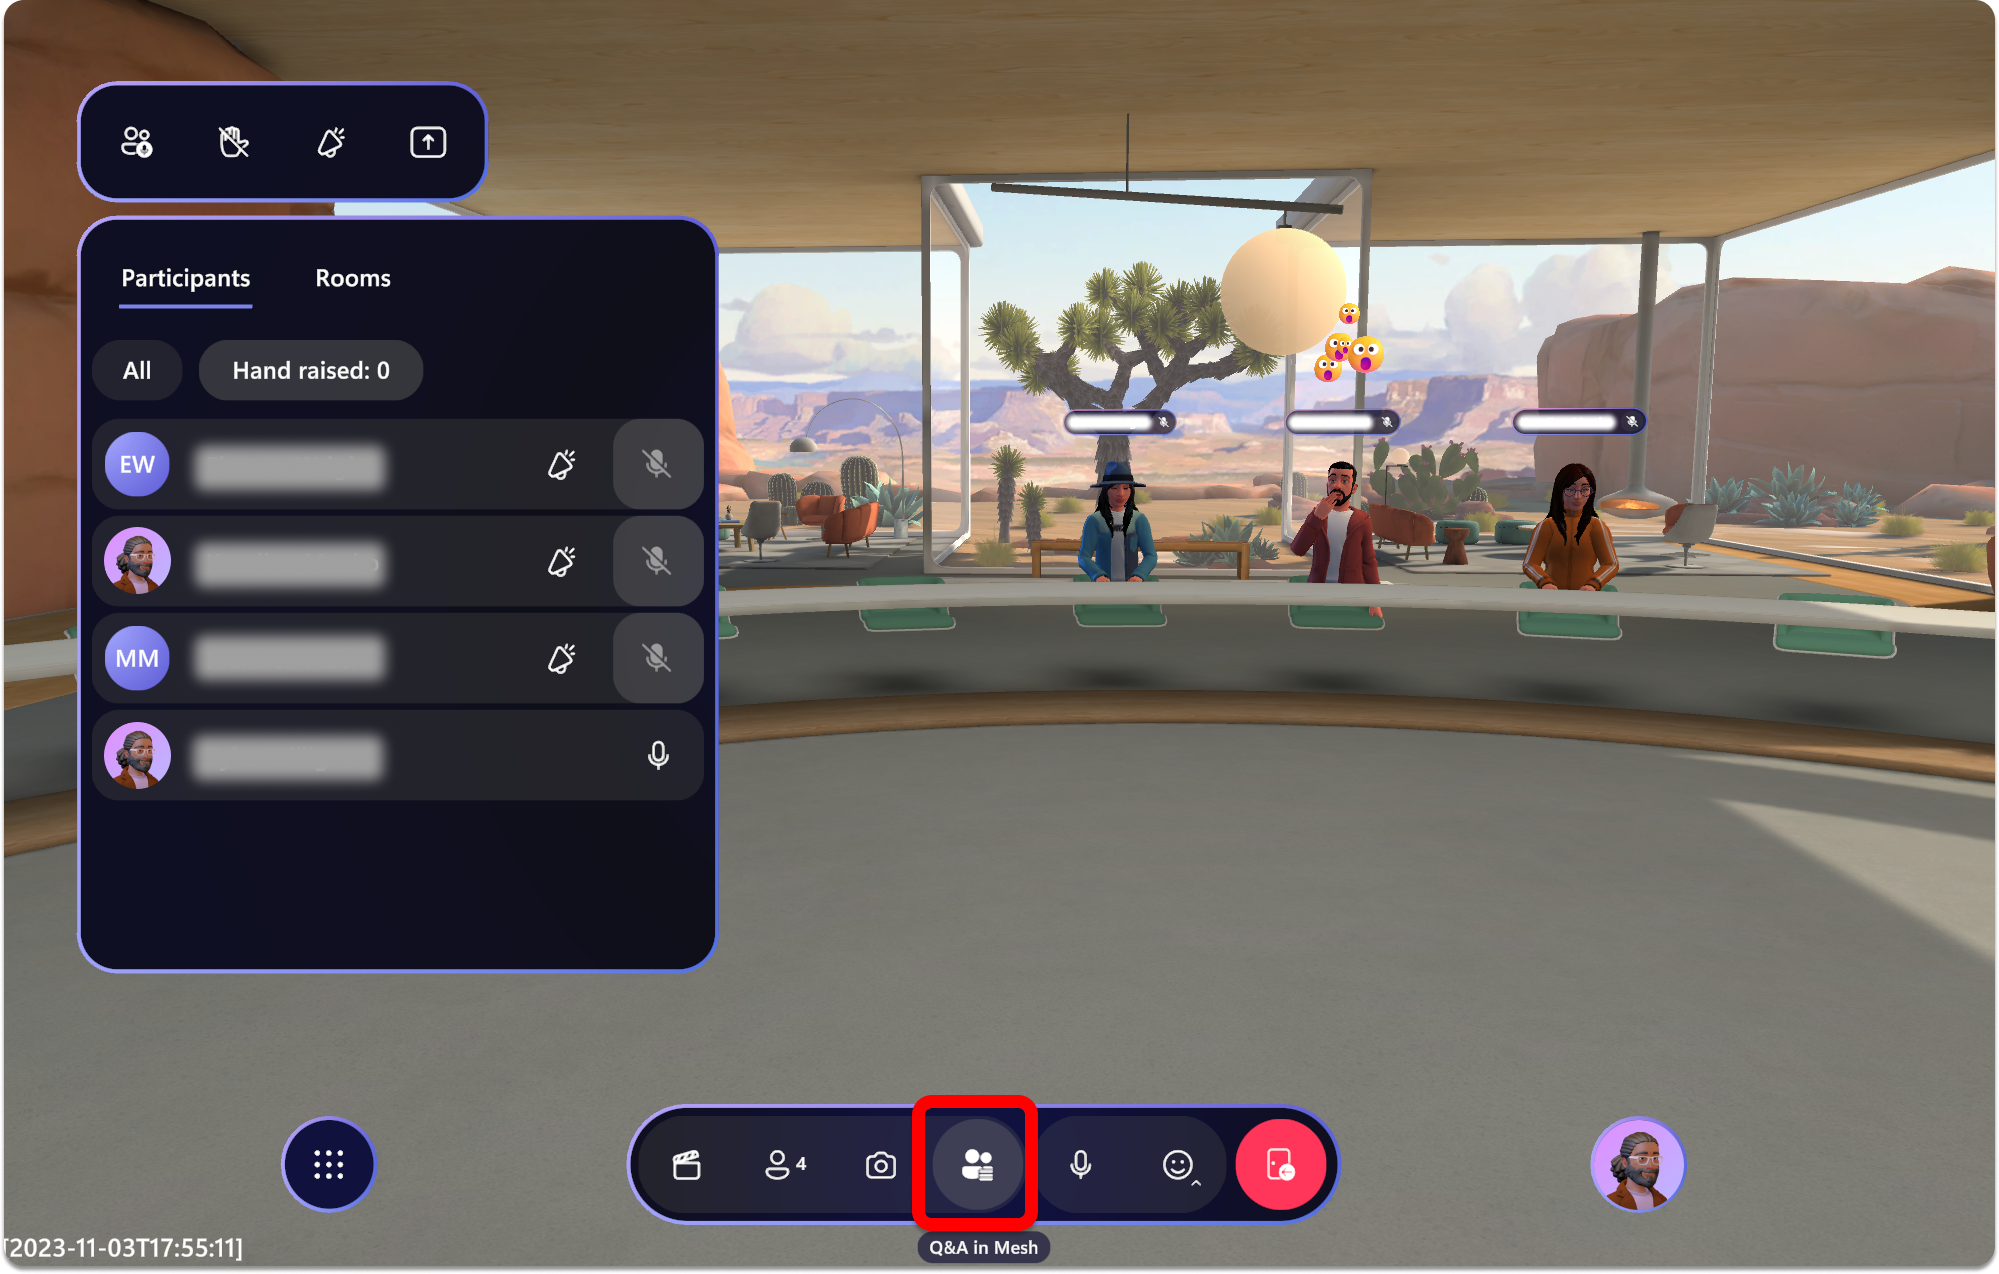
In the window that opens, you'll see the following tools at the top:
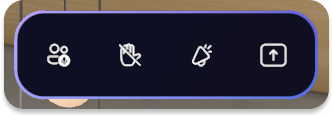
Host panel tools
Mute all
Mute all attendees in the event. Hosts in the event can still use their mics and mute or unmute.
Enabled: Attendees are muted and cannot mute or unmute.
Disabled: Attendees can now use their microphone.
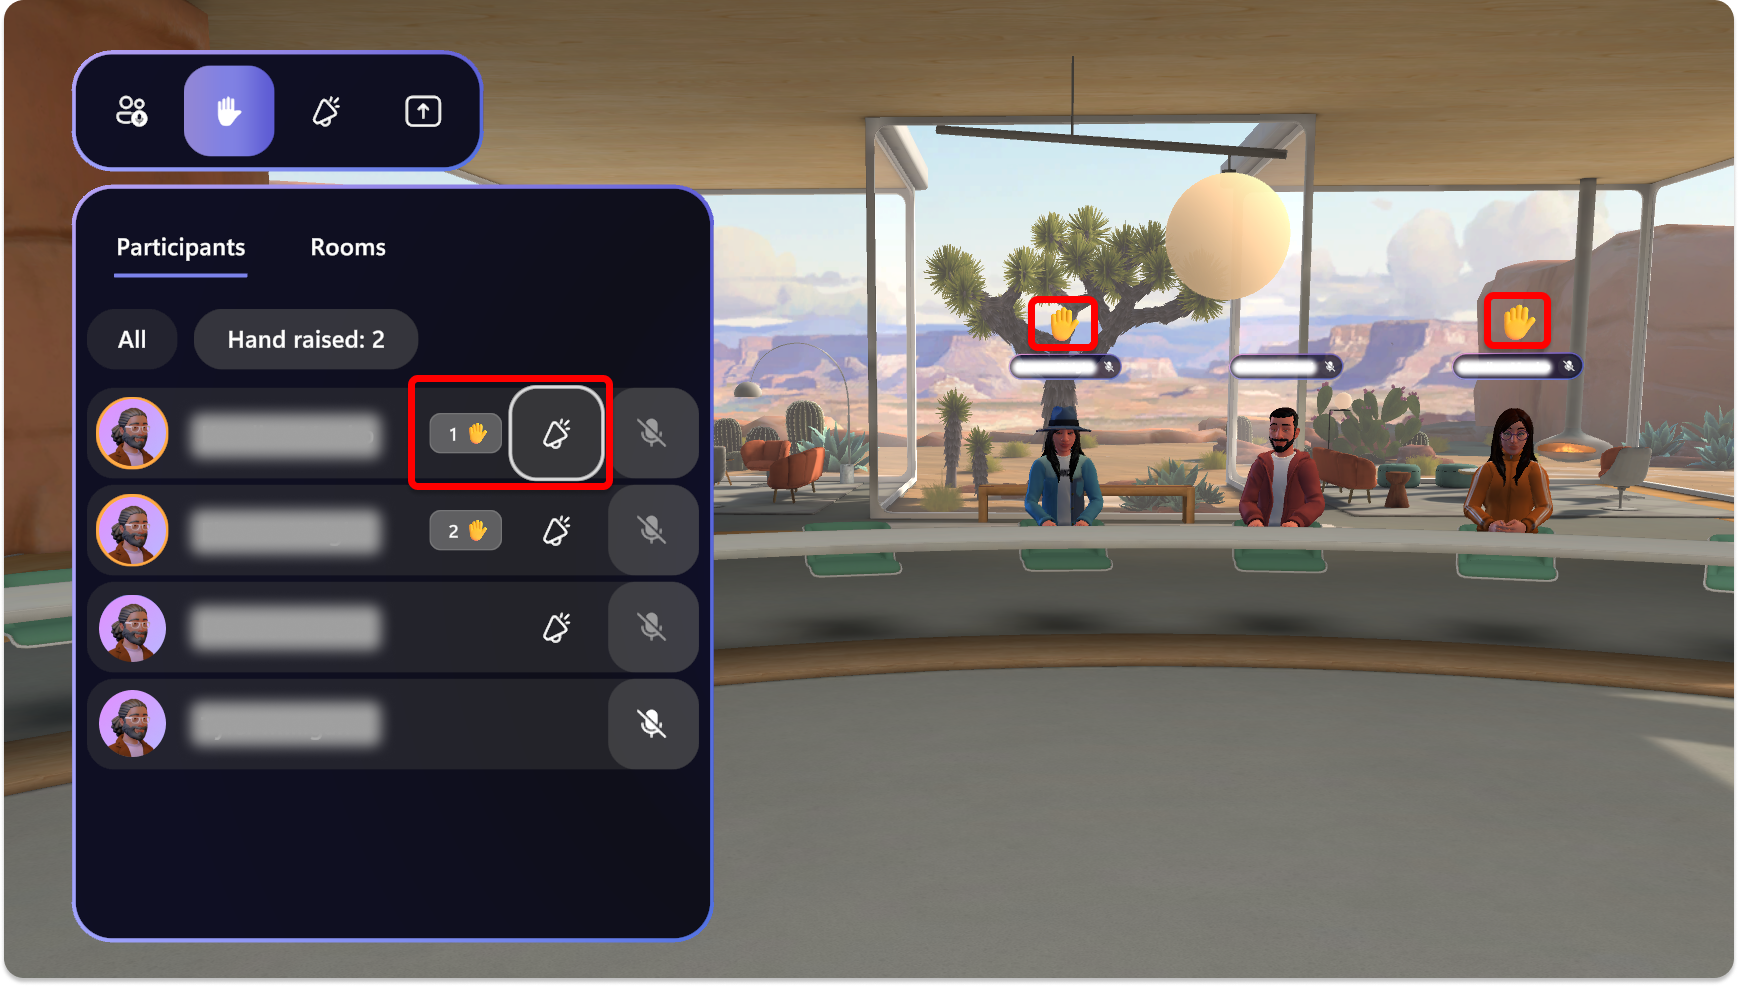
Hand Raise
Enable or disable Hand Raise for participants. Hand Raise is ideal for Question and Answer scenarios. When someone raises their hand, there will be an indicator next to their name in the host panel. This allows you as a the host to call on attendees.
Hand raise enabled: Participants can raise their hand to await being called on and megaphoned.
Hand raise disabled: Participants cannot raise their hand.

When an attendee has their hand raised, you'll see the hand raise notification next to their name in the host panel. In a single room event, you'll also see hand raise icon above their avatar.
Tip
In multi-room events, you won't see any attendee avatars until they are broadcast.
Learn how to use Hand Raise for question and answer (Q&A) scenarios
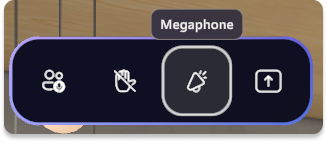
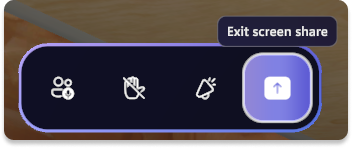
Megaphone
Amplify your voice to all participants in the event. A great tool when broadcasting or using a screenshare.
Megaphone and Broadcast enabled: Host voice is amplified to all participants in all rooms.
Megaphone enabled: Host voice is amplified to all participants in the Host's room only.
Disabled: Host voice is not amplified.
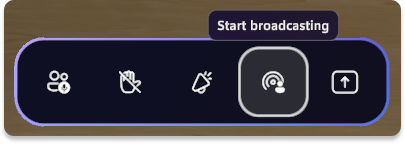
Broadcast
In multi-room events, use broadcast anytime you wish to be seen or heard by your whole audience in all rooms. Broadcasted avatars are visually distinguished by a purple-rings effect applied to their avatar.
Enabled: Host avatar and voice are broadcast to all rooms in the event.
Disabled: Host avatar and voice are not broadcasted to all rooms.
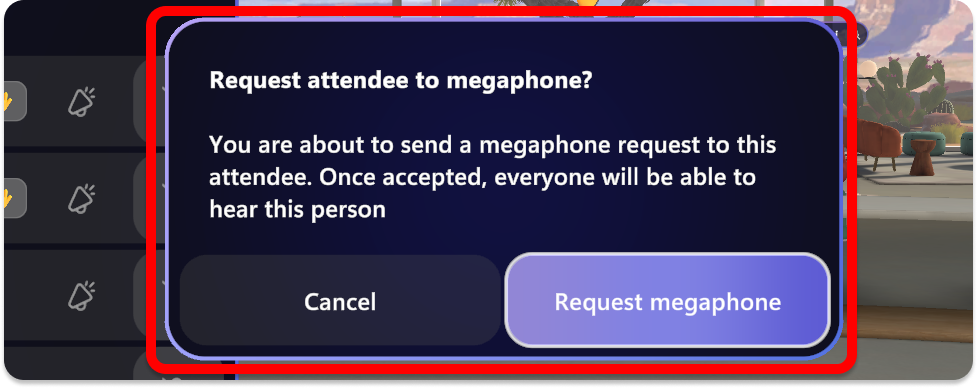
Broadcast or Megaphone other participants
In a multi-room scenario, you'll use Broadcast to make the participant visible to all other participants. This is ideal when someone has raised their hand, as shown below:
Note
A maximum of three people can broadcast at the same time.
When you request an attendee to broadcast or megaphone, you'll receive a notification. Once you request it, the attendee will also receive the request and be able to accept or deny the option.
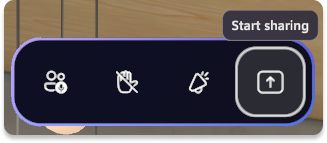
Share
Share your screen or a specific window on your PC to all participants. Screenshare requires the Screenshare object that is added when you customize your Event or Template.
Enabled: Host screen or window will be shown to all participants.
Disabled: Host screen or window is not shown.
Note
As with Microsoft Teams, an organizer will not see their active screen share. However, all non-sharing attendees will be able to see the screen share.
How to screenshare:
Select the Screenshare button in the menu bar at the top.

Select the monitor screen or window that you want to share.
You will have two notifications visible to indicate that you are screensharing.
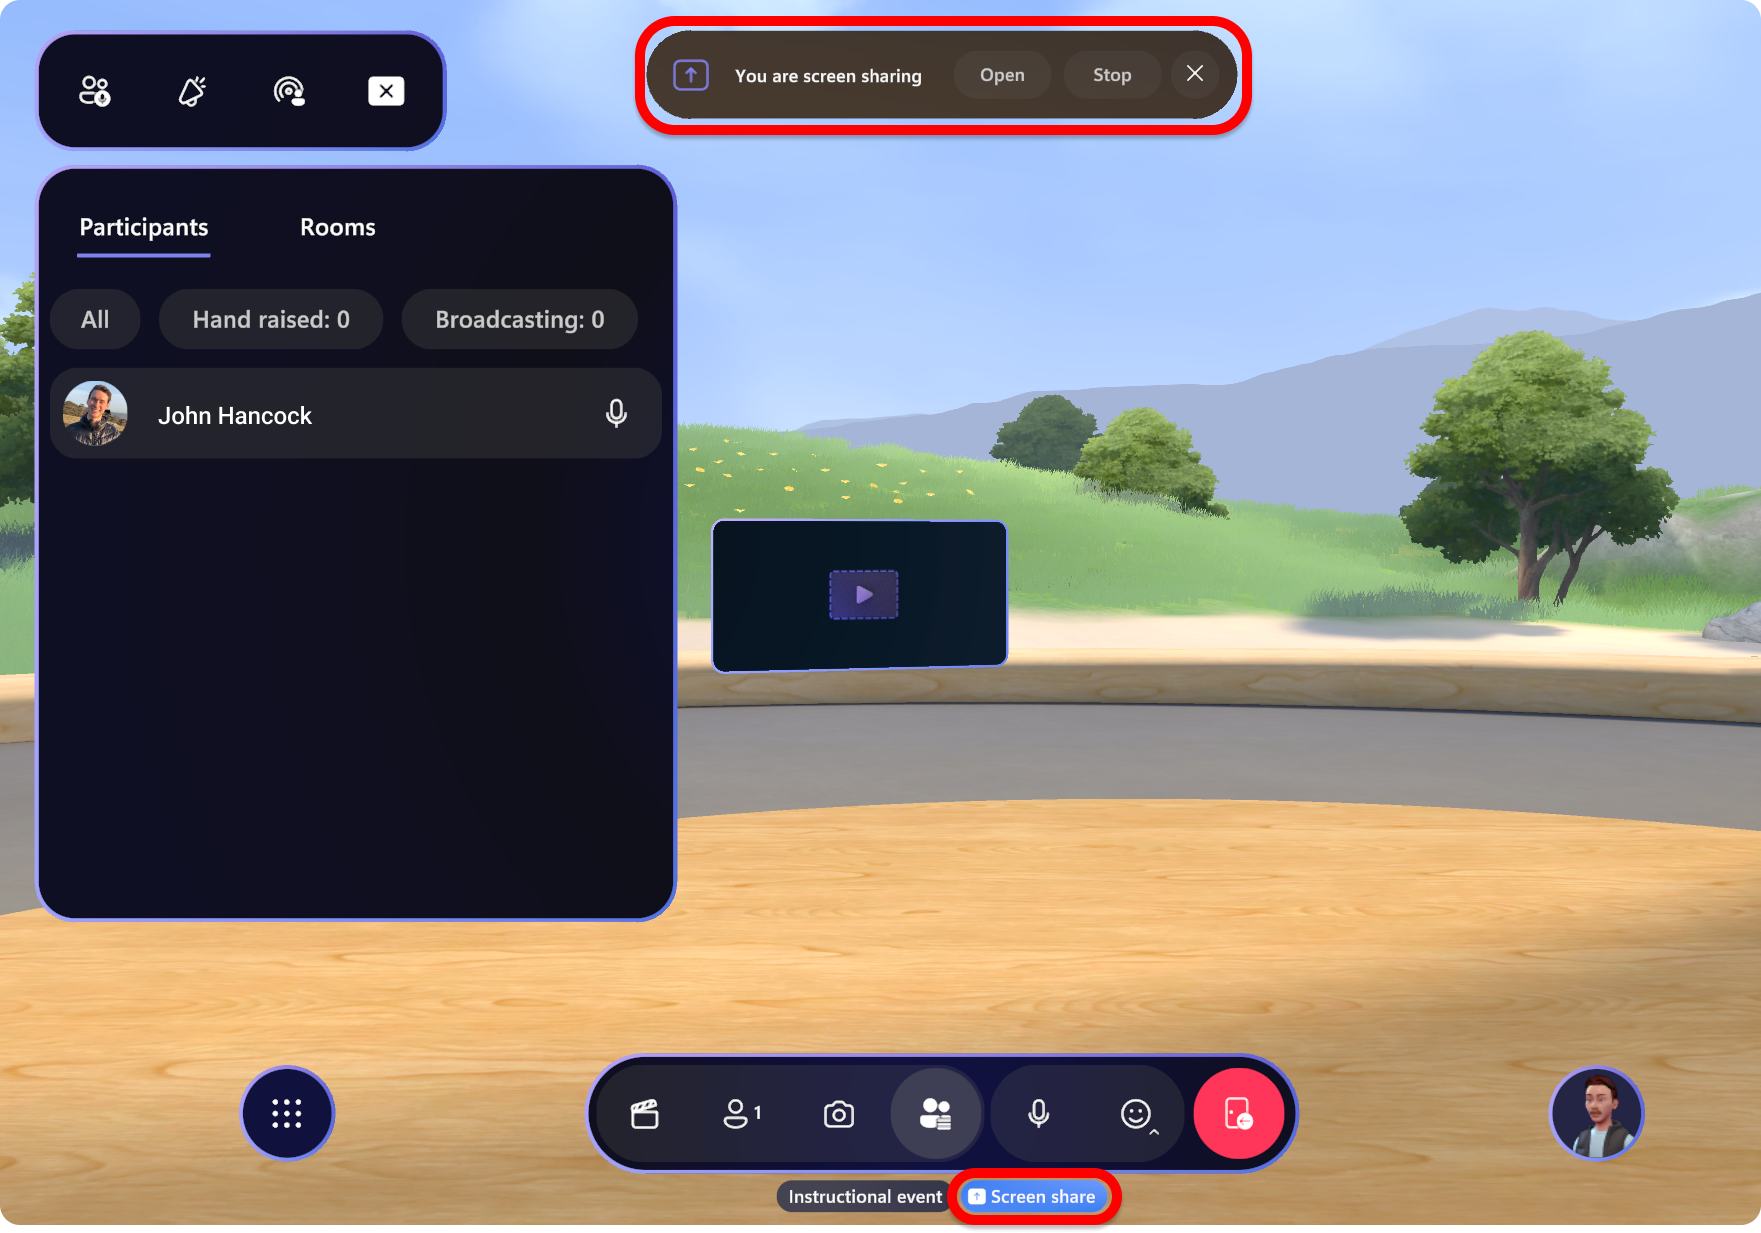
Exit or stop sharing your screen by selecting the Share button again at the top of host panel.
Social panel
See the event participants and use various controls available to manage individual participants.
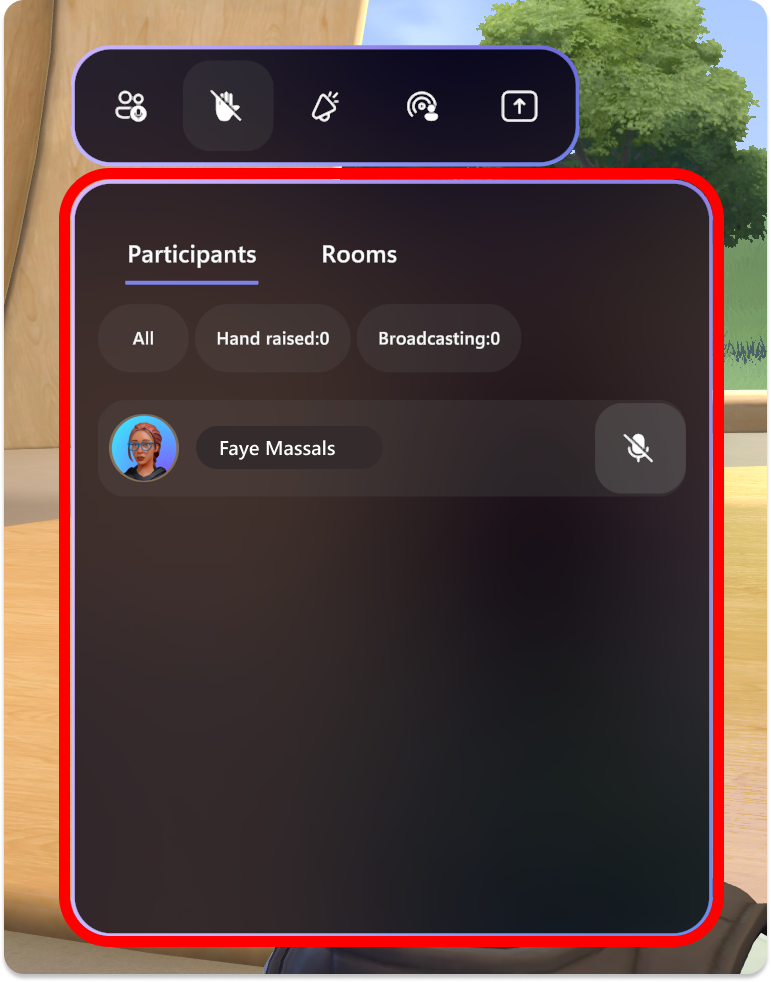
At the top of the panel, you have two tabs to choose from:
- Participants: See participants in your room, which can be sorted by All, Hand raised, or Broadcasting.
- Rooms: See a list of all of the rooms in your multiroom event, including the Host Room. For each room, there's a attendee count to see how many people are in each room.
Control panel
The Control panel is used to control the content or objects that were added when customizing an Event or Template. To learn more, see how to Customize your event.
Control objects in the Control panel
Select the Control panel button in the bottom right of the menu bar.
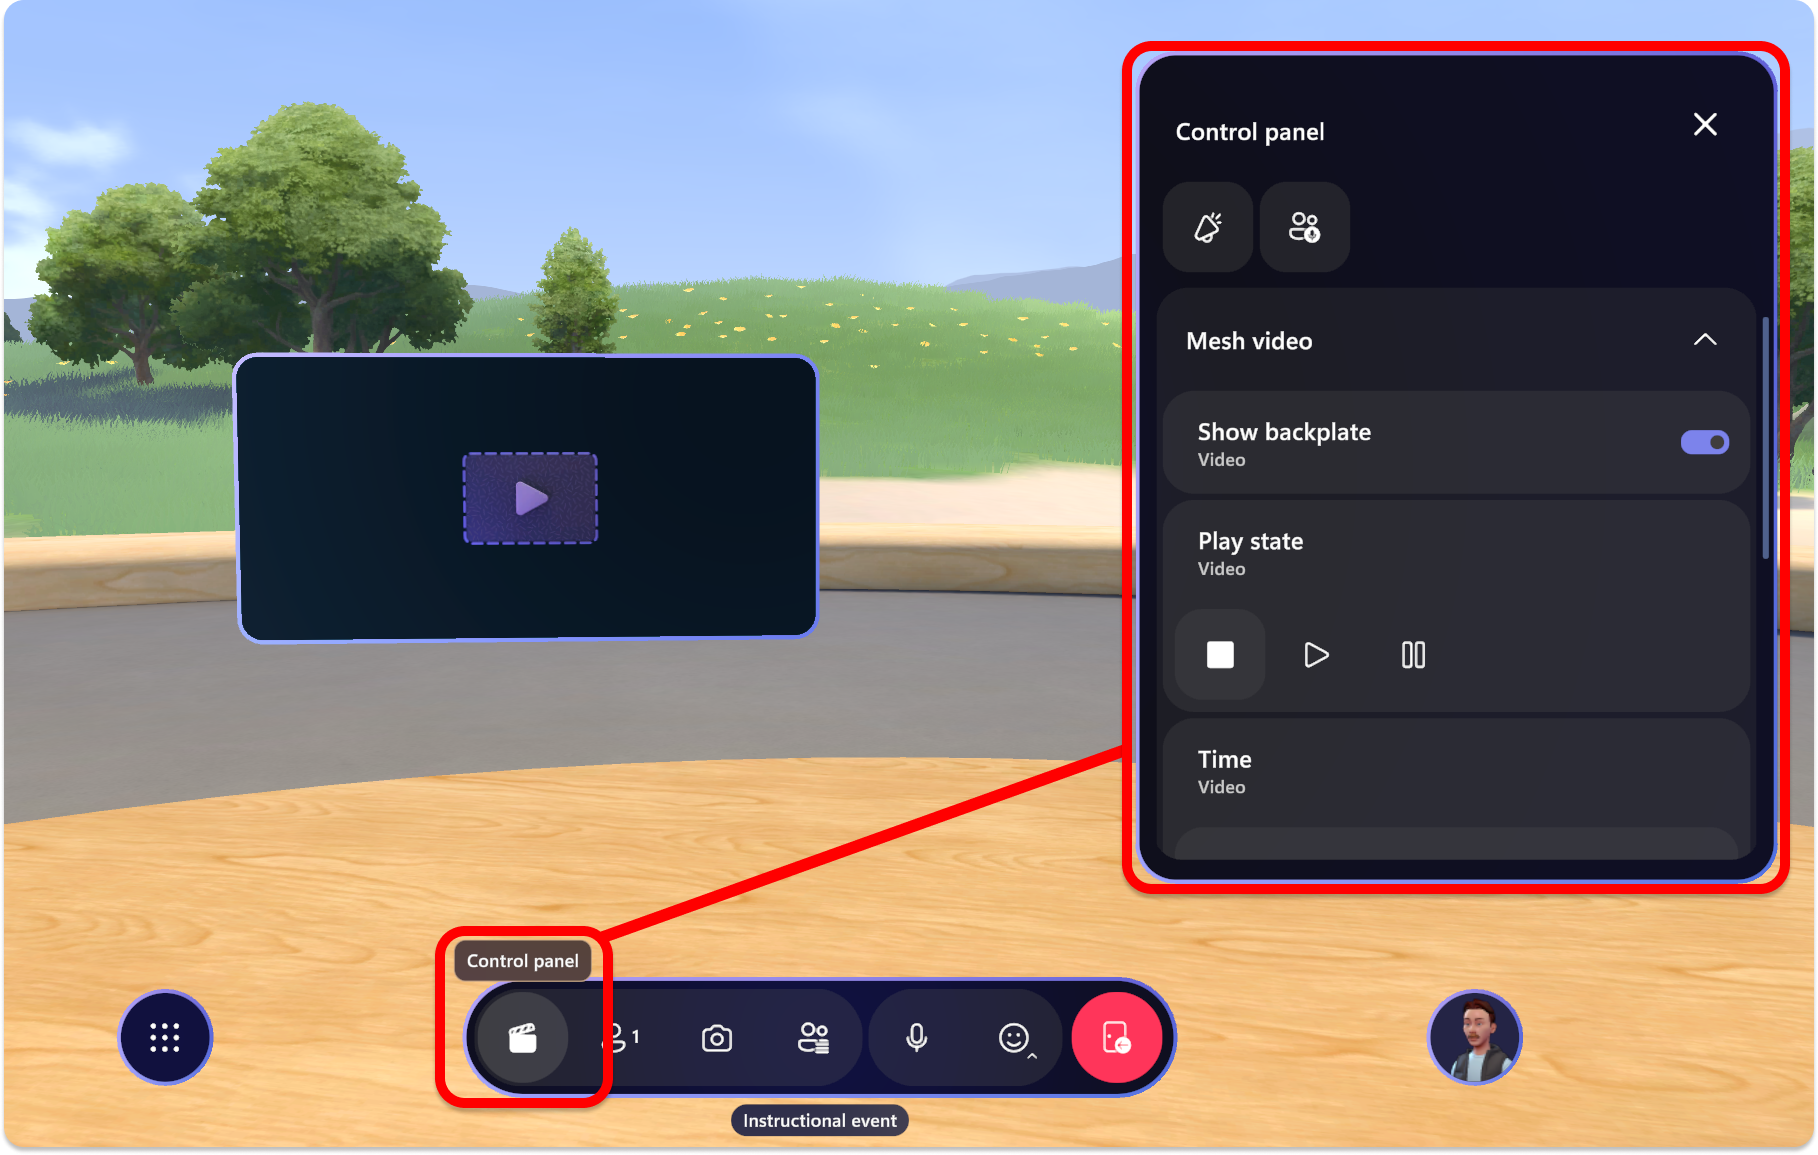
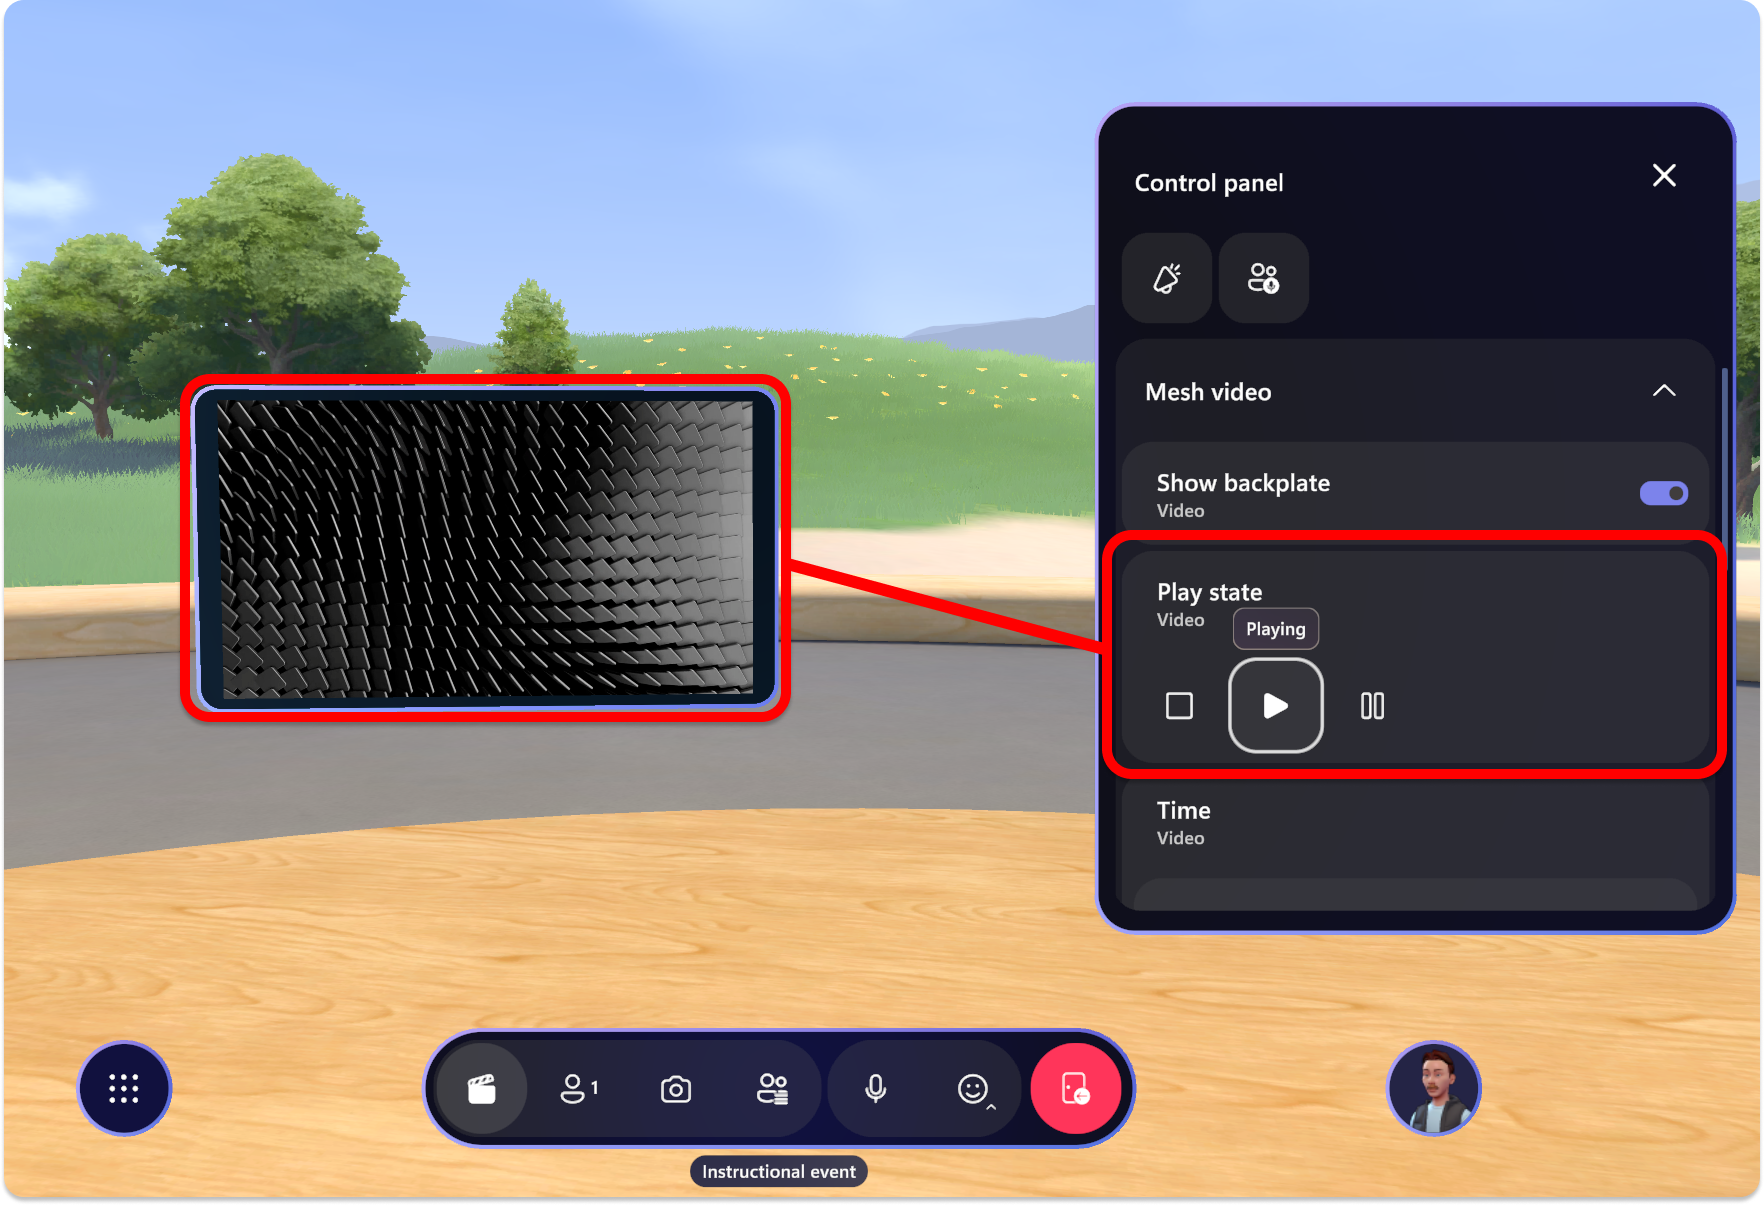
In the Control panel, you'll see all the objects and content that you added to your Event or Template.
In the Control panel, select an object and interact with its controls as desired during your event.
In the example below, in the Play state section for the Video object, we can select the Play button to play the video.
Povratne informacije
Kmalu na voljo: V letu 2024 bomo ukinili storitev Težave v storitvi GitHub kot mehanizem za povratne informacije za vsebino in jo zamenjali z novim sistemom za povratne informacije. Za več informacij si oglejte: https://aka.ms/ContentUserFeedback.
Pošlji in prikaži povratne informacije za