Exercise - Create a Power Platform environment
In this exercise, you'll create a Power Automate environment by completing the following steps:
To complete this exercise, ensure that your account meets the licensing criteria discussed here in the Who can create environments section. If necessary, sign up for a trial Power Automate account.
Sign in to the Microsoft Power Platform Admin Center.
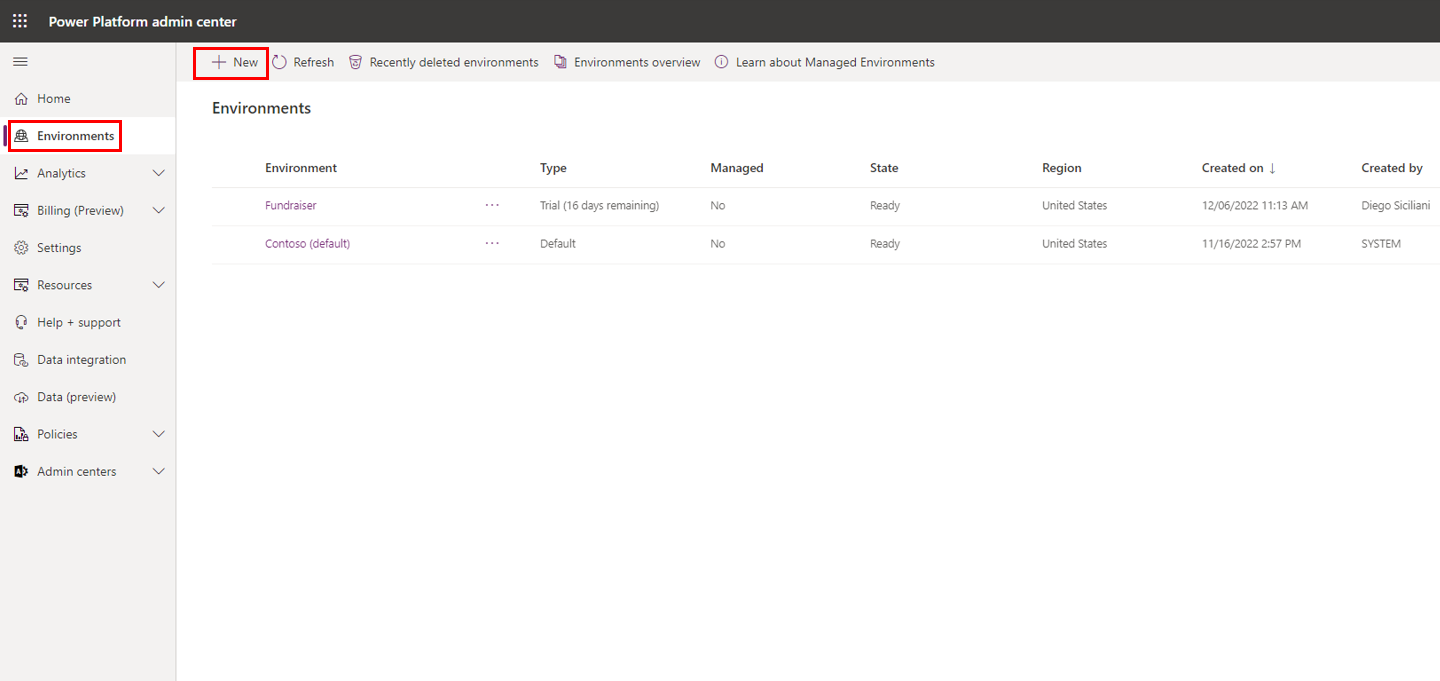
Select Environments from the left navigation pane.
Select + New.
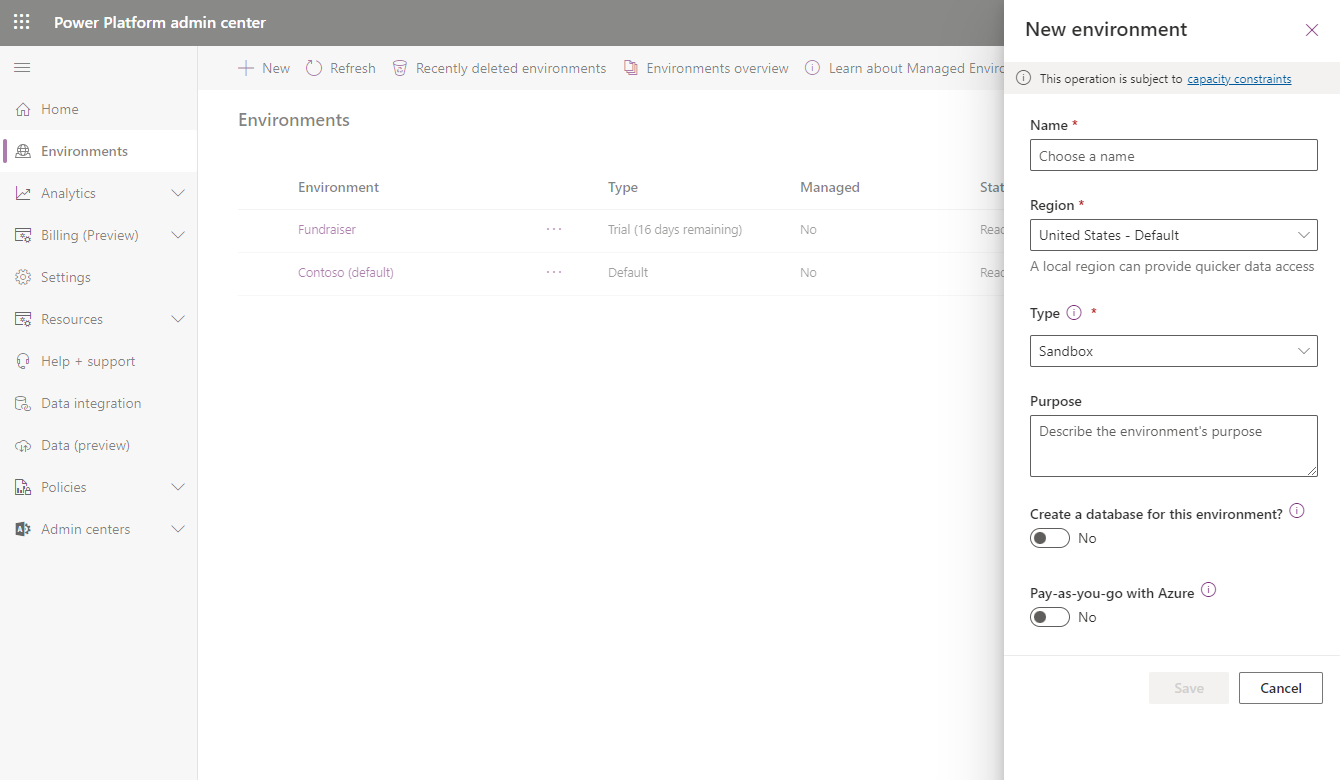
Provide a Name of Development and then select a Type of environment. Depending on your circumstances, create a Trial or Production environment. If you plan to dispose of this environment after completing the modules in this learning path, select Trial. If you anticipate that this environment will be used beyond 30 days, select Production.
Note
When selecting the Type of environment, you do have three options: Sandbox, Production, and Trial. Sandbox environments are for building proof-of-concept applications and flows that might need to be reset without recreating the entire environment. Production environments are suited for stable workloads where you have predictable usage. Trial environments will expire after 30 days. These environments are best suited for evaluating technologies.
Select an appropriate Region for your organization, provide a relevant Purpose for this environment, and indicate that you want a Database to be created. After you have populated these values, select the Next button to proceed.
When deciding to include a database for future environments, evaluate how the environment will be used. For example, if you have plans to use Microsoft Dataverse, AI Builder, UI flows, or apps that use Dataverse, then you need to include a database in your environment. If you have no plans to use these features, then a database isn't required.
Provide the Language of your choice and Currency. For the purposes of this exercise, don't enable Dynamics 365 apps or sample apps and data. Select Save to create your environment.
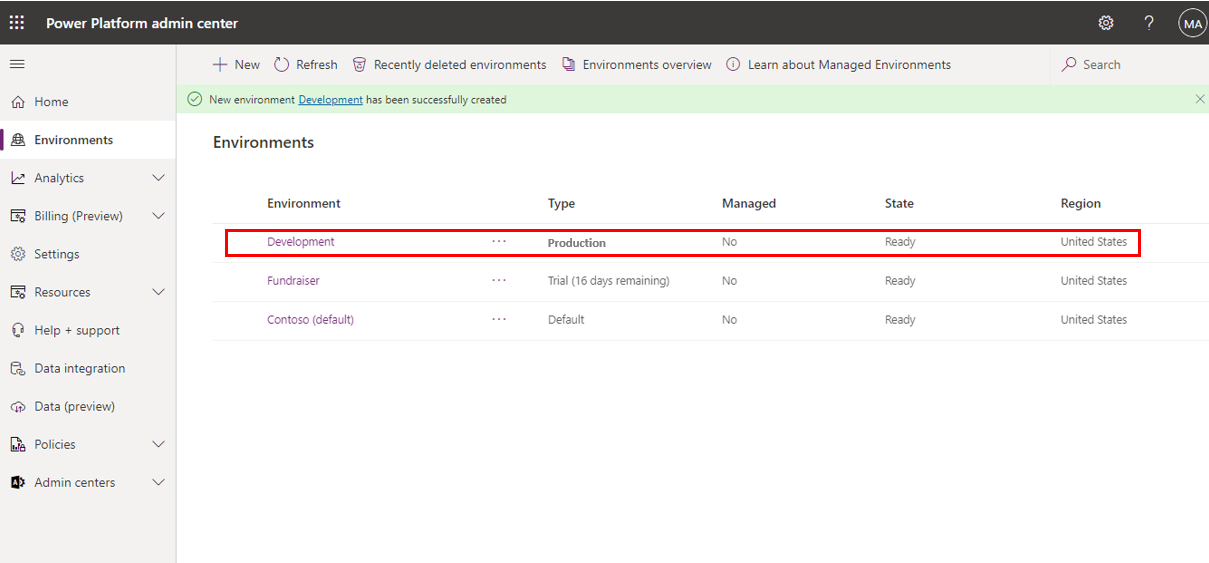
After a couple minutes, your environment should be provisioned and you should see the following status message displayed in the Admin center. You might need to select Refresh for the State field to update.