Create folders in Dynamics 365 Guides to organize your guides and assets
Authors can organize their guides as well as the content of their guides by creating folders. A folder can contain guides, subfolders, and assets (3D parts, images, videos, and object anchors). You can create a hierarchy of folders with subfolders. Each folder can be assigned an owner. When you delete a folder, all items in that folder are also deleted.
Folders are a great way to organize guides and their content especially if you have multiple assets that are all associated with a particular guide or set of guides.
Create a folder
Open the model-driven app in Guides to manage folders.
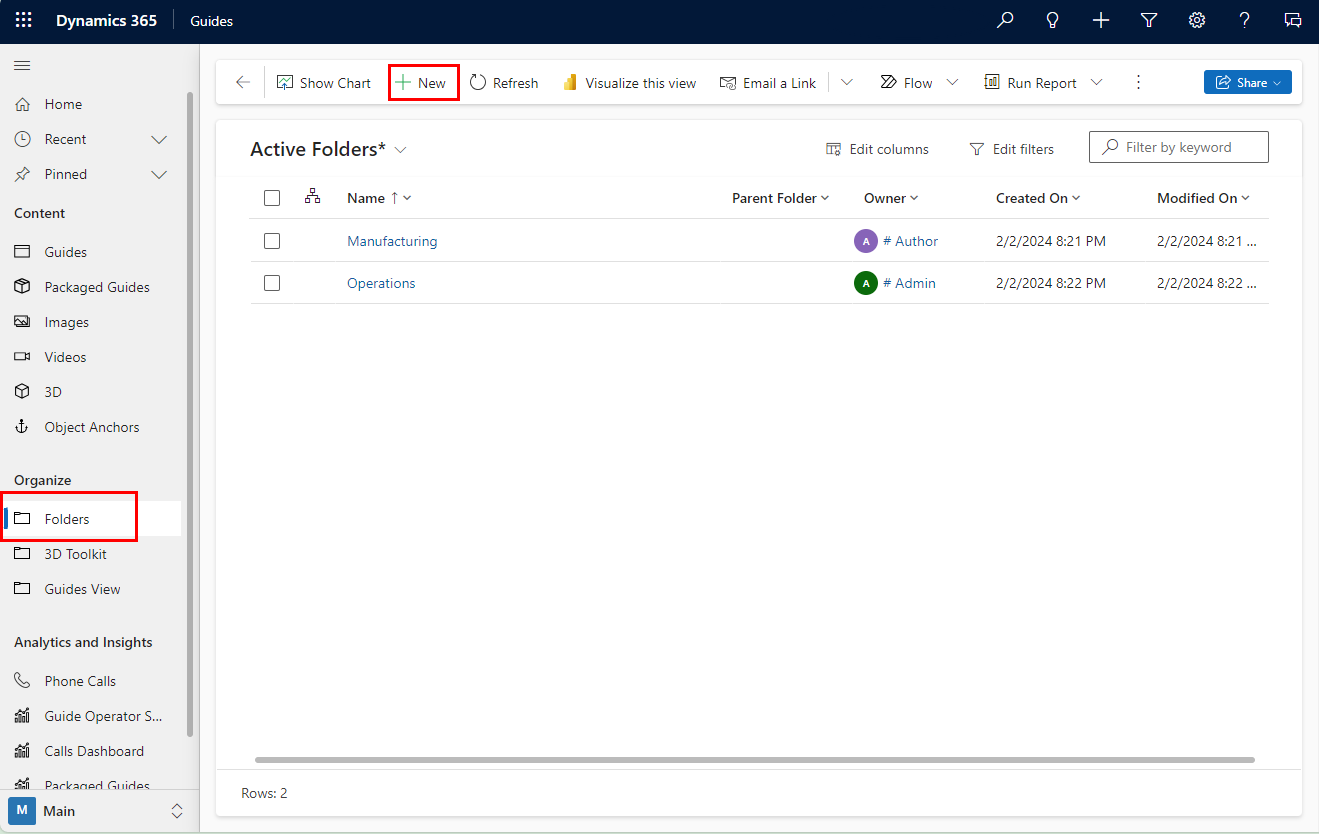
In the left pane, select Folders to view all folders created in the environment, and then, at the top of the screen, select New to create a new folder.
In the New Folder screen, enter the name and owner of the folder. You can select an existing folder in the Parent Folder field, or leave the Parent Folder field blank to create a folder at the root level.
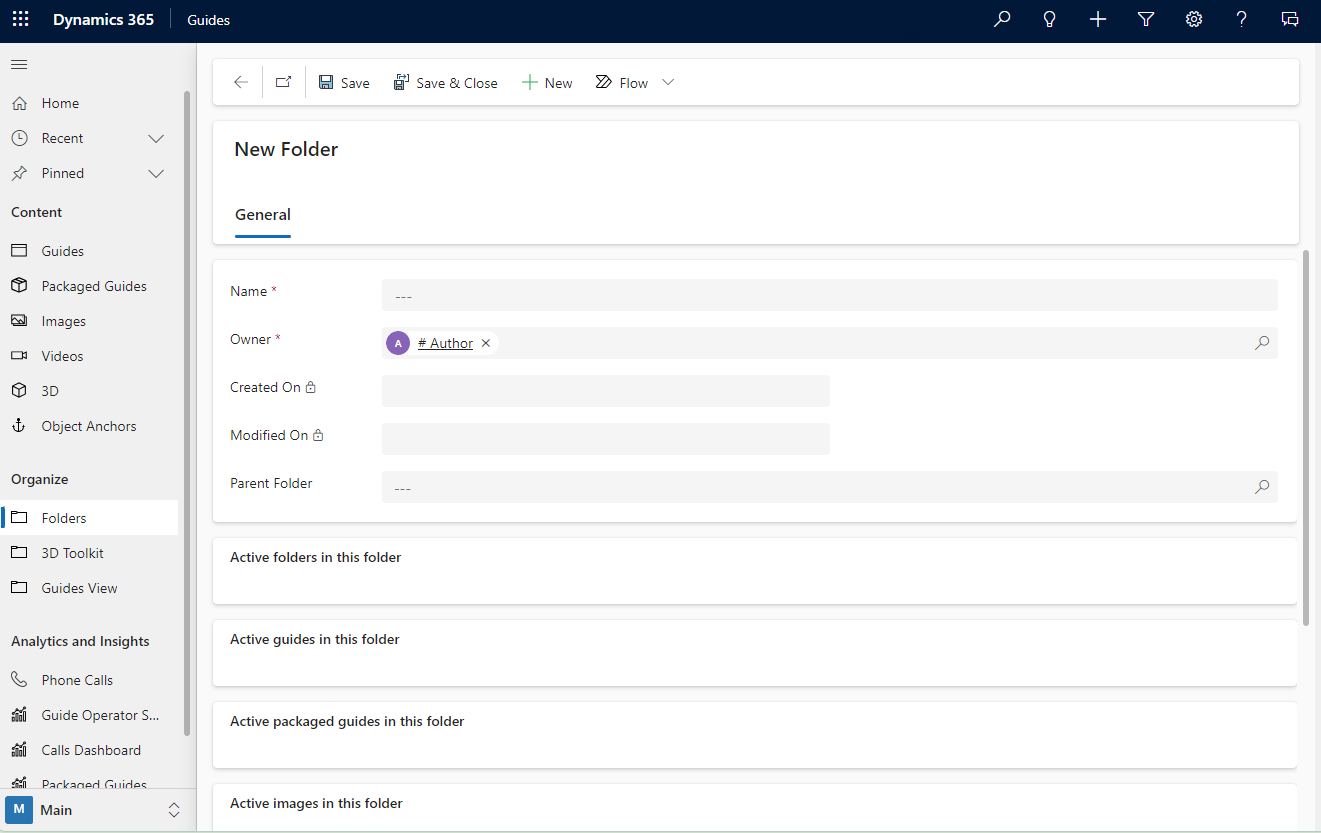
At the top of the screen, select Save & Close to save the folder and return to the folder list. After saving, you can add guides, subfolders, or assets to the folder.
Add a guide or asset to a folder
In the left pane of the model-driven app, under Content select Guides or the type of asset you want to add.
Note
3D parts in the Toolkit can't be added to folders.
Then, select the particular guide or asset you want to add to the folder. You can search or filter for the particular item.
On the General tab, in the Parent Folder field, enter the folder name or search for it.
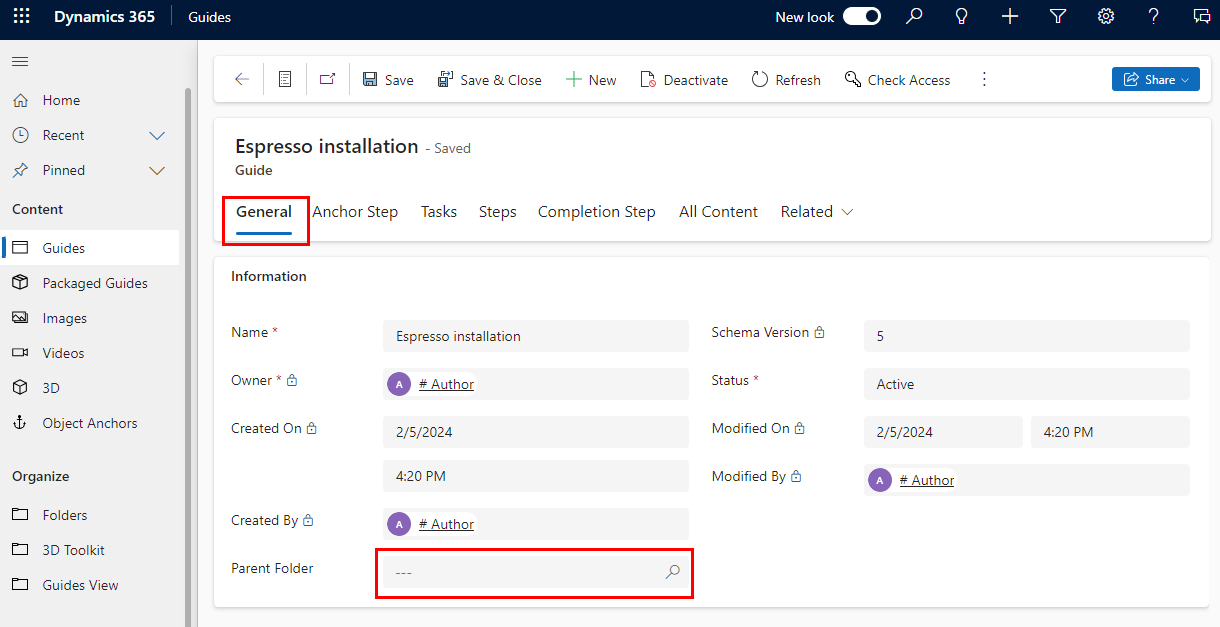
At the top of the screen, select Save or Save & Close.
Tip
To move a guide or asset back to the root folder, return to the guide details and delete the contents of the Parent Folder field.
You can also upload assets to a folder in the PC app.
View the contents of a folder
In the left pane, select Folders to view the list of folders in the environment.
Select the desired folder. All active folders, guides, images, 3D objects, videos, and object anchors in the folder display.
Activate, deactivate, or delete a folder
Open the model-driven app in Guides.
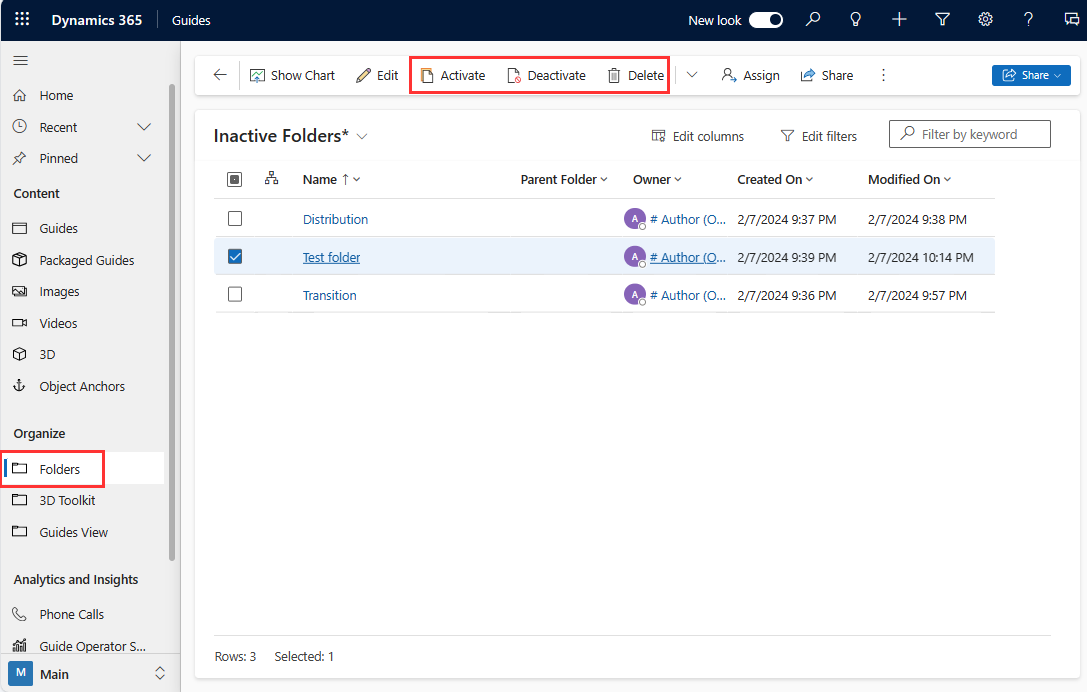
To activate a folder, select Inactive Folders in the drop-down list above the grid to view all the folders that are currently inactive.
To deactivate or delete a folder, select Active Folders.
Select the check box next to the appropriate folder, and then select Activate, Deactivate, or Delete at the top of the page.
Confirm your action.
Next steps
Phản hồi
Sắp ra mắt: Trong năm 2024, chúng tôi sẽ dần gỡ bỏ Sự cố với GitHub dưới dạng cơ chế phản hồi cho nội dung và thay thế bằng hệ thống phản hồi mới. Để biết thêm thông tin, hãy xem: https://aka.ms/ContentUserFeedback.
Gửi và xem ý kiến phản hồi dành cho