Connect to data in a WCF service
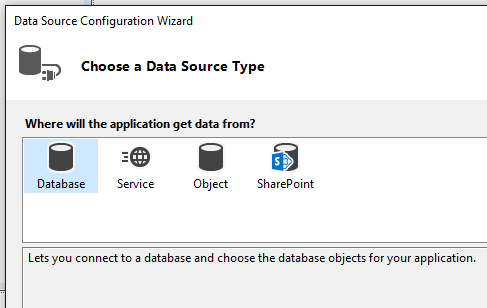
You connect your .NET Framework application to the data returned from a Windows Communication Foundation (WCF) service by running the Data Source Configuration Wizard and selecting Service on the Choose a Data Source Type page.
Upon completion of the wizard, a service reference is added to your project and is immediately available in the Data Sources window.
Note
The items that appear in the Data Sources window are dependent on the information that the service returns. Some services might not provide enough information for the Data Source Configuration Wizard to create bindable objects. For example, if the service returns an untyped dataset, no items appear in the Data Sources window upon completing the wizard. This is because untyped datasets do not provide schema, so the wizard does not have enough information to create the data source.
Note
Your computer might show different names or locations for some of the Visual Studio user interface elements in this article. You might be using a different edition of Visual Studio or different environment settings. For more information, see Personalize the IDE.
Prerequisites
The WCF tools are not installed with the .NET workload; use the Visual Studio Installer to modify your installation. In the installer, choose Windows Communication Foundation under Individual Components. See Modify Visual Studio.
To connect your application to a service
On the Data menu, click Add New Data Source.
Select Service on the Choose a Data Source Type page, and then click Next.
Enter the address of the service you want to use, or click Discover to locate services in the current solution, and then click Go.
Optionally, you can type a new Namespace in place of the default value.
Note
Click Advanced to open the Configure Service Reference dialog box.
Click OK to add a service reference to your project.
Click Finish.
The data source is added to the Data Sources window.
Related content
Feedback
Coming soon: Throughout 2024 we will be phasing out GitHub Issues as the feedback mechanism for content and replacing it with a new feedback system. For more information see: https://aka.ms/ContentUserFeedback.
Submit and view feedback for