Modify the pivot point of a 3D model
This article demonstrates how to use the Model Editor to modify the pivot point of a 3D model. The pivot point is the point in space that defines the mathematical center of the object for rotation and scaling.
Modify the pivot point of a 3D model
You can redefine the origin of a 3D model by modifying its pivot point.
Make sure that the Properties window and the Toolbox are displayed.
Begin with an existing 3D model, such as the one that's described in How to: Create a basic 3D model.
Enter pivot mode. On the Model Editor Mode toolbar, choose the Pivot Mode button to activate pivot mode. A box appears around the Pivot Mode button to indicate that the Model Editor is now in pivot mode. In pivot mode, operations such as translation affect the pivot point of the object instead of the structure of the object in world-space.
Modify the pivot point of the object. In Select mode, select the object, and then on the Model Viewer toolbar, choose the Translate tool. A box that represents the pivot point appears on the design surface. Move the box to modify the pivot point of the object.
By moving the box, you can move the pivot point in all three dimensions. To translate the pivot point along one axis, move the arrow that corresponds to that axis. The box and arrows change to a yellow color to indicate the axis that's affected by the translation.
You can also specify the pivot point by using the Pivot Translation property in the Properties window.
Tip
You can view the effect of the new pivot point by rotating the object. To rotate it, use the Rotate tool or modify the Rotation property.
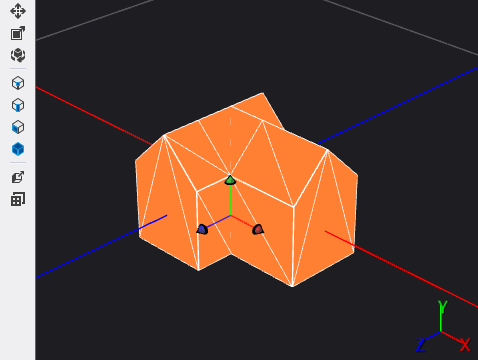
Here's a model that has a modified pivot point:
Related content
Feedback
Coming soon: Throughout 2024 we will be phasing out GitHub Issues as the feedback mechanism for content and replacing it with a new feedback system. For more information see: https://aka.ms/ContentUserFeedback.
Submit and view feedback for