Set up a Git repository in Visual Studio for Mac
Important
Visual Studio for Mac is scheduled for retirement on August 31, 2024 in accordance with Microsoft’s Modern Lifecycle Policy. While you can continue to work with Visual Studio for Mac, there are several other options for developers on Mac such as the preview version of the new C# Dev Kit extension for VS Code.
Git is a distributed version control system that allows teams to work on the same documents simultaneously. This means there is a single server that contains all the files, but whenever a repository is checked out from this central source, the entire repository is cloned locally to your machine.
There are many remote hosts that allow you to work with Git for version control, however the most common host is GitHub. The following example uses a GitHub host, but you can use any Git host for version control in Visual Studio for Mac.
If you wish to use GitHub, make sure that you have an account created and configured before following the steps in this article.
Creating a remote repo on GitHub
The following example uses a GitHub host, but you can use any Git host for version control in Visual Studio for Mac.
To set up a Git repository, execute the following steps:
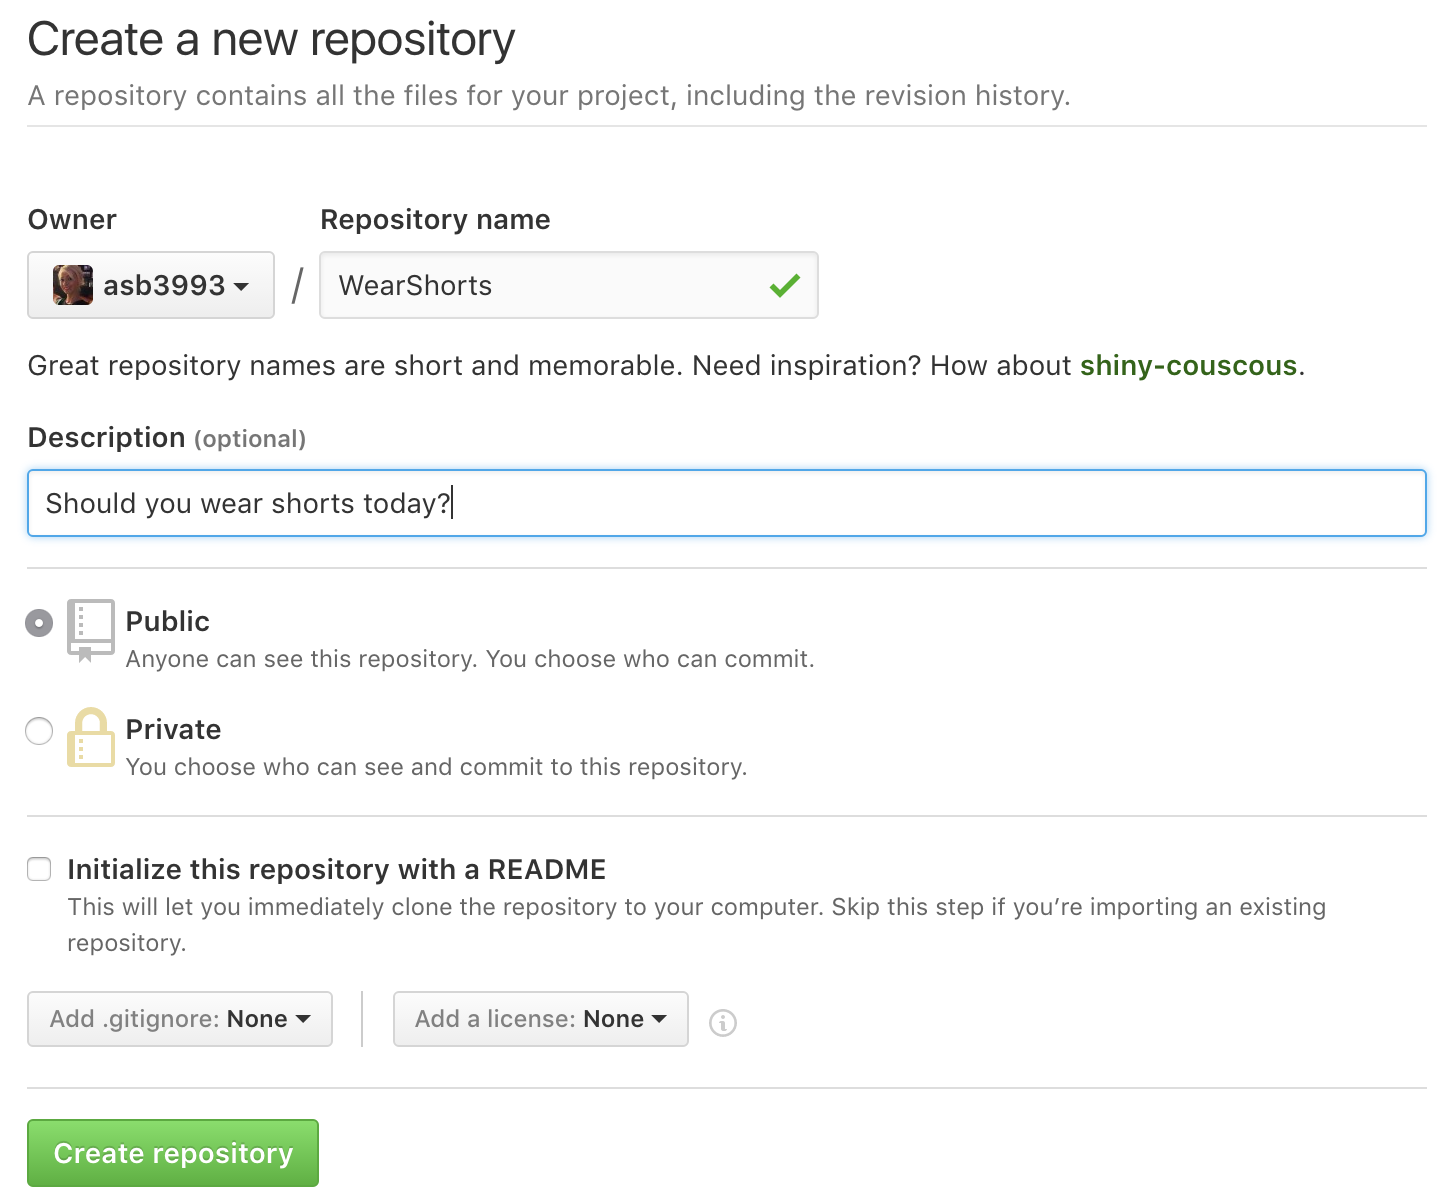
Create a new Git repo at github.com:

Set Repo Name, description, and privacy. Do not initialize Repo. Set .gitignore and license to None:
The next page gives you an option to display and copy either the HTTPS or SSH address to the repo you have created:
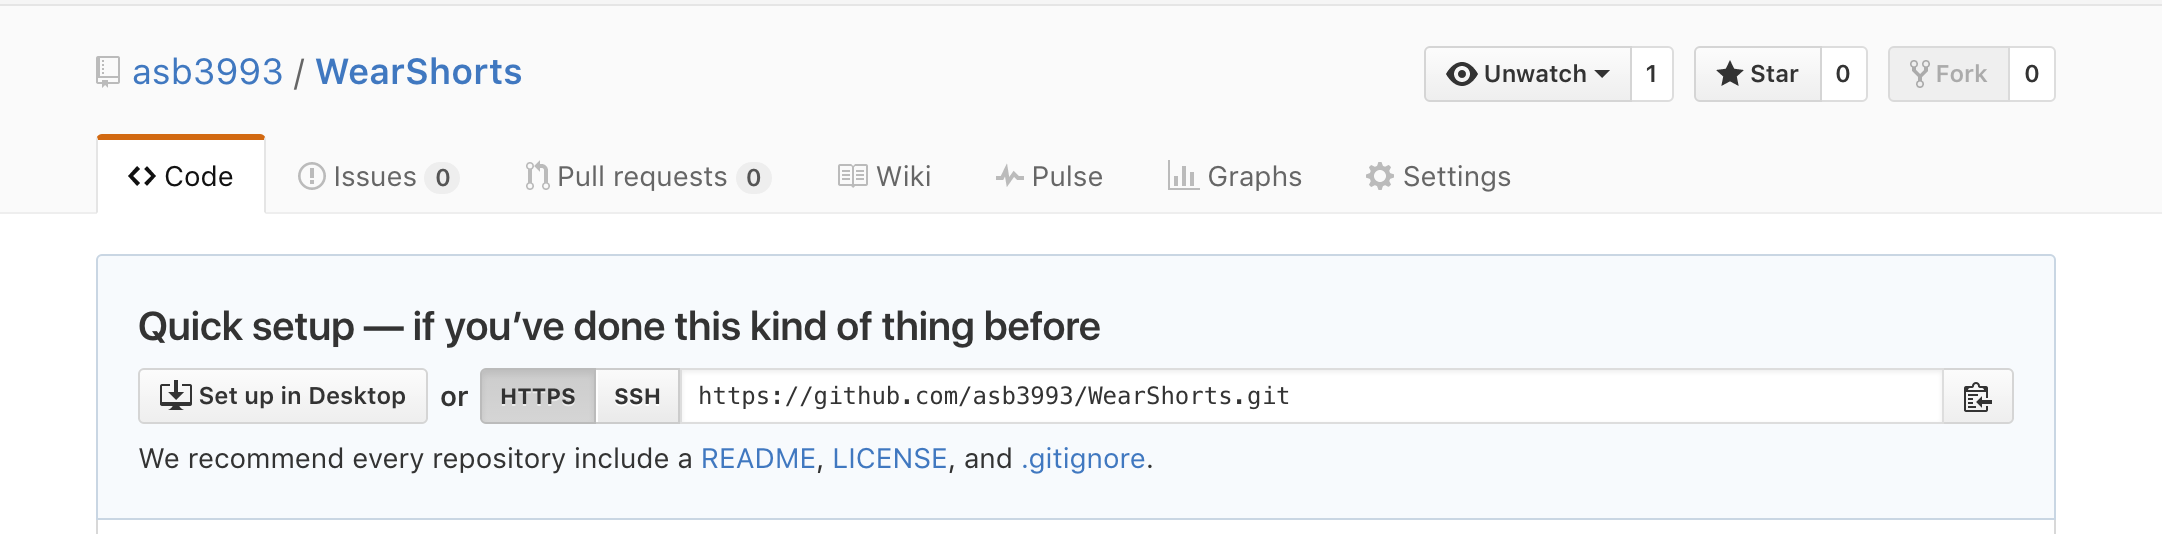
You'll need the HTTPS address to point Visual Studio for Mac to this repo.
Clone an existing repository
Visual Studio for Mac makes it easy to clone a repository right from the IDE. You can work remotely with the Git provider of your choice, such as GitHub or Azure DevOps.
To clone a repository from GitHub:
- On the home page of the GitHub repo, click the Code button and choose the Open with Visual Studio option.

- When prompted in the browser to open Visual Studio, click the Open button.
- Visual Studio for Mac will launch with the Clone Git Repository dialog open with the URL of the GitHub repo.
- Choose a target folder path, then click Clone.
To clone a repo hosted on a different remote service:
- Copy the URL of the repo you want to clone.
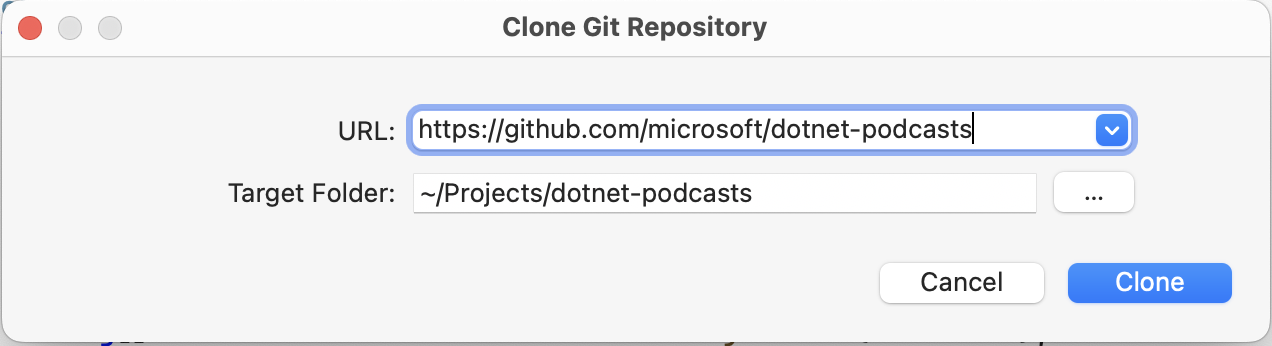
- In the Visual Studio for Mac menu bar, select the Git > Clone Repository... menu.
- Paste the URL for the repo into the URL field of the Clone Git Repository dialog, choose a target folder path, then click Clone.
After clicking the Clone button, Visual Studio for Mac will clone the repository and open the first solution file (.sln) file found.