单元测试入门
使用 Visual Studio 定义和运行单元测试,使代码保持正常运行、确保代码覆盖率并在客户之前找到错误和缺陷。 经常运行单元测试,确保代码正常运行。
在本文中,代码使用 C# 和 C++,图例使用 C#,但是概念和特征适用于 .NET 语言、C++、Python、JavaScript 和 TypeScript。
创建单元测试
本节介绍了如何创建单元测试项目。
在 Visual Studio 中,打开要测试的项目。
出于演示示例单元测试的目的,本文测试一个简单的“Hello World”C# 或名为“Hello World”的 C++ 控制台项目。 此类项目的示例代码如下所示:
在“解决方案资源管理器”中,选择解决方案节点。 然后,在顶部菜单栏中,选择“文件”>“添加”>“新项目” 。
在新项目对话框中,找到要使用的单元测试项目。
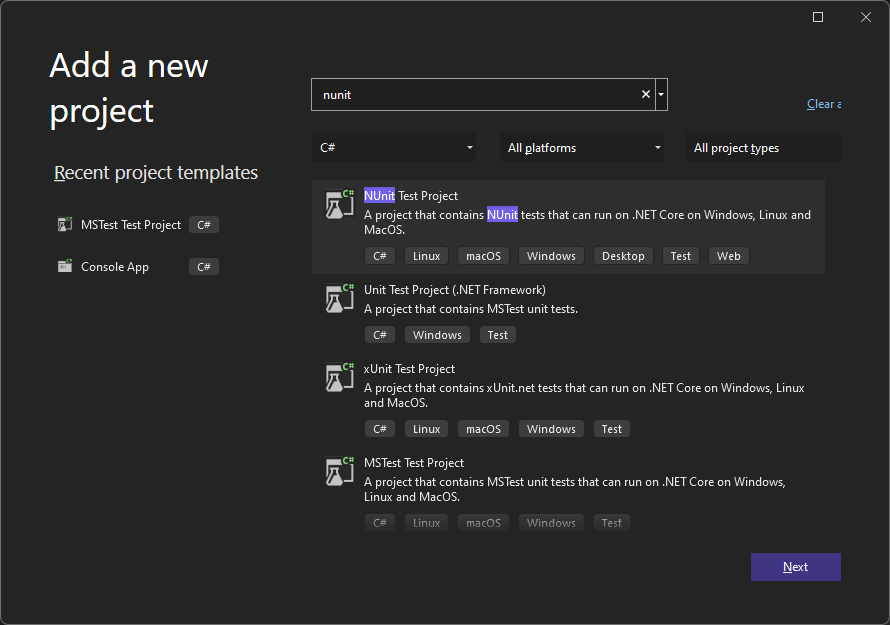
在搜索框中键入“测试”,找到要使用的测试框架的单元测试项目模板(例如 MSTest (C#) 或本机单元测试项目 (C++)),并选择它。
从 Visual Studio 2017 14.8 版本开始,.NET 语言包括适用于 NUnit 和 xUnit 的内置模板。 对于 C++,在本示例中,选择“本机单元测试”项目,它使用 Microsoft 本机单元测试框架。 (若要使用其他 C++ 测试框架,请参阅为 C/C++ 编写单元测试)。 对于 Python,请参阅在 Python 代码中设置单元测试以设置测试项目。
提示
仅对 C# 而言,可以使用更快的方法基于代码创建单元测试项目。 有关详细信息,请参阅创建单元测试项目和测试方法。 若要将此方法与 .NET Core 或 .NET Standard 一起使用,需要 Visual Studio 2019 或更高版本。
下图显示了 .NET 中支持的 MSTest 单元测试。

单击“下一步”,选择测试项目的名称,然后单击“创建”。

单击“下一步”,选择测试项目的名称,然后单击“创建”。
项目将添加到解决方案中。
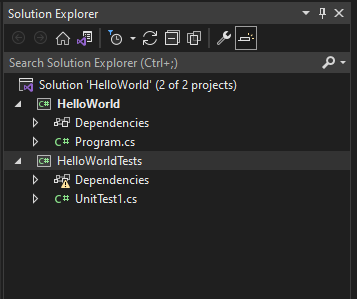
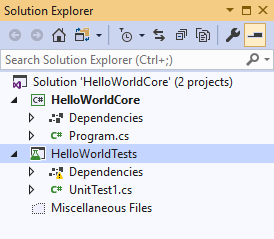
在单元测试项目中,右键单击“引用”或“依赖项”,然后选择“添加引用”或“添加项目引用”,添加对要测试的项目的引用 。
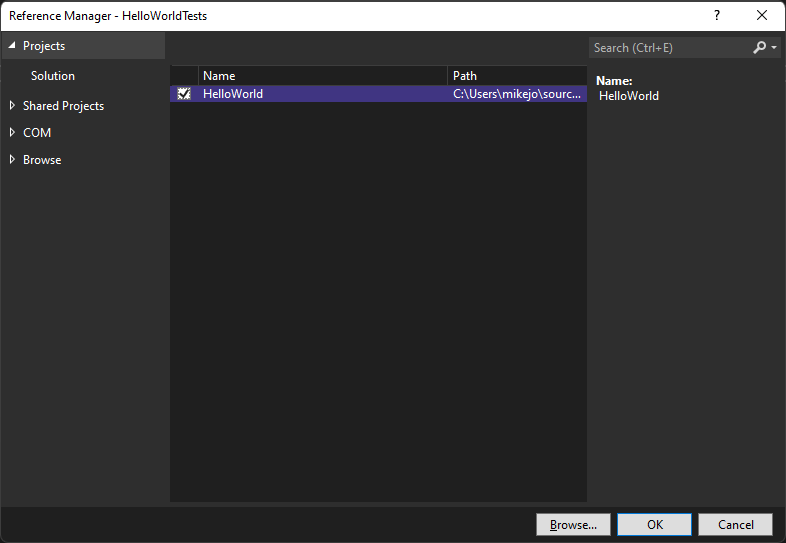
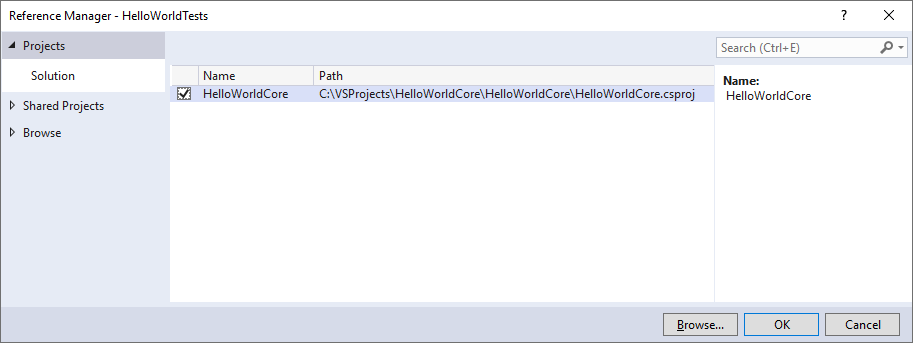
选择包含待测试代码的项目,单击“确定”。
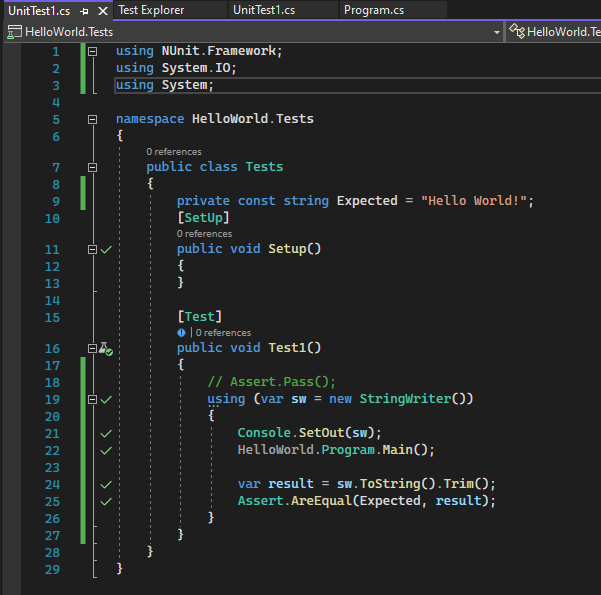
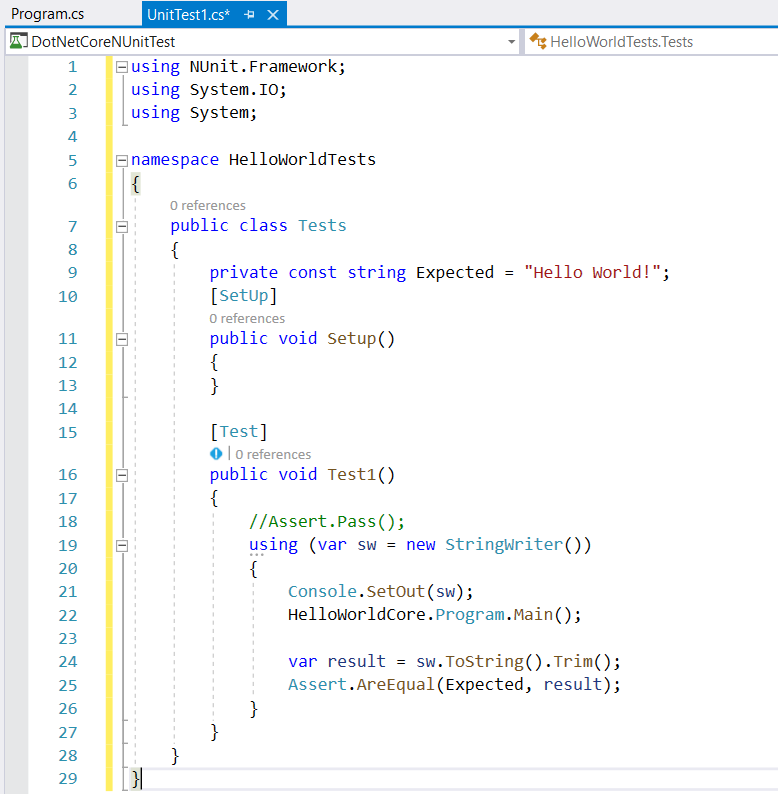
向单元测试方法添加代码。
例如,你可以通过选择与测试框架匹配的正确文档选项卡来使用以下代码:MSTest、NUnit 或 xUnit(仅在 .NET 上受支持)或 C++ Microsoft 本机单元测试框架。
using Microsoft.VisualStudio.TestTools.UnitTesting;
using System.IO;
using System;

namespace HelloWorldTests
{
   [TestClass]
   public class UnitTest1
   {
      private const string Expected = "Hello World!";
      [TestMethod]
      public void TestMethod1()
      {
         using (var sw = new StringWriter())
         {
            Console.SetOut(sw);
            HelloWorld.Program.Main();

            var result = sw.ToString().Trim();
            Assert.AreEqual(Expected, result);
         }
      }
   }
}
运行单元测试
-
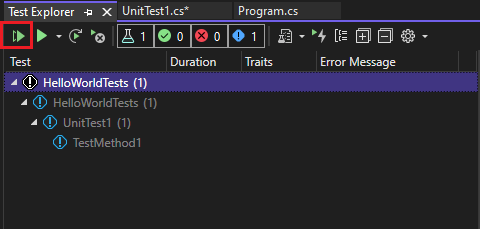
若要打开测试资源管理器,请选择顶部菜单栏中的“测试”>“测试资源管理器”(或按 Ctrl + E,T)。
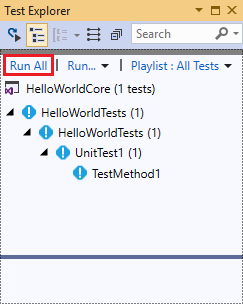
单击“全部运行”(或按 Ctrl + R,V),运行单元测试。
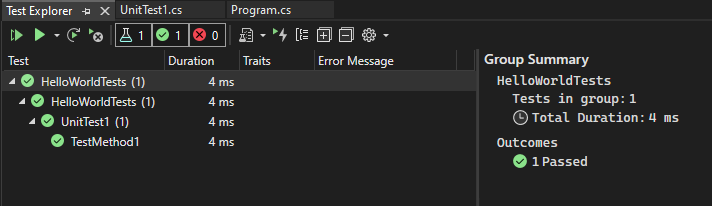
测试完成后,绿色复选标记表示测试通过。 红色“x”图标表示测试失败。
提示
可以使用测试资源管理器从内置测试框架 (MSTest) 或第三方测试框架运行单元测试。 可以将测试分组为不同类别、筛选测试列表,以及创建、保存和运行测试播放列表。 你还可以调试测试并分析测试性能和代码覆盖率。
查看实时单元测试结果 (Visual Studio Enterprise)
如果在 Visual Studio 2017 或更高版本中使用 MSTest、xUnit 或 NUnit 测试框架,可查看单元测试的实时结果。
注意
要执行这些步骤,需要 Visual Studio Enterprise,以及 .NET 代码和以下测试框架之一:MSTest、xUnit 或 NUnit。
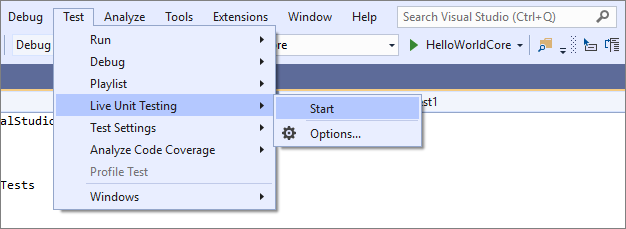
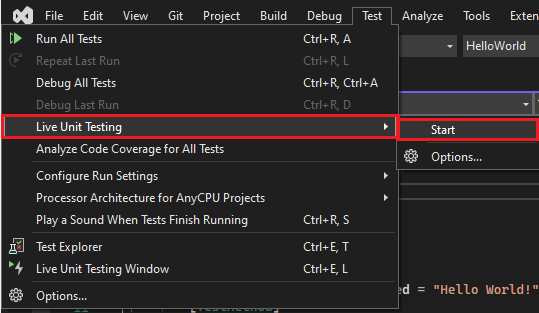
选择“测试”>“Live Unit Testing”>“启动”,从“测试”菜单启用 Live Unit Testing。
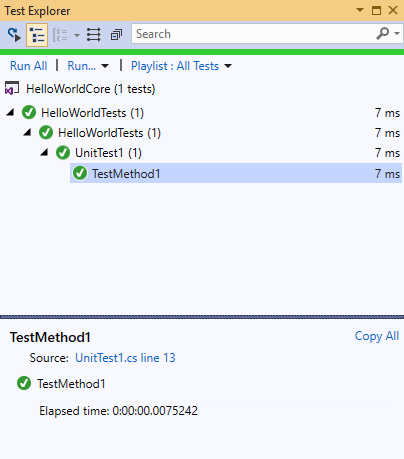
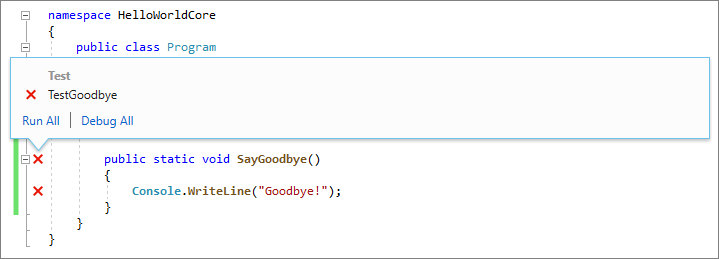
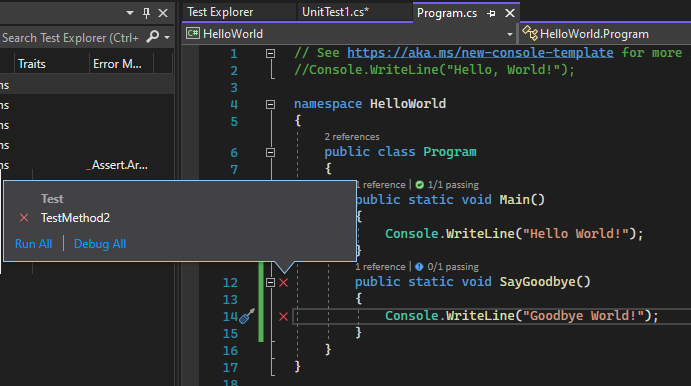
编写和编辑代码时,请在代码编辑器窗口中查看测试的结果。


单击测试结果指示器查看详细信息,例如涵盖该方法的测试的名称。
有关 Live Unit Testing 的详细信息,请参阅 Live Unit Testing。
使用第三方测试框架
通过使用第三方测试框架(例如 NUnit、Boost 或 Google C++ 测试框架,具体取决于你的编程语言),可以在 Visual Studio 中运行单元测试。 使用第三方框架:
使用 NuGet 包管理器为所选框架安装 NuGet 包 。
(.NET) 从 Visual Studio 2017 14.6 版本开始,Visual Studio 包括适用于 NUnit 和 xUnit 测试框架的预配置测试项目模板。 这些模板还包括必要的 NuGet 包以实现支持。
(C++) 在 Visual Studio 2017 及更高版本中,已经包含了一些框架,如 Google C++ 测试框架。 有关详细信息,请参阅在 Visual Studio 中编写适用于 C/C++ 的单元测试。
添加单元测试项目:
打开包含待测试代码的解决方案。
右键单击“解决方案资源管理器”中的解决方案,然后选择“添加”>“新建项目”。
选择单元测试项目模板。
在本例中,选择 NUnit
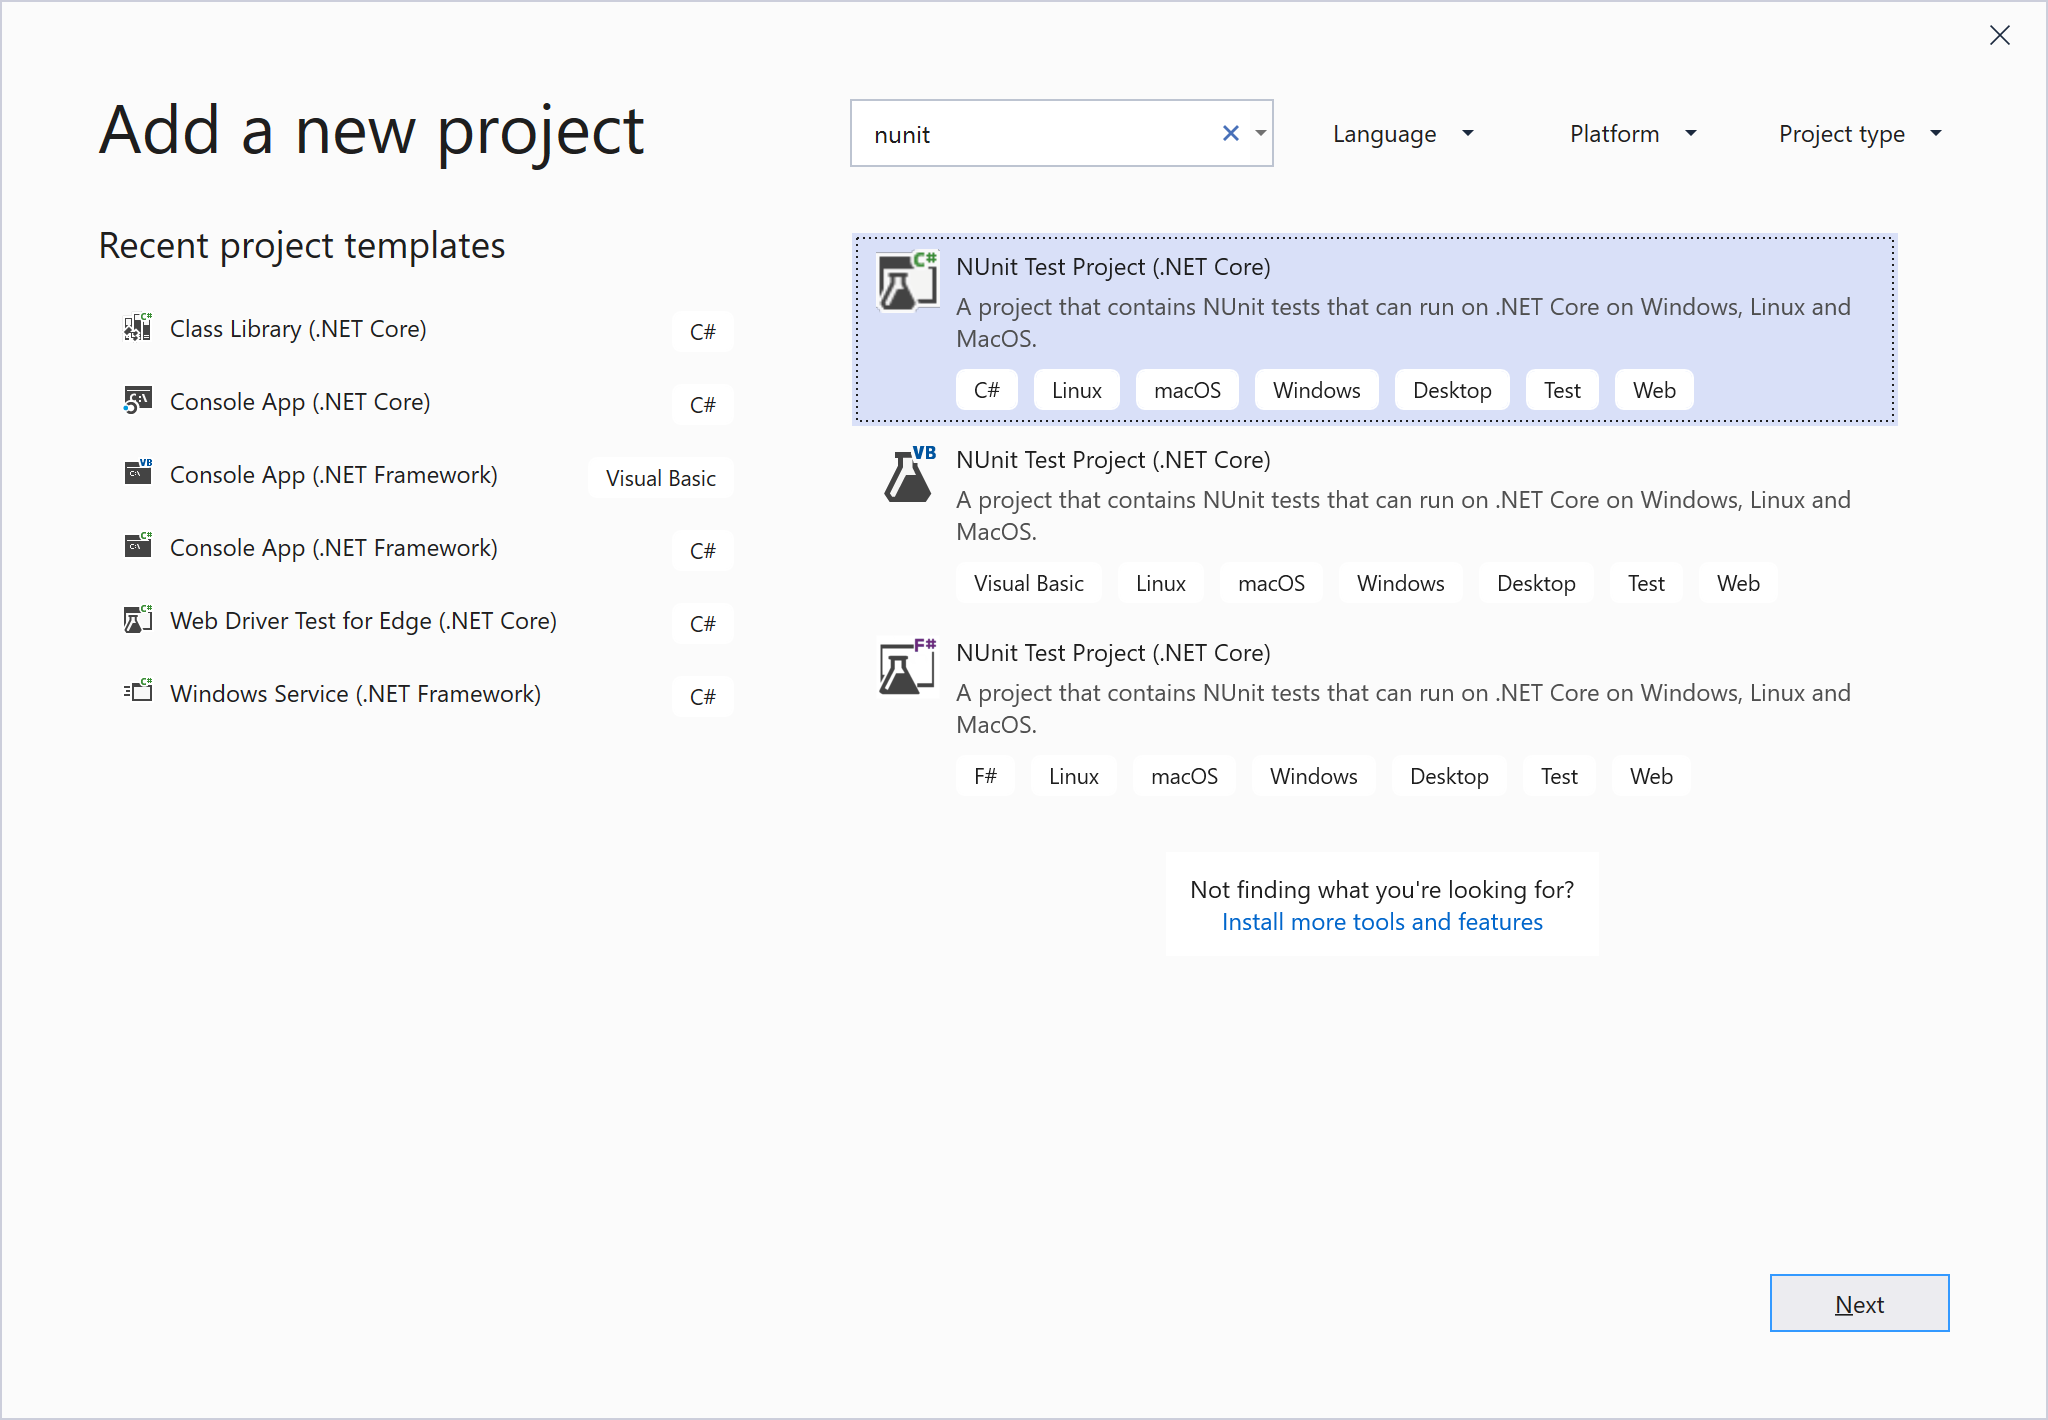
单击“下一步”,为项目命名,然后单击“创建”。
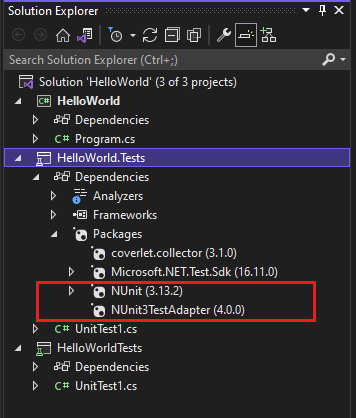
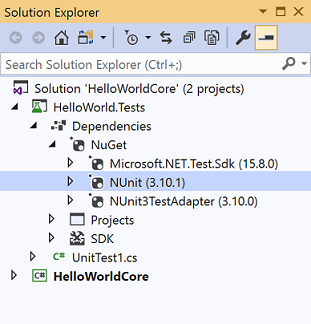
项目模板包括对 NUnit 和 NUnit3TestAdapter 的 NuGet 引用。
将测试项目中的引用添加到包含待测试代码的项目中。
右键单击“解决方案资源管理器”中的项目,然后选择“添加”>“引用”。 (还可以从“引用”或“依赖项”节点右键单击菜单来添加一个引用。)
将代码添加到测试方法。
从测试资源管理器运行测试,或右键单击测试代码并选择“运行测试”(或 Ctrl + R,T)。
后续步骤
反馈
即将发布:在整个 2024 年,我们将逐步淘汰作为内容反馈机制的“GitHub 问题”,并将其取代为新的反馈系统。 有关详细信息,请参阅:https://aka.ms/ContentUserFeedback。
提交和查看相关反馈