你当前正在访问 Microsoft Azure Global Edition 技术文档网站。 如果需要访问由世纪互联运营的 Microsoft Azure 中国技术文档网站,请访问 https://docs.azure.cn。
教程:使用 Azure Maps 查找和显示不同出行模式的路线
本教程演示如何使用 Azure Maps 路线服务和地图控件为私家车和货物类型为 USHazmatClass2 的商用车(卡车)显示路线走向。
在本教程中,你将了解如何执行以下操作:
- 在网页上创建和显示地图控件
- 在地图上呈现实时交通数据
- 在地图上请求并显示私家车和商用车路线
先决条件
注意
有关 Azure Maps 中身份验证的详细信息,请参阅在 Azure Maps 中管理身份验证。
使用 Map Control API 创建新网页
以下步骤演示如何在网页中创建和显示地图控件。
在本地计算机上,创建一个新文件并将其命名为 MapTruckRoute.html 。
将以下 HTML 添加到文件:
<!DOCTYPE html>
<html>
<head>
    <title>Map Route</title>
    <meta charset="utf-8">
    <meta name="viewport" content="width=device-width, initial-scale=1, shrink-to-fit=no">

    <!-- Add references to the Azure Maps Map control JavaScript and CSS files. -->
    <link rel="stylesheet" href="https://atlas.microsoft.com/sdk/javascript/mapcontrol/3/atlas.min.css" type="text/css">
    <script src="https://atlas.microsoft.com/sdk/javascript/mapcontrol/3/atlas.min.js"></script>

    <script>
        var map, datasource, client;

        function GetMap() {
            //Add Map Control JavaScript code here.
        }
    </script>
    <style>
        html,
        body {
            width: 100%;
            height: 100%;
            padding: 0;
            margin: 0;
        }

        #myMap {
            width: 100%;
            height: 100%;
        }
    </style>
</head>
<body onload="GetMap()">
    <div id="myMap"></div>
</body>
</html>
需要了解的有关上述 HTML 的一些信息:
- HTML 标头包含 Azure Map Control 库托管的 CSS 和 JavaScript 资源文件。
- 当页面正文加载时,页面正文中的
onload事件会调用GetMap函数。 GetMap函数包含用于访问 Azure Maps API 的内联 JavaScript 代码。
接下来,将以下 JavaScript 代码添加到
GetMap函数,位于最后一步中添加的代码正下方。 此代码将创建一个地图控件,然后使用你提供的 Azure Maps 订阅密钥对其进行初始化。 请确保将字符串<Your Azure Maps Subscription Key>替换为从 Maps 帐户复制的 Azure Maps 订阅密钥。//Instantiate a map object var map = new atlas.Map("myMap", { // Replace <Your Azure Maps Subscription Key> with your Azure Maps subscription key. https://aka.ms/am-primaryKey authOptions: { authType: 'subscriptionKey', subscriptionKey: '<Your Azure Maps Subscription Key>' } });需要了解的有关上述 JavaScript 的一些信息:
保存文件并在浏览器中打开它。 浏览器通过使用 Azure Maps 订阅密钥调用
atlas.Map来显示基本地图。
在地图上呈现实时交通数据
在
GetMap函数中,请在初始化地图以后,添加以下 JavaScript 代码。 此代码实现地图控件的ready事件处理程序。map.events.add("ready", function() { // Add Traffic Flow to the Map map.setTraffic({ flow: "relative" }); });需要了解的有关上述 JavaScript 的一些信息:
- 此代码实现地图控件的
ready事件处理程序。 本教程中的其余代码在ready事件处理程序中。 - 在地图
ready事件处理程序中,地图上的交通流设置已设置为relative,这是相对于自由流动的道路速度。 - 有关更多交通选项,请参阅 TrafficOptions 接口。
- 此代码实现地图控件的
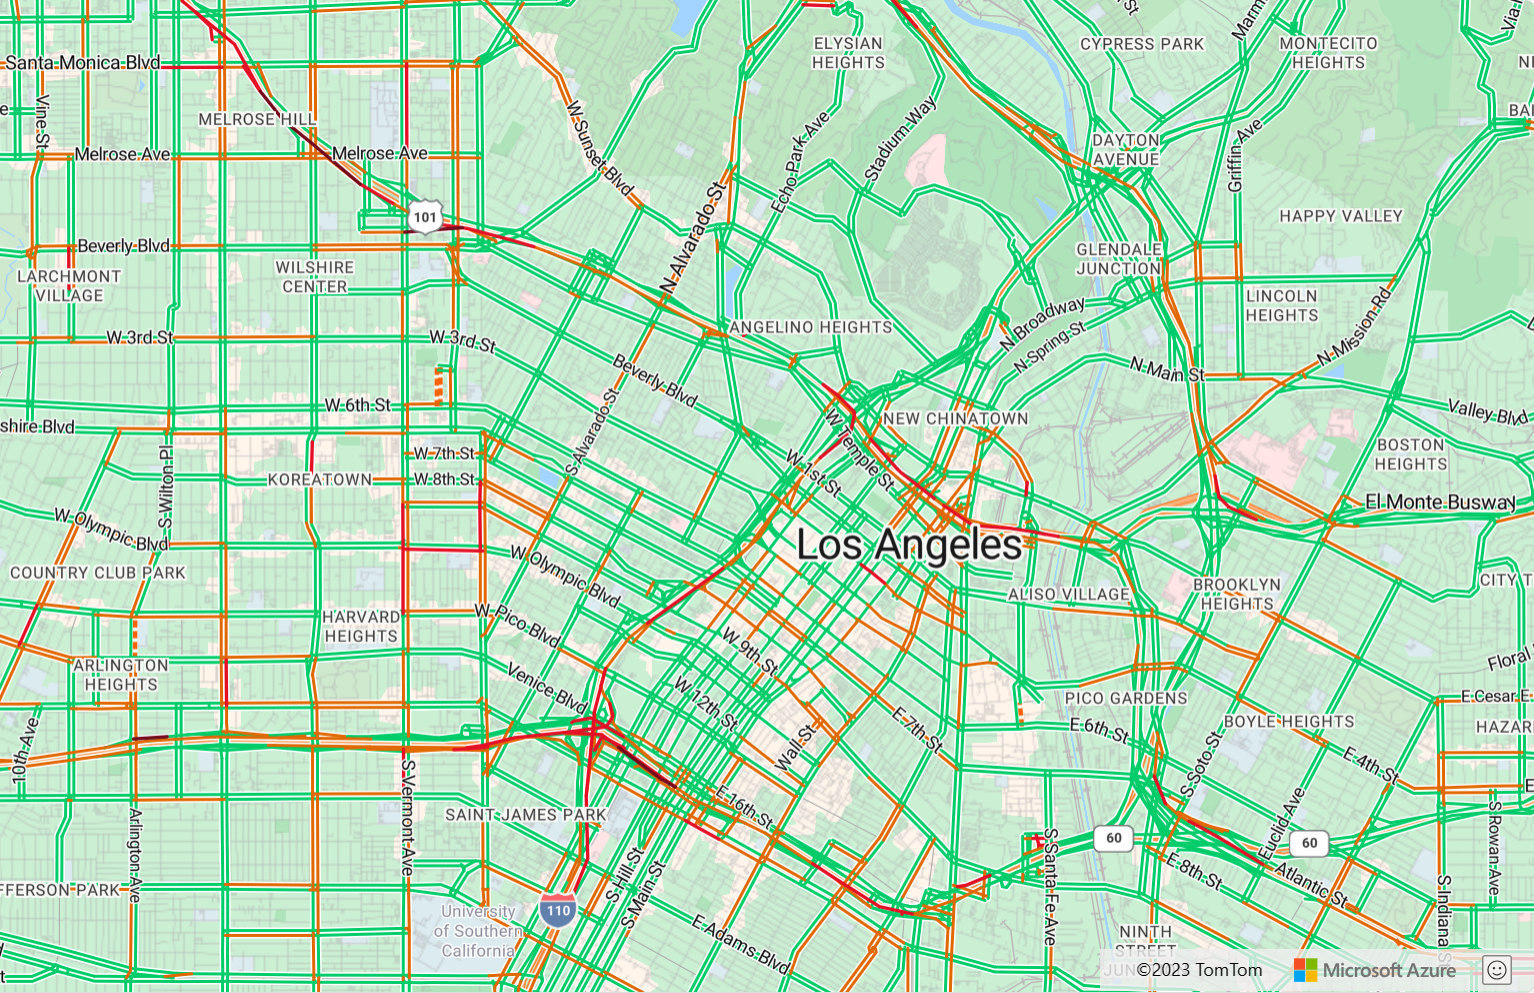
保存“MapTruckRoute.html”文件并刷新浏览器中的页 。 如果放大地图以显示任何城市(如洛杉矶),会显示街道和当前交通流量数据。

定义路线显示呈现
在本教程中,会在地图上计算两条路线。 第一条路线是为私家车(小汽车)计算。 第二条路线是为商用车(卡车)计算,以体现结果之间的差异。 在渲染时,地图会针对路线的起点和终点显示符号图标,用不同颜色的路线几何图形来表示各个路线路径。 有关添加线条层的详细信息,请参阅将线条层添加到地图。 若要了解有关符号层的详细信息,请参阅将符号层添加到地图。
在地图控件的
ready事件处理程序中,追加以下代码。//Create a data source and add it to the map. datasource = new atlas.source.DataSource(); map.sources.add(datasource); //Add a layer for rendering the route lines and have it render under the map labels. map.layers.add(new atlas.layer.LineLayer(datasource, null, { strokeColor: ['get', 'strokeColor'], strokeWidth: ['get', 'strokeWidth'], lineJoin: 'round', lineCap: 'round' }), 'labels'); //Add a layer for rendering point data. map.layers.add(new atlas.layer.SymbolLayer(datasource, null, { iconOptions: { image: ['get', 'icon'], allowOverlap: true }, textOptions: { textField: ['get', 'title'], offset: [0, 1.2] }, filter: ['any', ['==', ['geometry-type'], 'Point'], ['==', ['geometry-type'], 'MultiPoint']] //Only render Point or MultiPoints in this layer. }));需要了解的有关上述 JavaScript 的一些信息:
- 在地图控件的
ready事件处理程序中,将会创建一个数据源来存储从起点到终点的路线。 - 使用表达式从路线功能的属性中检索路线宽度和颜色。
- 为了确保路线线条不遮盖道路标签,我们传递了第二个参数,其值为
'labels'。
接下来,将会创建一个符号层并将其附加到数据源。 此层指定起点和终点的呈现方式。 添加了表达式以从每个点对象的属性中检索图标图像和文本标签信息。 若要详细了解表达式,请参阅数据驱动的样式表达式。
- 在地图控件的
接下来,将起点设为西雅图一家名为 Fabrikam 的虚构公司,终点设为 Microsoft 办公室。 在地图控件的
ready事件处理程序中,追加以下代码。//Create the GeoJSON objects which represent the start and end point of the route. var startPoint = new atlas.data.Feature(new atlas.data.Point([-122.356099, 47.580045]), { title: 'Fabrikam, Inc.', icon: 'pin-blue' }); var endPoint = new atlas.data.Feature(new atlas.data.Point([-122.201164, 47.616940]), { title: 'Microsoft - Lincoln Square', icon: 'pin-round-blue' }); //Add the data to the data source. datasource.add([startPoint, endPoint]); //Fit the map window to the bounding box defined by the start and end positions. map.setCamera({ bounds: atlas.data.BoundingBox.fromData([startPoint, endPoint]), padding: 100 });关于上述 JavaScript:
- 此代码创建两个 GeoJSON 点对象来表示起点和终点,这两个对象随后添加到数据源中。
- 最后一个代码块使用起点和终点的纬度和经度来设置相机视图。
- 起点和终点会添加到数据源。
- 起点和终点的边框使用
atlas.data.BoundingBox.fromData函数计算。 此边框用于通过map.setCamera函数设置基于整个路线的地图相机视图。 - 将会添加一个填充来弥补符号图标的像素尺寸。
- 有关详细信息,请参阅 Microsoft 技术文档中的 setCamera 函数。
保存 TruckRoute.html 并刷新浏览器。 现在,地图以西雅图为中心。 泪珠形蓝色图钉标记起点。 圆形蓝色图钉标记终点。


在地图上请求并显示私家车和商用车路线
本部分演示如何使用 Azure Maps 路线服务,根据交通方式获取从一个点到另一个点的走向。 用到了两种运输方式:卡车和汽车。
提示
路线服务提供多个 API,根据距离、路况和所用交通方式,规划最快、最短、环保或令人兴奋的路线 。 此服务还让用户可以根据历史路况规划将来的路线。 用户可以看到任何给定时间的路线时间预测。 有关详细信息,请参阅获取路线走向 API。
在
GetMap函数中,在控件的ready事件处理程序内添加以下 JavaScript 代码,构建从起点到终点的卡车路线。 此路线是为装载USHazmatClass2类货物的卡车创建和显示的。//Start and end point input to the search route request var query = startPoint.geometry.coordinates[1] + "," + startPoint.geometry.coordinates[0] + ":" + endPoint.geometry.coordinates[1] + "," + endPoint.geometry.coordinates[0]; //Make a search route request for a truck vehicle type var truckRouteUrl = `https://atlas.microsoft.com/route/directions/json?api-version=1.0&travelMode=truck&vehicleWidth=2&vehicleHeight=2&vehicleLength=5&vehicleLoadType=USHazmatClass2&query=${query}`; fetch(truckRouteUrl, { headers: { "Subscription-Key": map.authentication.getToken() } }) .then((response) => response.json()) .then((response) => { var route = response.routes[0]; //Create an array to store the coordinates of each turn var routeCoordinates = []; route.legs.forEach((leg) => { var legCoordinates = leg.points.map((point) => { return [point.longitude, point.latitude]; }); //Add each turn to the array routeCoordinates = routeCoordinates.concat(legCoordinates); }); //Add the route line to the data source. We want this to render below the car route which will likely be added to the data source faster, so insert it at index 0. datasource.add( new atlas.data.Feature(new atlas.data.LineString(routeCoordinates), { strokeColor: "#2272B9", strokeWidth: 9 }), 0 ); });关于上述 JavaScript:
- 此代码通过 Azure Maps 路线走向 API 查询 Azure Maps 路线服务。
- 然后,根据响应的每个转弯的坐标创建路线。
- 该路线行随后将添加到数据源。
- 将会向卡车路线添加两个属性:一个是蓝色的描边色
#2272B9,另一个是九像素的描边宽度。 - 指定路线的索引为 0,以确保在数据源中,卡车路线先于其他路线呈现。 原因在于卡车路线计算通常比小汽车路线计算要慢。 如果先将小汽车路线添加到数据源,再次卡车路线添加到数据源,则会在小汽车路线的上面呈现卡车路线。
提示
要查看 Azure Maps 路线走向 API 的所有可能的选项和值,请参阅 Post 路线走向的 URI 参数。
接下来,追加以下 JavaScript 代码,以创建小汽车路线。
var carRouteUrl = `https://atlas.microsoft.com/route/directions/json?api-version=1.0&query=${query}`;
fetch(carRouteUrl, {
    headers: {
        "Subscription-Key": map.authentication.getToken()
    }
})
.then((response) => response.json())
.then((response) => {
    var route = response.routes[0];
    //Create an array to store the coordinates of each turn
    var routeCoordinates = [];
    route.legs.forEach((leg) => {
        var legCoordinates = leg.points.map((point) => {
            return [point.longitude, point.latitude];
        });
        //Add each turn to the array
        routeCoordinates = routeCoordinates.concat(legCoordinates);
    });

    //Add the route line to the data source. This will add the car route after the truck route.
    datasource.add(
        new atlas.data.Feature(new atlas.data.LineString(routeCoordinates), {
            strokeColor: "#B76DAB",
            strokeWidth: 5
        })
    );
});
关于上述 JavaScript:
- 此代码通过 Azure Maps 路线走向 API 方法来查询 Azure Maps 路线服务。
- 然后,根据每个转弯的坐标创建路线并添加到数据源。
- 将会向卡车路线添加两个属性:一个是紫色的描边色
#B76DAB,另一个是五像素的描边宽度。
保存 TruckRoute.html 文件并刷新 web 浏览器。 地图现在应显示卡车路线和小汽车路线。

- 卡车路线使用蓝色粗线显示,小汽车路线使用紫色细线显示。
- 小汽车路线经 I-90 穿过华盛顿湖,会经过居民区下的隧道。 由于隧道位于居住区内,因此会限制装载危险废弃货物的车辆。 卡车路线(指定
USHazmatClass2货物类型)指向没有此限制的其他路线。

- 有关本教程中使用的完整代码,请参阅 GitHub 上的卡车路线教程。
- 若要实时查看此示例,请参阅 Azure Maps 代码示例站点上的按出行模式规划多个路线。
- 还可以使用数据驱动的样式表达式。
后续步骤
接下来的教程将演示如何使用 Azure Maps 创建简单的商店定位符。