你当前正在访问 Microsoft Azure Global Edition 技术文档网站。 如果需要访问由世纪互联运营的 Microsoft Azure 中国技术文档网站,请访问 https://docs.azure.cn。
使用 Terraform 计划在 Amazon Elastic Compute Cloud 上部署 Amazon Linux 2 实例并将其连接到 Azure Arc
本文提供了使用提供的 Terraform 计划部署 Amazon Web Services (AWS) Amazon Elastic Compute Cloud (EC2) Linux 2 实例并将其连接为支持 Azure Arc 的服务器资源的指南。
先决条件
克隆 Azure Arc 快速入门存储库。
git clone https://github.com/microsoft/azure_arc.git要安装或更新 Azure CLI。 Azure CLI 应运行版本 2.7.0 或更高版本。 使用
az --version检查当前安装的版本。生成 SSH 密钥(或使用现有 SSH 密钥)
创建 Azure 服务主体。
要将 AWS 虚拟机连接到 Azure Arc,需要一个被分配了“参与者”角色的 Azure 服务主体。 要创建此角色,请登录 Azure 帐户并运行以下命令:
az login
az account set -s <Your Subscription ID>
az ad sp create-for-rbac -n "<Unique SP Name>" --role contributor --scopes "/subscriptions/<Your Subscription ID>"
例如:
az ad sp create-for-rbac -n "http://AzureArcAWS" --role contributor --scopes "/subscriptions/00000000-0000-0000-0000-000000000000"输出应如下所示:
{
  "appId": "XXXXXXXXXXXXXXXXXXXXXXXXXXXX",
  "displayName": "http://AzureArcAWS",
  "password": "XXXXXXXXXXXXXXXXXXXXXXXXXXXX",
  "tenant": "XXXXXXXXXXXXXXXXXXXXXXXXXXXX"
}
注意
我们强烈建议你将服务主体的范围限定为特定的 Azure 订阅和资源组。
创建 AWS 标识
为了让 Terraform 在 AWS 中创建资源,我们需要创建一个具有适当权限的新 AWS IAM 角色并配置 Terraform 以使用它。
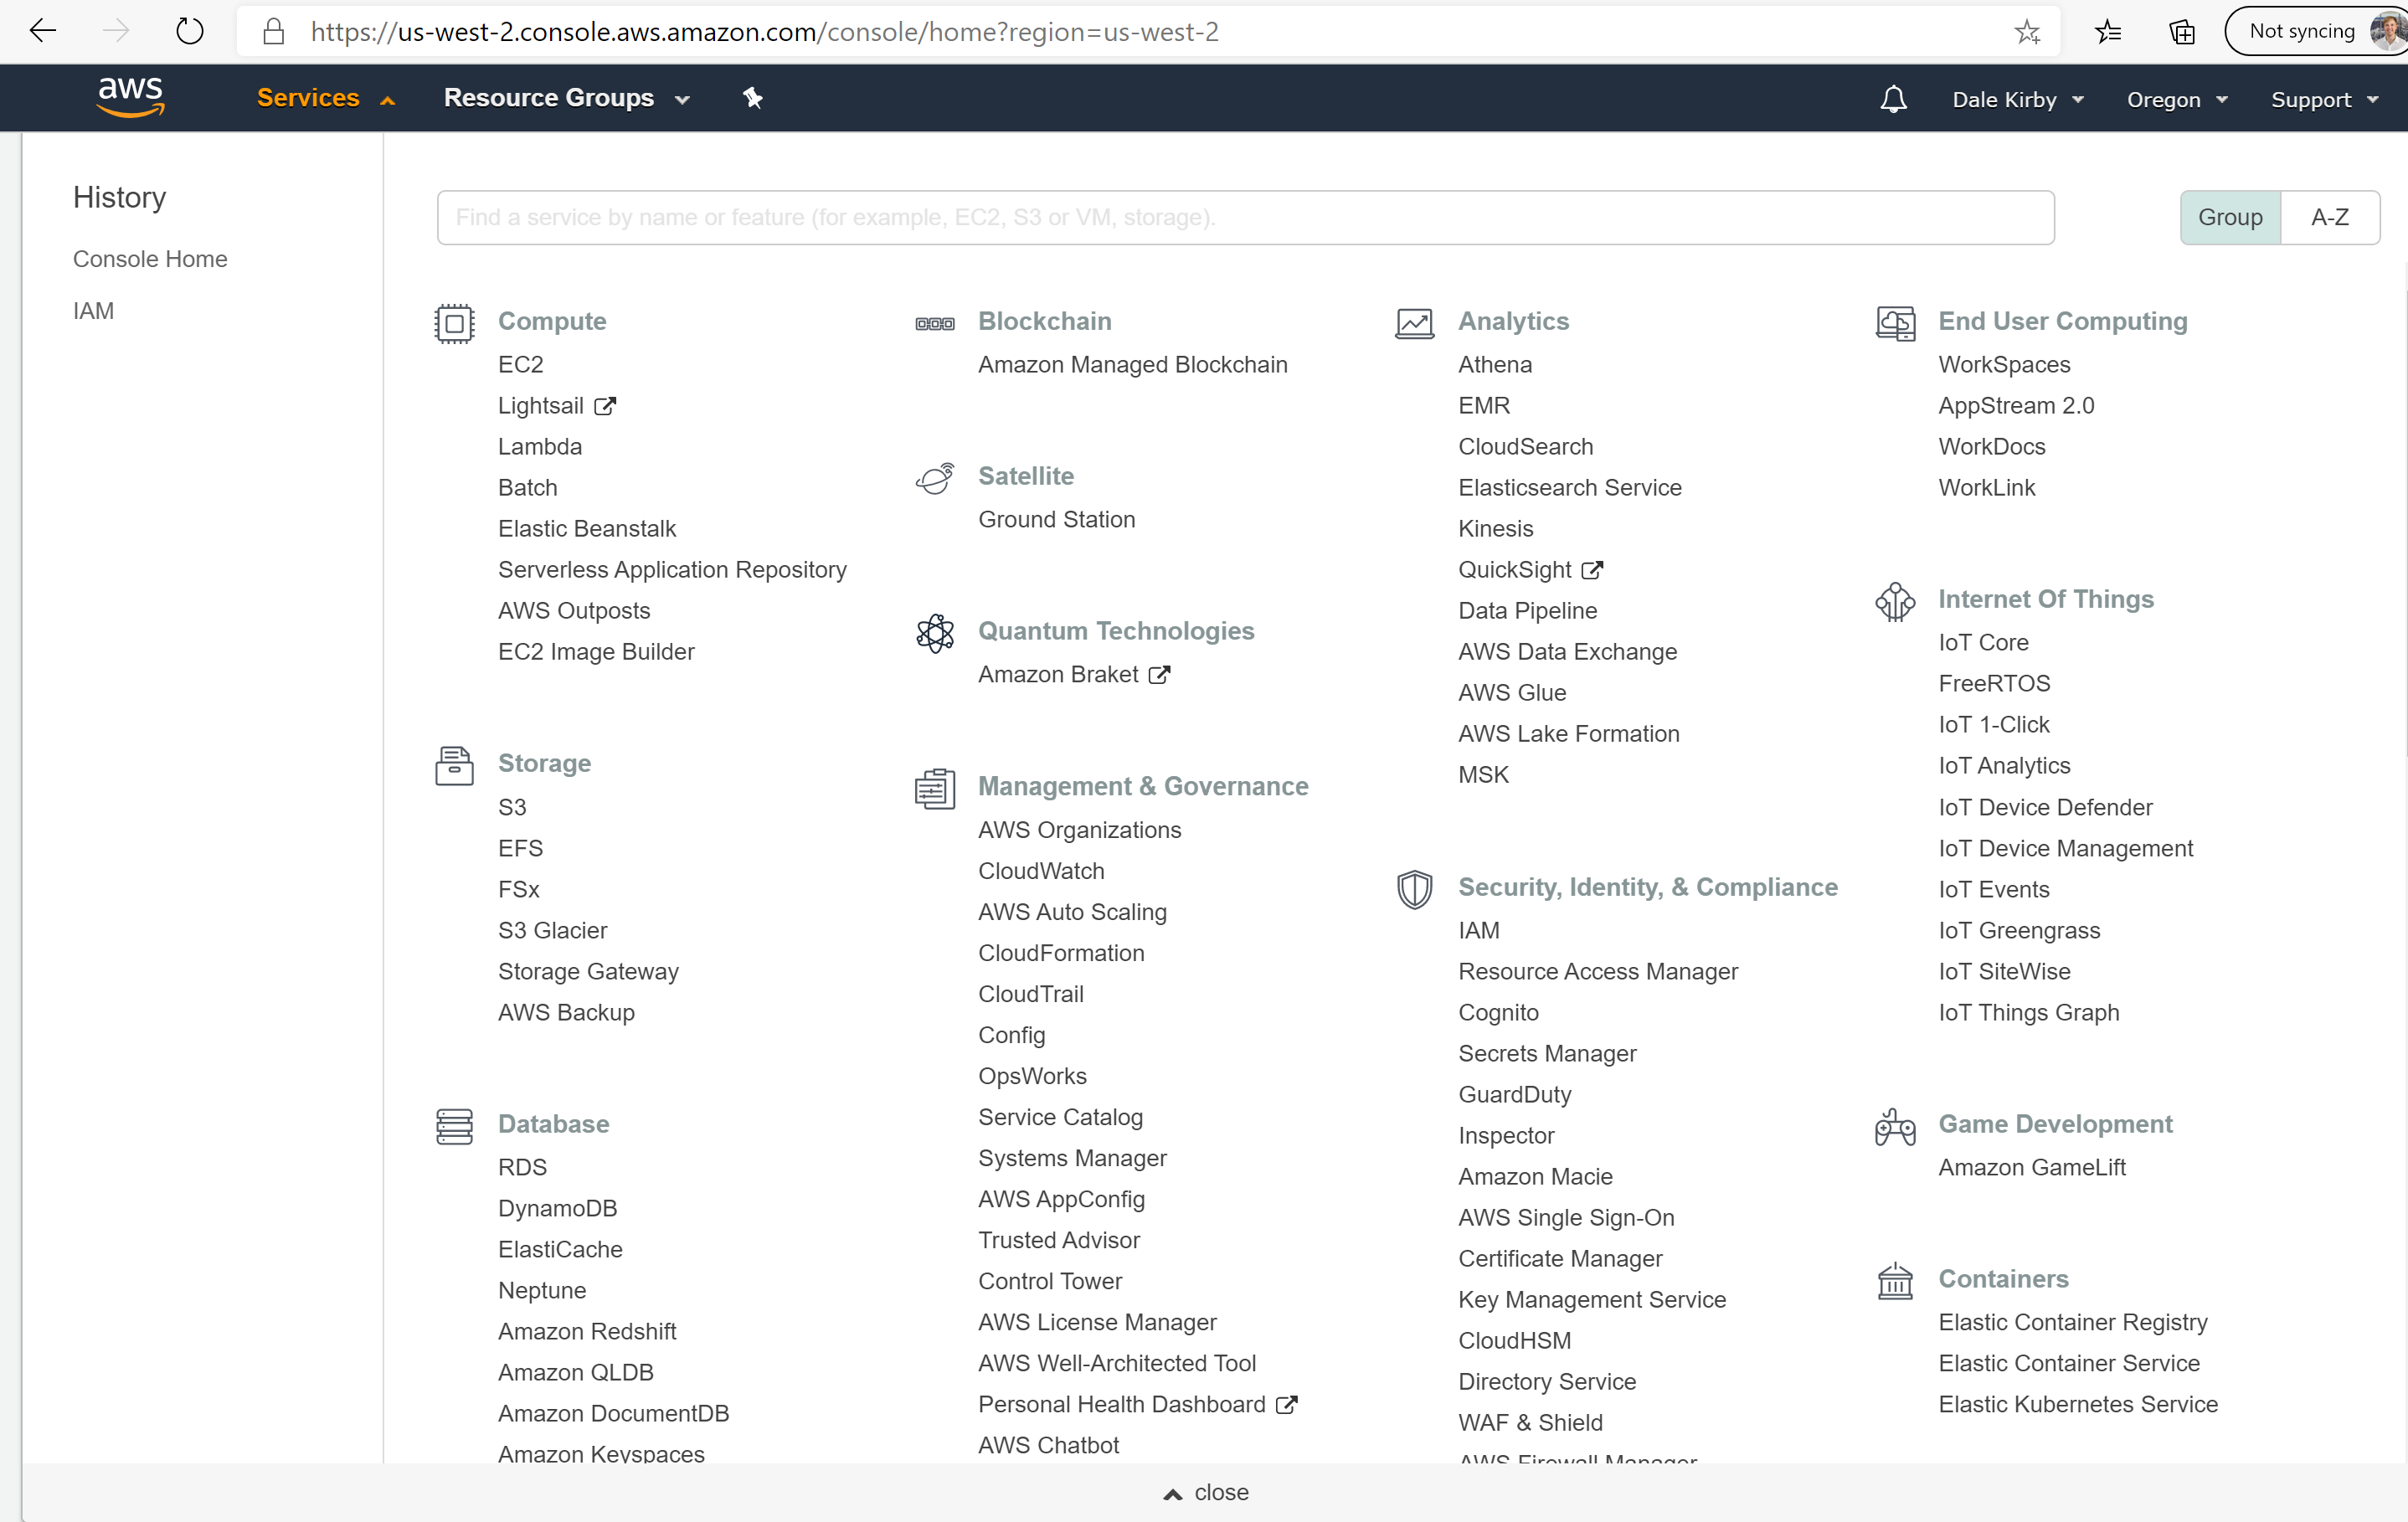
登录到 AWS 管理控制台
登录后,选择左上角的“服务”下拉列表。 在“安全、标识和合规性”下面,选择“IAM”访问“标识和访问管理”页
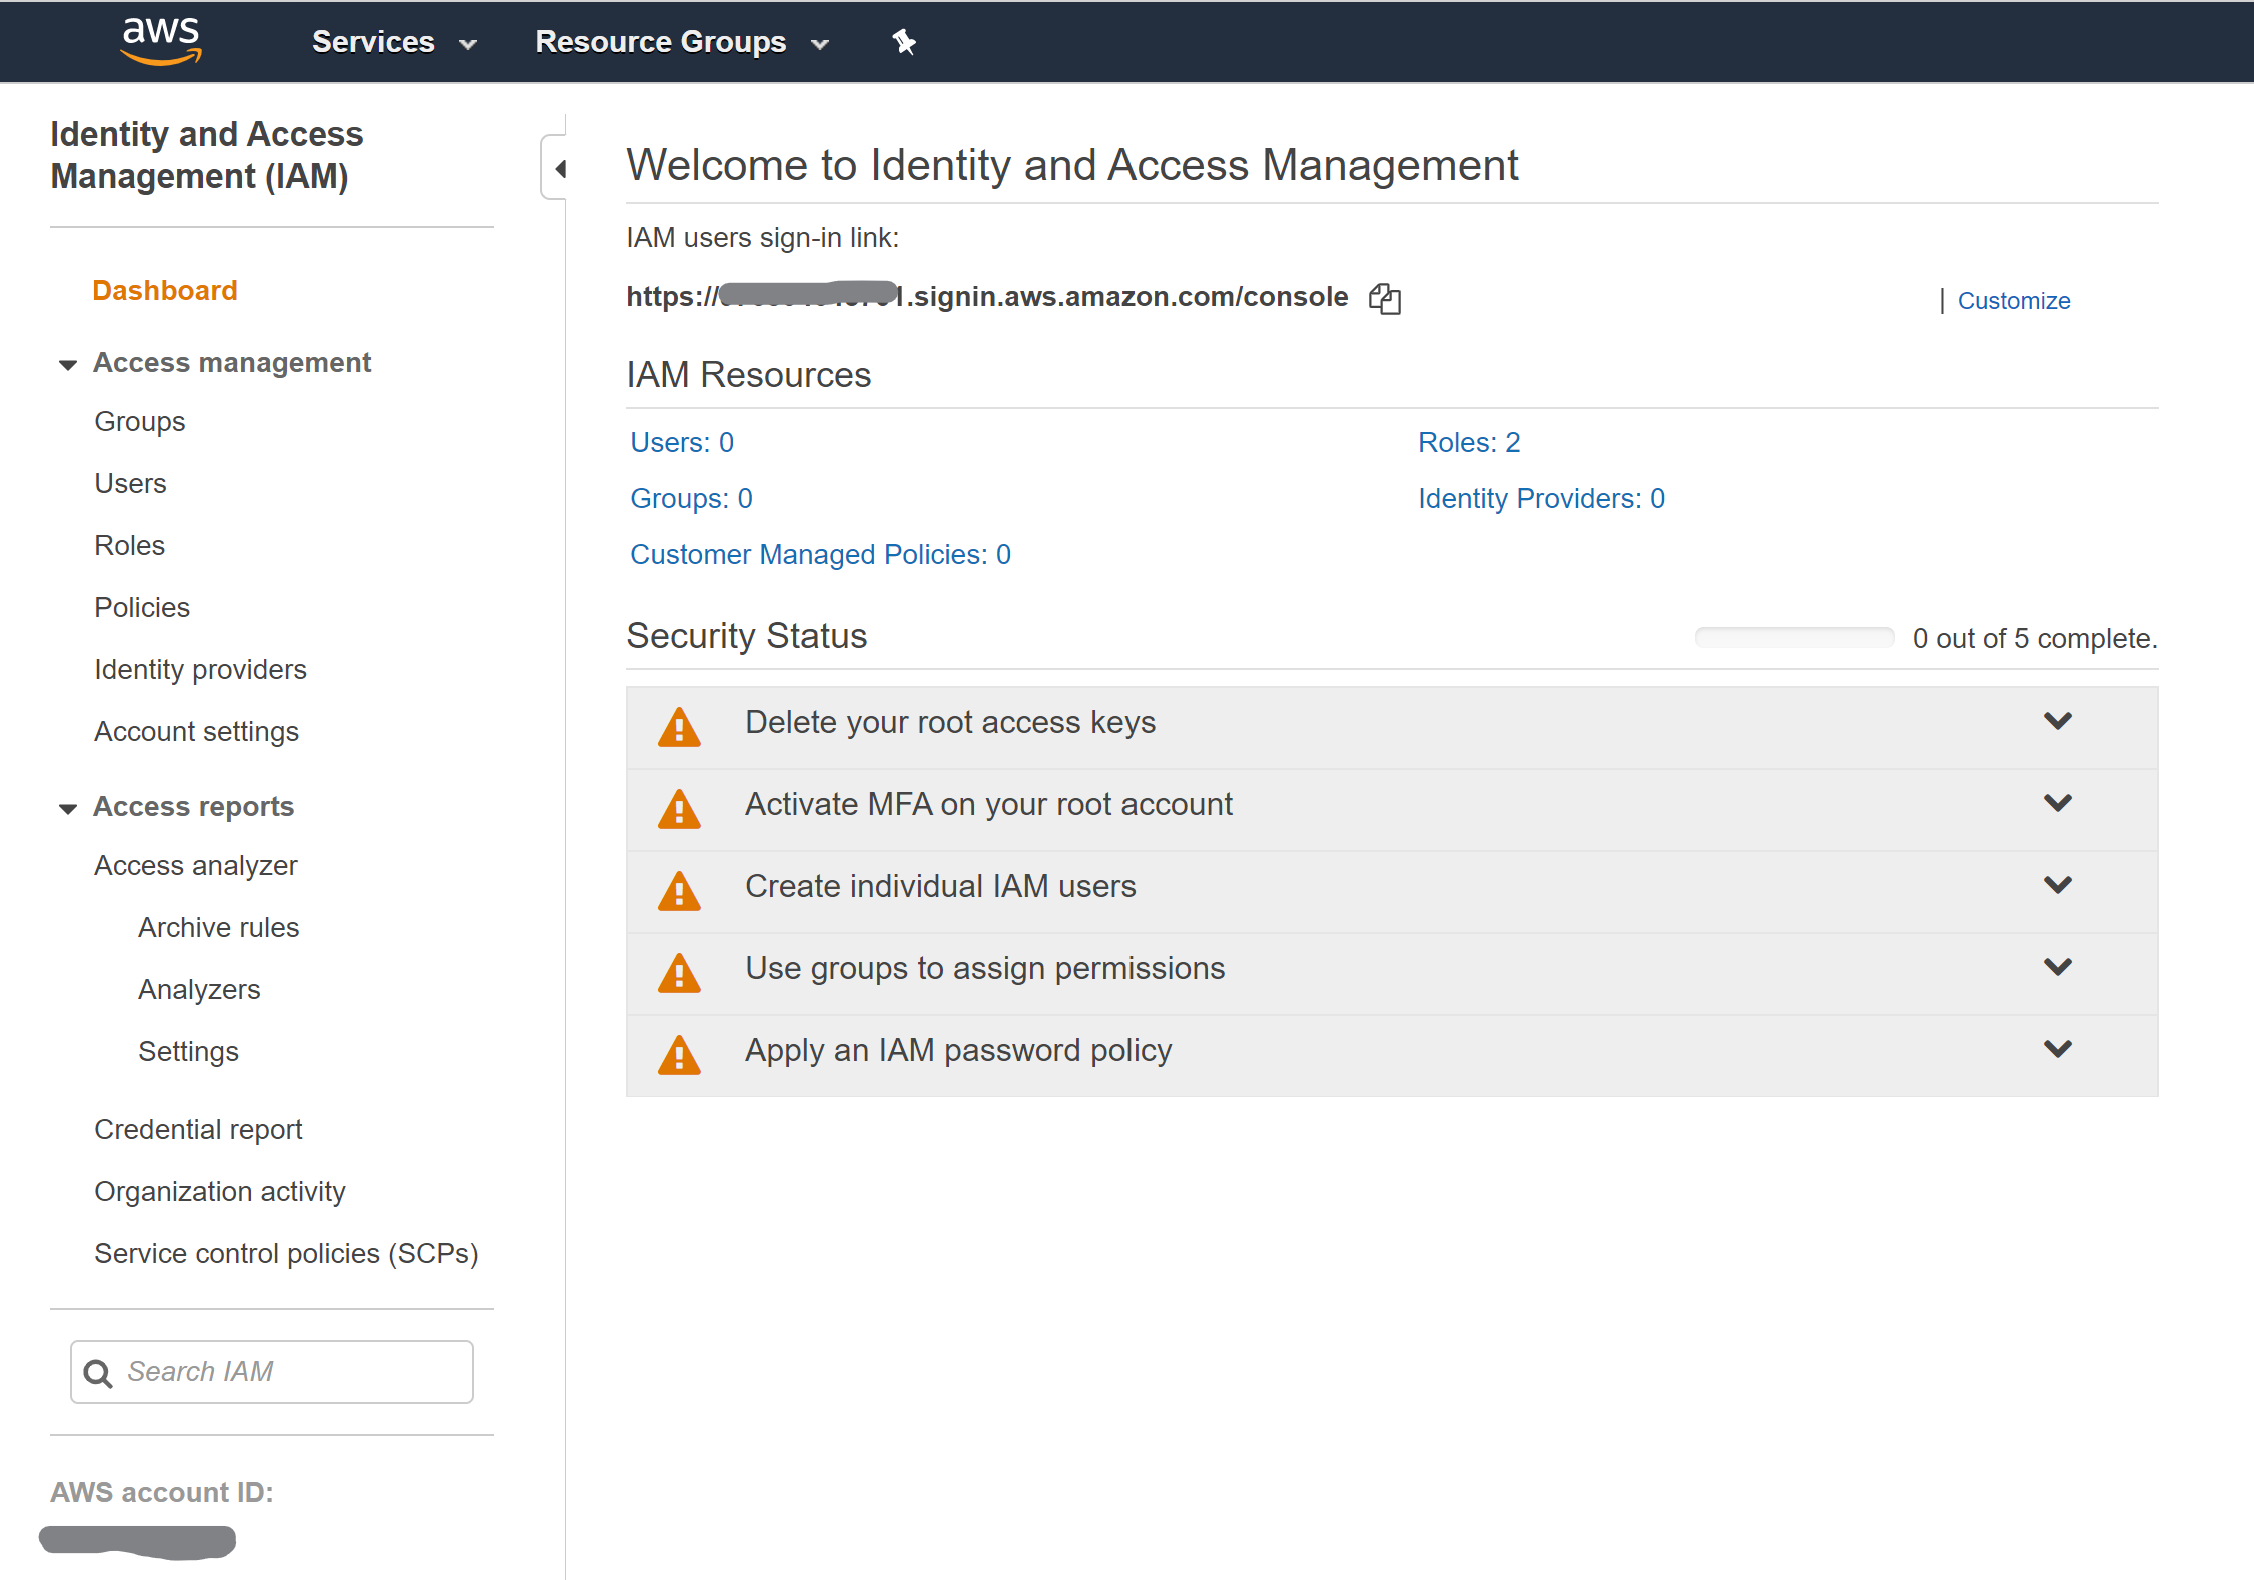
从左侧菜单中单击“用户”,然后选择“添加用户”来创建一个新的 IAM 用户。

在“添加用户”页上,将用户命名
Terraform并选中“编程访问”复选框,然后选择“下一步”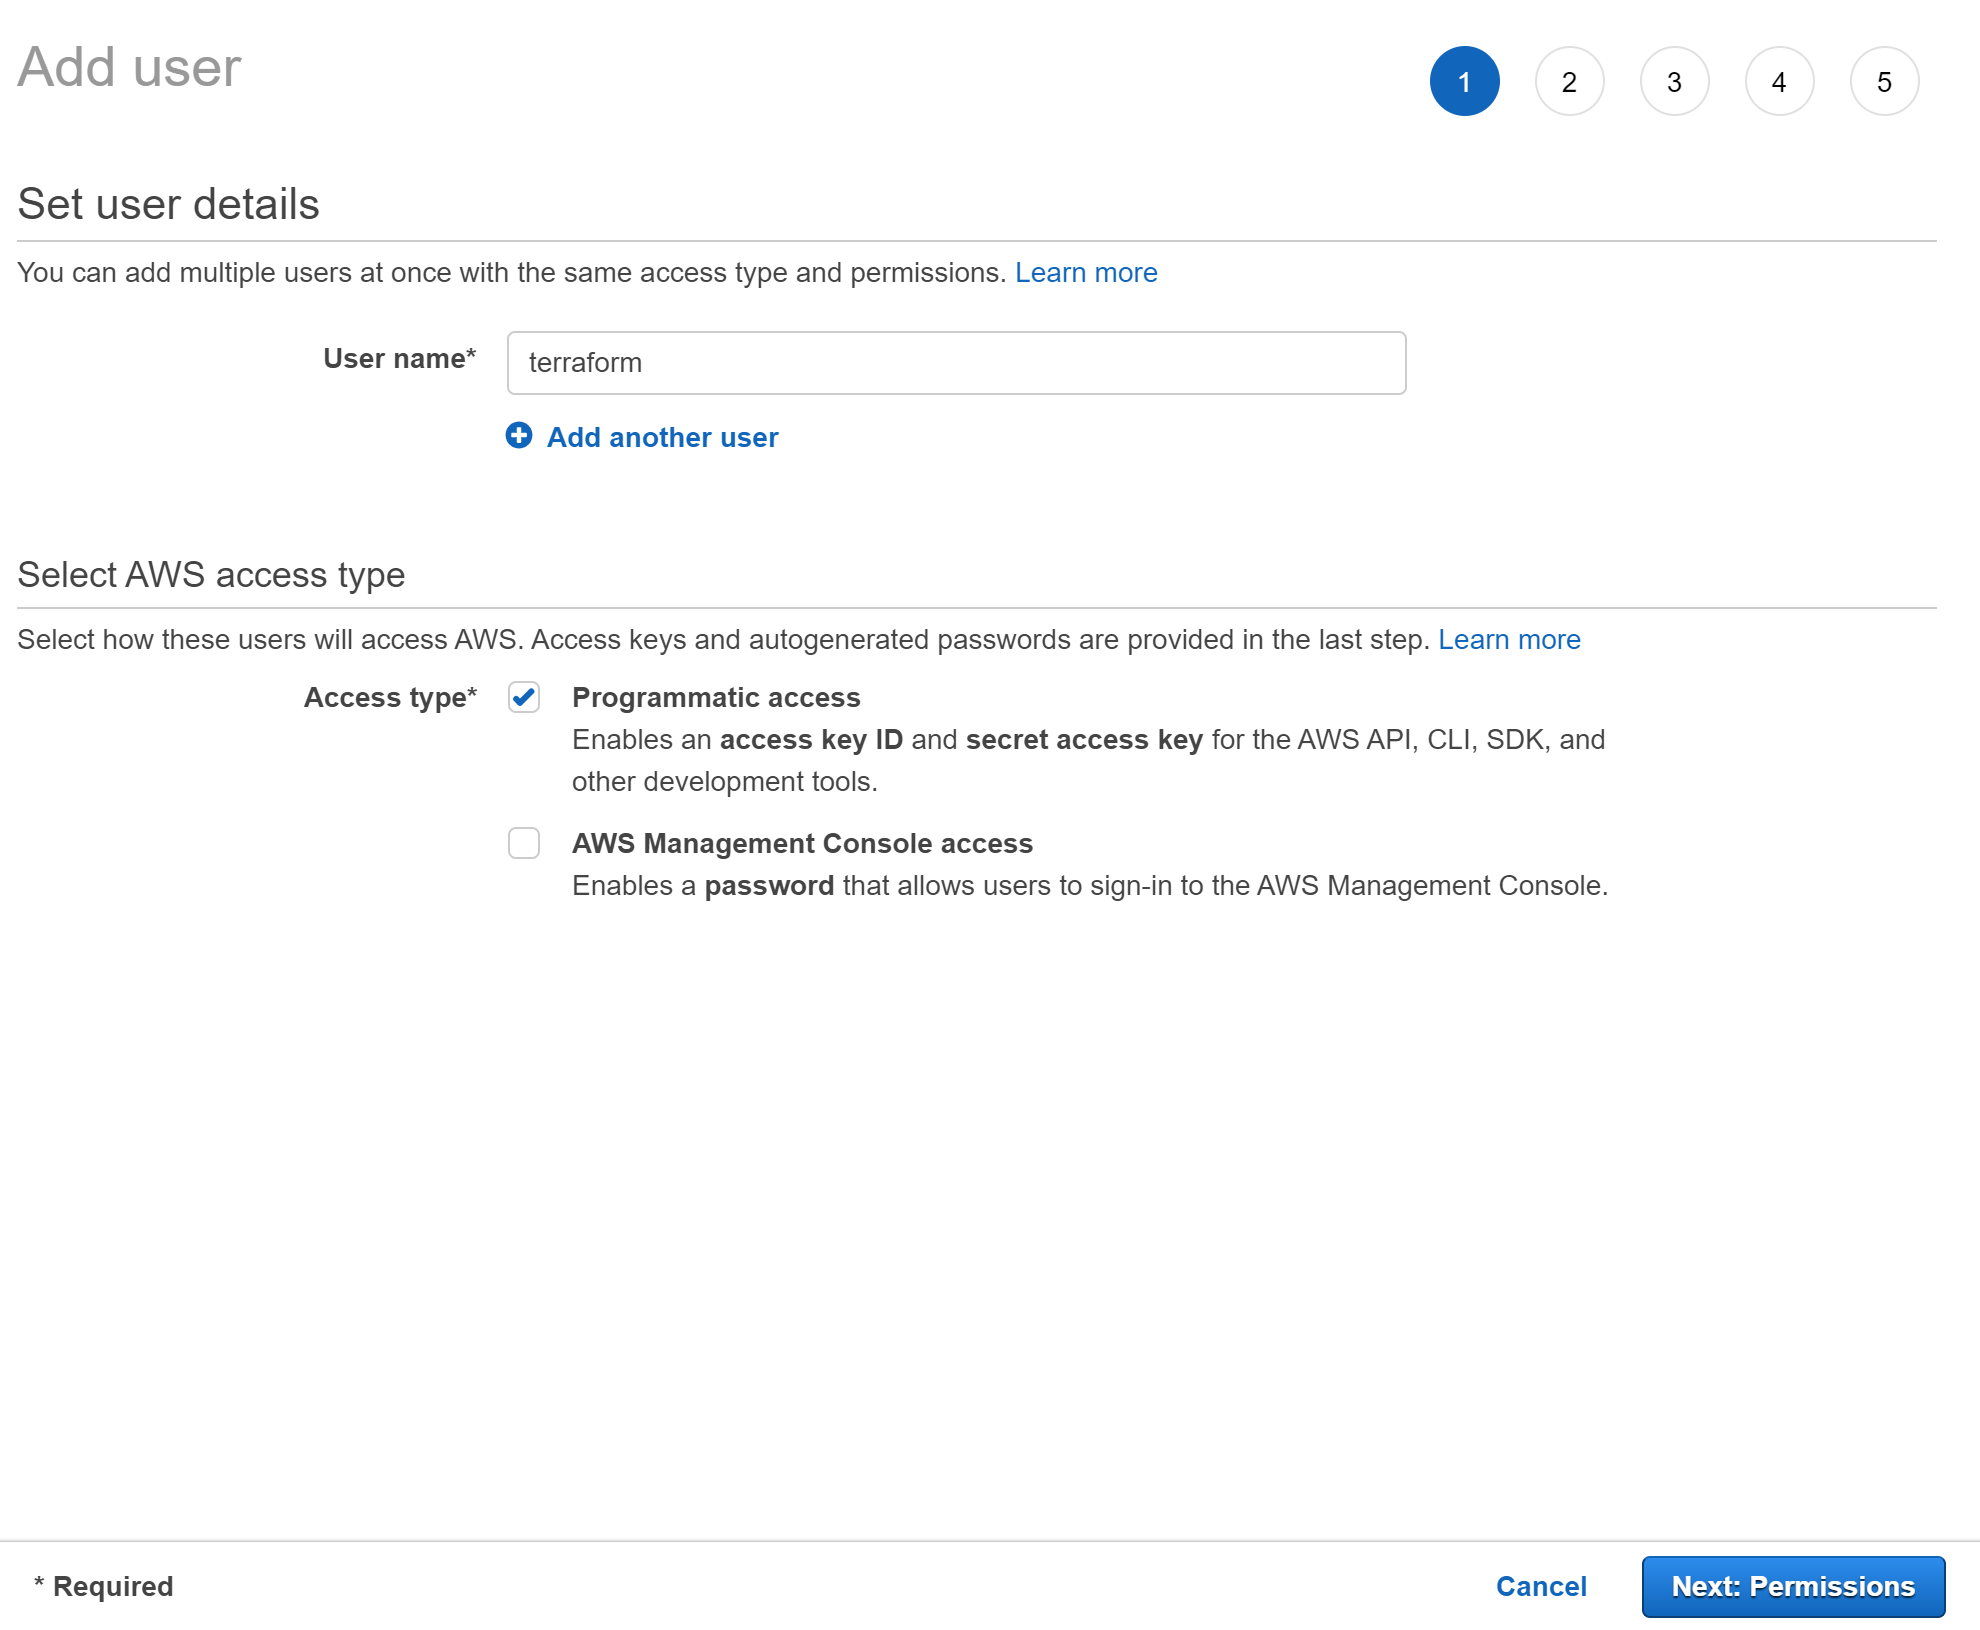
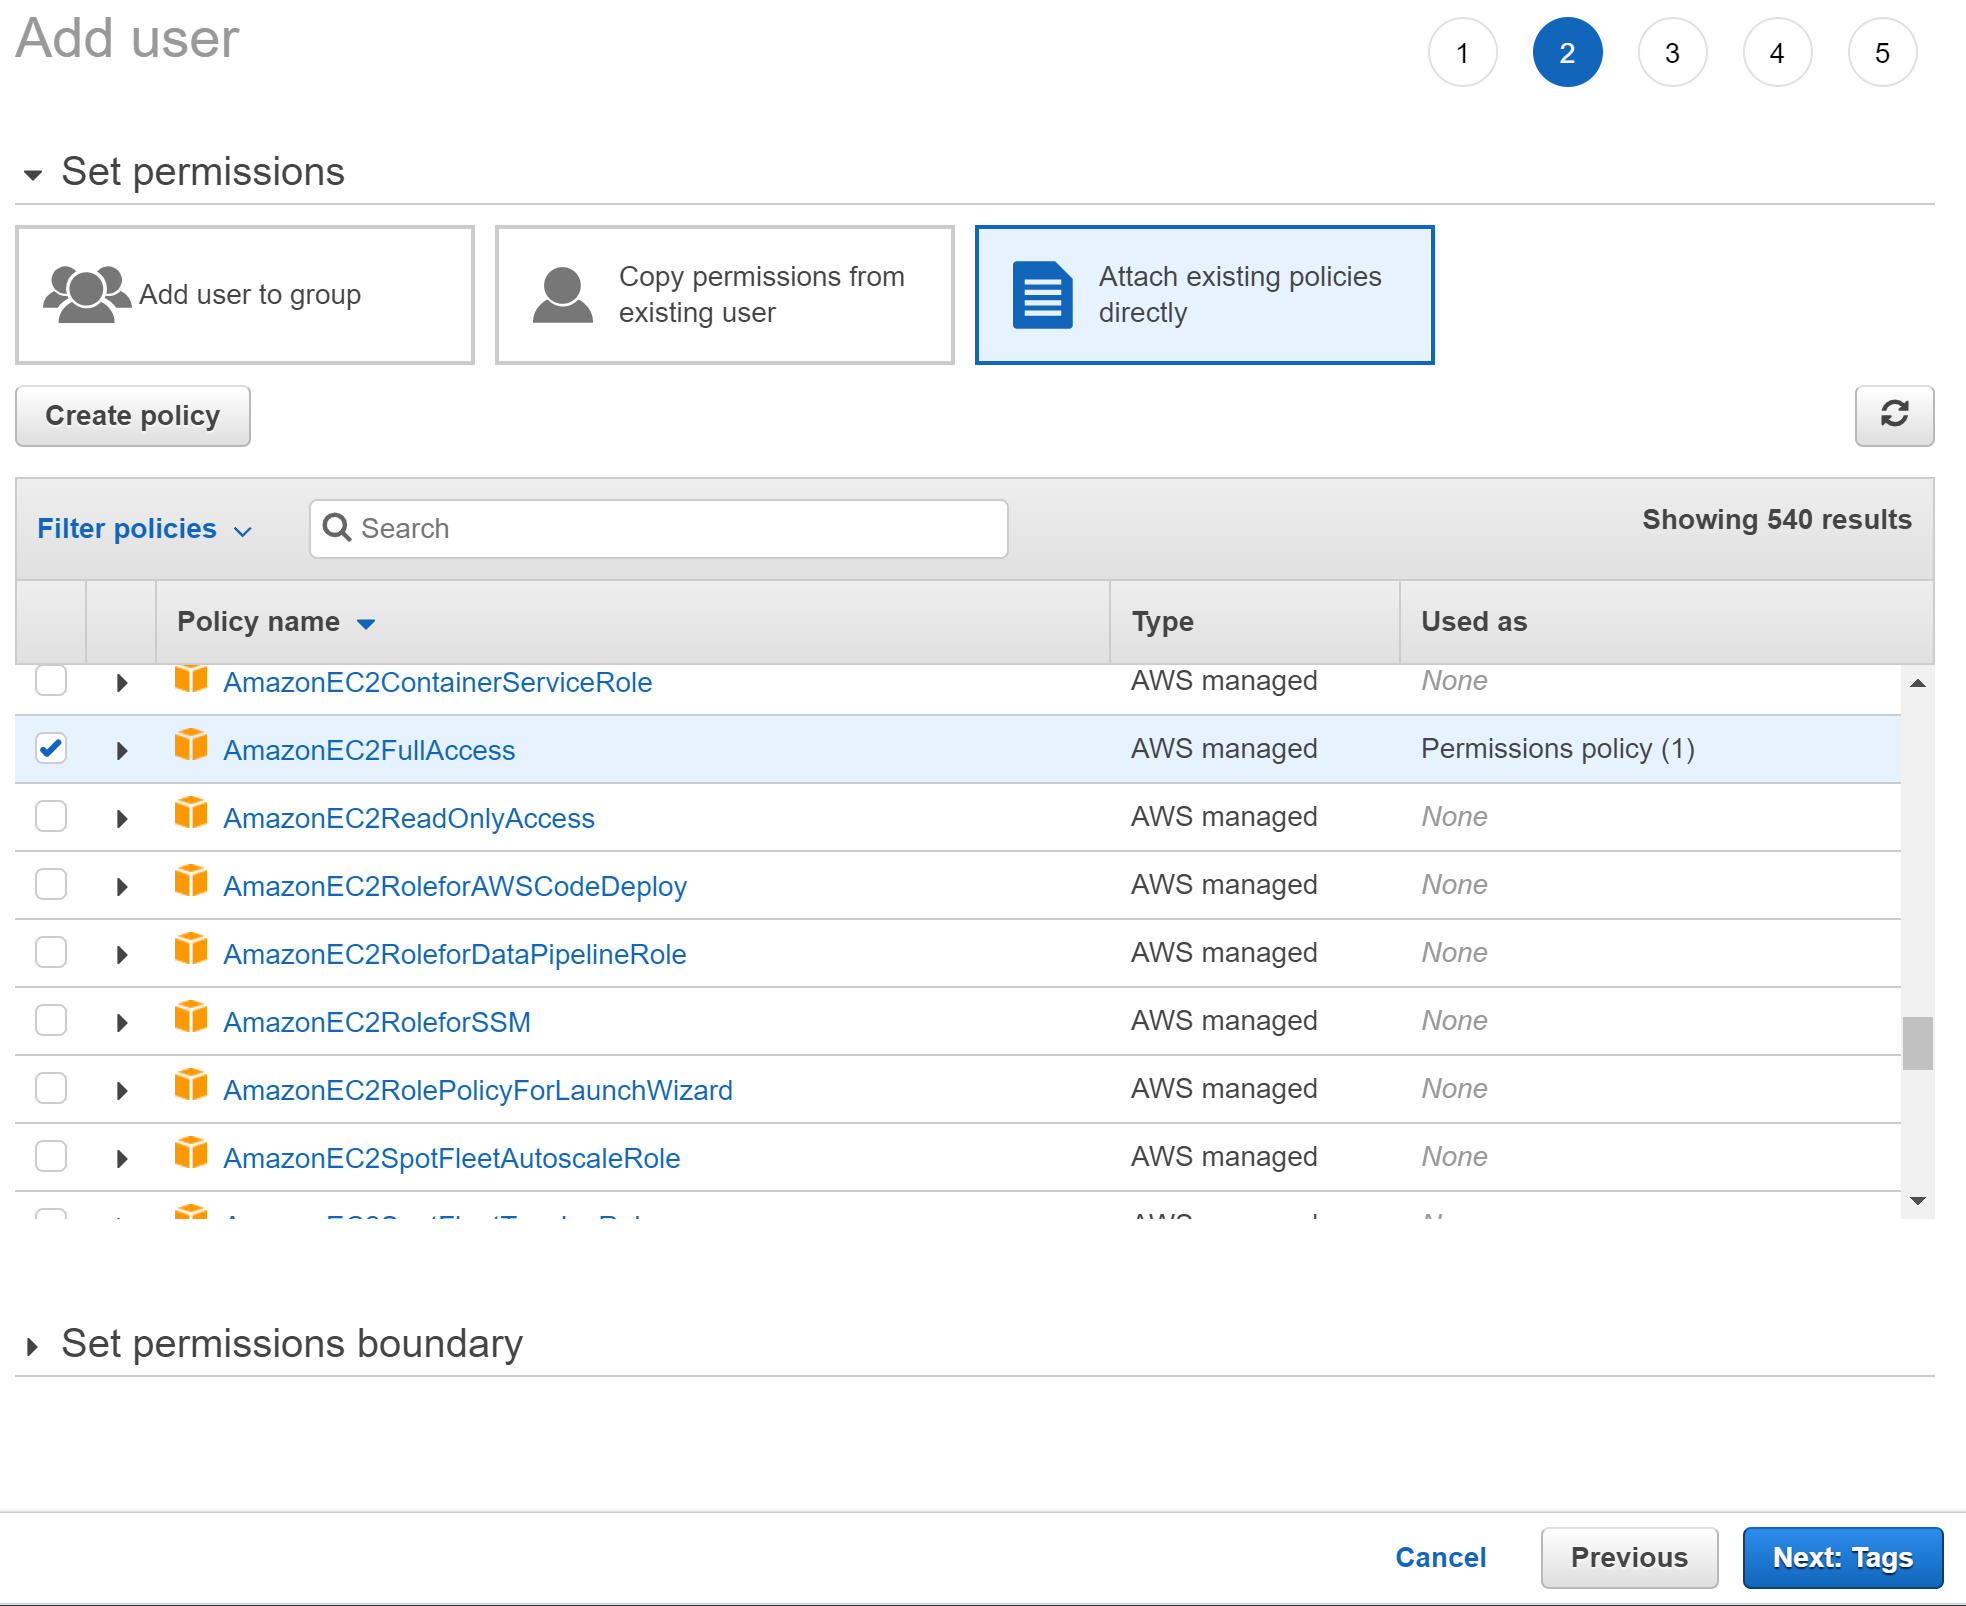
在“设置权限”页面上,选择“直接附加现有策略”,然后选中 AmazonEC2FullAccess 旁边的框(如屏幕截图所示),然后选择“下一步”。
在“标记”页面上,分配一个带有
azure-arc-demo键的标记,然后选择“下一步”继续查看页面。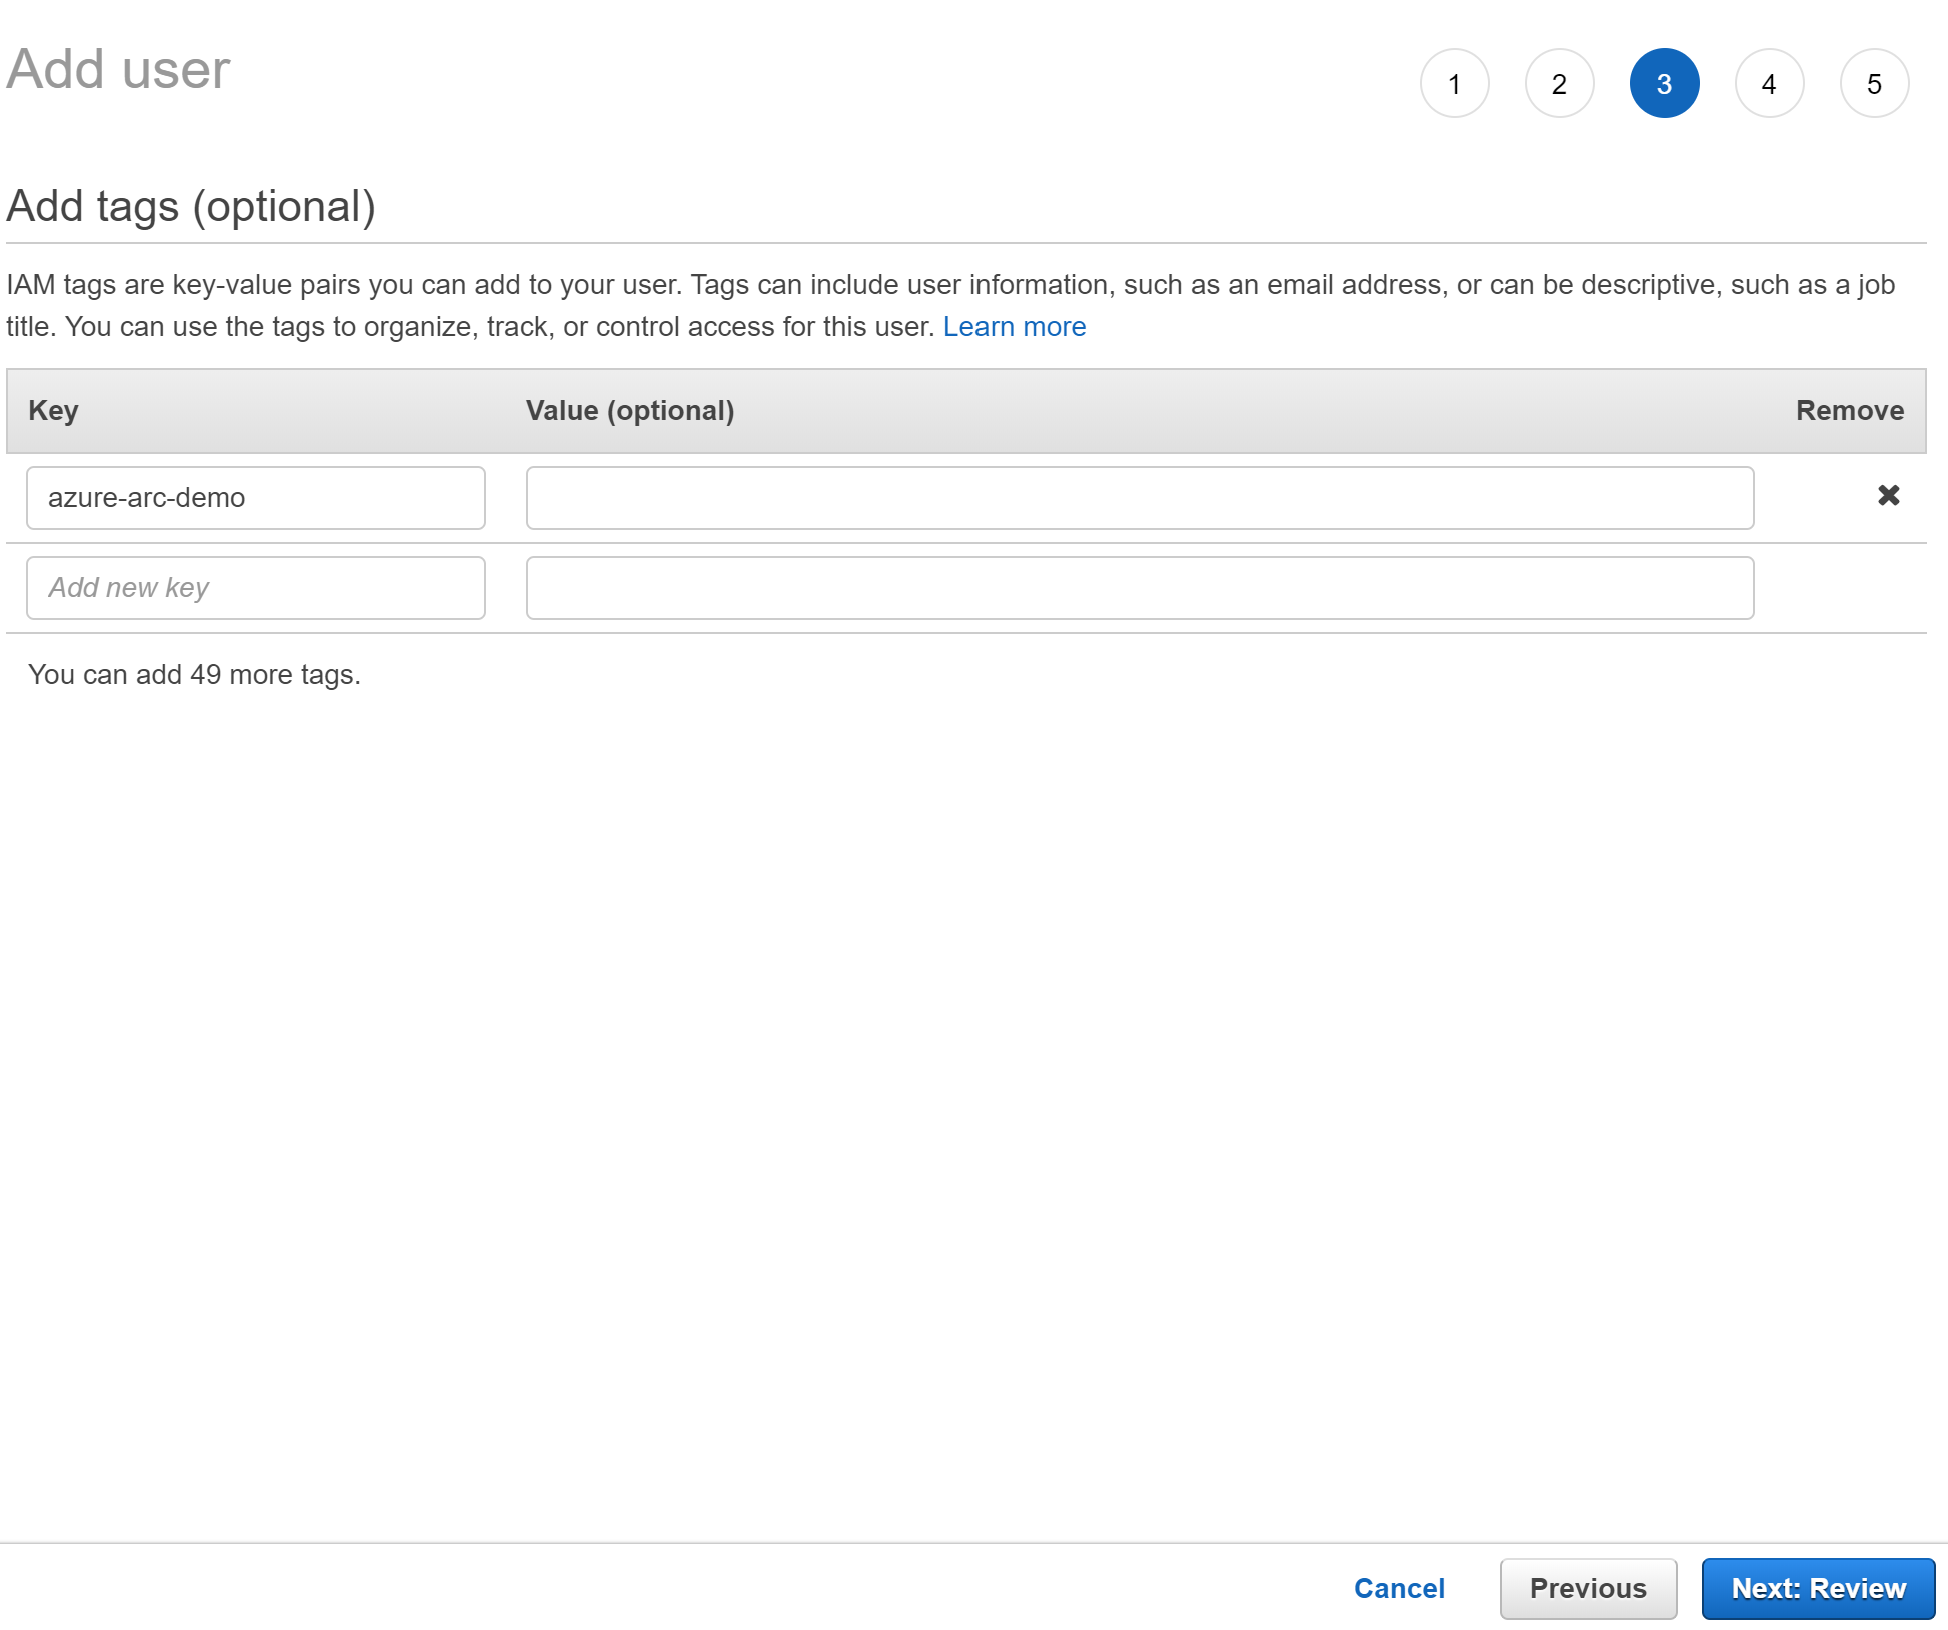
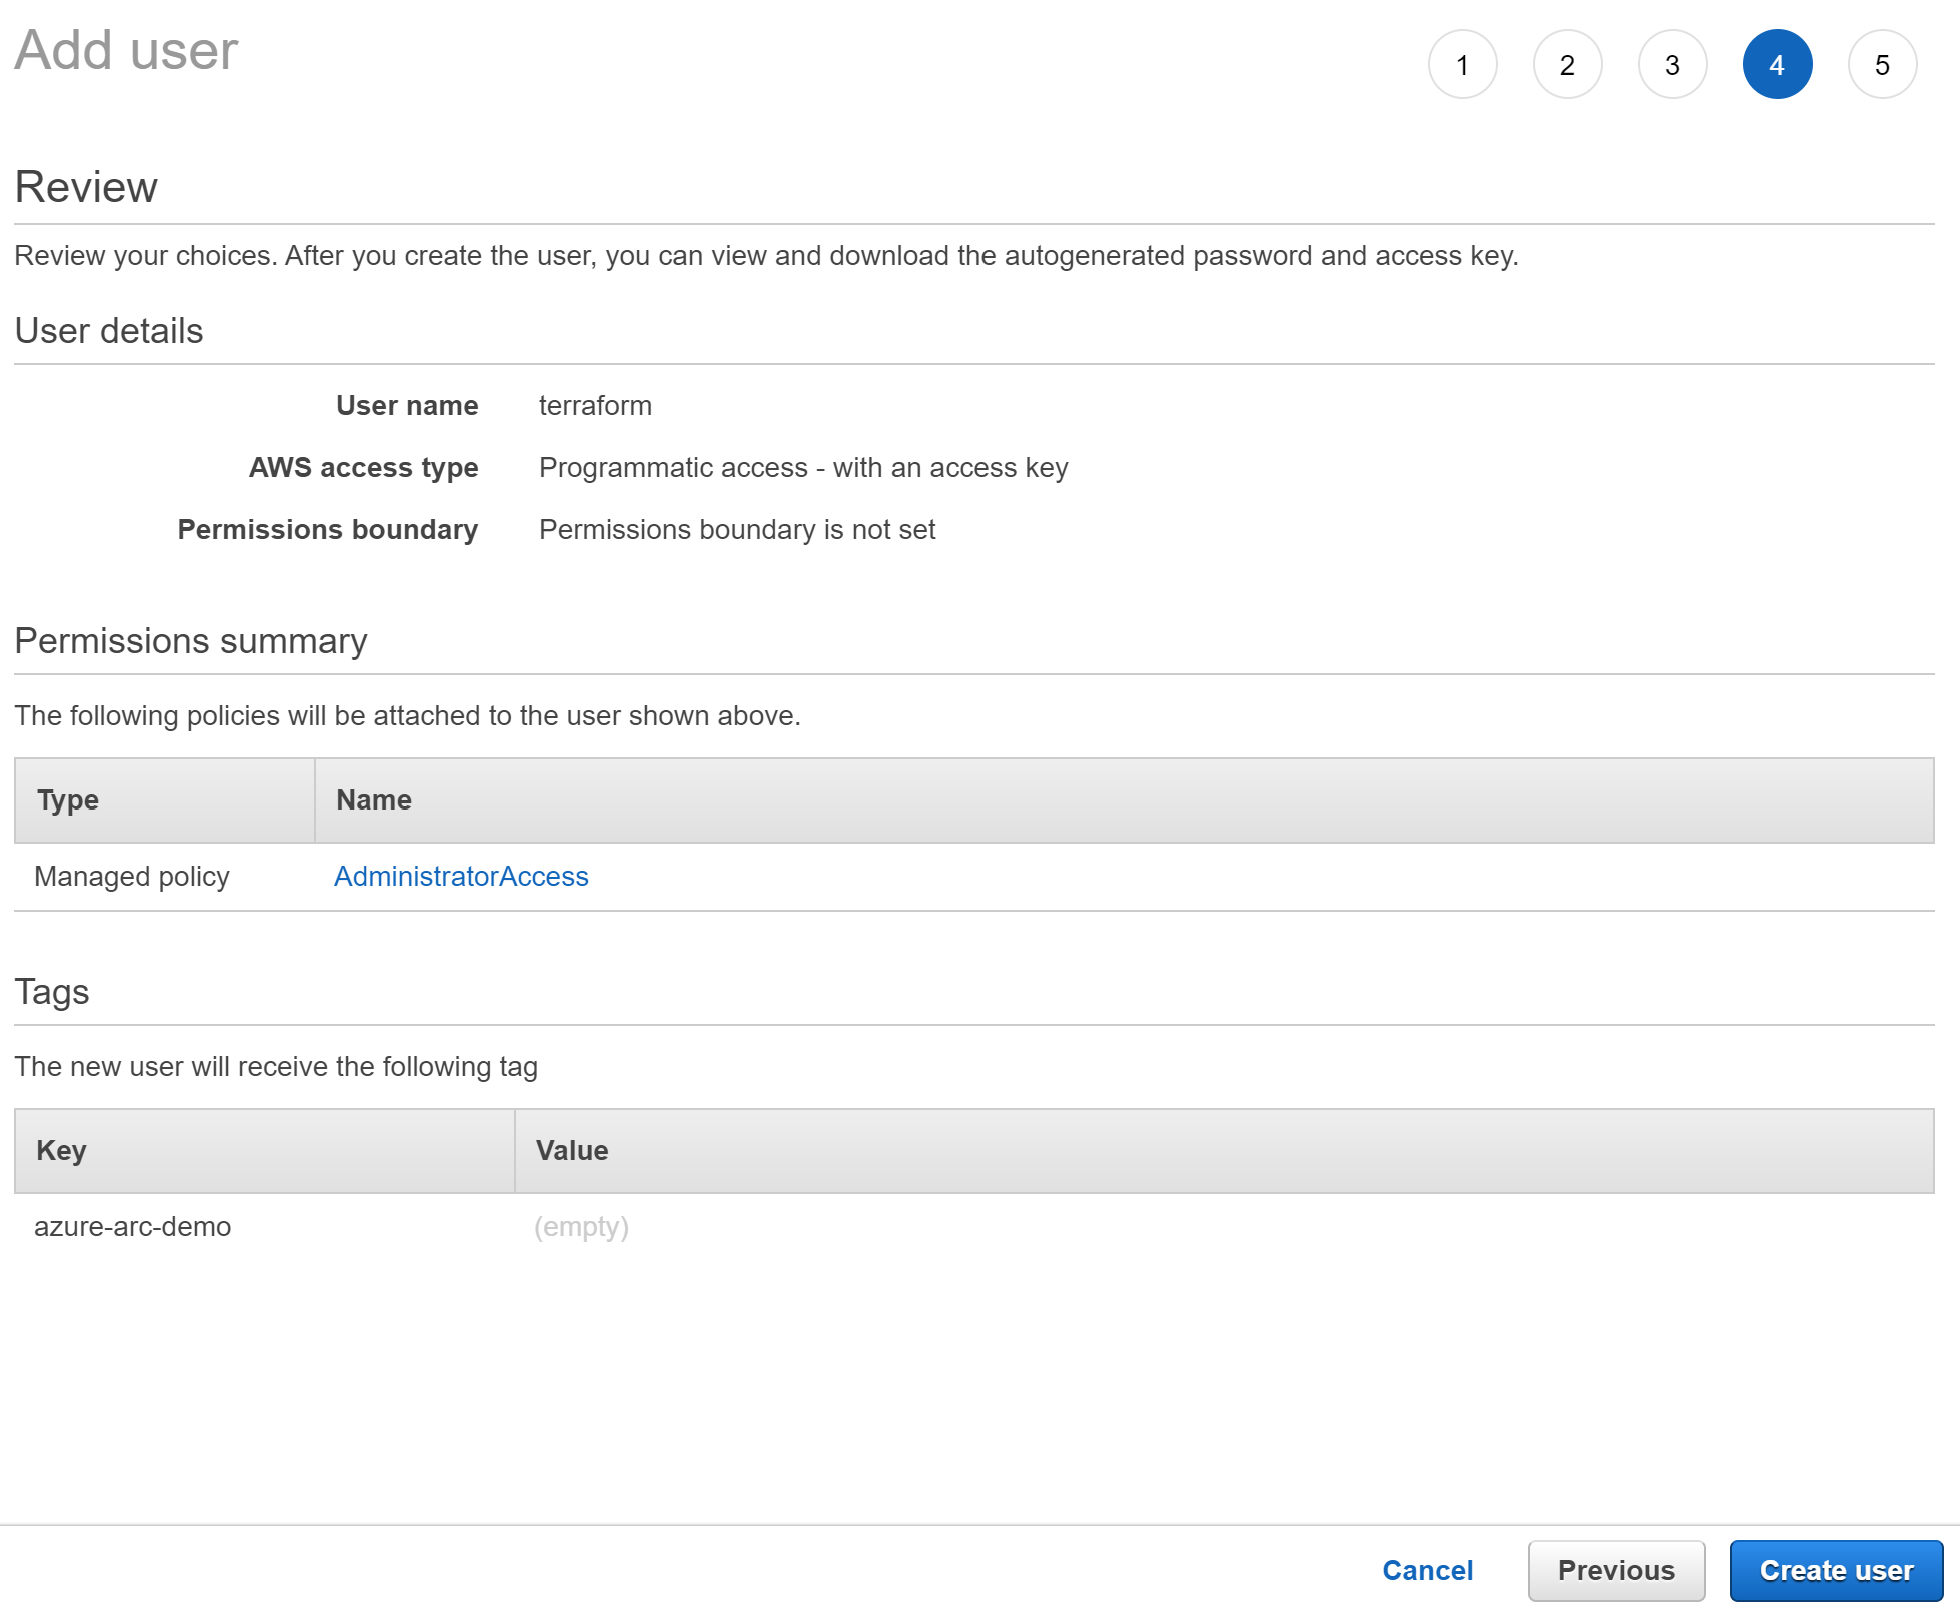
验证所有内容是否正确,然后选择 " 创建用户"。
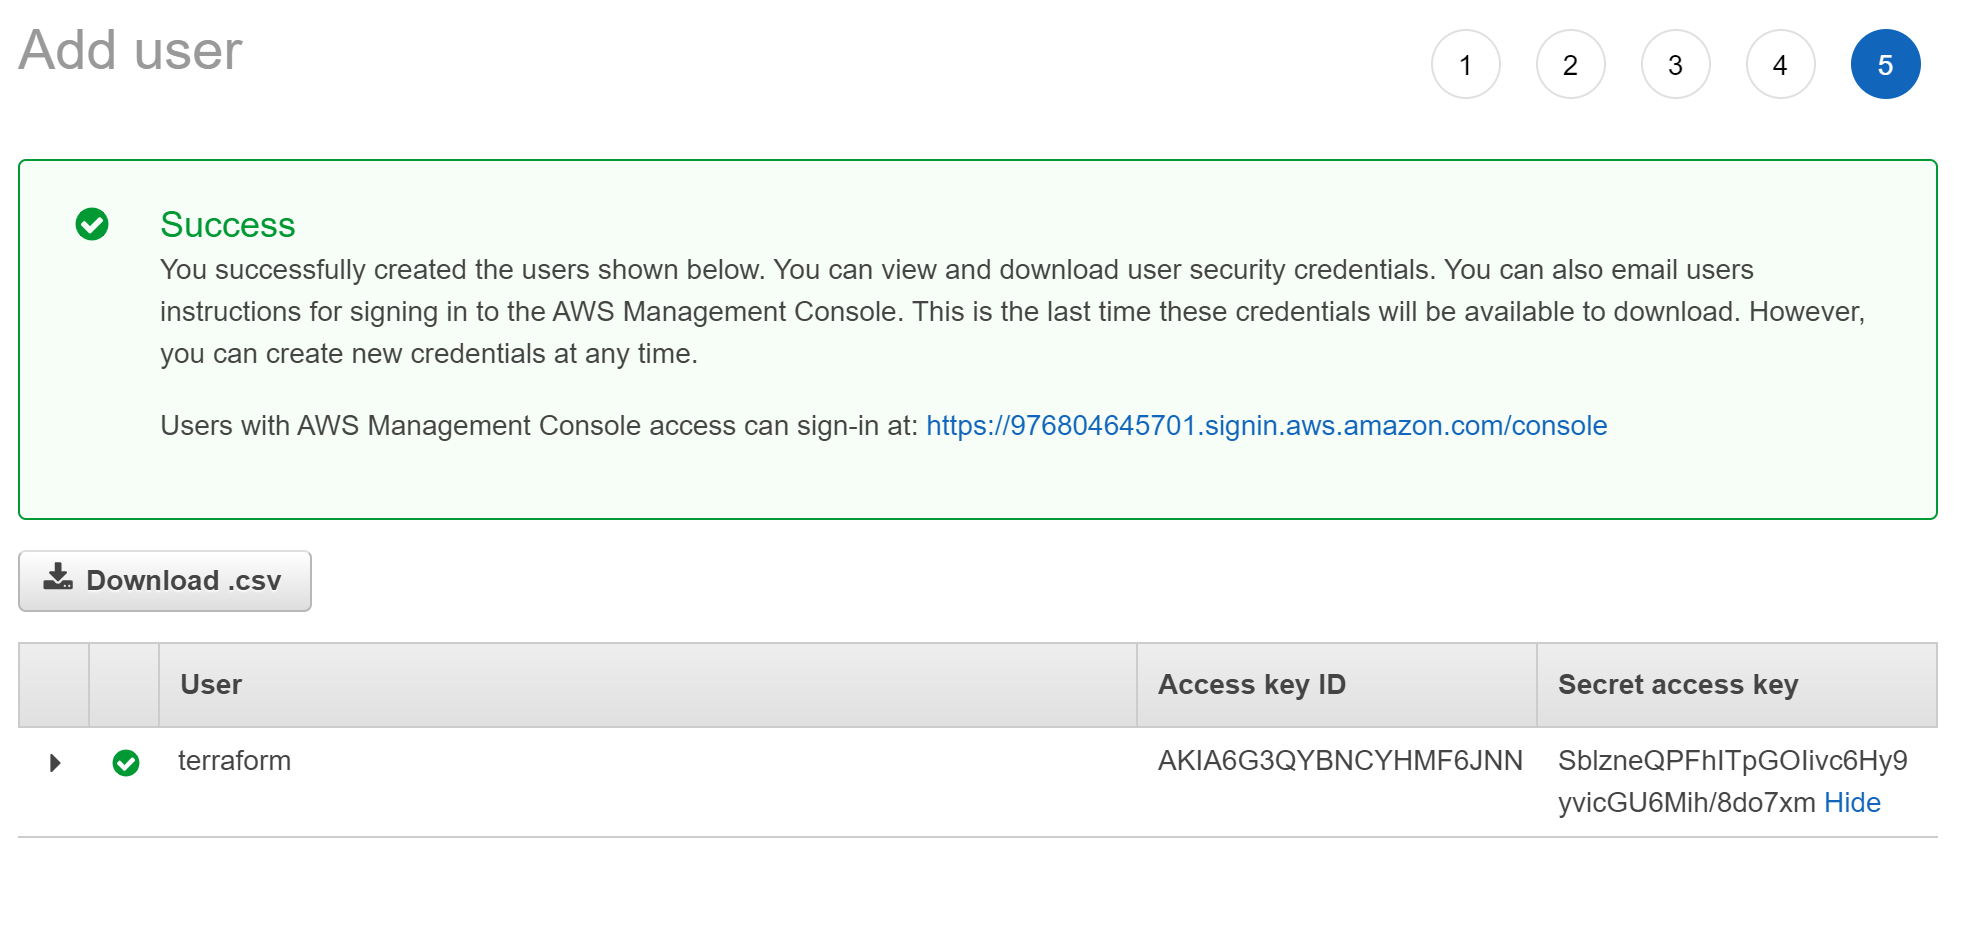
创建用户后,你将看到用户的访问密钥 ID 和机密访问密钥。 复制这些值,然后再选择“关闭”。 在下一页上,你可以看到内容的示例。 拥有这些密钥后,你将能够将它们与 Terraform 一起使用来创建 AWS 资源。
配置 Terraform
在执行 Terraform 计划之前,必须导出计划将使用的环境变量。 这些变量基于你的 Azure 订阅和租户、Azure 服务主体以及你刚刚创建的 AWS IAM 用户和密钥。
使用
az account list命令检索你的 Azure 订阅 ID 和租户 ID。Terraform 计划在 Microsoft Azure 和 AWS 中创建资源。 然后它在 AWS EC2 虚拟机上执行脚本以安装 Azure Arc 代理和所有必要的工件。 此脚本需要有关你的 AWS 和 Azure 环境的某些信息。 使用适当的值编辑
scripts/vars.sh并更新每个变量。TF_VAR_subscription_id= Azure 订阅 IDTF_VAR_client_id= 你的 Azure 服务主体应用程序 IDTF_VAR_client_secret= 你的 Azure 服务主体密码TF_VAR_tenant_id= 你的 Azure 租户 IDAWS_ACCESS_KEY_ID= AWS 访问密钥AWS_SECRET_ACCESS_KEY= AWS 密钥
在 Azure CLI 中,导航到克隆的存储库的
azure_arc_servers_jumpstart/aws/al2/terraform目录。使用源命令运行
scripts/vars.sh,导出编辑的环境变量,如下所示。 Terraform 需要进行这些设置才能使计划正确执行。 请注意,此脚本也将作为 Terraform 部署的一部分在 AWS 虚拟机上远程自动执行。source ./scripts/vars.sh请确保 SSH 密钥在
~/.ssh中可用,并且名为id_rsa.pub和id_rsa。 如果你按照上面的ssh-keygen指南创建密钥,那么这应该已经正确设置。 如果没有,你可能需要修改main.tf以使用具有不同路径的密钥。运行
terraform init命令,该命令将下载 Terraform AzureRM 提供程序。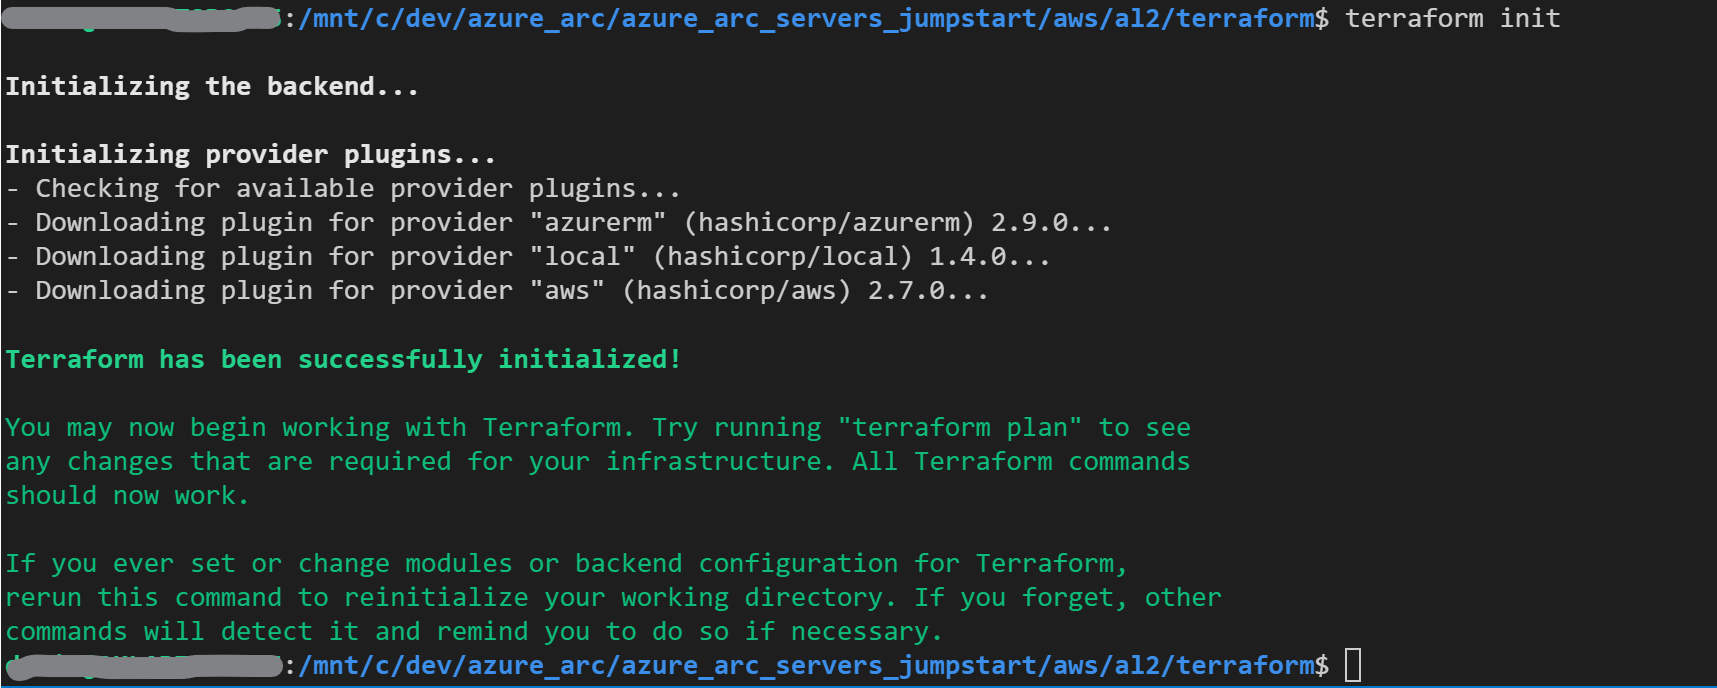
部署
运行
terraform apply --auto-approve命令并等待计划完成。 完成后,你将拥有一个部署好的 AWS Amazon Linux 2 EC2 实例,并已作为新资源组中的启用了 Azure Arc 的新服务器建立连接。打开 Azure 门户并导航到
arc-servers-demo资源组。 在 AWS 中创建的虚拟机将显示为资源。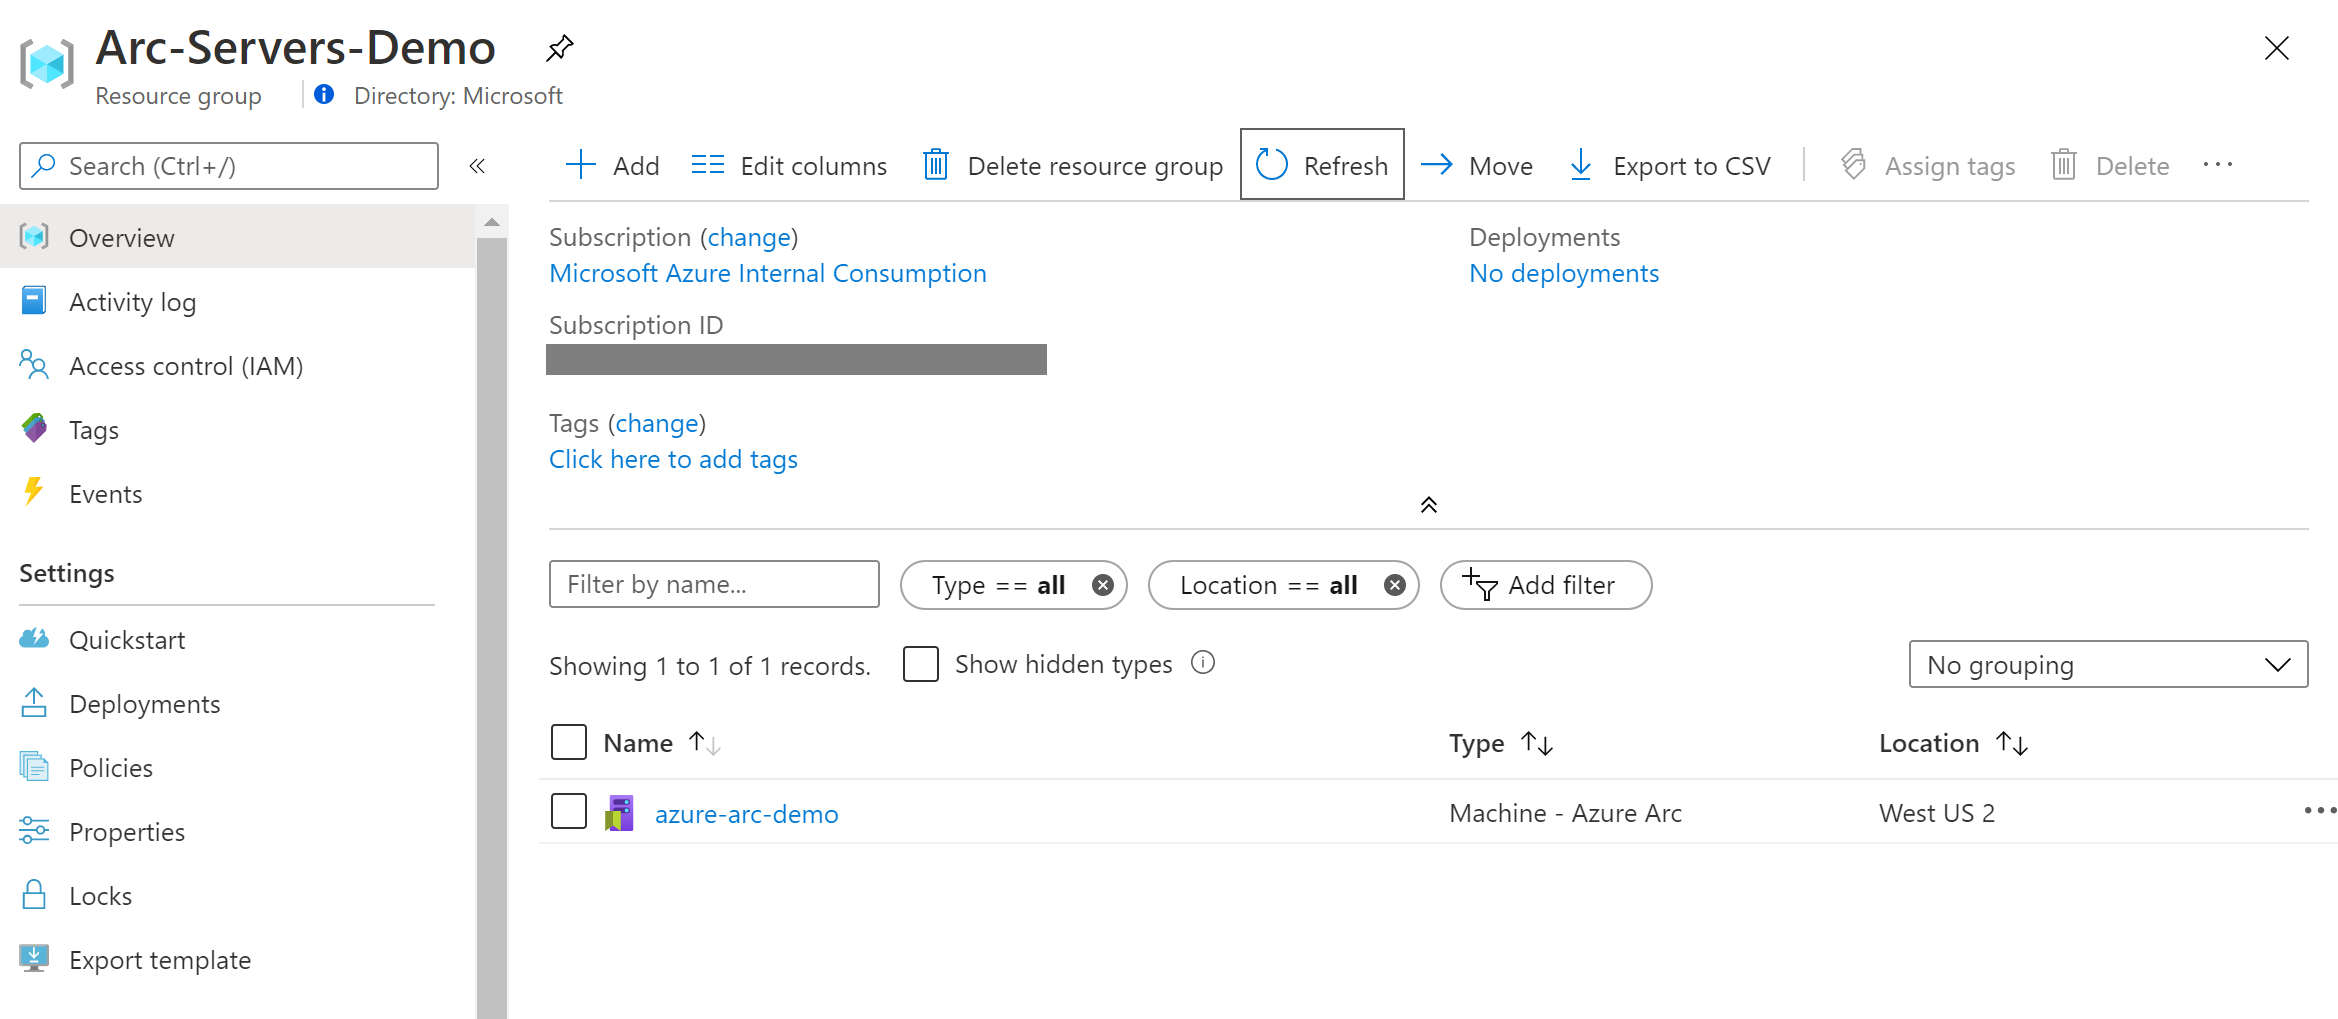
半自动部署(可选)
你可能已经注意到,运行的最后一步是将 VM 注册为启用了 Azure Arc 的新服务器资源。
如果要演示/控制实际的注册过程,请执行以下操作:
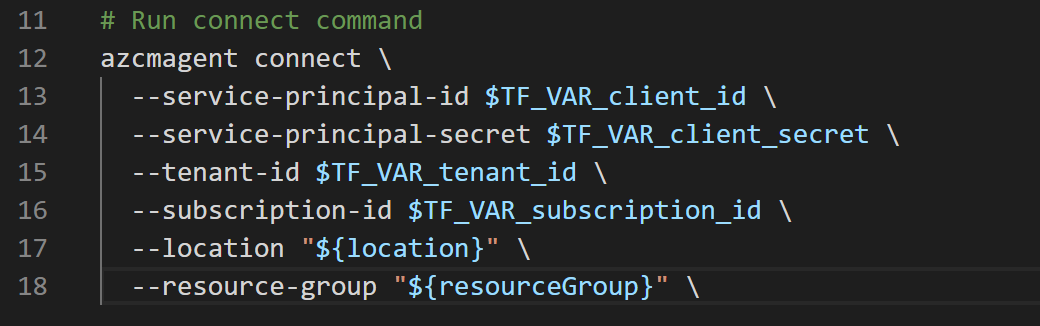
在
install_arc_agent.sh.tmpl脚本模板中,注释掉run connect command部分并保存文件。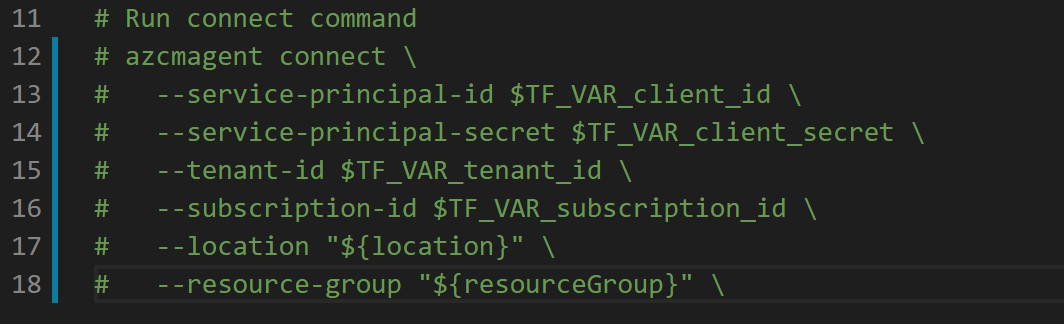
通过运行
terraform output获取 AWS VM 的公共 IP。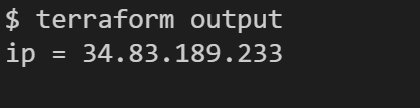
使用
ssh ec2-user@xx.xx.xx.xx以 SSH 方式连接到 VM,其中xx.xx.xx.xx是主机 IP。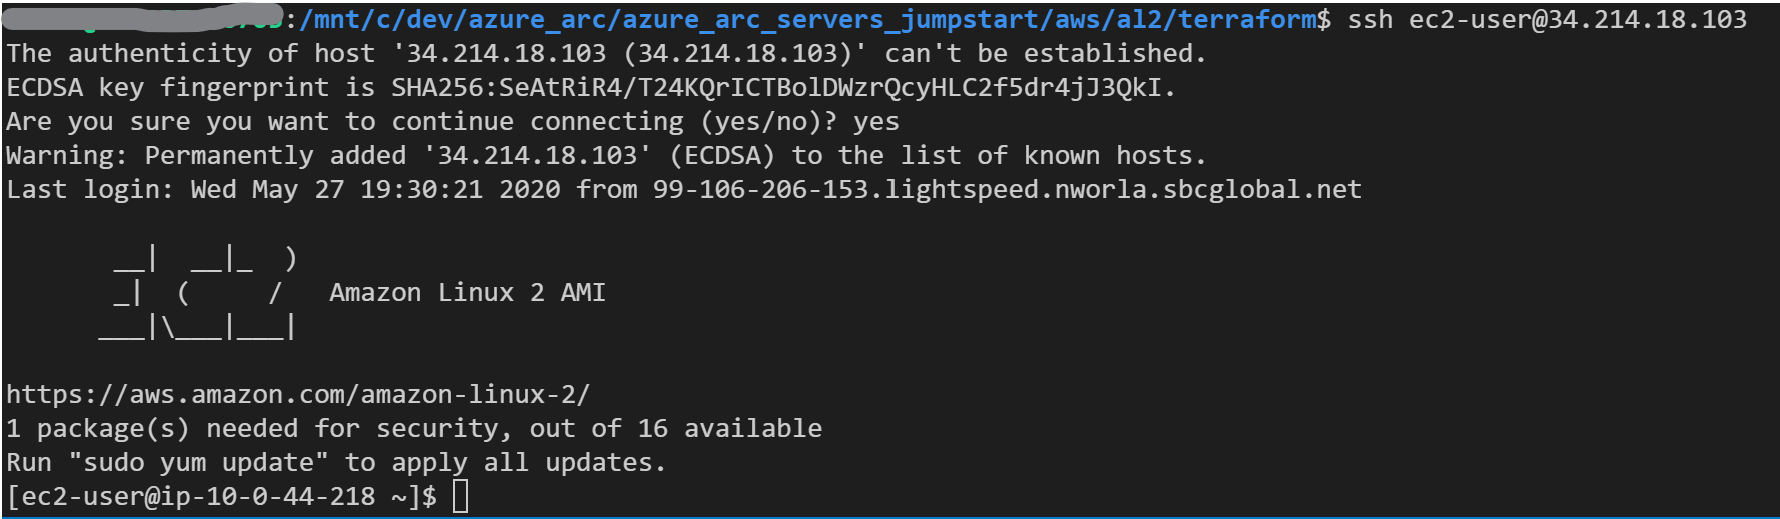
导出
vars.sh中的所有环境变量
运行以下命令:
azcmagent connect --service-principal-id $TF_VAR_client_id --service-principal-secret $TF_VAR_client_secret --resource-group "Arc-Servers-Demo" --tenant-id $TF_VAR_tenant_id --location "westus2" --subscription-id $TF_VAR_subscription_id
完成后,你的 VM 将在 Azure Arc 中注册并通过 Azure 门户在资源组中可见。
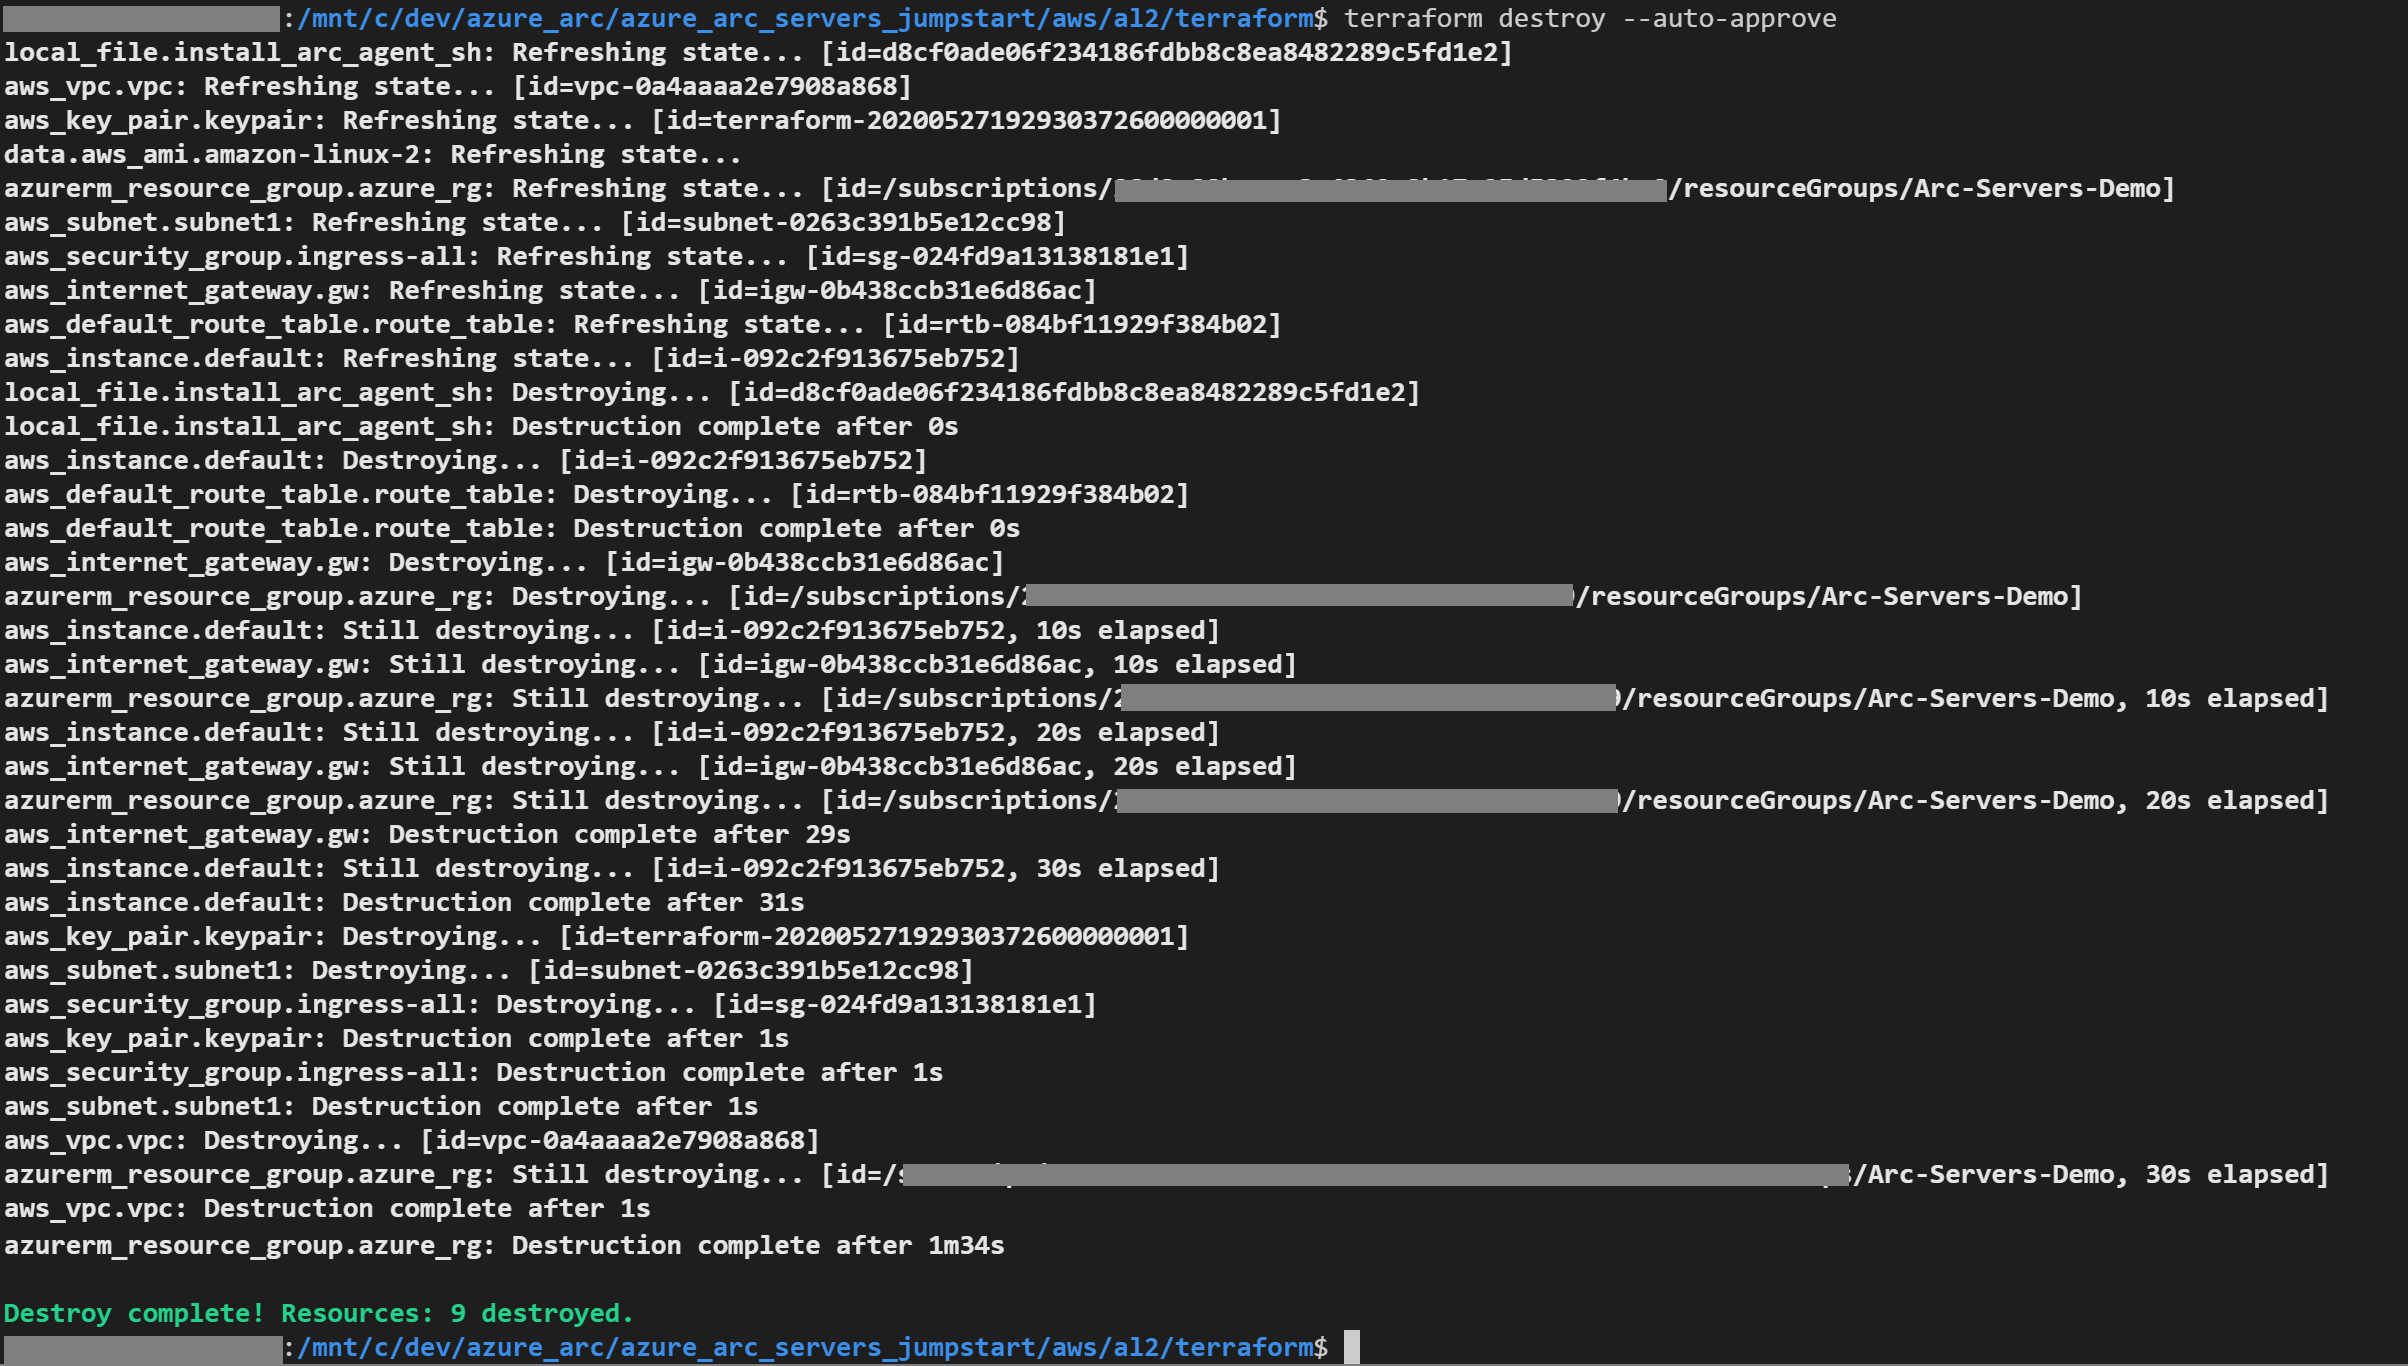
删除部署
要删除你在此演示中创建的所有资源,请使用 terraform destroy --auto-approve 命令,如下所示。
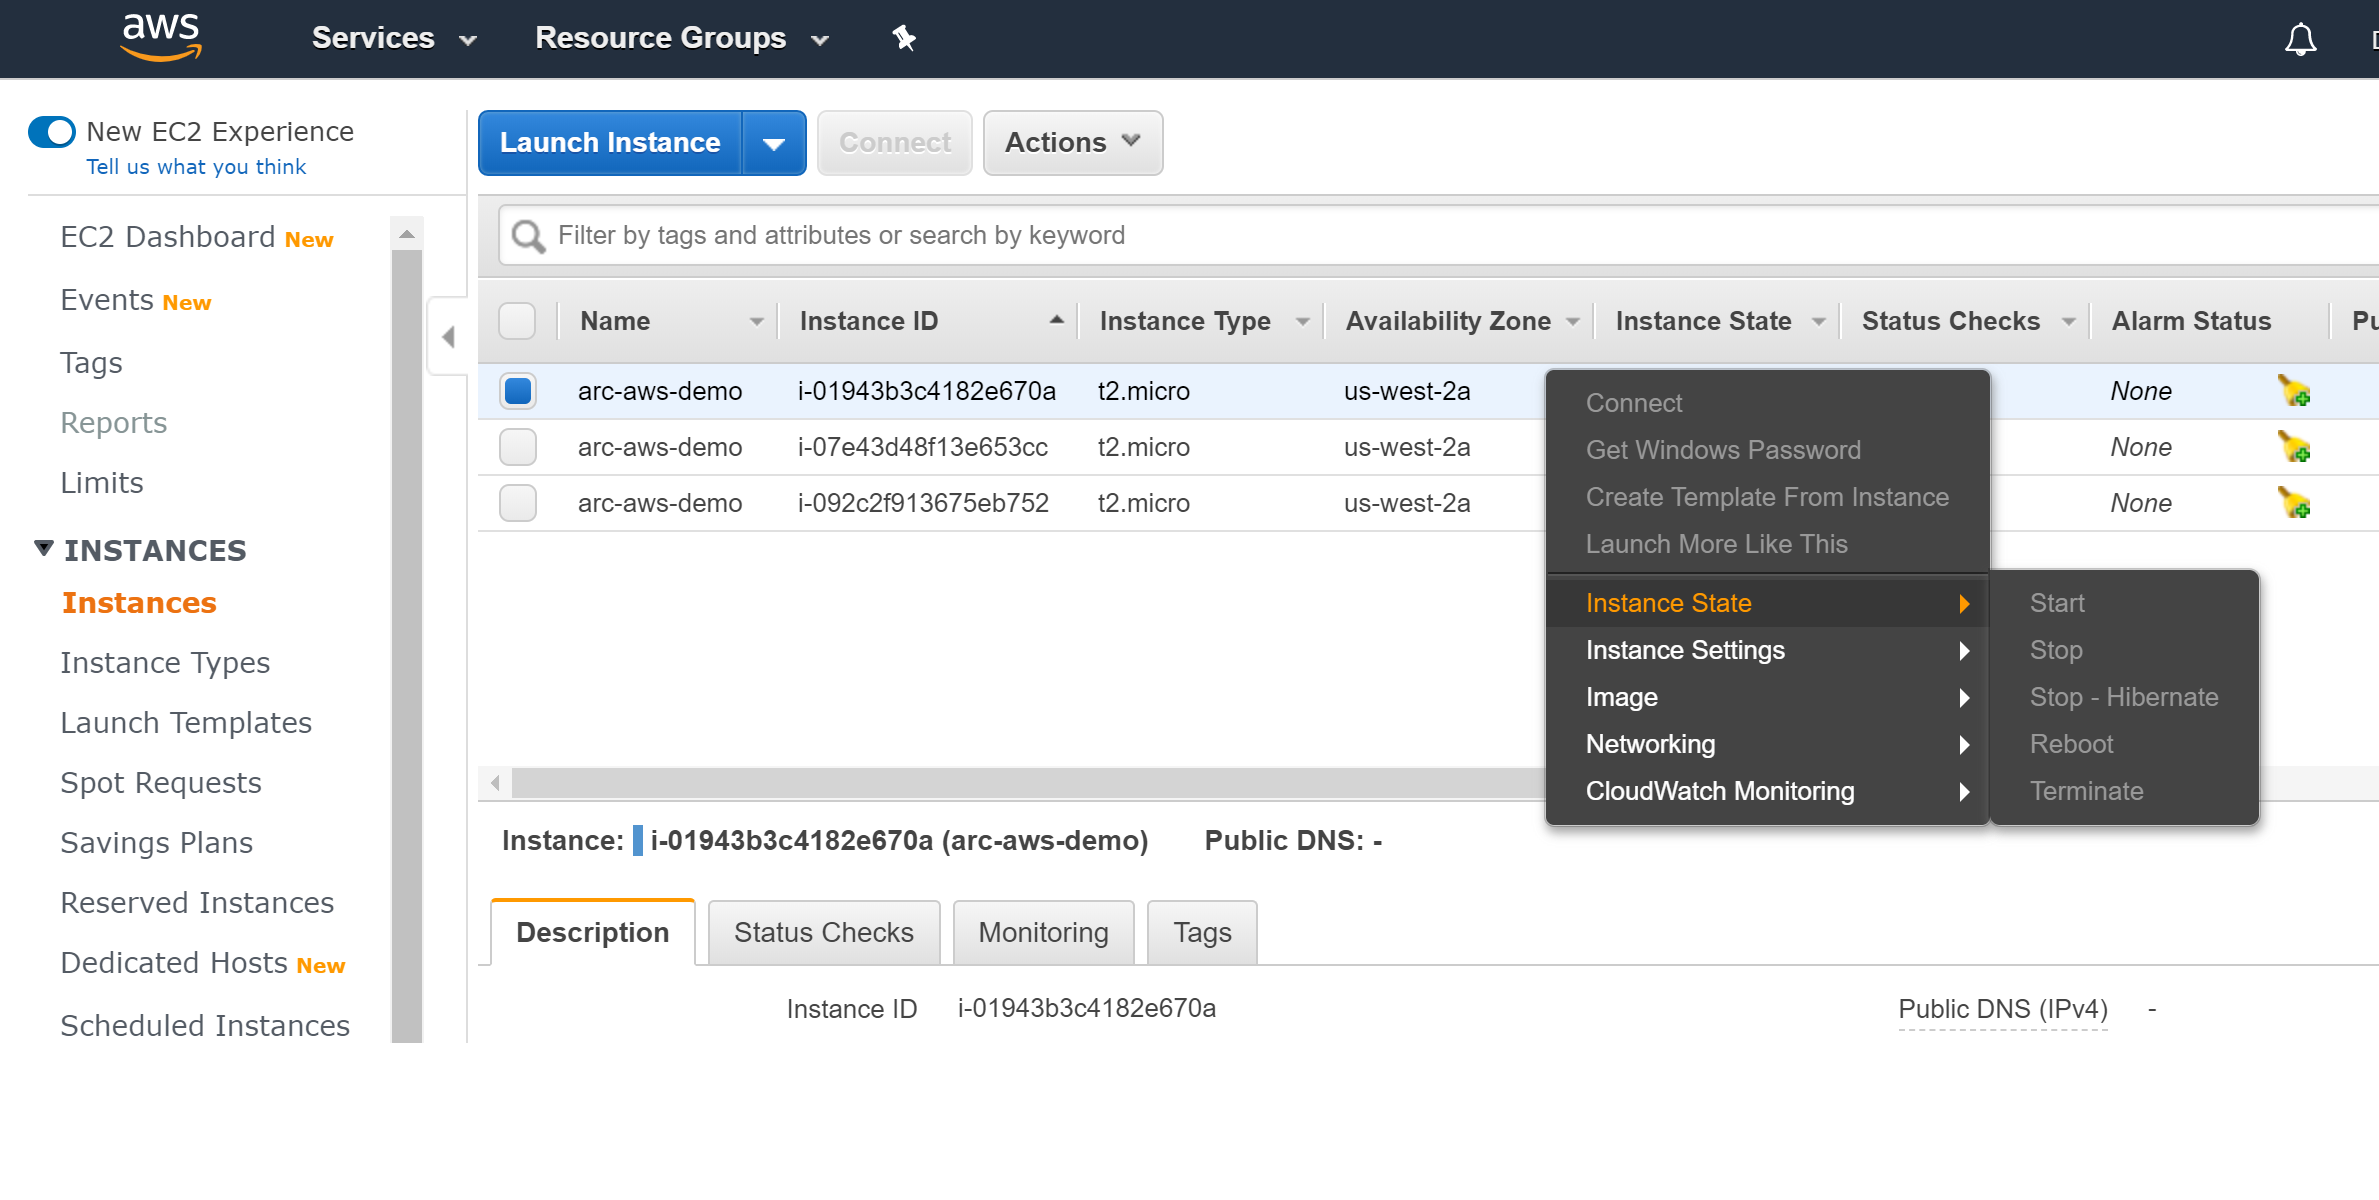
或者,你可以通过从 AWS 控制台终止 AWS EC2 实例来直接删除该实例。
反馈
即将发布:在整个 2024 年,我们将逐步淘汰作为内容反馈机制的“GitHub 问题”,并将其取代为新的反馈系统。 有关详细信息,请参阅:https://aka.ms/ContentUserFeedback。
提交和查看相关反馈