你当前正在访问 Microsoft Azure Global Edition 技术文档网站。 如果需要访问由世纪互联运营的 Microsoft Azure 中国技术文档网站,请访问 https://docs.azure.cn。
使用 Azure 门户在直接对等互连的基础上启用 Azure 对等互连服务
本文介绍了如何使用 Azure 门户在直接对等互连上启用Azure 对等互连服务。 要了解如何使用 Azure PowerShell 在直接对等互连上启用对等互连服务,请参阅使用 PowerShell 在直接对等互连上启用 Azure 对等互连服务。
先决条件
- 在开始配置之前,请查看设置与 Microsoft 的对等互连的先决条件。
- 在订阅中选择要启用对等互连服务的直接对等互连。 如果没有,请转换旧的直接对等互连,或创建新的直接对等互连:
- 若要转换旧的直接对等互连,请按照使用门户将旧的直接对等互连转换为 Azure 资源中的说明进行操作。
- 若要创建新的直接对等互连,请按照使用门户创建或修改直接对等互连中的说明进行操作。
在直接对等互连上启用对等互连服务
本部分介绍了如何使用 Azure 门户在直接对等互连上启用对等互连服务。
登录 Azure 门户。
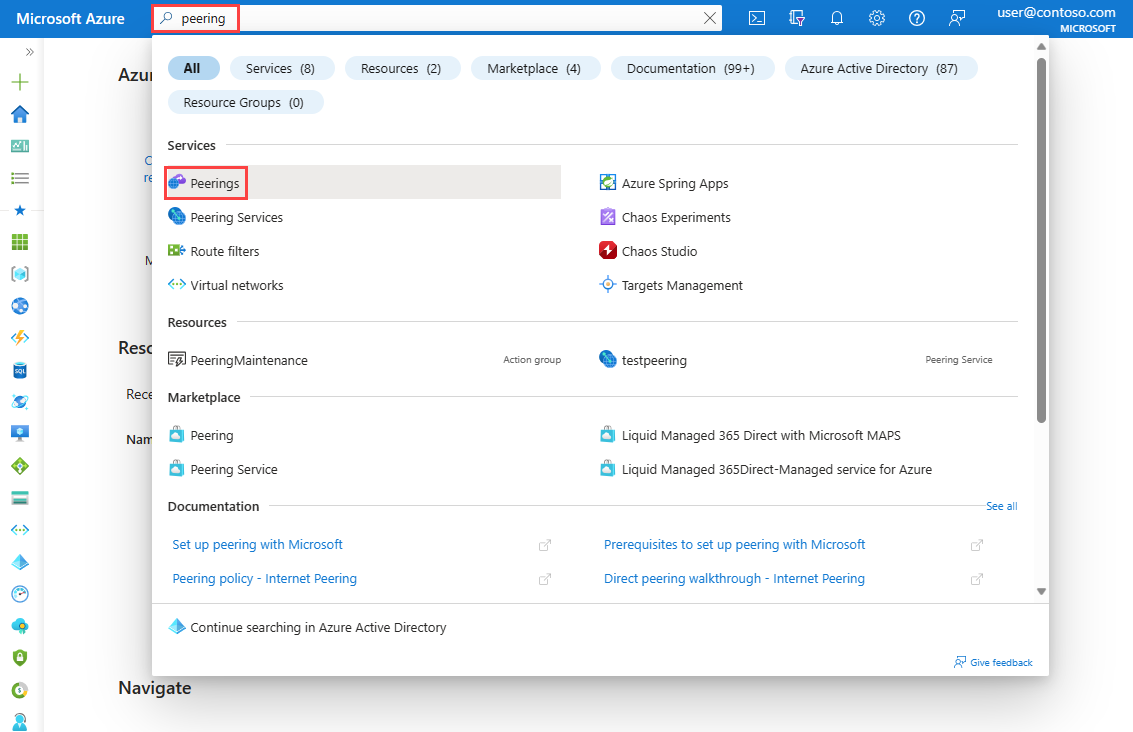
在门户顶部的搜索框中,输入“对等互连”。 在搜索结果中选择“对等互连”。
选择要为其连接启用对等互连服务的对等互连资源。
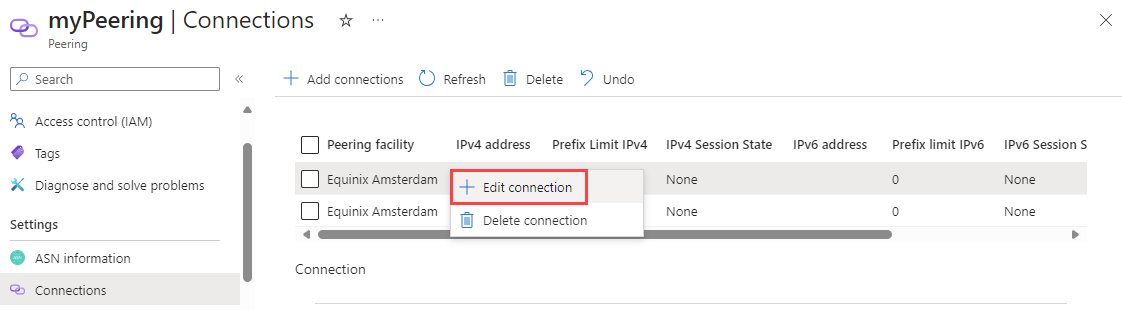
选择连接。

右击要为其启用对等互连服务的对等互连连接,然后选择“编辑连接”。
为“用于对等互连服务”选择“已启用”。
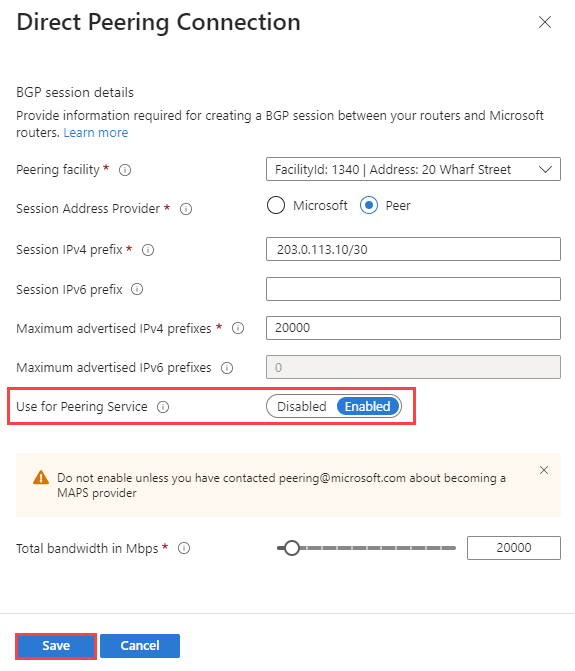
选择“保存”。
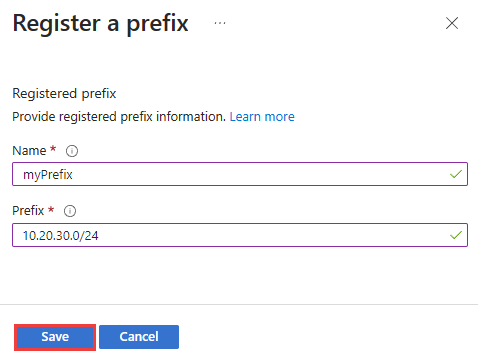
部署完成后,选择“注册的前缀”以将前缀注册到对等互连。

输入名称和前缀,然后选择“保存”。
创建前缀后,可以在“注册的前缀”页的前缀列表中看到该前缀。
选择创建的前缀以查看详细信息,其中包括前缀密钥。 必须向客户提供此密钥,以便他们可以使用它在订阅中注册前缀。


修改直接对等互连连接
要修改连接设置,请参阅使用门户创建或修改直接对等互连中的修改直接对等互连部分。