教程:将治理扩展到端点修正
Defender for Cloud Apps 提供了预定义的策略治理选项,例如暂停用户,或将文件设为私有。 使用与 Microsoft Power Automate 的本机集成,可以使用软件即服务(SaaS)连接器的大型生态系统来生成工作流,以自动执行流程,包括修正。
例如,当检测到可能的恶意软件威胁时,可以使用工作流来启动 Microsoft Defender for Endpoint 修正操作,例如运行防病毒扫描或隔离端点。
本教程介绍了如何配置策略治理操作,以使用工作流在用户显示可疑行为迹象的端点上运行防病毒扫描:
注意
这些工作流仅适用于包含用户活动的策略。 例如,不能将这些工作流用于 Discovery 或 OAuth 策略。
如果还没有 Power Automate 计划,请注册获取免费试用帐户。
先决条件
- 必须具有有效的 Microsoft Power Automate 计划
- 必须具有有效的 Microsoft Defender for Endpoint 计划
- Power Automate 环境必须与 Microsoft Entra ID 同步、Defender for Endpoint 受监控且已加入域
阶段 1:生成 Defender for Cloud Apps API 令牌
注意
如果以前使用 Defender for Cloud Apps 连接器创建了工作流,Power Automate 会自动重复使用令牌,可以跳过此步骤。
在 Microsoft Defender 门户中,选择“设置”。 然后选择“云应用”。
在系统下,选择 API 令牌。
选择 +添加令牌以生成新的 API 令牌。
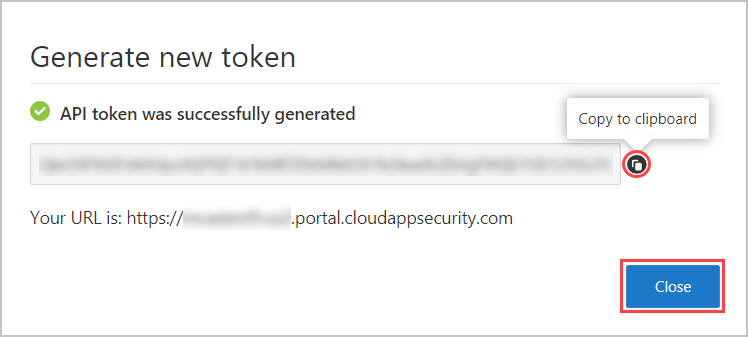
在 生成新令牌 弹出窗口中,输入令牌名称(例如“Flow-Token”),然后选择生成。

生成令牌后,选择生成令牌右侧的复制图标,然后选择关闭。 稍后会用到该令牌。
阶段 2:创建工作流以运行防病毒扫描
注意
如果以前使用 Defender for Endpoint 连接器创建了工作流,Power Automate 会自动重复使用连接器,你可以跳过登录步骤。
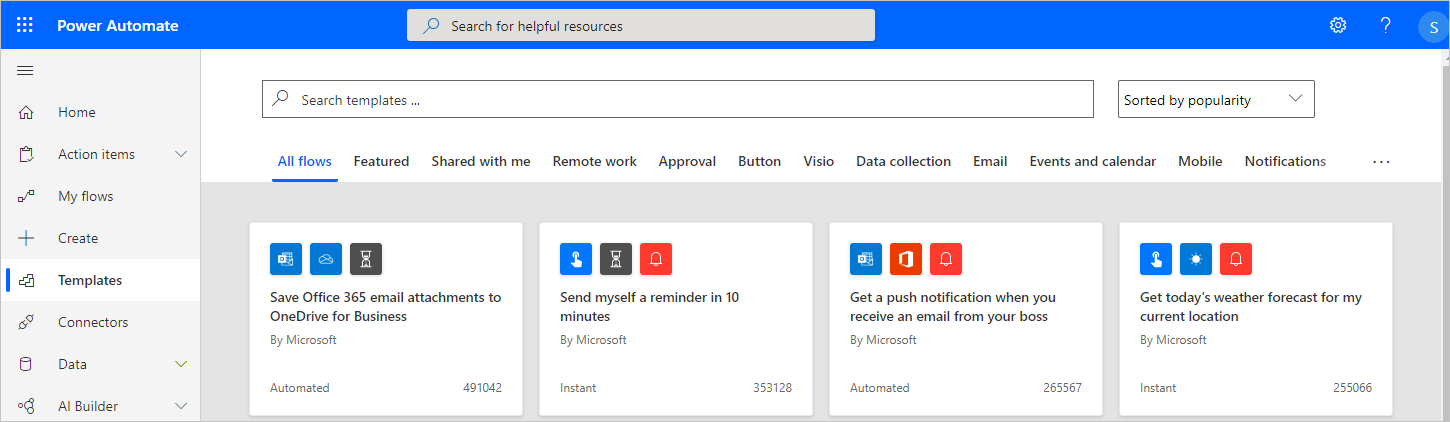
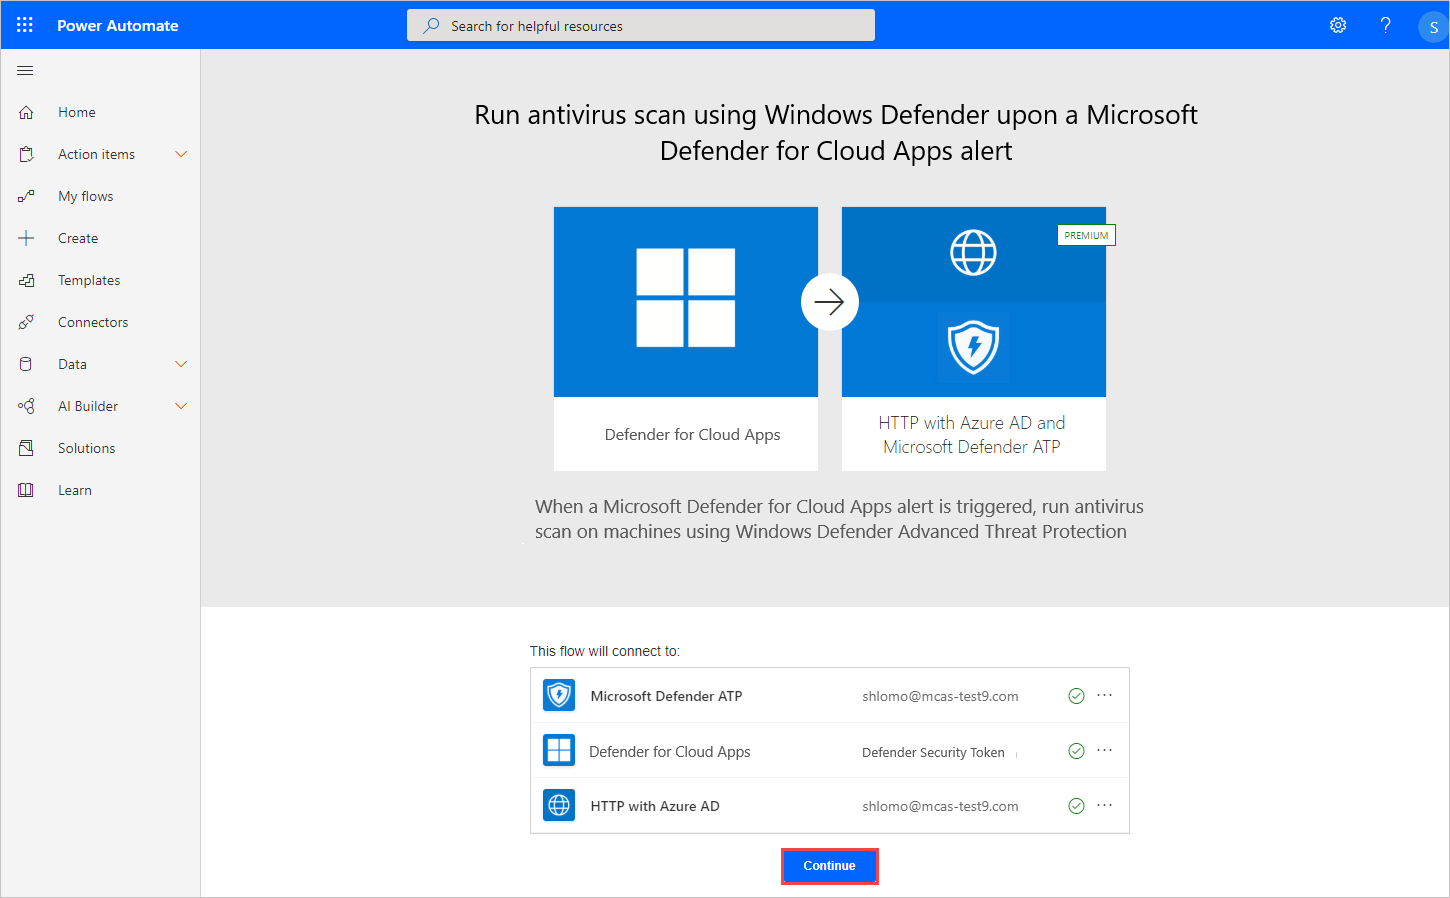
转到 Power Automate 门户,然后选择模板。
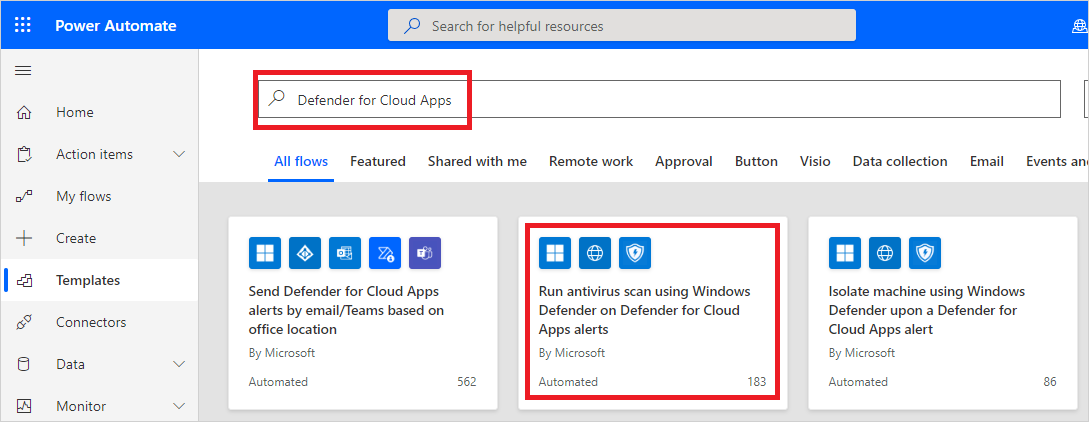
搜索 Defender for Cloud Apps 并选择在收到 Defender for Cloud Apps 警报时,使用 Windows Defender 运行防病毒扫描。
在应用列表中,在显示 Microsoft Defender for Endpoint 连接器的行上,选择登录。

阶段 3:配置工作流
注意
如果以前使用 Microsoft Entra 连接器创建了工作流,Power Automate 会自动重复使用令牌,你可以跳过此步骤。
在应用列表中,在显示 Defender for Cloud Apps 的行上,选择创建。
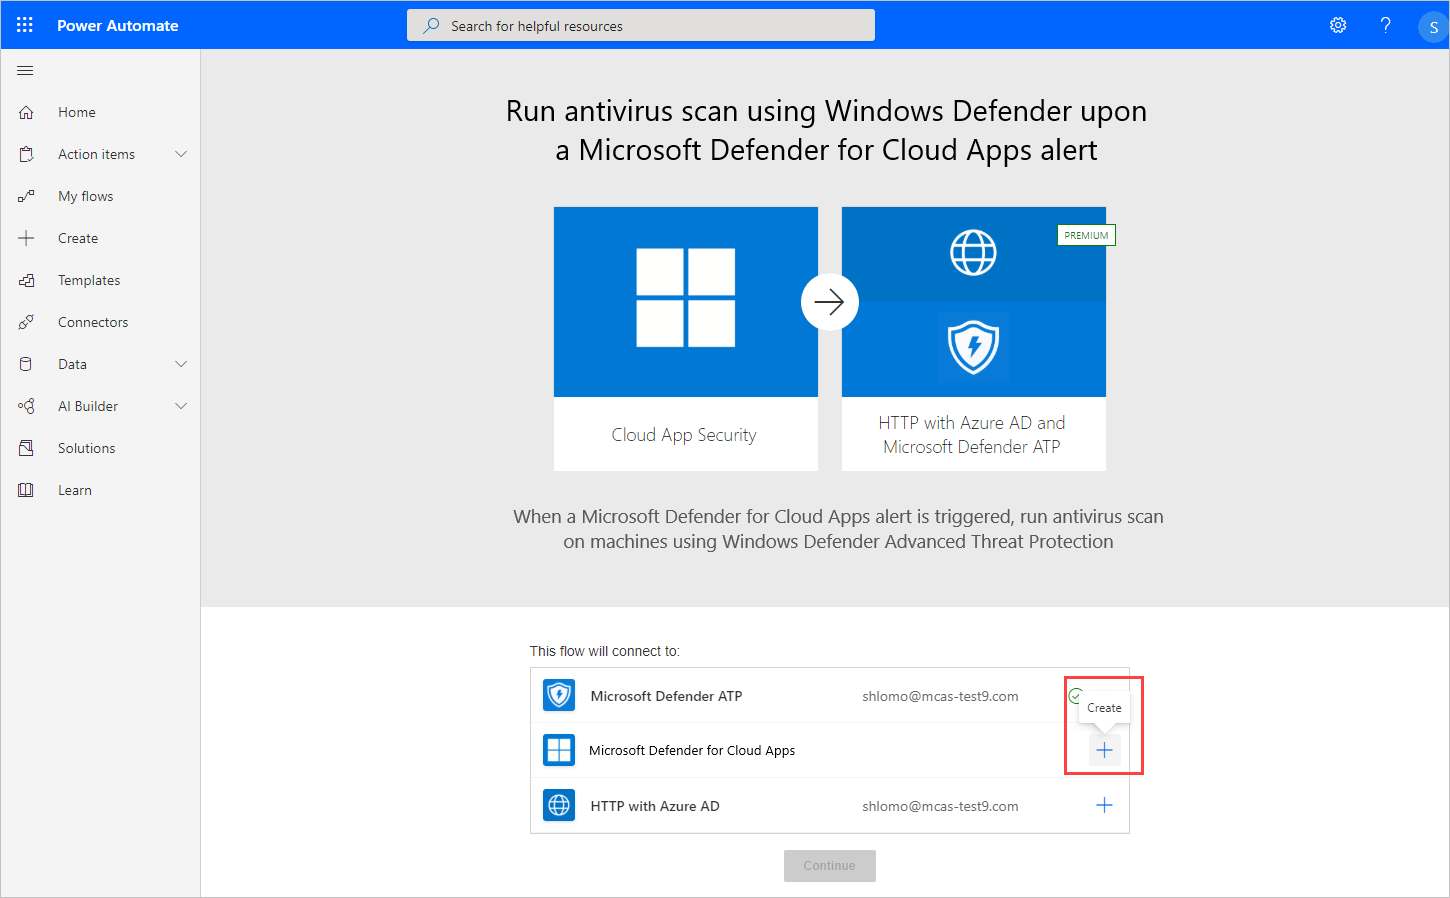
在 Defender for Cloud Apps 弹出窗口中,输入连接名称(例如“Defender for Cloud Apps 令牌”),粘贴你复制的 API 令牌,然后选择创建。

在应用列表中,在显示 HTTP with Azure AD 的行上,选择登录。
在 HTTP with Azure AD 弹出窗口中,在基本资源 URL和Azure AD 资源 URI字段中,输入
https://graph.microsoft.com,选择登录,然后输入要用于 HTTP with Azure AD 连接器的管理员凭据。
选择“继续”。
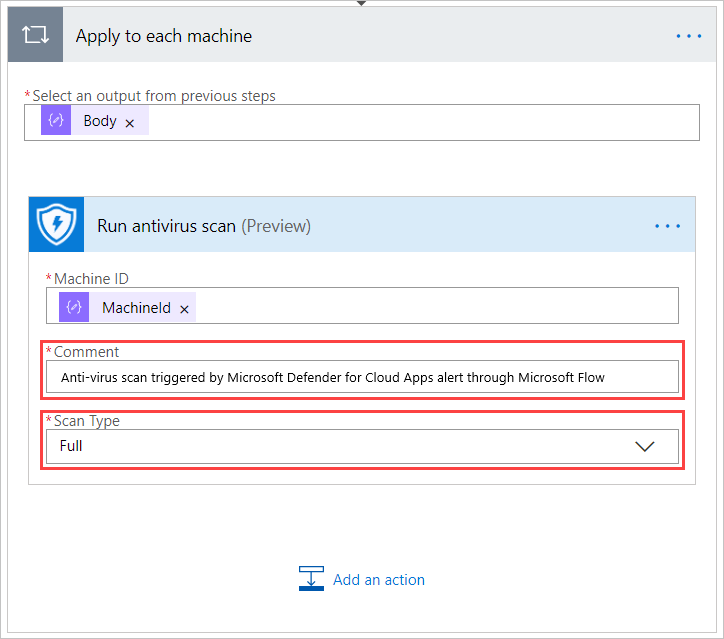
所有连接器都成功连接之后,在工作流页面的应用于每个设备下,可以选择修改批注和扫描类型,然后选择保存。
阶段 4:配置策略以运行工作流
在 Microsoft Defender 门户的“云应用”下,转到“策略”->“策略管理”。
在策略列表中,在显示相关策略的行上,选择行末尾的三个点,然后选择编辑策略。
在警报下,选择将警报发送到 Power Automate,然后选择在收到 Defender for Cloud Apps 警报时,使用 Windows Defender 运行防病毒扫描。
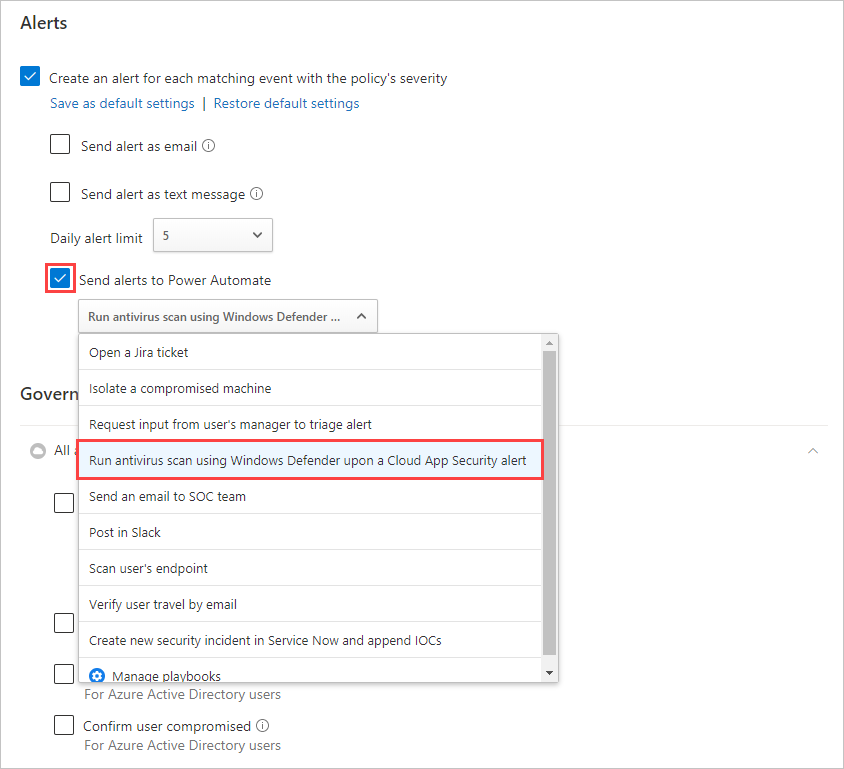
现在,针对此策略引发的每个警报都将启动运行防病毒扫描的工作流。
可以使用本教程中的步骤,创建各种基于工作流的操作,以扩展 Defender for Cloud Apps 修正功能,包括其他 Defender for Endpoint 操作。 要查看预定义的 Defender for Cloud Apps 工作流列表,请在 Power Automate 中搜索“Defender for Cloud Apps”。