步驟 1:使用 Azure 儲存體 在雲端上傳影像數據
本教學課程是一個系列的第一部分。 在本教學課程中,您將瞭解如何部署 Web 應用程式。 Web 應用程式會使用 Azure Blob 儲存體 用戶端連結庫將影像上傳至記憶體帳戶。
在系列的第一部分中,您可以執行下列工作:
- 建立儲存體帳戶
- 建立容器並設定許可權
- 擷取存取金鑰
- 將 Web 應用程式部署至 Azure
- 設定應用程式設定
- 與 Web 應用程式互動
必要條件
若要完成本教學課程,您需要 Azure 訂用帳戶。 開始之前,請先建立 免費帳戶 。
Azure Cloud Shell
Azure Cloud Shell 是裝載於 Azure 中的互動式殼層環境,可在瀏覽器中使用。 您可以使用 Bash 或 PowerShell 搭配 Cloud Shell,與 Azure 服務共同使用。 您可以使用 Cloud Shell 預先安裝的命令,執行本文提到的程式碼,而不必在本機環境上安裝任何工具。
要啟動 Azure Cloud Shell:
| 選項 | 範例/連結 |
|---|---|
| 選取程式碼或命令區塊右上角的 [試試看]。 選取 [試試看] 並不會自動將程式碼或命令複製到 Cloud Shell 中。 |  |
| 請前往 https://shell.azure.com,或選取 [啟動 Cloud Shell] 按鈕,在瀏覽器中開啟 Cloud Shell。 |  |
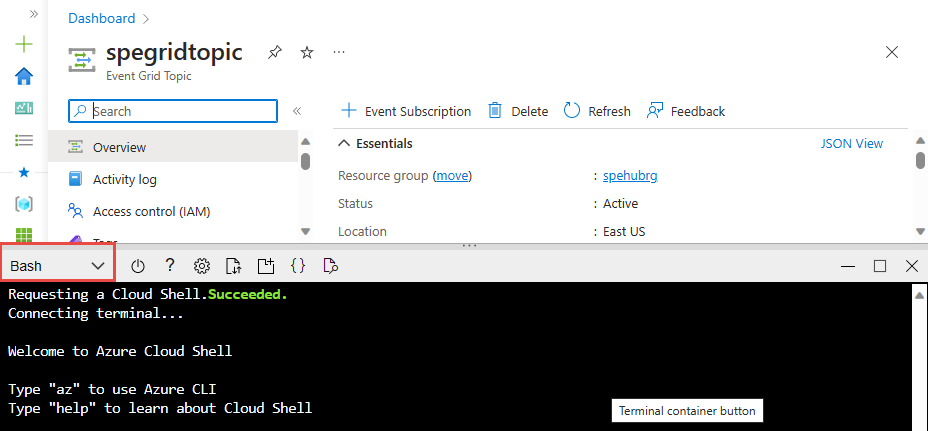
| 選取 Azure 入口網站右上方功能表列上的 [Cloud Shell] 按鈕。 |  |
若要使用 Azure Cloud Shell:
啟動 Cloud Shell。
選取程式碼區塊 (或命令區塊) 上的 [複製] 按鈕以複製程式碼或命令。
透過在 Windows 和 Linux 上選取 Ctrl+Shift+V;或在 macOS 上選取 Cmd+Shift+V,將程式碼或命令貼到 Cloud Shell 工作階段中。
選取 Enter 鍵執行程式碼或命令。
建立資源群組
重要
在本教學課程的步驟 2 中,您會使用 Azure 事件方格 搭配您在此步驟中建立的 Blob 記憶體。 在支援事件方格的 Azure 區域中建立您的記憶體帳戶。 如需支援區域的清單,請參閱 依區域排序的 Azure 產品。
在 Azure Cloud Shell 中,如果尚未選取 Bash,請選取 左上角的 Bash 。
使用 az group create 命令來建立資源群組。 Azure 資源群組是在其中部署與管理 Azure 資源的邏輯容器。
注意
為和
rgName設定適當的值region(資源組名)。region="eastus" rgName="egridtutorialrg" az group create --name $rgName --location $region

建立儲存體帳戶
此範例會將映像上傳至 Azure 記憶體帳戶中的 Blob 容器。
使用 az storage account create 命令,在您建立的資源群組中建立記憶體帳戶。
blobStorageAccount="myblobstorage$RANDOM"

az storage account create --name $blobStorageAccount --location $region \
  --resource-group $rgName --sku Standard_LRS --kind StorageV2 --access-tier hot --allow-blob-public-access true
建立 Blob 記憶體容器
應用程式會在 Blob 記憶體帳戶中使用兩個容器。 映像容器是應用程式上傳完整解析度影像的位置。 在系列的第二個步驟中,Azure 函式應用程式會將重設大小的影像縮圖上傳至 縮圖 容器。
映像容器的公用存取權會設定為 off。 縮 圖 容器的公用存取權會設定為 container。 公用 container 存取設定可讓流覽網頁的用戶檢視縮圖。
使用 az storage account keys list 命令取得記憶體帳戶密鑰。 然後,使用此密鑰以 az storage container create 命令建立兩個容器。
blobStorageAccountKey=$(az storage account keys list -g $rgName \
  -n $blobStorageAccount --query "[0].value" --output tsv)

az storage container create --name images \
  --account-name $blobStorageAccount \
  --account-key $blobStorageAccountKey

az storage container create --name thumbnails \
  --account-name $blobStorageAccount \
  --account-key $blobStorageAccountKey --public-access container
範例應用程式會使用記憶體帳戶的名稱和存取金鑰來連線到記憶體帳戶。
建立 App Service 方案
App Service 方案會指定載入您應用程式之 Web 伺服器陣列的位置、大小和功能。 下列範例會在免費定價層中建立名為 myAppServicePlan 的 App Service 方案:
使用 az appservice plan create 命令建立 App Service 方案。
planName="MyAppServicePlan"
az appservice plan create --name $planName --resource-group $rgName --sku Free
建立 Web 應用程式
Web 應用程式提供從 GitHub 範例存放庫部署之範例應用程式程式代碼的裝載空間。
使用 az webapp create 命令,myAppServicePlan在 App Service 方案中建立 Web 應用程式。
webapp="mywebapp$RANDOM"

az webapp create --name $webapp --resource-group $rgName --plan $planName
從 GitHub 存放庫部署範例應用程式
App Service 支援數種方式將內容部署至 Web 應用程式。 在本教學課程中,您會從 公用 GitHub 範例存放庫部署 Web 應用程式。 使用 az webapp deployment source config 命令設定 GitHub 部署至 Web 應用程式。
範例專案包含 ASP.NET MVC 應用程式。 應用程式接受影像、將它儲存至記憶體帳戶,以及顯示來自縮圖容器的影像。 Web 應用程式會使用 Azure.儲存體 Azure.儲存體。Blob 和 Azure.儲存體。要與 Azure 儲存體 服務互動的 Blobs.Models 命名空間。
az webapp deployment source config --name $webapp --resource-group $rgName \
  --branch master --manual-integration \
  --repo-url https://github.com/Azure-Samples/storage-blob-upload-from-webapp
設定 Web 應用程式設定
範例 Web 應用程式會使用適用於 .NET 的 Azure 儲存體 API 來上傳影像。 儲存體 帳戶認證是在 Web 應用程式的應用程式設定中設定。 使用 az webapp config appsettings set 或 New-AzStaticWebAppSetting 命令,將應用程式設定新增至已部署的應用程式。
az webapp config appsettings set --name $webapp --resource-group $rgName \
  --settings AzureStorageConfig__AccountName=$blobStorageAccount \
    AzureStorageConfig__ImageContainer=images \
    AzureStorageConfig__ThumbnailContainer=thumbnails \
    AzureStorageConfig__AccountKey=$blobStorageAccountKey
部署及設定 Web 應用程式之後,您可以在應用程式中測試影像上傳功能。
上傳影像
若要測試 Web 應用程式,請流覽至已發佈應用程式的 URL。 Web 應用程式的預設 URL 為 https://<web_app>.azurewebsites.net。 然後,選取 [上傳相片 ] 區域以指定並上傳檔案,或將檔案拖曳到區域。 如果成功上傳,影像就會消失。 [ 產生的縮圖] 區段會維持空白,直到我們稍後在本教學課程中進行測試為止。
注意
執行下列命令以取得 Web 應用程式的名稱: echo $webapp

在範例程式代碼中,UploadFileToStorage儲存體 helper.cs 檔案中的工作是用來使用UploadAsync方法,將映像上傳至記憶體帳戶內的映像容器。 下列程式代碼範例包含工作 UploadFileToStorage 。
public static async Task<bool> UploadFileToStorage(Stream fileStream, string fileName,
                                                    AzureStorageConfig _storageConfig)
{
    // Create a URI to the blob
    Uri blobUri = new Uri("https://" +
                          _storageConfig.AccountName +
                          ".blob.core.windows.net/" +
                          _storageConfig.ImageContainer +
                          "/" + fileName);

    // Create StorageSharedKeyCredentials object by reading
    // the values from the configuration (appsettings.json)
    StorageSharedKeyCredential storageCredentials =
        new StorageSharedKeyCredential(_storageConfig.AccountName, _storageConfig.AccountKey);

    // Create the blob client.
    BlobClient blobClient = new BlobClient(blobUri, storageCredentials);

    // Upload the file
    await blobClient.UploadAsync(fileStream);

    return await Task.FromResult(true);
}
上述工作中會使用下列類別和方法:
| 類別 | 方法 |
|---|---|
| URI | URI 建構函式 |
| 儲存體 SharedKeyCredential | 儲存體 SharedKeyCredential(String, String) 建構函式 |
| BlobClient | UploadAsync |
確認映像顯示在記憶體帳戶中
登入 Azure 入口網站。 從左側功能表中,選取 [儲存體 帳戶],然後選取記憶體帳戶的名稱。
注意
執行下列命令以取得記憶體帳戶的名稱:
echo $blobStorageAccount。在左側功能表上的 [數據儲存區 ] 區段中,選取 [ 容器]。
選取映像 Blob 容器。
確認映像顯示在容器中。

測試縮圖檢視
若要測試縮圖檢視,您可以將影像上傳至 縮圖 容器,以檢查應用程式是否可以讀取 縮圖 容器。
登入 Azure 入口網站。 從左側功能表中,選取 [儲存體 帳戶],然後選取記憶體帳戶的名稱。 選取 [容器],然後選取 縮圖 容器。 選取 [上傳 ] 以開啟 [ 上傳 Blob ] 窗格。
選擇具有檔案選擇器的檔案,然後選取 [ 上傳]。
流覽回您的應用程式,確認上傳至縮圖容器的影像是可見的。

在系列的第二部分中,您會自動建立縮圖影像,因此您不需要此影像。 在縮圖容器中,選取您上傳的映像,然後選取 [刪除] 以移除影像。