Tutorial: Get started with ASP.NET Core
This tutorial shows how to create and run an ASP.NET Core web app using the .NET Core CLI.
You'll learn how to:
- Create a web app project.
- Trust the development certificate.
- Run the app.
- Edit a Razor page.
At the end, you'll have a working web app running on your local machine.
Prerequisites
Create a web app project
Open a command shell, and enter the following command:
dotnet new webapp -o aspnetcoreapp
The preceding command:
- Creates a new web app.
- The
-o aspnetcoreappparameter creates a directory namedaspnetcoreappwith the source files for the app.
Trust the development certificate
Trust the HTTPS development certificate:
dotnet dev-certs https --trust
The preceding command displays the following dialog:
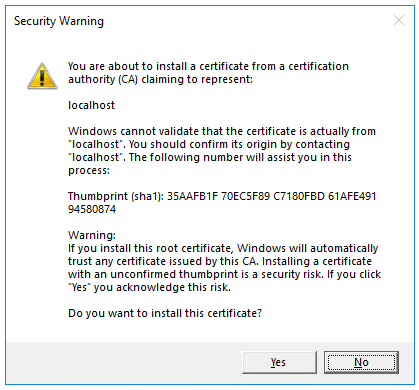
Select Yes if you agree to trust the development certificate.
For more information, see Trust the ASP.NET Core HTTPS development certificate
Run the app
Run the following commands:
cd aspnetcoreapp
dotnet watch run
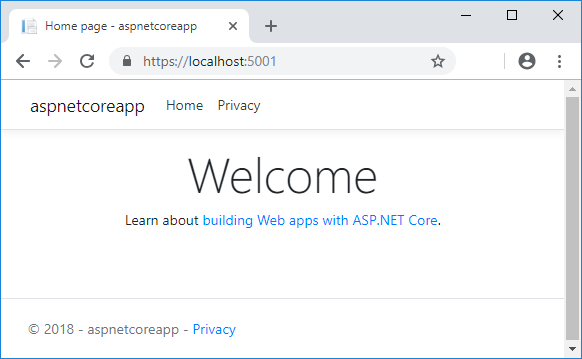
After the command shell indicates that the app has started, browse to https://localhost:{port}, where {port}is the random port used.
Edit a Razor page
Open Pages/Index.cshtml and modify and save the page with the following highlighted markup:
@page
@model IndexModel
@{
    ViewData["Title"] = "Home page";
}

<div class="text-center">
    <h1 class="display-4">Welcome</h1>
    <p>Hello, world! The time on the server is @DateTime.Now</p>
</div>
Browse to https://localhost:{port}, refresh the page, and verify the changes are displayed.
Next steps
In this tutorial, you learned how to:
- Create a web app project.
- Trust the development certificate.
- Run the project.
- Make a change.
To learn more about ASP.NET Core, see the following:
ASP.NET Core
Σχόλια
Σύντομα διαθέσιμα: Καθ' όλη τη διάρκεια του 2024 θα καταργήσουμε σταδιακά τα ζητήματα GitHub ως μηχανισμό ανάδρασης για το περιεχόμενο και θα το αντικαταστήσουμε με ένα νέο σύστημα ανάδρασης. Για περισσότερες πληροφορίες, ανατρέξτε στο θέμα: https://aka.ms/ContentUserFeedback.
Υποβολή και προβολή σχολίων για